Draper Suspension Bridge Hike, Utah

Draper Suspension Bridge Hike, Utah

Draper Suspension Bridge Hike, Utah

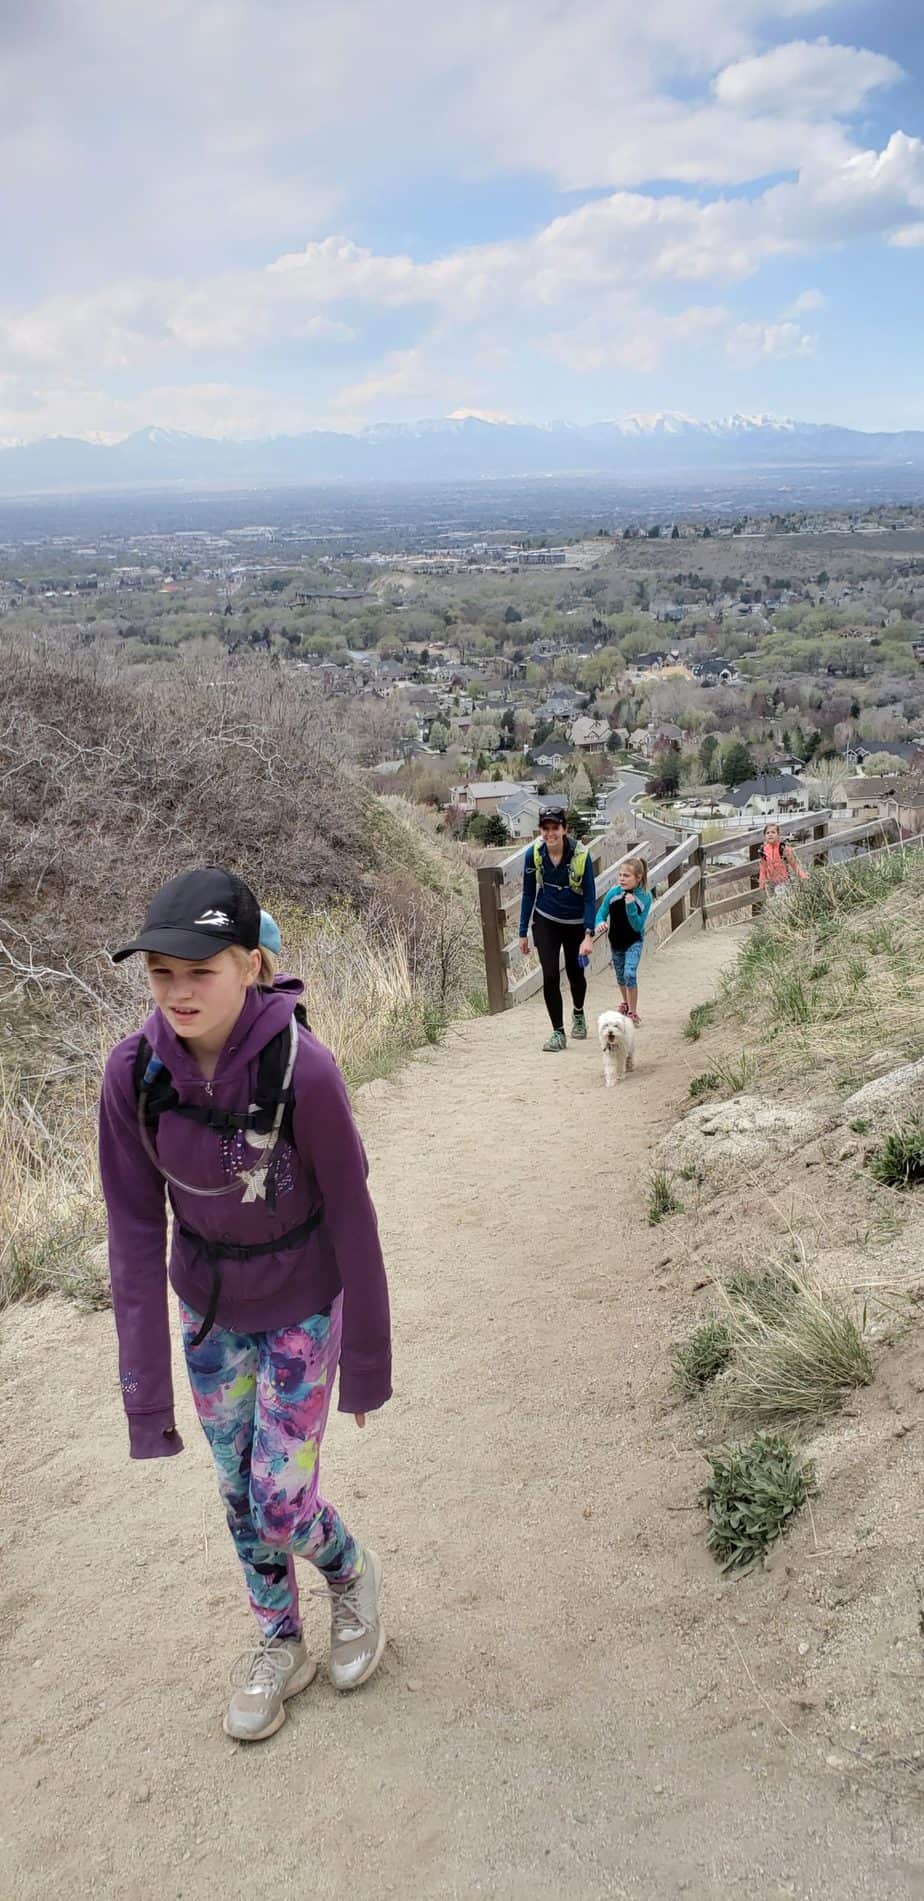
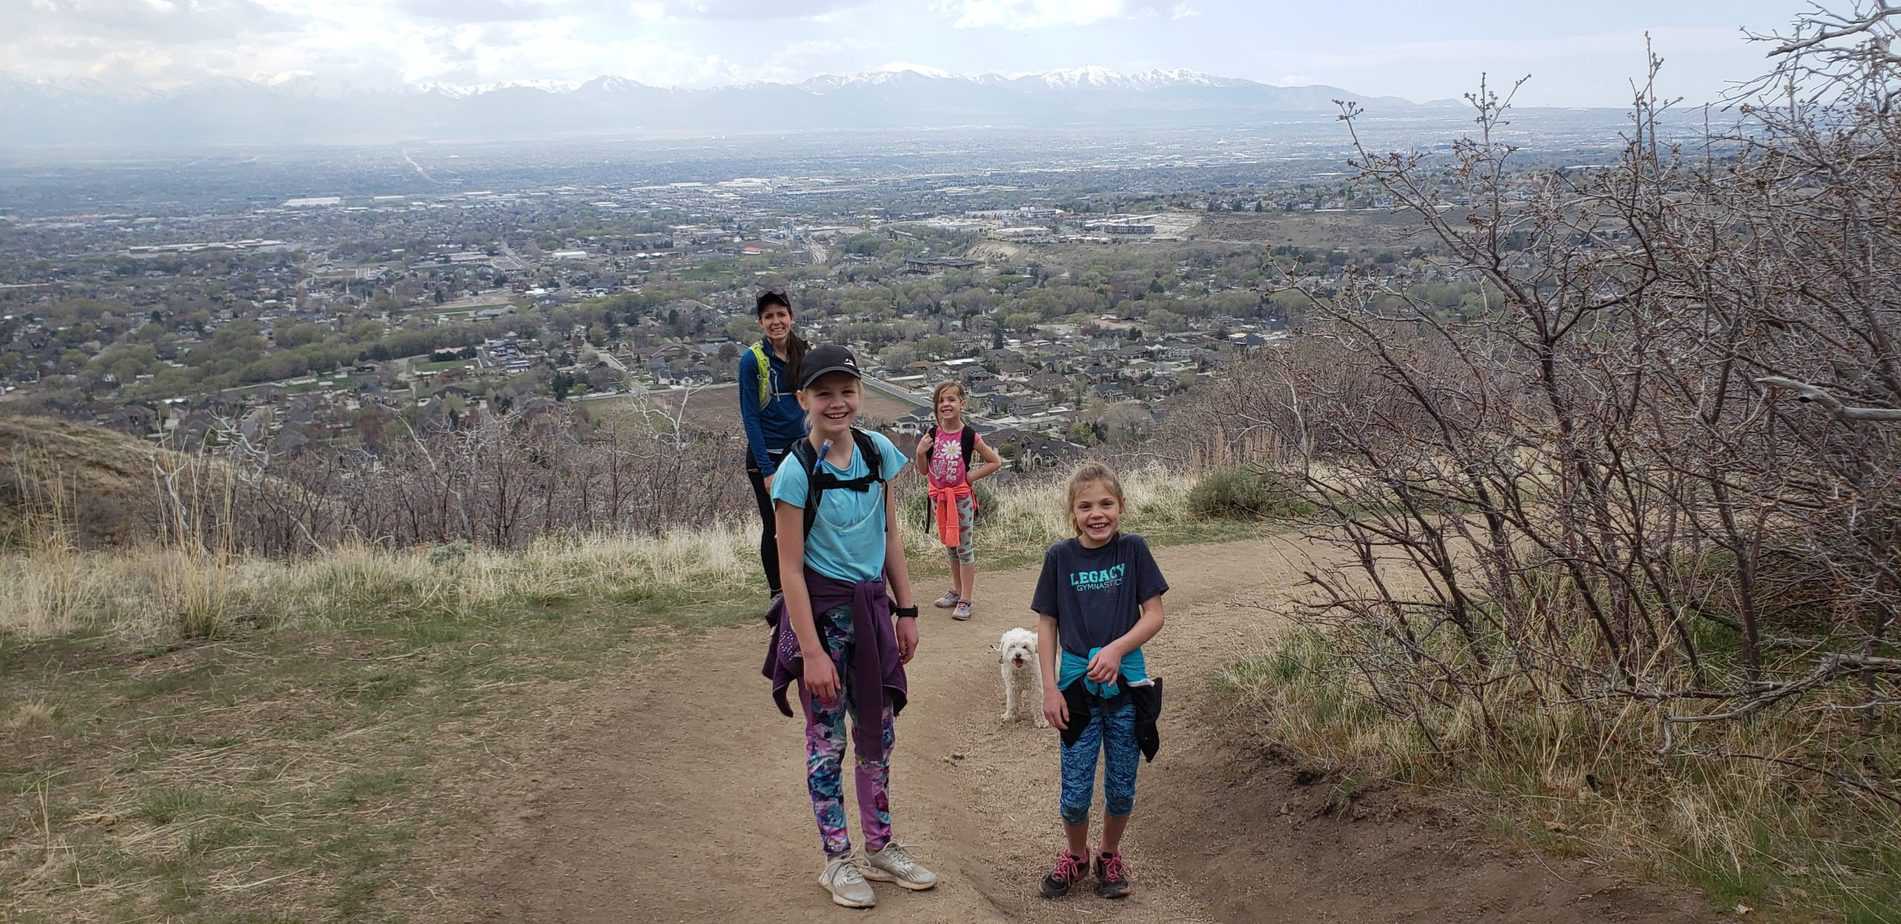
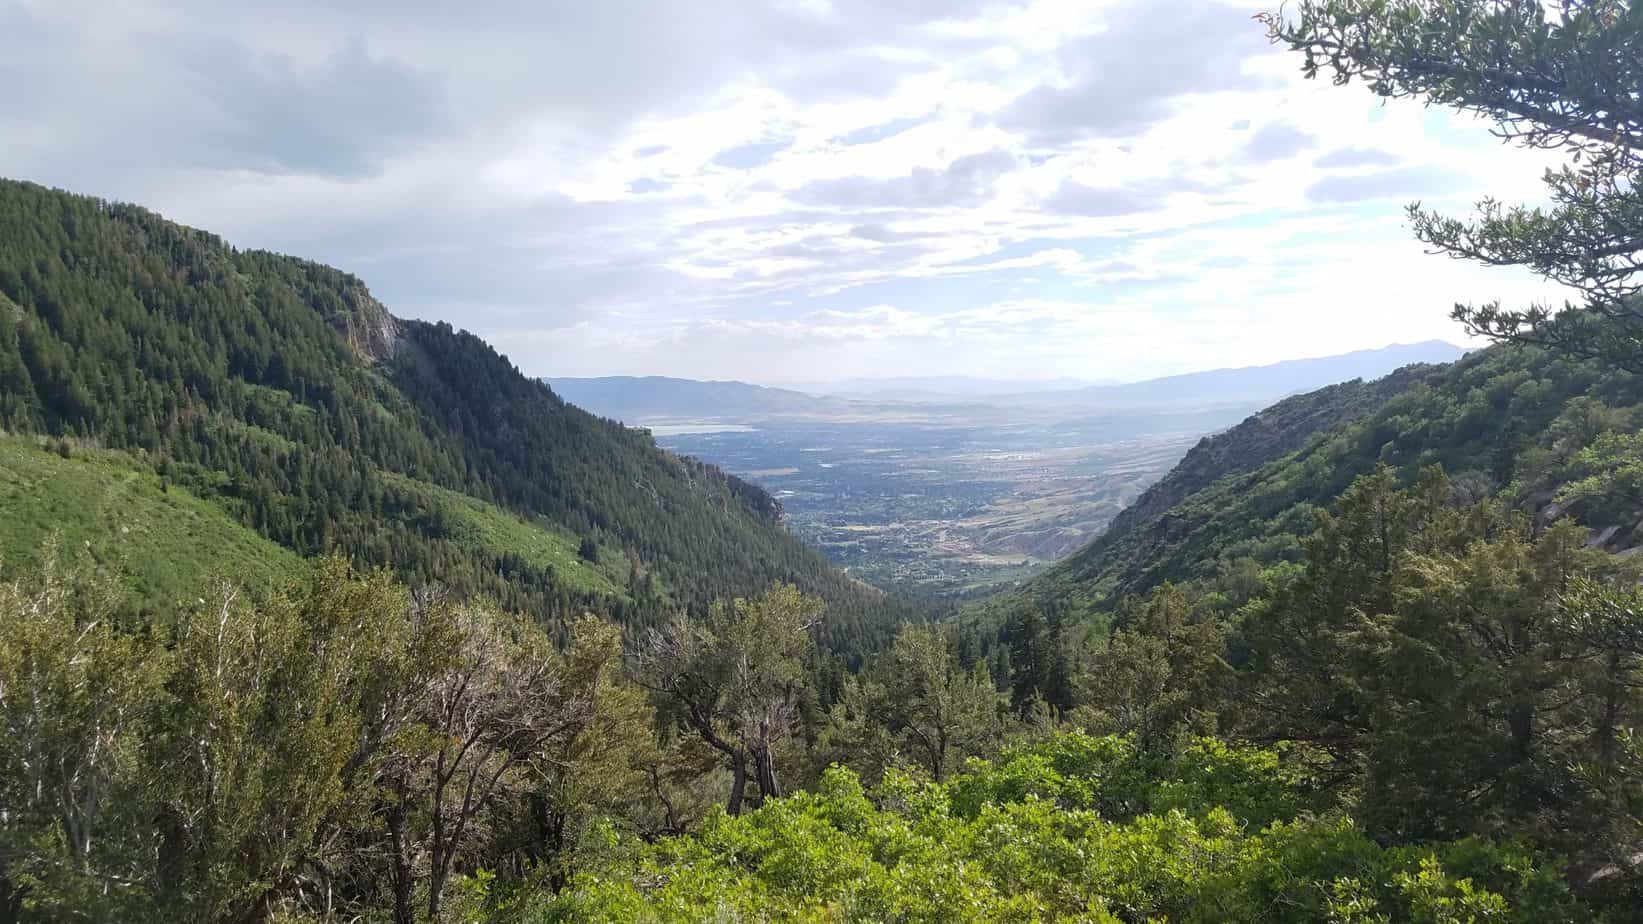
The Draper Suspension Bridge hike is a must for any family along the Wasatch Front in Utah. It offers gorgeous views of the Salt Lake Valley, as well as is a  fun destination to Draper’s newer suspension bridge that connects the well-groomed Bonneville Shoreline trail over Bear Canyon.

KID RATINGS

Fun: ⭐⭐⭐ (out of 5)
Difficulty:     Very Easy    Easy    MODERATE    Hard    Very Hard

KEY FEATURES

Hiking Distance: 2.2 miles round trip
Hiking Elevation Gain: 440 ft
Terrain: Dirt trail, rocks, exposed trail, suspension bridge
Time Needed: 1.5 to 3 hours
When to Go: Spring, Summer (morning or evening), Fall 

COST

Free

AMENITIES

  • Bathrooms: During the summer and fall months there are 3 bathroom stalls and water available. During the colder months, there is only a single bathroom accessible.
  • Grass area with picnic tables covered with gazebos
  • Climbing area for kids
  • Drinking fountain on in warmer months
  • Garbage cans

THINGS TO BRING

  • Sunscreen, trail exposed
  • Water
  • Snacks
  • Hiking shoes with good traction
  • Dogs allowed

DETAILS

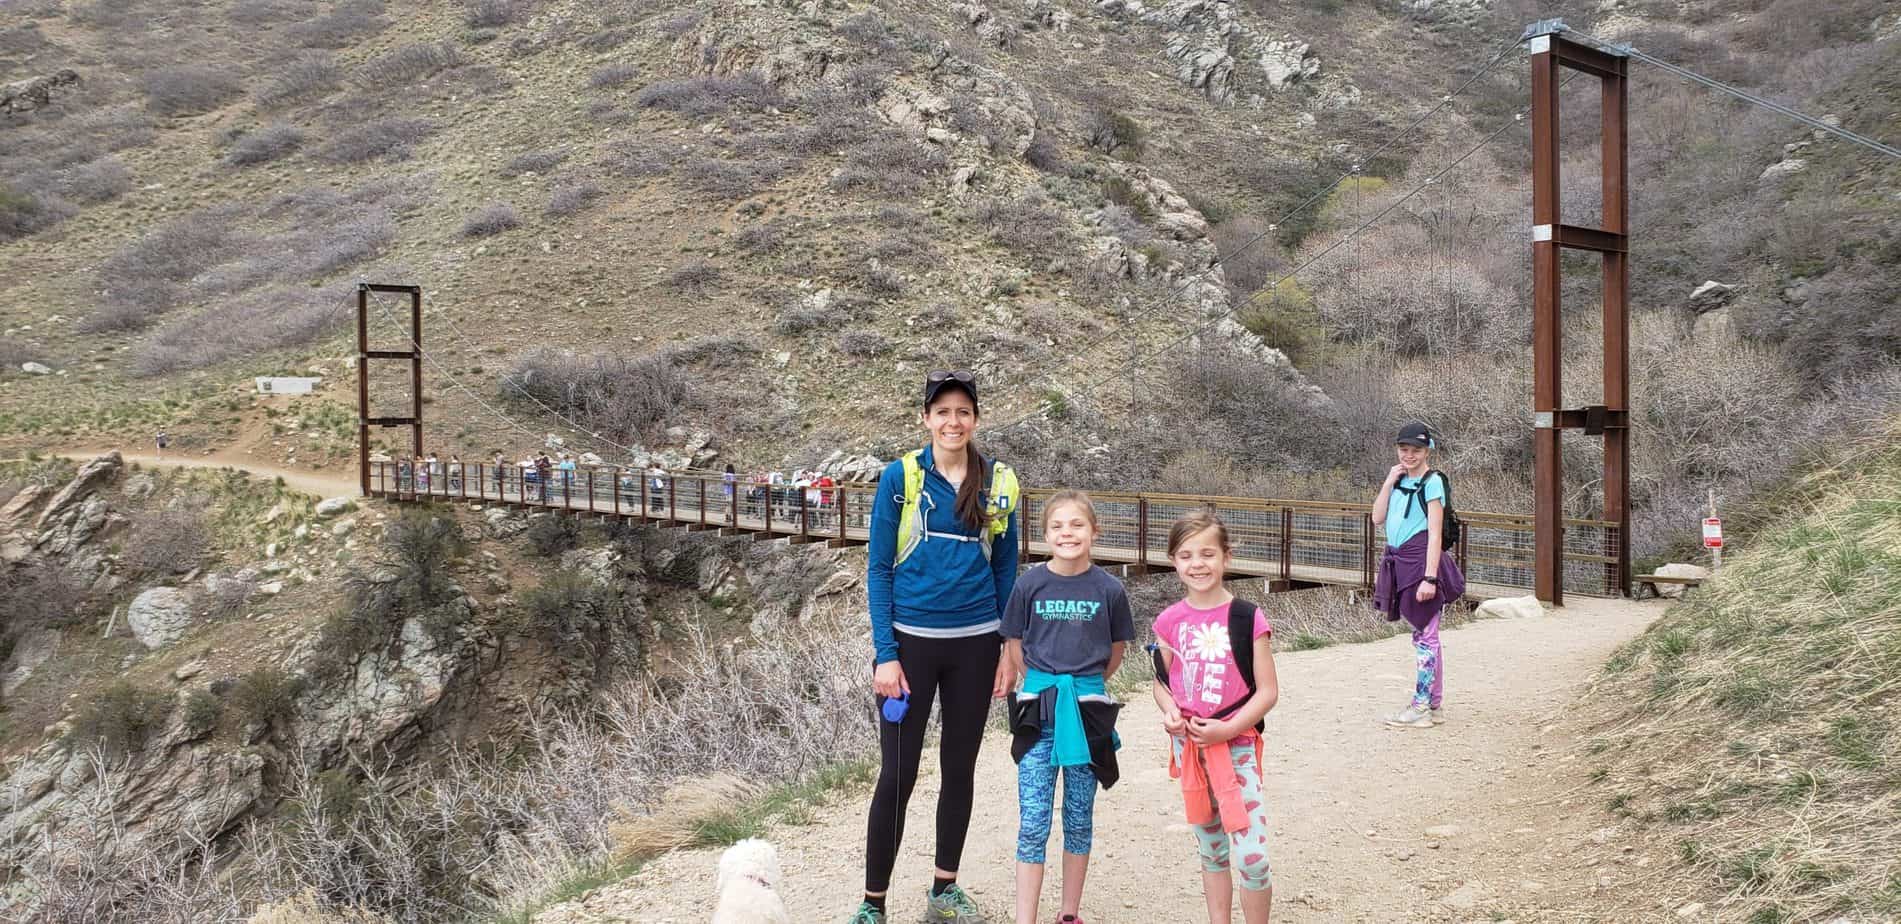
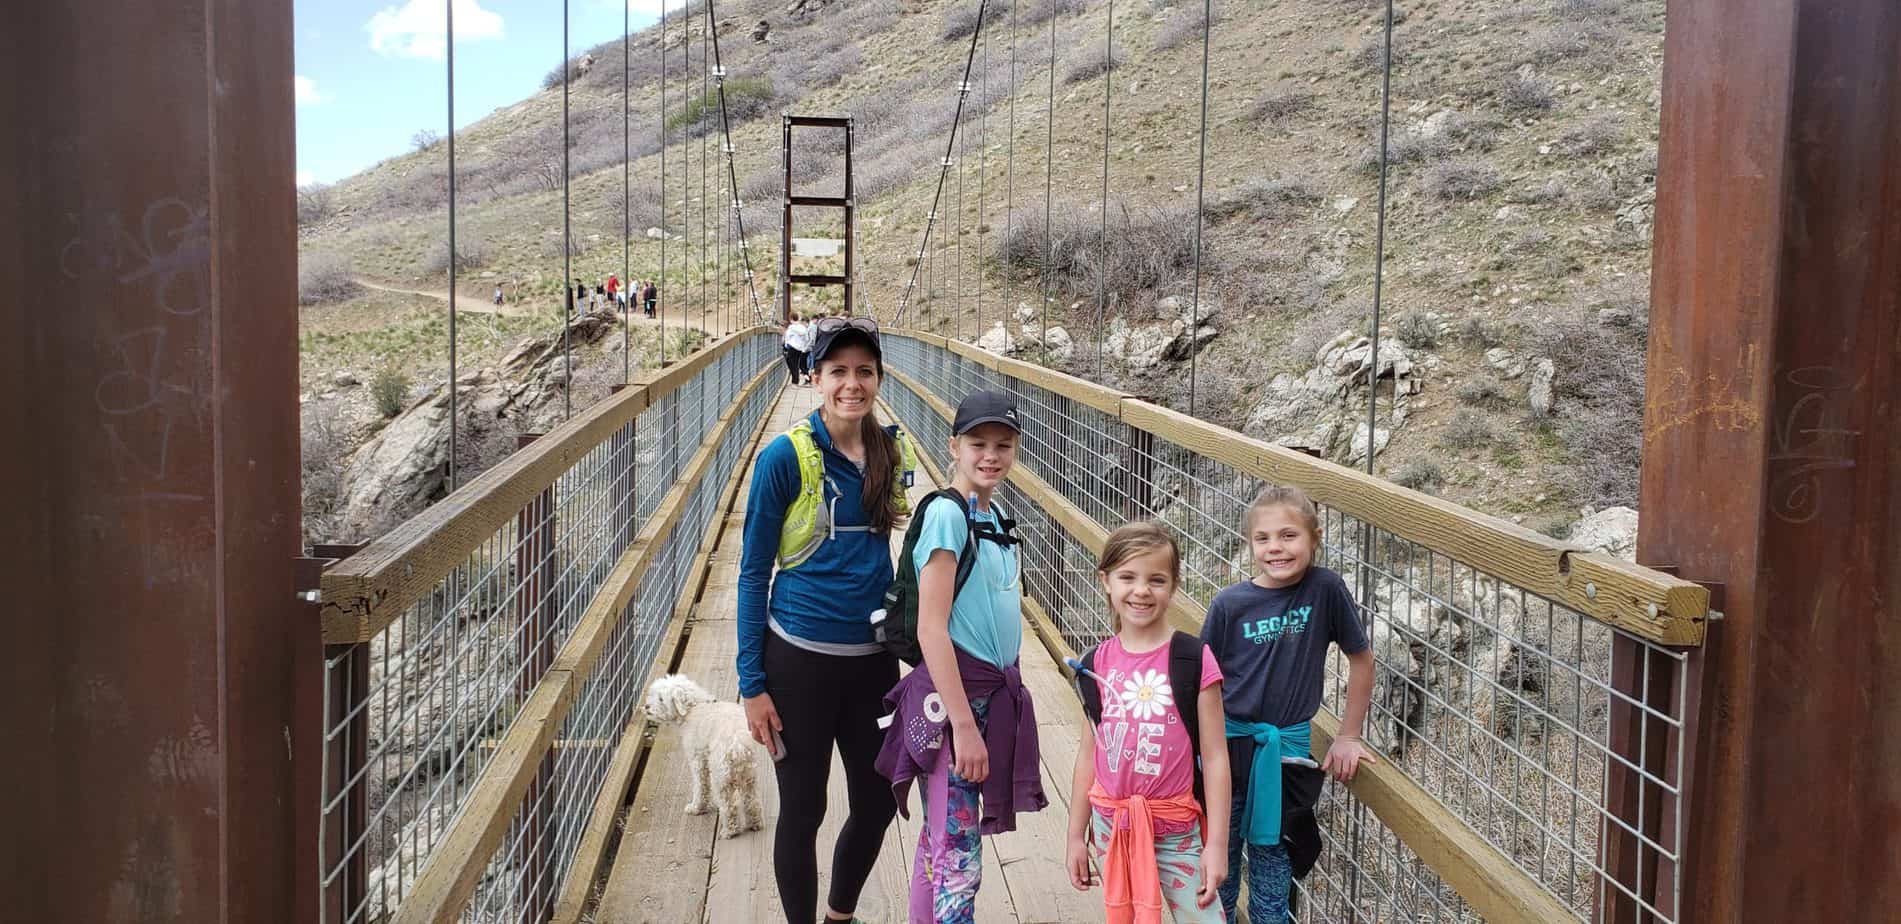
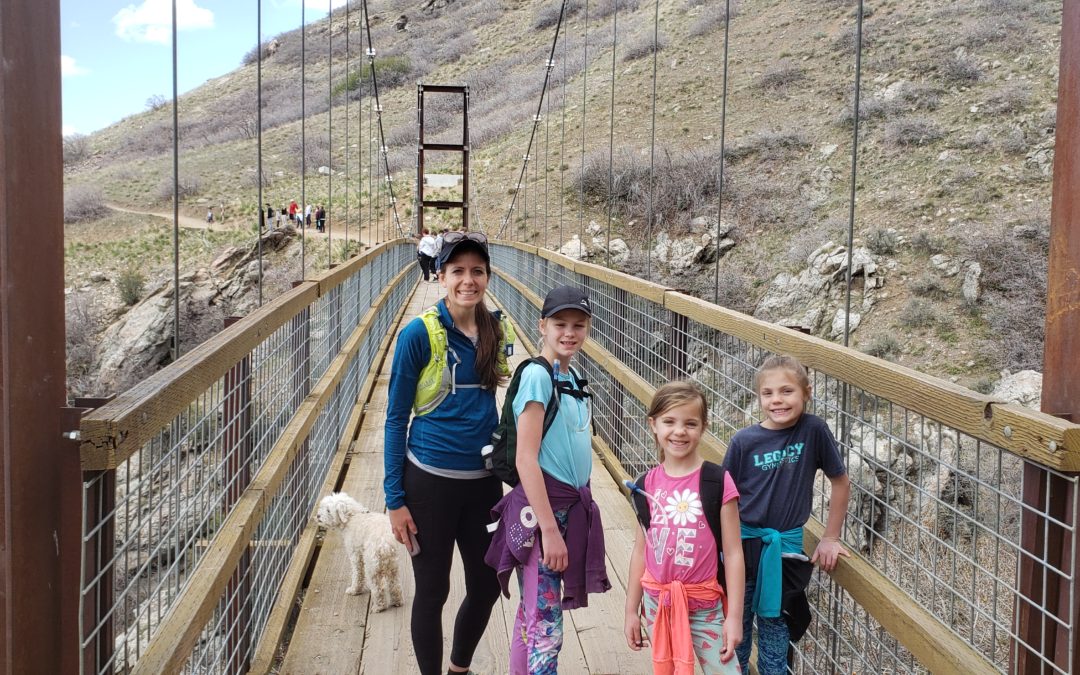
The Draper Suspension Bridge Hike is a perfect hike for adults, kids and dogs. It isn’t terribly steep and mid way through you are able to walk on a fun suspension bridge. The suspension bridge is 185 feet long and was finished in 2015 to connect the Bonneville Shoreline Trail over Draper’s Bear Canyon. 

We hiked to the Draper Suspension Bridge in early spring on a Saturday. The weather was perfect and we even brought our dog.

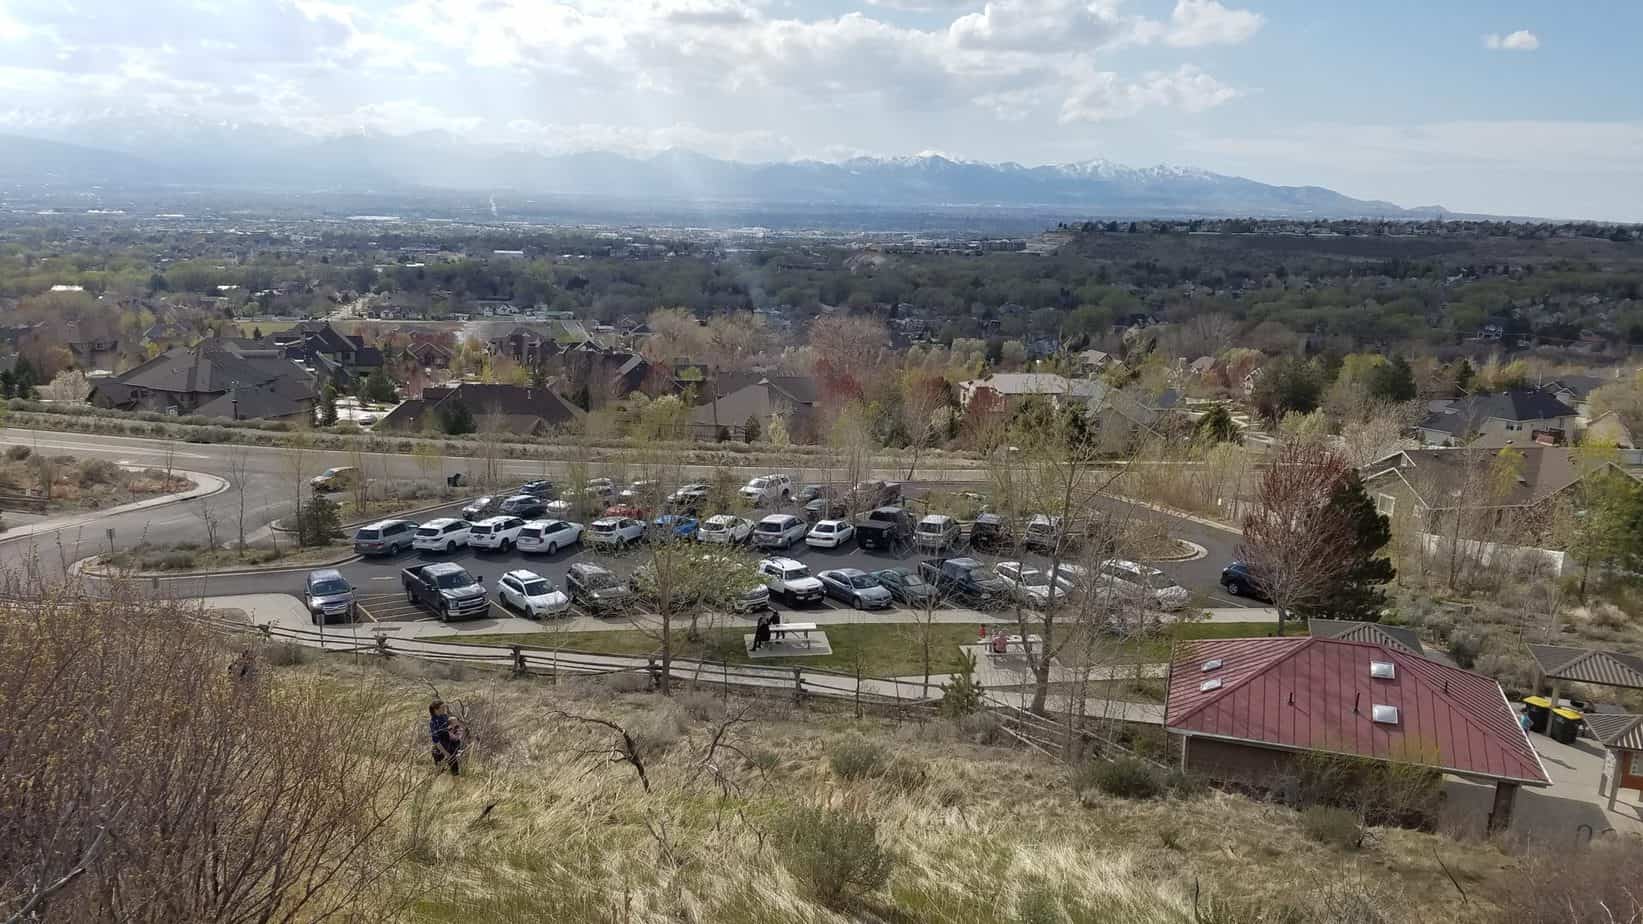
I was a little worried at first when I saw the amount of cars parked on the street with the parking lot full, but there are so many hikes in the area and everyone was well spread out. I felt like the trail was not too crowded and we were able to social distance appropriately during the days of COVID-19.

Orson Smith Park Parking Lot

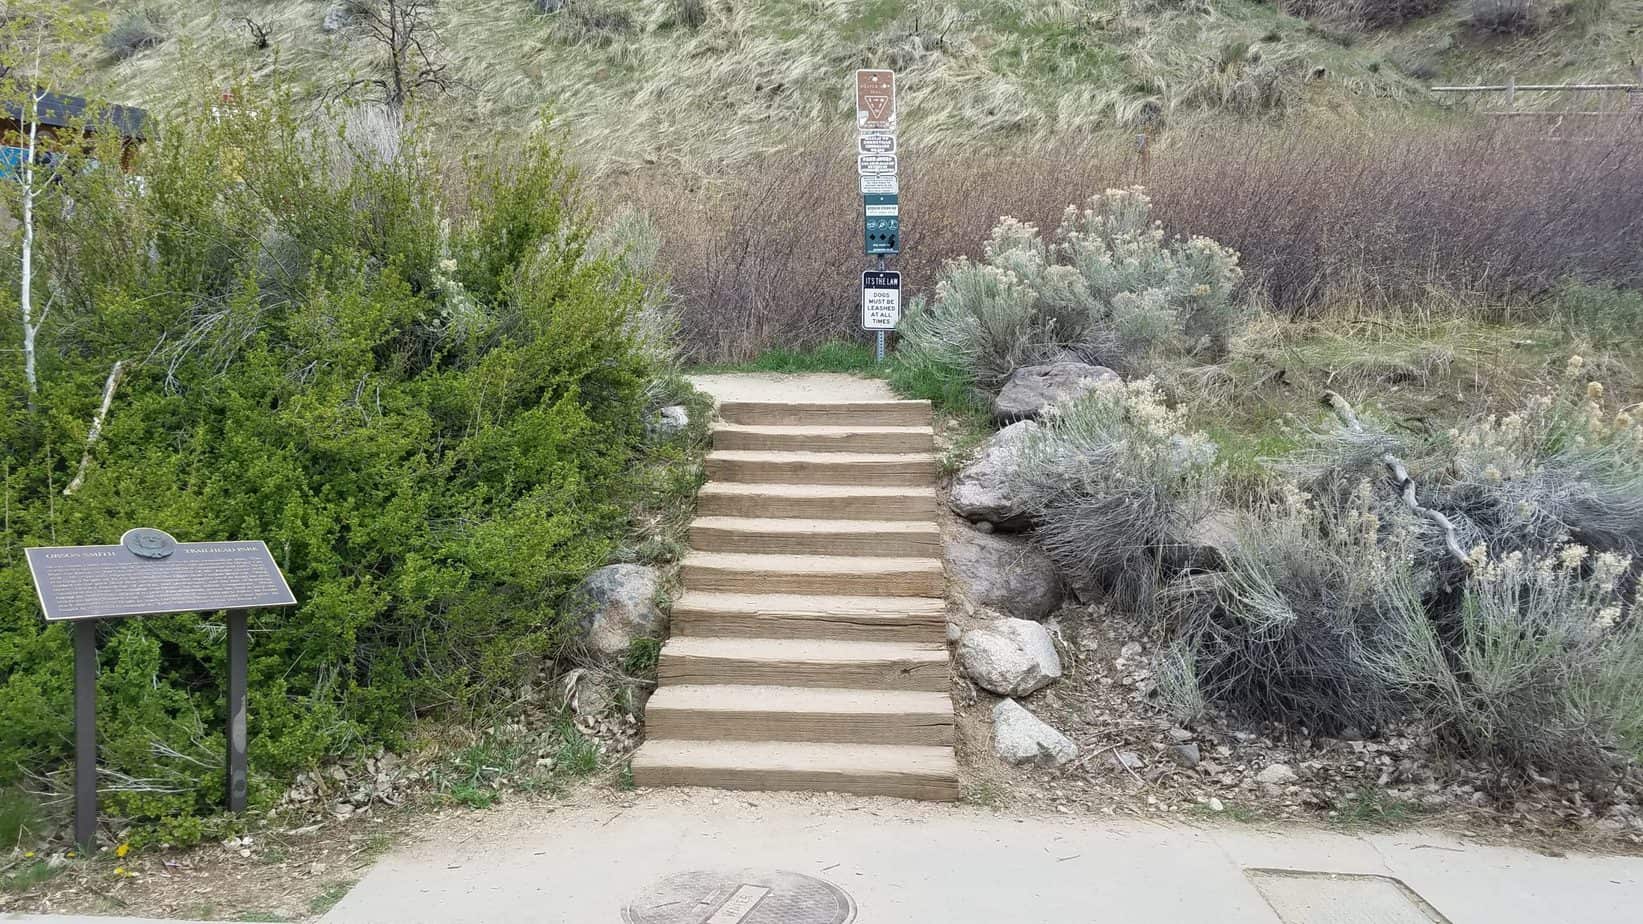
The Trailhead

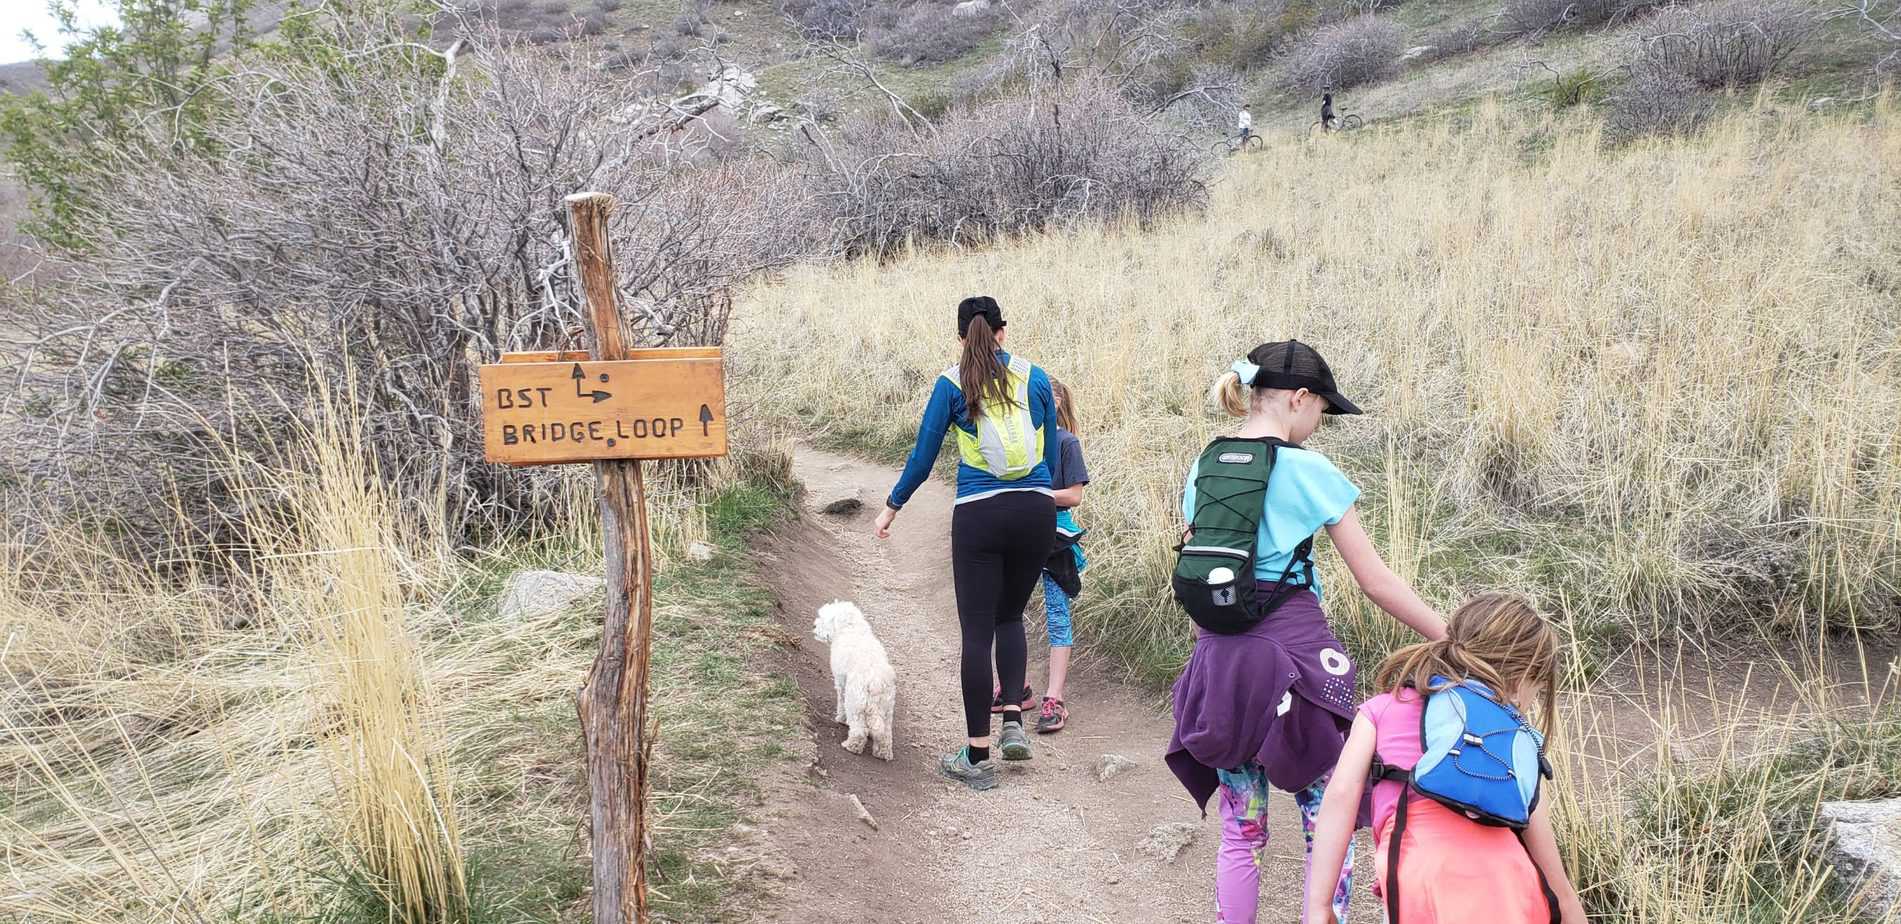
The trailhead is at Orson Smith Park just north of the bathroom building. The parking lot can hold 30 to 40 vehicles and there is also some street parking available if the parking lot is full. There are several trails in the area, but you will want to follow signs for the Bridge Loop for the quickest and most direct path to the suspension bridge.

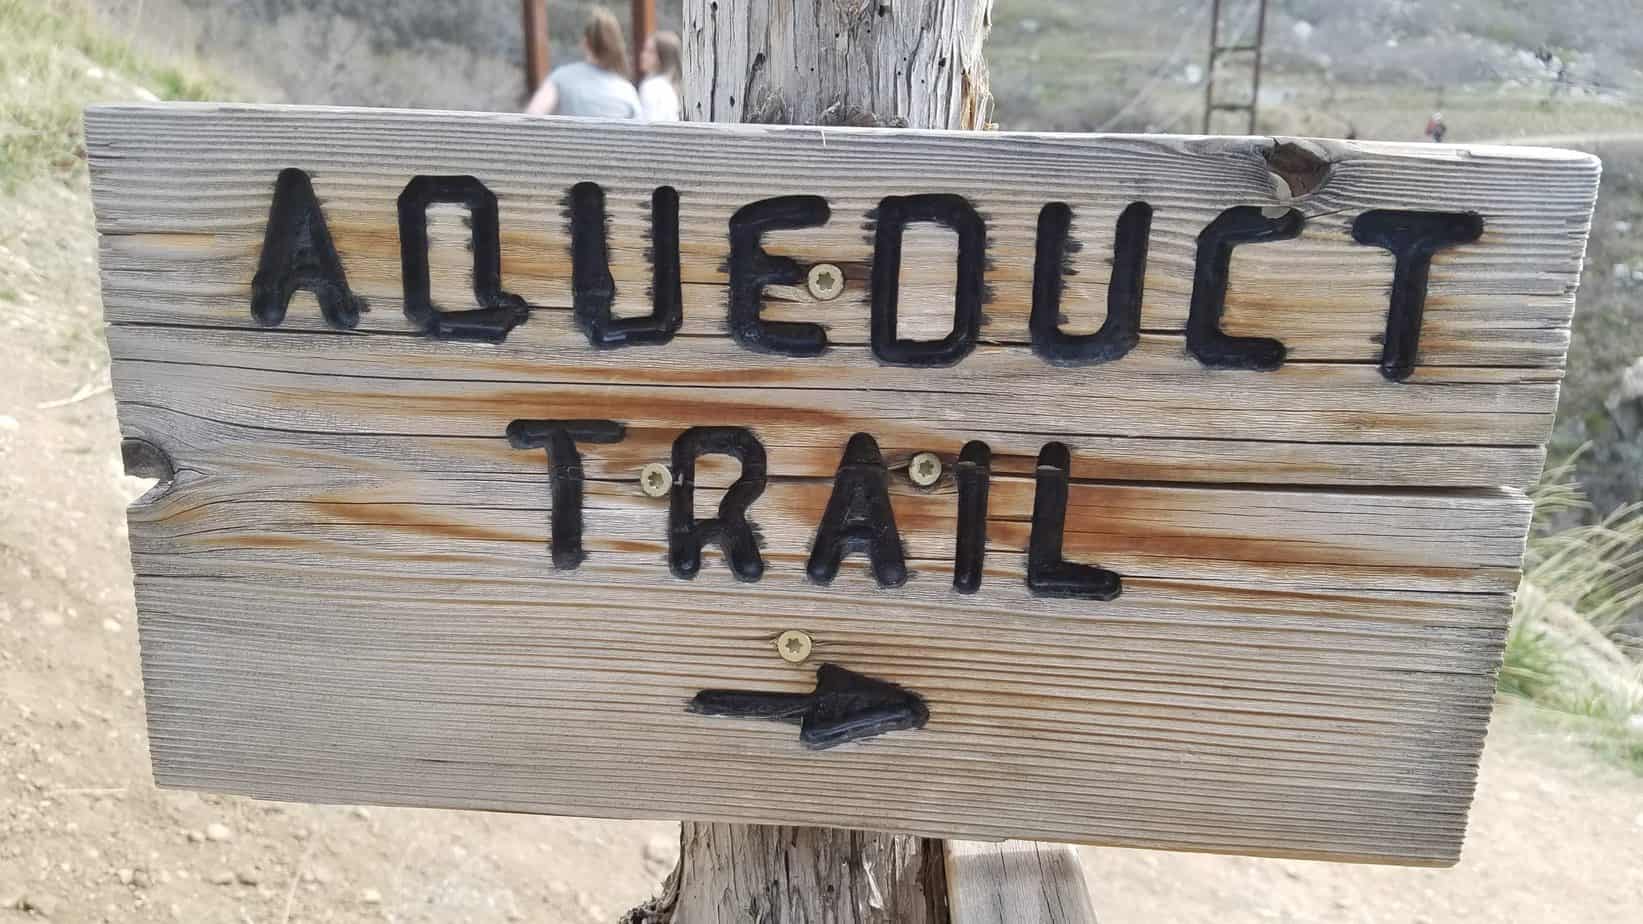
The hike begins with a wood stairs followed by a few quick switch backs and then levels off as you continue north and come to the Aquaduct trail.

The Hike

From here, you can continue on the Aquaduct Trail which is first flat and then you hike upwards to the bridge or you can get the uphill portion done at the first and continue east following signs for Bridge Loop. Either way you will reach the suspension bridge.

We chose to get the uphill portion done first while the kid’s legs were still fresh. We continued on a few more switchbacks following the bridge loop signs eastward and then continued north connecting to the Bonneville Shoreline Trail (BST). Follow BST until you come to the Bear Canyon Suspension Bridge. This is about 1.1 miles from the trailhead.

The bridge will slightly rock and move as you cross. This is normal and the bridge is very well built. We had fun walking across the bridge as is swayed slightly beneath us. We enjoyed the beautiful views from the bridge.

From the suspension bridge you can choose between 3 route options to return to Orson Smith Park or continue hiking the BST:

1. Go back the way you came for an out-and-back hike

2. Head west(downward) continuing to follow the bridge loop trail

3. Continue onward on the BST for more mileage.

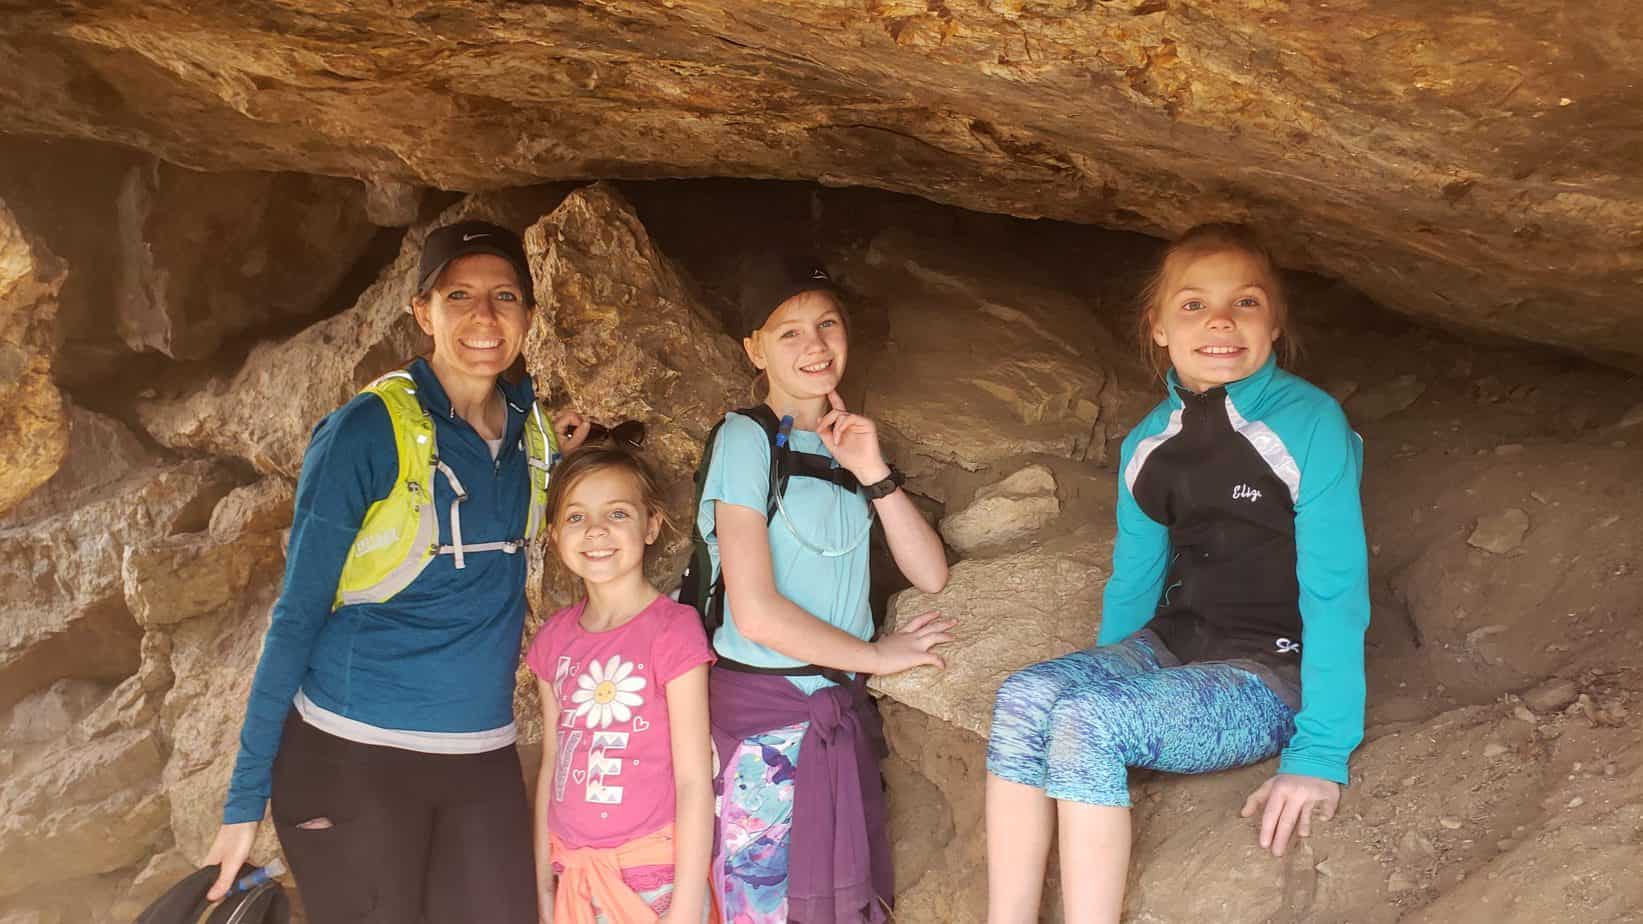
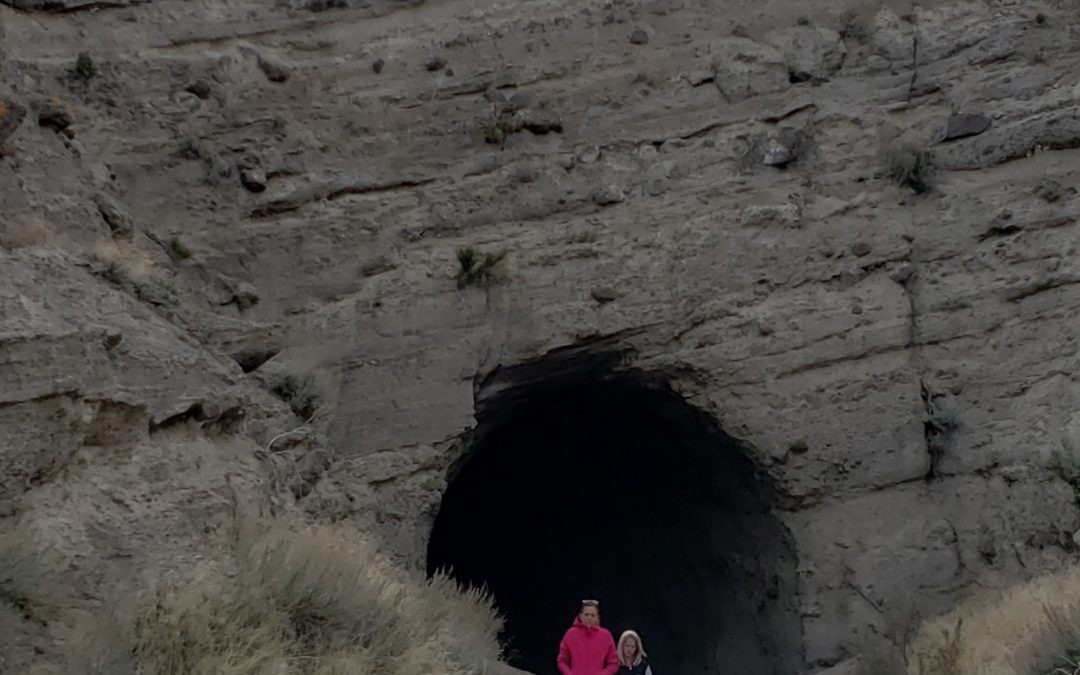
We choose option 3 and continued along the BST another 0.4 miles to see a small rock tunnel. This area of the BST is flat, easy and goes under several large boulders. My kids enjoyed exploring this area for a few minutes. We didn’t stay long because of the busyness of the trail that day and the bikers who needed to pass us on the trail where we were.

From the rock tunnel, we turned around and headed south until we came back to the suspension bridge, then continued west (downward) on the Bridge Loop Trail. As you connect back to the Aqueduct Trail you head south and will see the Orson Smith Park parking lot below. The hike ended up being about 3 miles with the extra distance we added to the rock tunnel from the suspension bridge on the BST.

This trail in Draper is well trafficked by hikers and bikers. However, we felt like the hike was long enough that people were well spread out. Just be on a look out for passing mountain bikers.

The terrain is fairly easy and the trail is well groomed. I even saw a family on the trail with a running stroller, although I wouldn’t recommend this on the switchbacks. There are also lots of signs and maps along the way to get in in the right direction. If my directions seem a bit complicated, just follow signs for the Bridge Loop and you will get to the bridge pretty easily. It is hard to miss.

Due to the switchbacks, which are actually quite short, I rated this hike as moderate instead of easy for kids. We enjoyed this hike and it is one I would definitely do again.

PROS & CONS

PROS

  • Beautiful views of Salt Lake Valley
  • Fun destination to suspension bridge
  • Family friendly: Not too steep or long for kids 
  • Easily accessible – isn’t far from main freeways/highways

CONS

  • Hot in the summer months and trail is exposed
  • Can become crowded with hikers and mountain bikers

DIRECTIONS

The trailhead is located just off Highland Drive in Draper at Orson Smith Park. You can search Orson Smith Park on your maps app to get you to the right location. The trailhead is located at the north side of the parking lot just north of the bathrooms. There is a dirt road to the south of the parking lot —- this is not the trailhead for the suspension bridge.

MAPS 


OTHER NEARBY ADVENTURES

Rocky Mouth Waterfall Hike (10 minutes)

Alien Tower Hike (15 minutes)

Horsetail Falls Hike (30 minutes)


ABOUT

Hi, I’m Corrine! I’m an outdoor enthusiast and mother of four.

My goal is to inspire you to get outside and create your own amazing memories as a family. Life is precious and there are too many adventures to be had to spend life on the couch or in front of a screen. Read more….

YOU MIGHT ALSO LIKE:


Fossil Hunting: Delta, Utah

Fossil Hunting: Delta, Utah

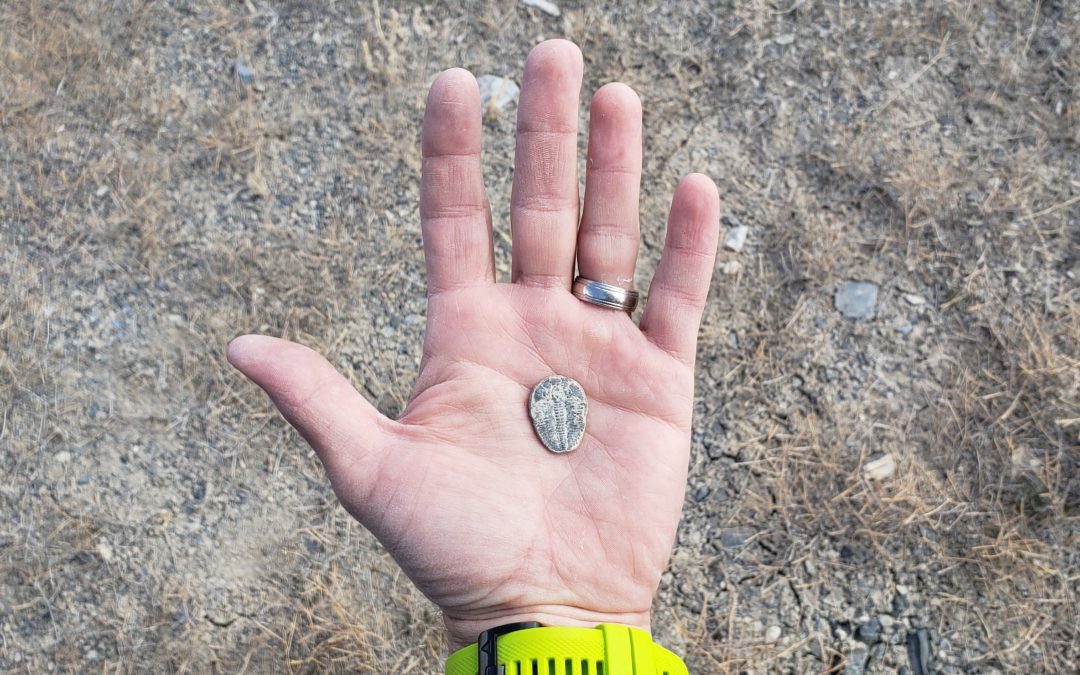
Fossil Hunting in Utah is a great way to dig into Utah's rich geological history with your kids. You can find and keep your own fossils in fossil beds near Delta, Utah. This is where the classroom meets real-life...
Alien Tower Hike: Draper, Utah

Alien Tower Hike: Draper, Utah

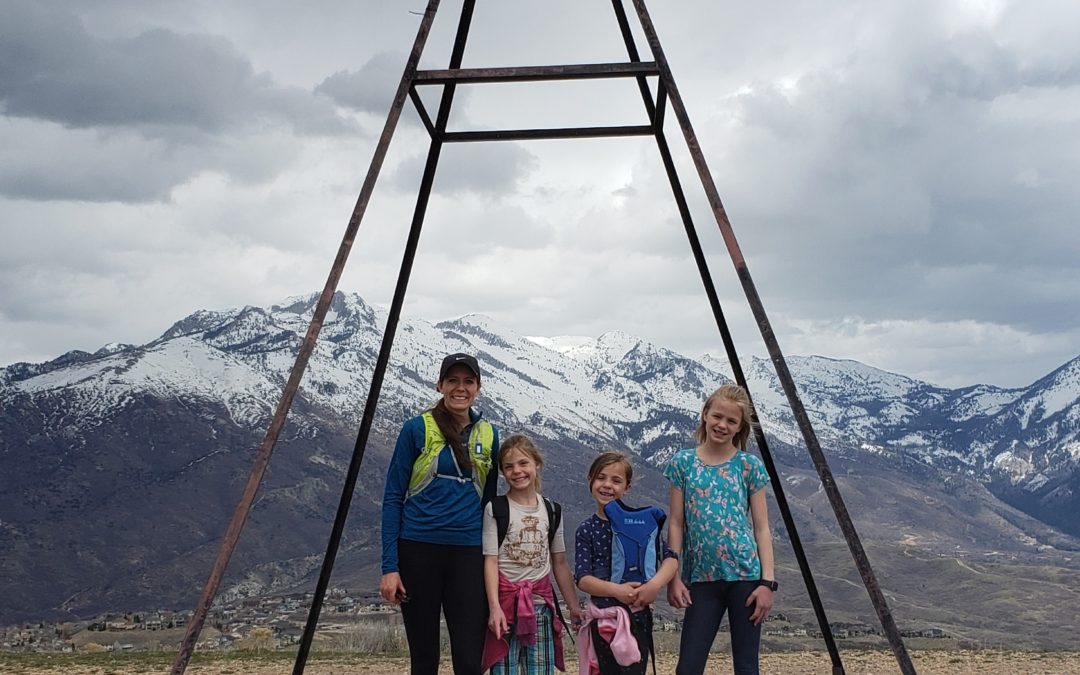
The Alien Tower Hike leads to the top of a small peak with an old a-frame, metal structure and amazing 360 degree views of the Wasatch Mountains and valleys below. It is a dog and family-friendly, out-and-back hike,...
How to Hike Delicate Arch with Kids

How to Hike Delicate Arch with Kids

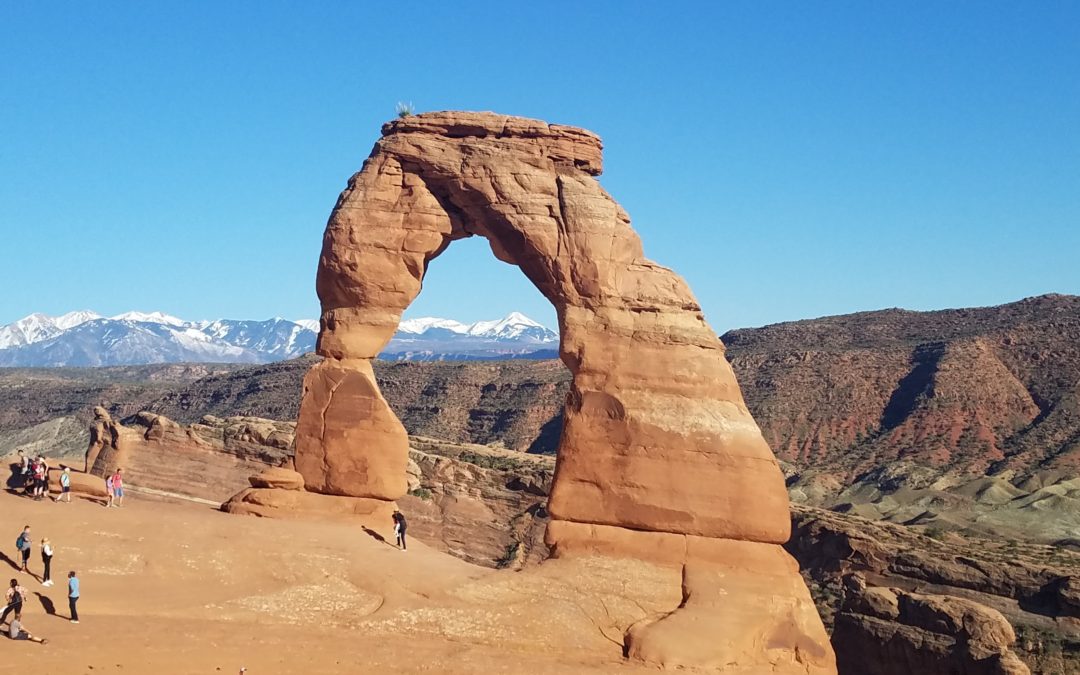
Delicate Arch in Arches National Park is an iconic Utah symbol and is a must-see when living in or visiting Utah. Visiting Delicate Arch with kids is very doable with a little preparation and determination. To see...

Draper Suspension Bridge Hike, Utah

Draper Suspension Bridge Hike, Utah

The Draper Suspension Bridge hike is a must for any family along the Wasatch Front in Utah. It offers gorgeous views of the Salt Lake Valley, as well as is a  fun destination to Draper’s newer suspension bridge that...
Horsetail Falls Hike with Kids: Alpine, Utah

Horsetail Falls Hike with Kids: Alpine, Utah

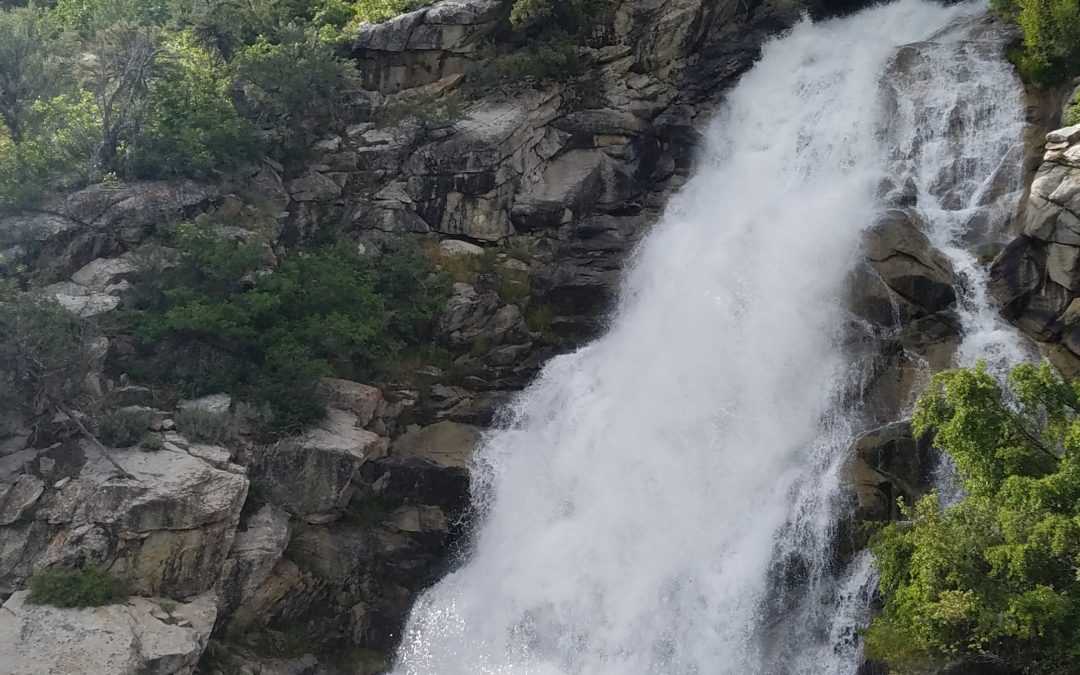
The Horsetail Falls hike takes you to a majestic waterfall with beautiful views of the Alpine and Highland areas below. This steep hike through beautiful scenery of the Lone Peak Wilderness and Uintah National...


Horsetail Falls Hike with Kids: Alpine, Utah

Horsetail Falls Hike with Kids: Alpine, Utah

Horsetail Falls Hike with Kids: Alpine, Utah

The Horsetail Falls hike takes you to a majestic waterfall with beautiful views of the Alpine and Highland areas below. This steep hike through beautiful scenery of the Lone Peak Wilderness and Uintah National Forest to a waterfall that is well worth the work. This is great hike for families and kids experienced in hiking.

KID RATINGS

Fun: ⭐⭐⭐ (out of 5)
Difficulty:     Very Easy    Easy    Moderate    HARD    Very Hard

KEY FEATURES

Hiking Distance: 4 miles round trip
Hiking Elevation Gain: 1600 ft
Terrain: Dirt, large and small rocks, small stream crossings, water on trail during certain times of the year. Trail is mostly shaded.
Time Needed: 2.5 to 4 hours
When to Go: Spring, Summer (morning or evening), Fall 

COST

Free

AMENITIES

There are no bathrooms or water at the trail head. The nearest services are in downtown Alpine, about 10 minutes from the trail head.

THINGS TO BRING

  • Sunscreen
  • Water
  • Snacks
  • Hiking shoes
  • Dogs allowed

DETAILS

Horsetail Falls hike ascends through mountain terrain and streams to a gorgeous waterfall and views of the valley bellow. This hike is not for small children not in packs or unexperienced older kids. 

The elevation change to the waterfall is 1600 feet, which is why I rate this hike as “Hard” for kids. We hiked this with two 10-year-olds, a 9-year-old, and 6-year-old, as well as a 2 year old in a hiking carrier. The 6-year-old did a good amount of complaining, but kept going with some treat bribery, haha. The 9 and 10-year-olds did very well, and of course the 2-year-old loved life in the hiking carrier.

Trailhead

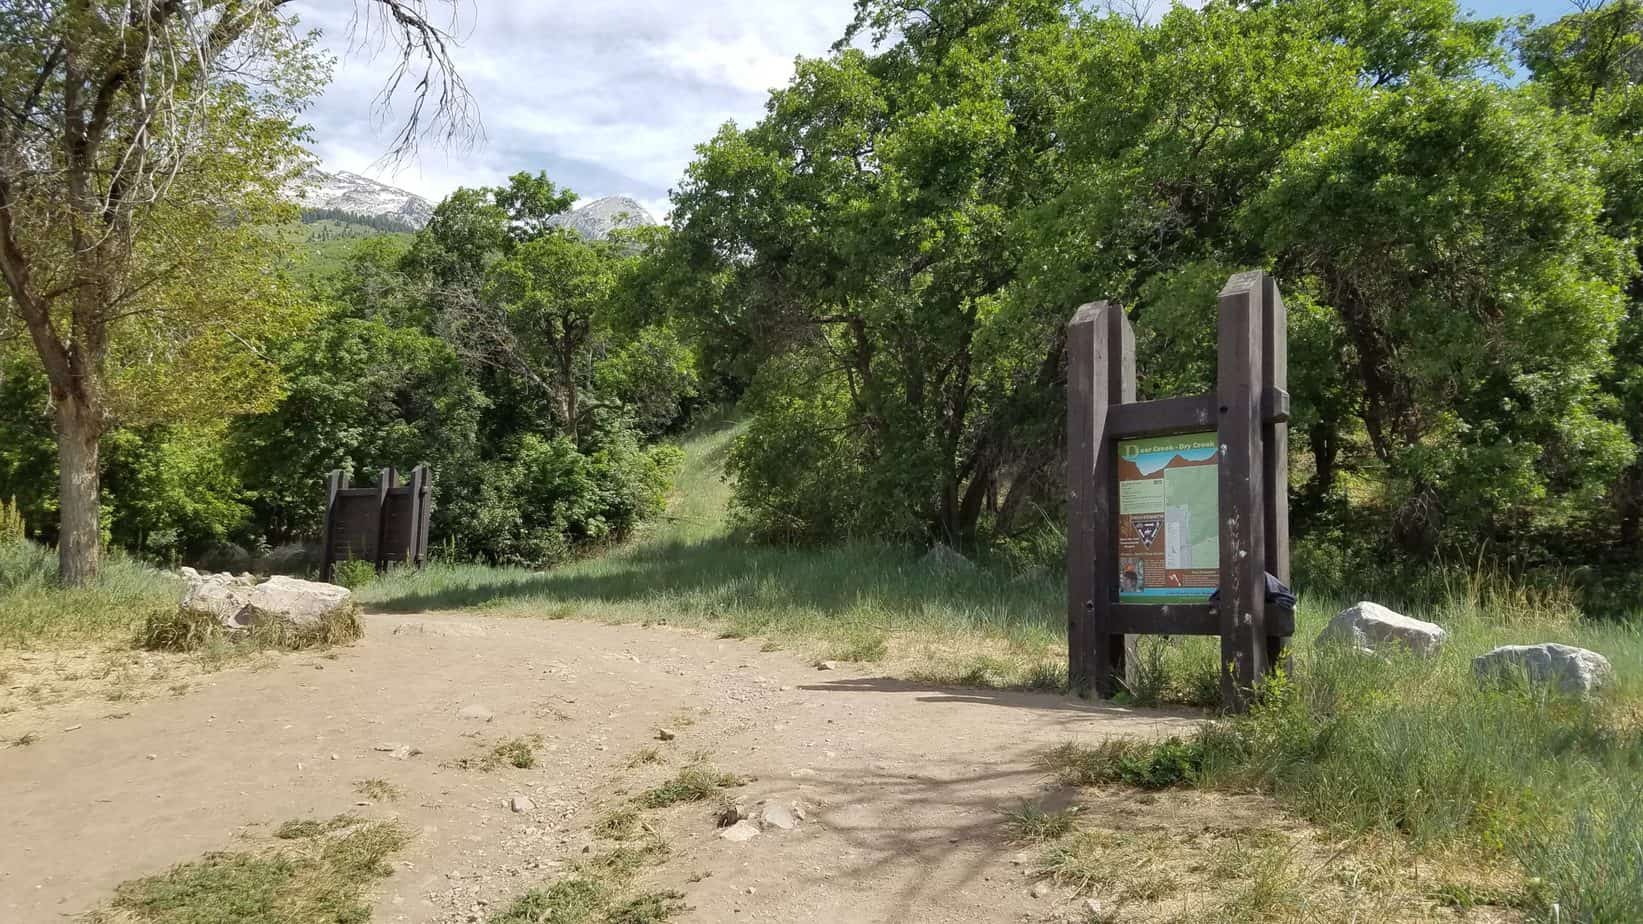
The trail follows the Dry Creek Canyon just east of Alpine, Utah. The trailhead is located at the end of Grove Drive in Alpine, Utah where there is large dirt parking lot that can fit at least 20 vehicles.

If the parking lot is crowded there is also street parking available. The trail begins on the north east corner of the parking lot with a map of the Dry Creek area.

The Trail

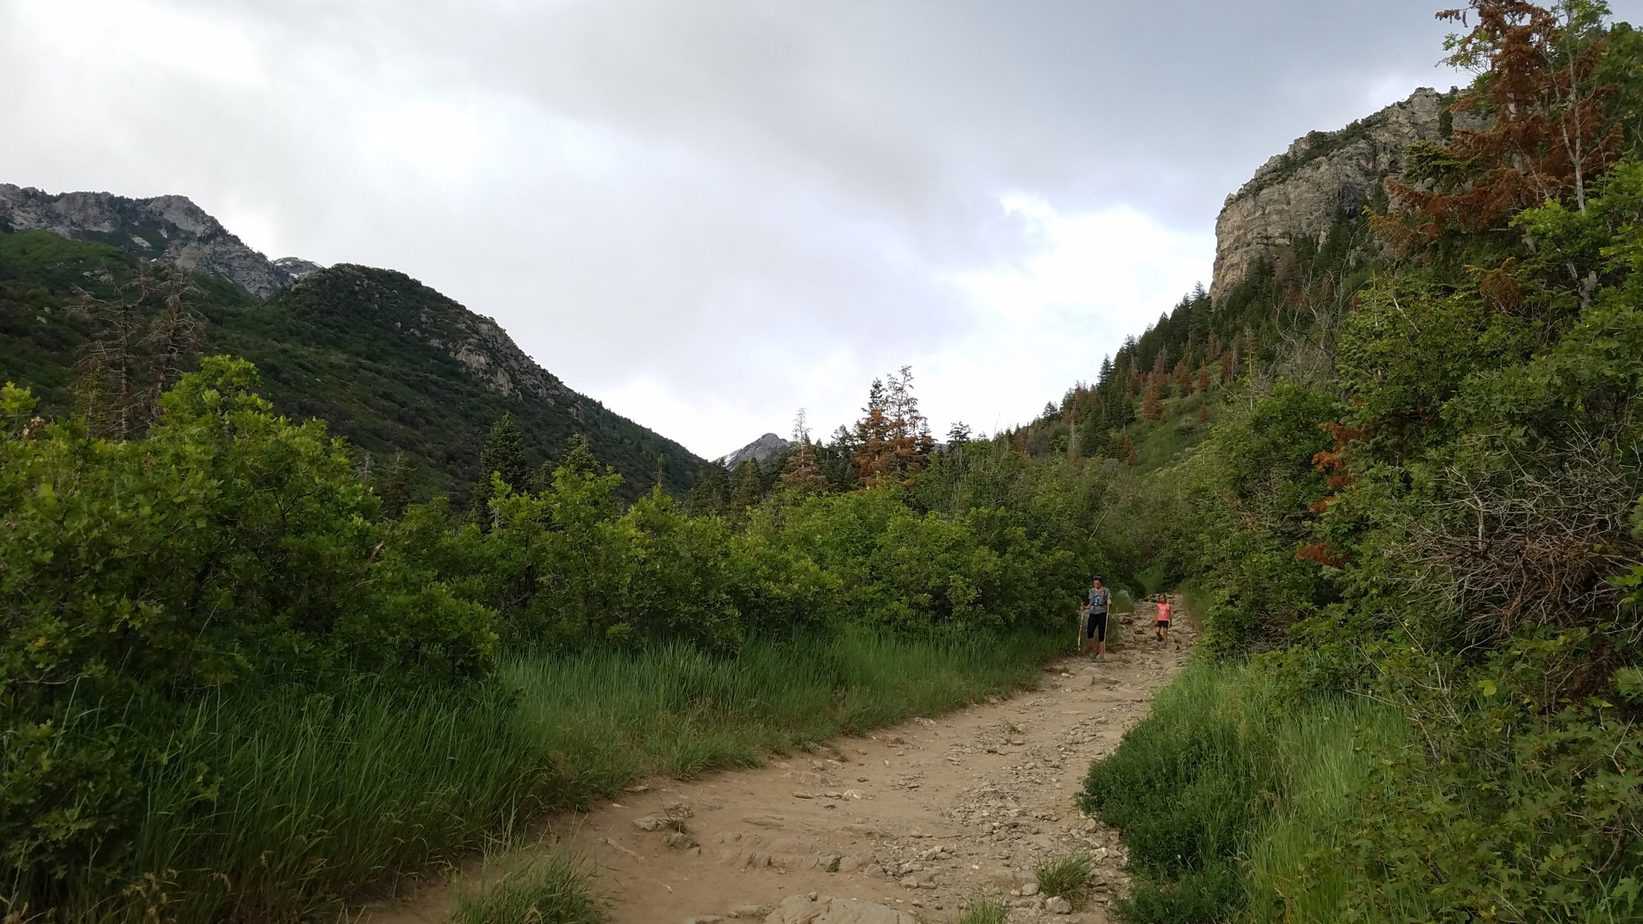
The trail is well shaded for the majority of the hike except for the first and last quarter mile. We did the hike in June in the late afternoon.

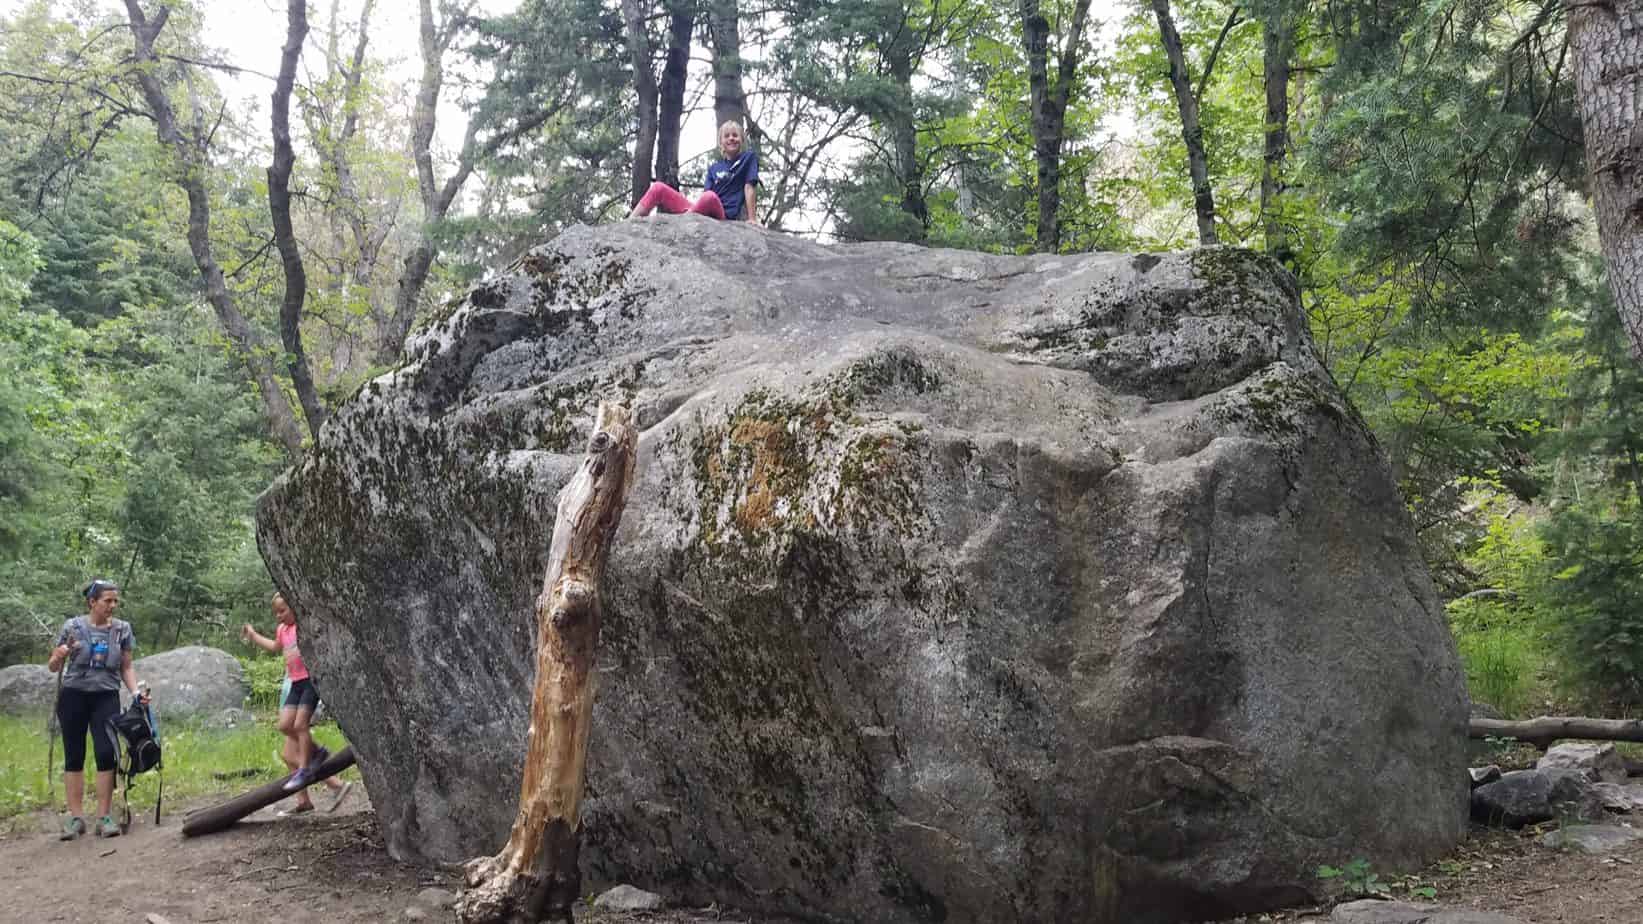
There is a huge boulder to the south side of the trail that my girls had a fun time climbing. We always take advantage of fun things along the way. It breaks the hike up for the kids and makes it more fun for them.
There is also a small clearing on the way up that has a fork in the road. You can take either route. The two routes meet up with each other in a short time.

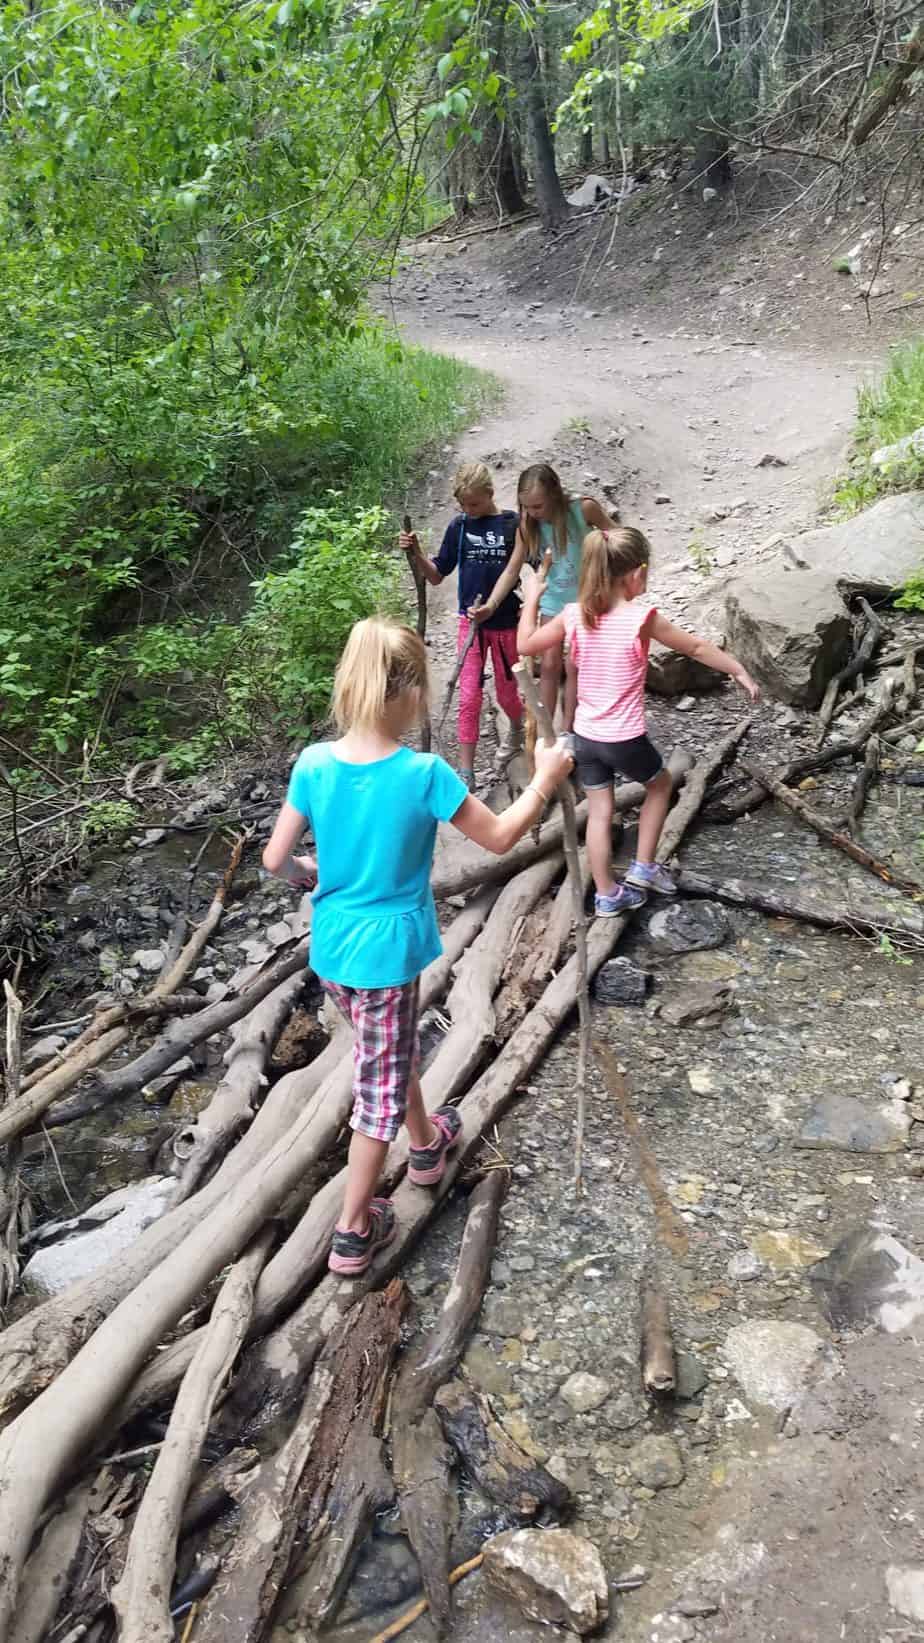
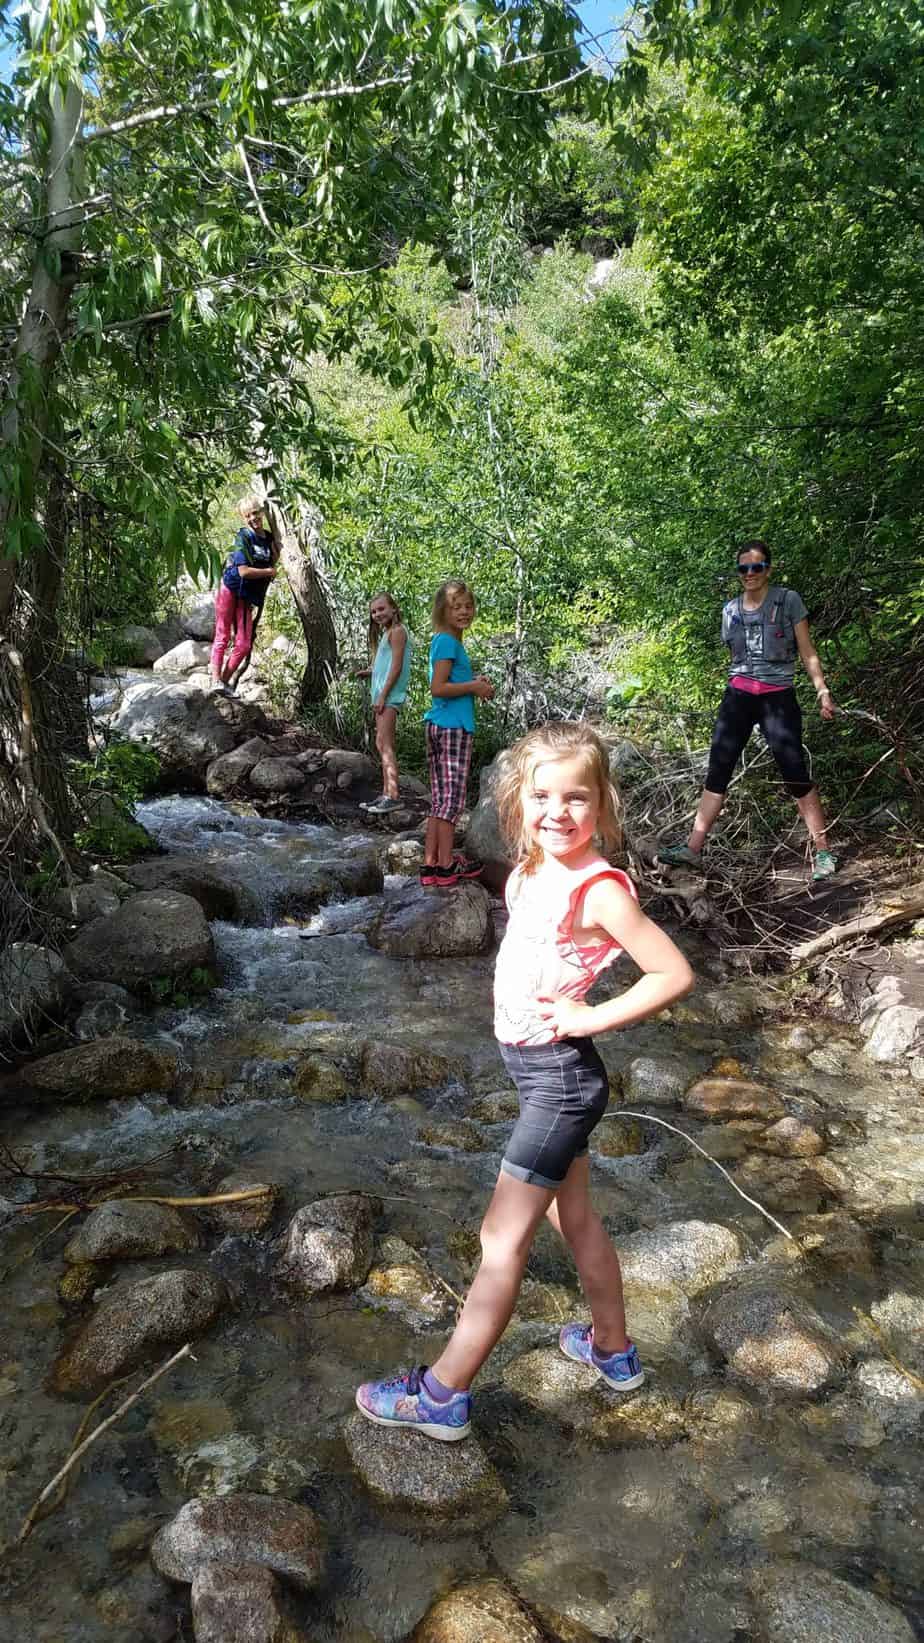
The terrain is very rocky with big and small rocks. There are a couple of small stream crossings which have logs and rocks placed so you don’t have to get wet if you don’t want to.

Dry Creek Canyon is for the majority of the time dry. However, due to the amount of spring rain when we did this hike, there was more than just a couple stream crossings.

There was actually water coming down on the trail for the last half mile on the way to the waterfall, making the trail a small stream. This is just what my kids needed to help them through the last bit of upward hiking. The kids loved walking through the water and getting wet.

One stream crossing was surprisingly stronger than it looked. So, as always, watch the kids and help them across these areas.

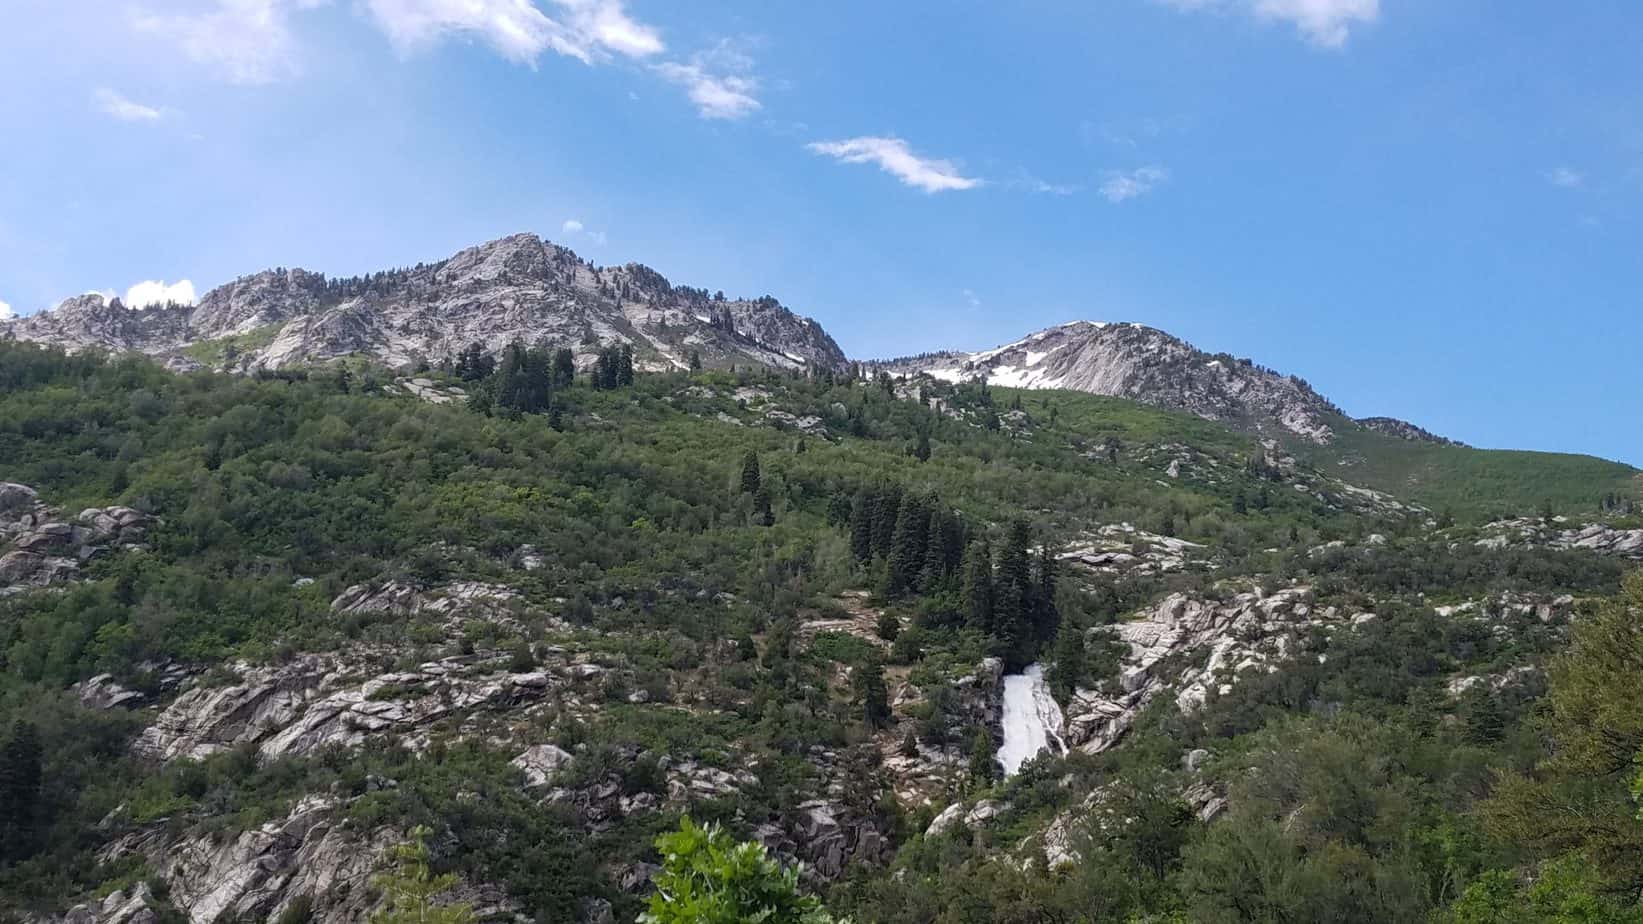
On the way up there are a few areas that overlook a view of the falls.

Horsetail Falls

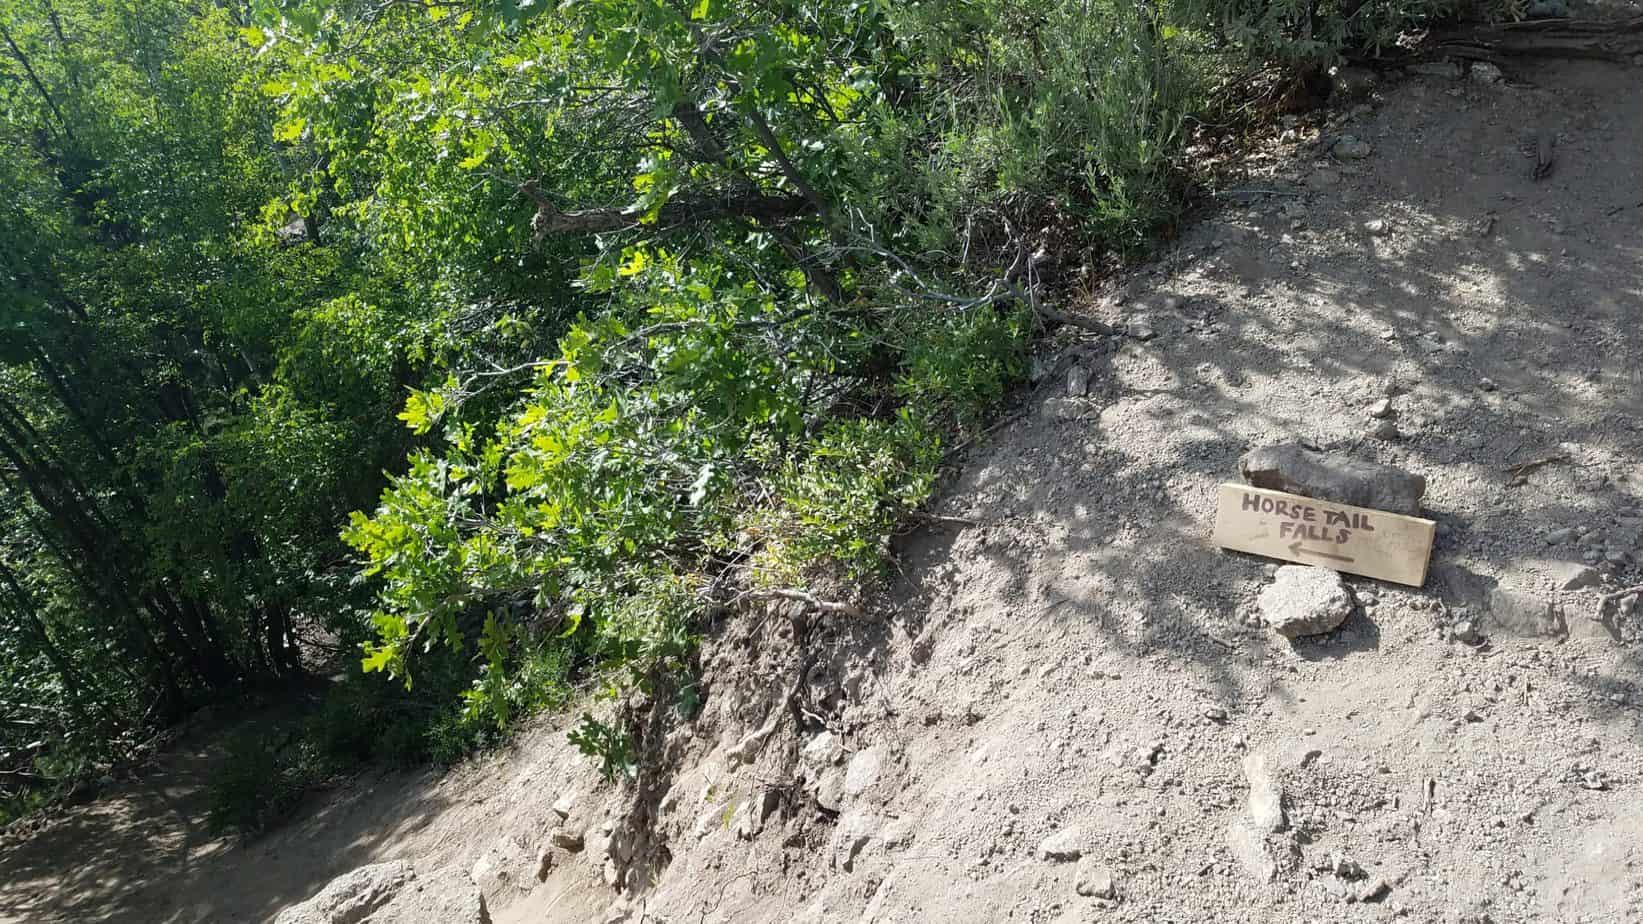
If you would like to get a close up view of the falls, I suggest continuing upward to a sign on the ground with an arrow pointing north that says horsetail falls.

The sign on the ground is near a point on the trail that shifts right. This leads to a narrower trail directly left of the main Dry Creek Trail. This narrower trail descends rapidly and there is a rope to the left to help let you down if needed. Continue on this trail for another quarter mile or so.

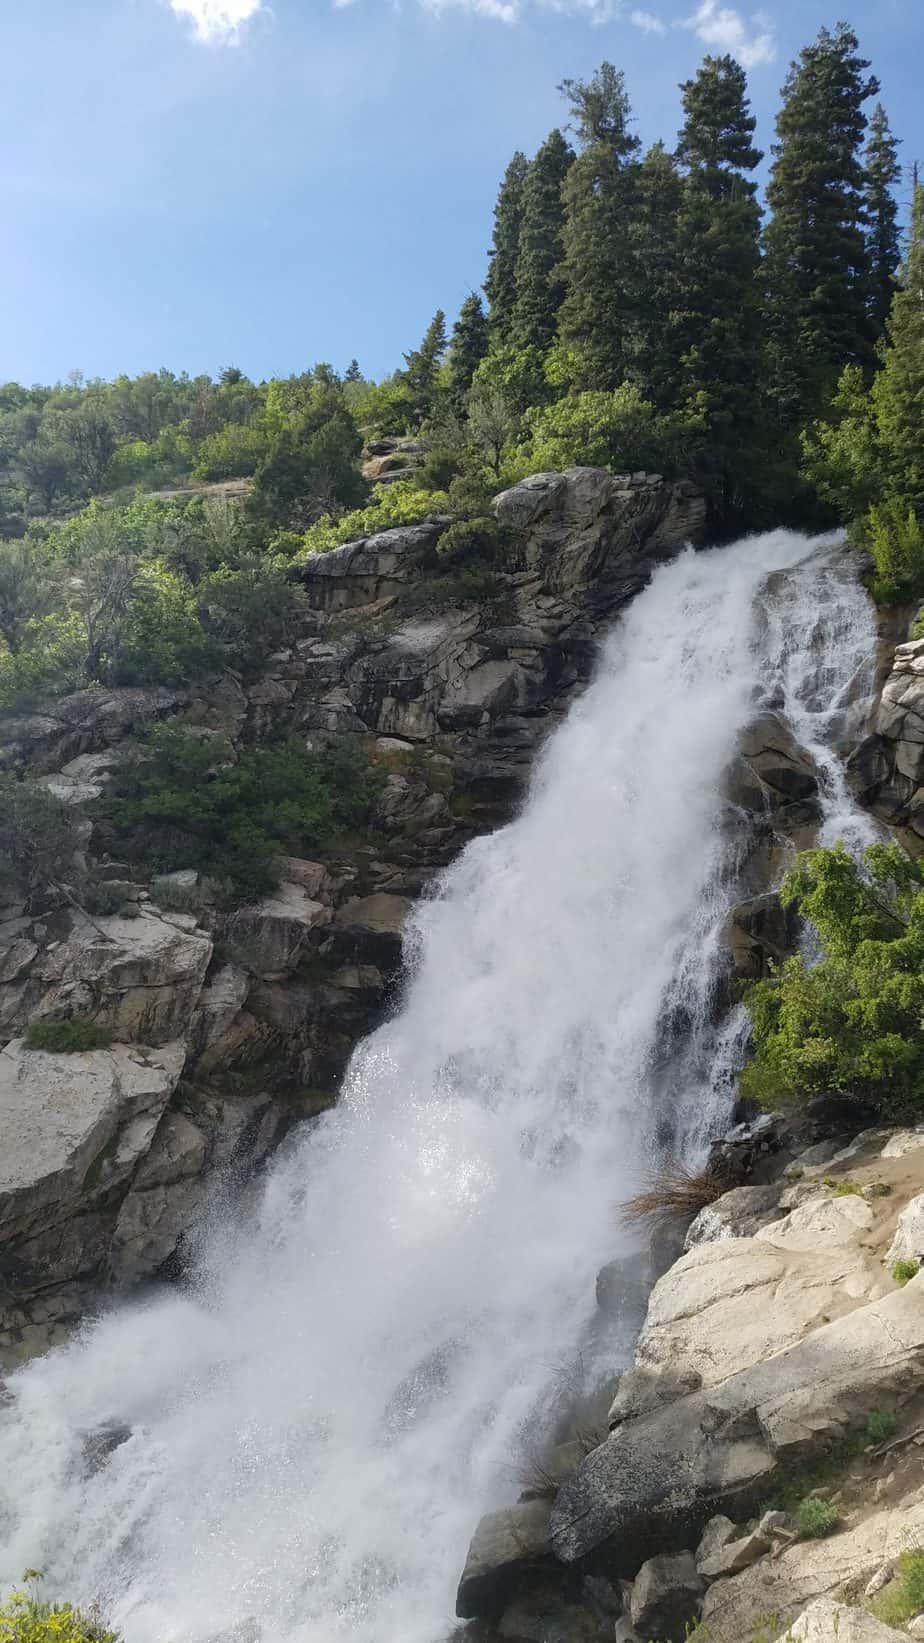
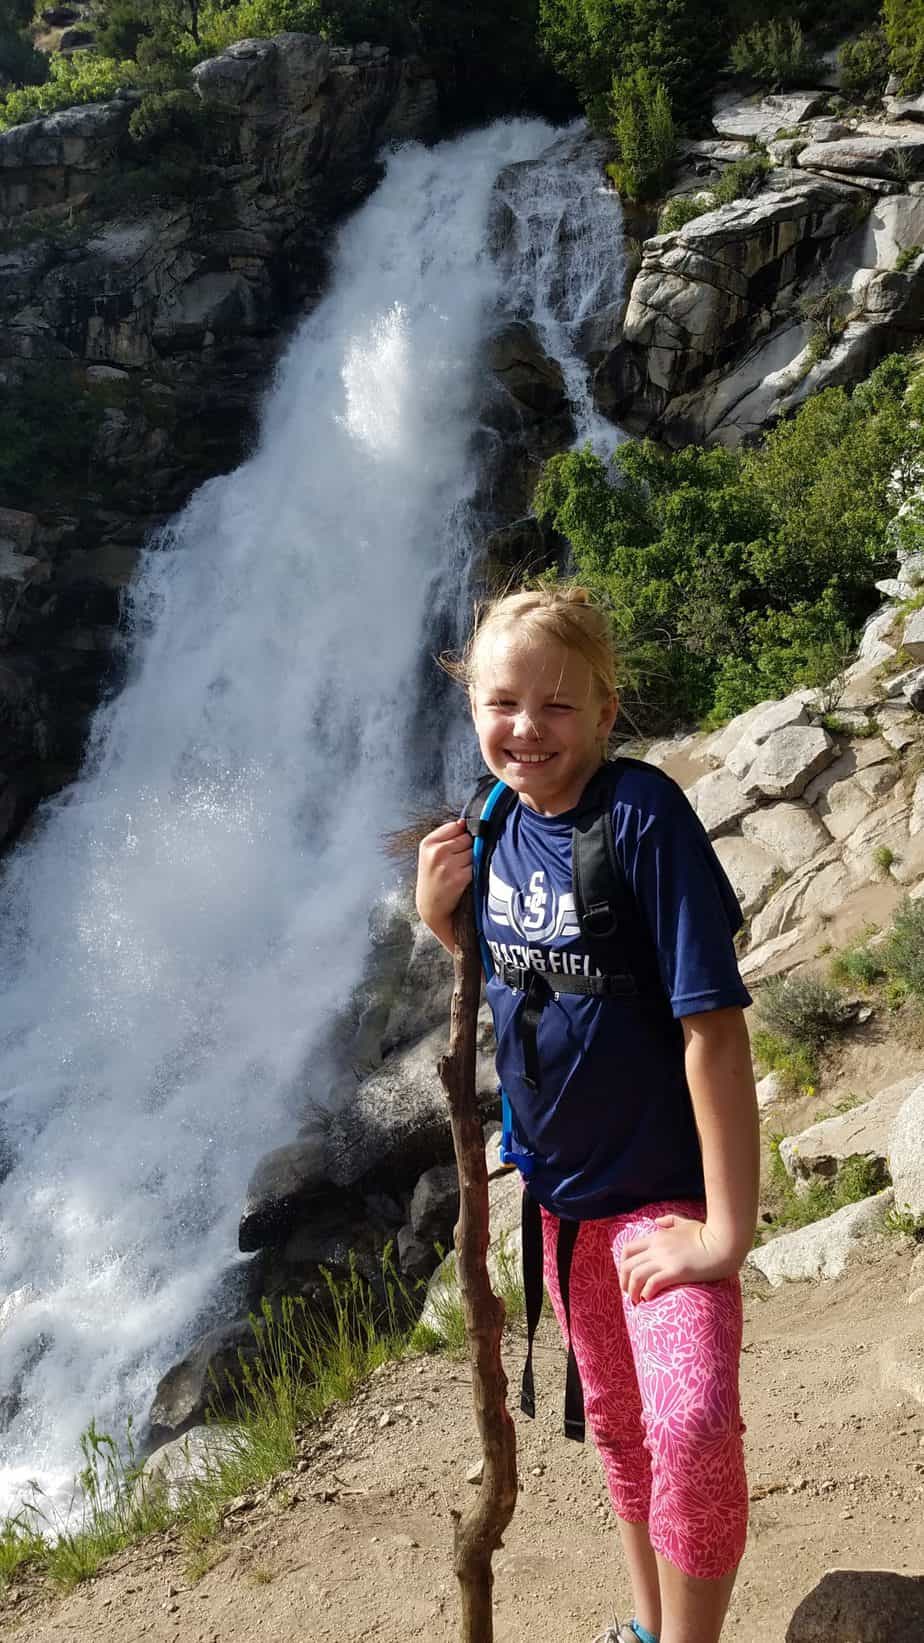
The waterfall comes up fairly quickly after turning off the main trail and is pretty awesome to see. The area near the waterfall is steep, so be cautious of your little ones getting there before you. You will likely be able to feel the mist of the falls as you get closer. Due to the heavy spring rain and runoff the waterfall was a lot bigger for us than I have seen in other pictures.

The views looking down from Horsetail Falls are beautiful. Everything was so green and lush with the wet spring.
To get back to the parking lot, just turn back and go the way you came.

Overall, the hike was not too difficult for our family. However, we are a hiking family. I would not recommend this hike to a family new to hiking. Try a few shorter easier hikes first.

PROS & CONS

PROS

  • Beautiful views
  • Gorgeous waterfall
  • Well shaded
  • Water for kids to play in

CONS

  • Steep incline for younger kids

DIRECTIONS

The trailhead is located at the end of Grove Drive in Alpine, Utah. To get to the Horsetail Falls trailhead put Deer Creek/Dry Creek/North Mountain Trail into your maps app. You can also use the search, Horsetail Falls Trail via Dry creek. This will lead you to a dirt parking lot at the end of Grove Drive in Alpine. You can also follow my map below.

MAPS


MORE INFO

All Trails

OTHER NEARBY ADVENTURES

Easier hikes in the area to try before Horsetail Falls:

Rocky Mouth Waterfall (45 minutes)

Alien Tower (30 minutes)

Draper Suspension Bridge (40 minutes)


ABOUT

Hi, I’m Corrine! I’m an outdoor enthusiast and mother of four.

My goal is to inspire you to get outside and create your own amazing memories as a family. Life is precious and there are too many adventures to be had to spend life on the couch or in front of a screen.

Tintic Train Tunnel: Elberta, Utah

Tintic Train Tunnel: Elberta, Utah

Tintic Train Tunnel: Elberta, Utah

Explore an abandoned train tunnel with your kids in Elberta, Utah! The Tintic Train Tunnel also called the Elberta Slant Railroad Tunnel is an old passage created for the Tintic Range Railway to carry silver from the surrounding mines in south western Utah County. Although the Tintic railway no longer exists, the enormous abandoned tunnel and mine shaft near-by provide a fun place for families to explore.

KID RATINGS

Fun: ⭐⭐⭐ (out of 5)
Difficulty:     Very Easy    EASY   Moderate    Hard    Very Hard

KEY FEATURES

Distance: 0.1 to 1 miles, depending on where you park
Elevation Gain: Flat to the Tintic Train Tunnel. Small uphill to mine shaft
Terrain: Dirt and rocks
Time Needed: 30 minutes to 1 hour
When to Go: Anytime of the year without snow or rain

COST

Free

AMENITIES

  • Nearest gas station in Goshen, 8 miles away from train tunnel
  • Other amenities in Santaquin 15 minutes away with restaurants and more gas stations 

THINGS TO BRING

  • Snacks
  • Water
  • Good walking shoes
  • Vehicle that is good on dirt roads, 4×4 not required
  • Dogs allowed

DETAILS of TINTIC TRAIN TUNNEL

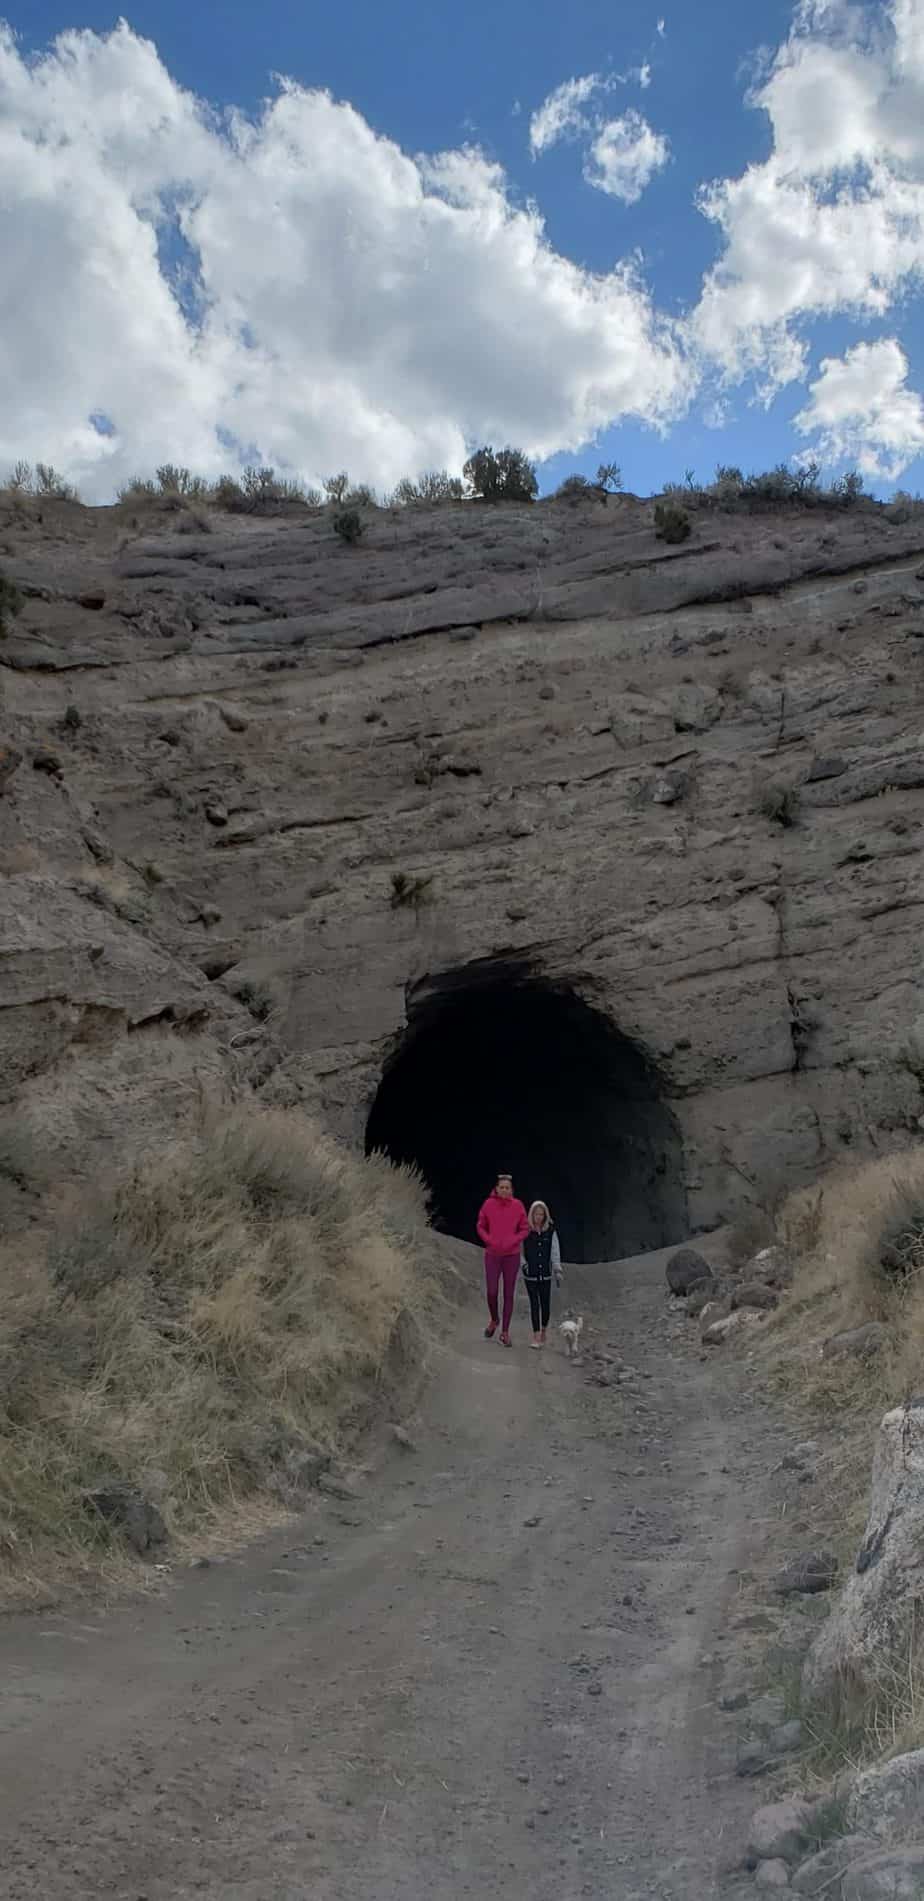
The Tintic Train Tunnel is a fun place for families to explore. If you are in a vehicle with high clearance you will be able to drive right up to the tunnel. If you are in a lower clearance vehicle like we were in, I recommend parking about 0.4 miles from the tunnel and walking the rest of the way, due to rougher dirt road conditions.

See the directions and maps section below for details. You can make this a loop by following the trail through the tunnel or around the tunnel, or you can just walk-back the way you came. We ended up walking just over a mile total, there and back.

We enjoyed a flat walk/hike from our vehicle to the tunnel. There are beautiful views of the surrounding valley and Utah Lake. Watch out for ATVs as you will be walking on frequently used ATV trails. At one point, we had to move are kids as a Jeep was coming down a hillside above the dirt road that we were walking on.

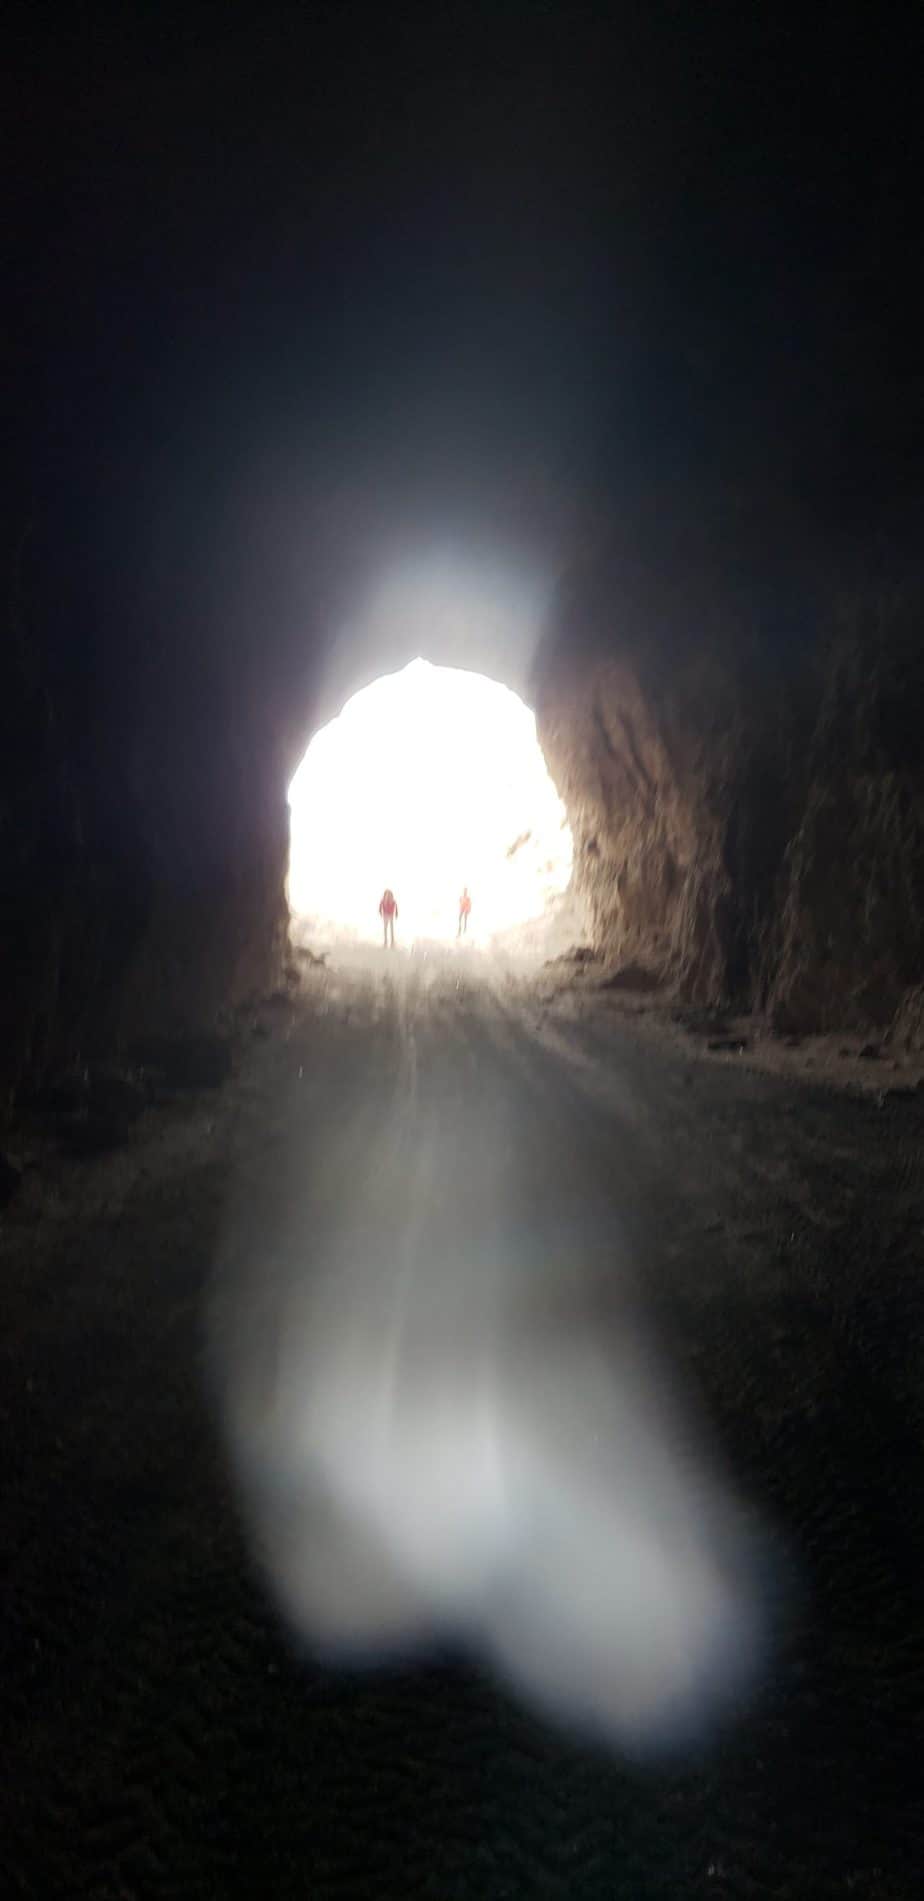
The Tin Tic Tunnel is hard to miss. It is a large gaping hole in the side of the hill. It’s about 100 yards long and obviously tall enough for a train to fit through.

Tintic Train Tunnel
Enough light enters the tunnel that you do not need a flashlight during daylight hours. We had fun walking through and imagining old trains carrying cargo.

How to Find the Old Mine Shaft

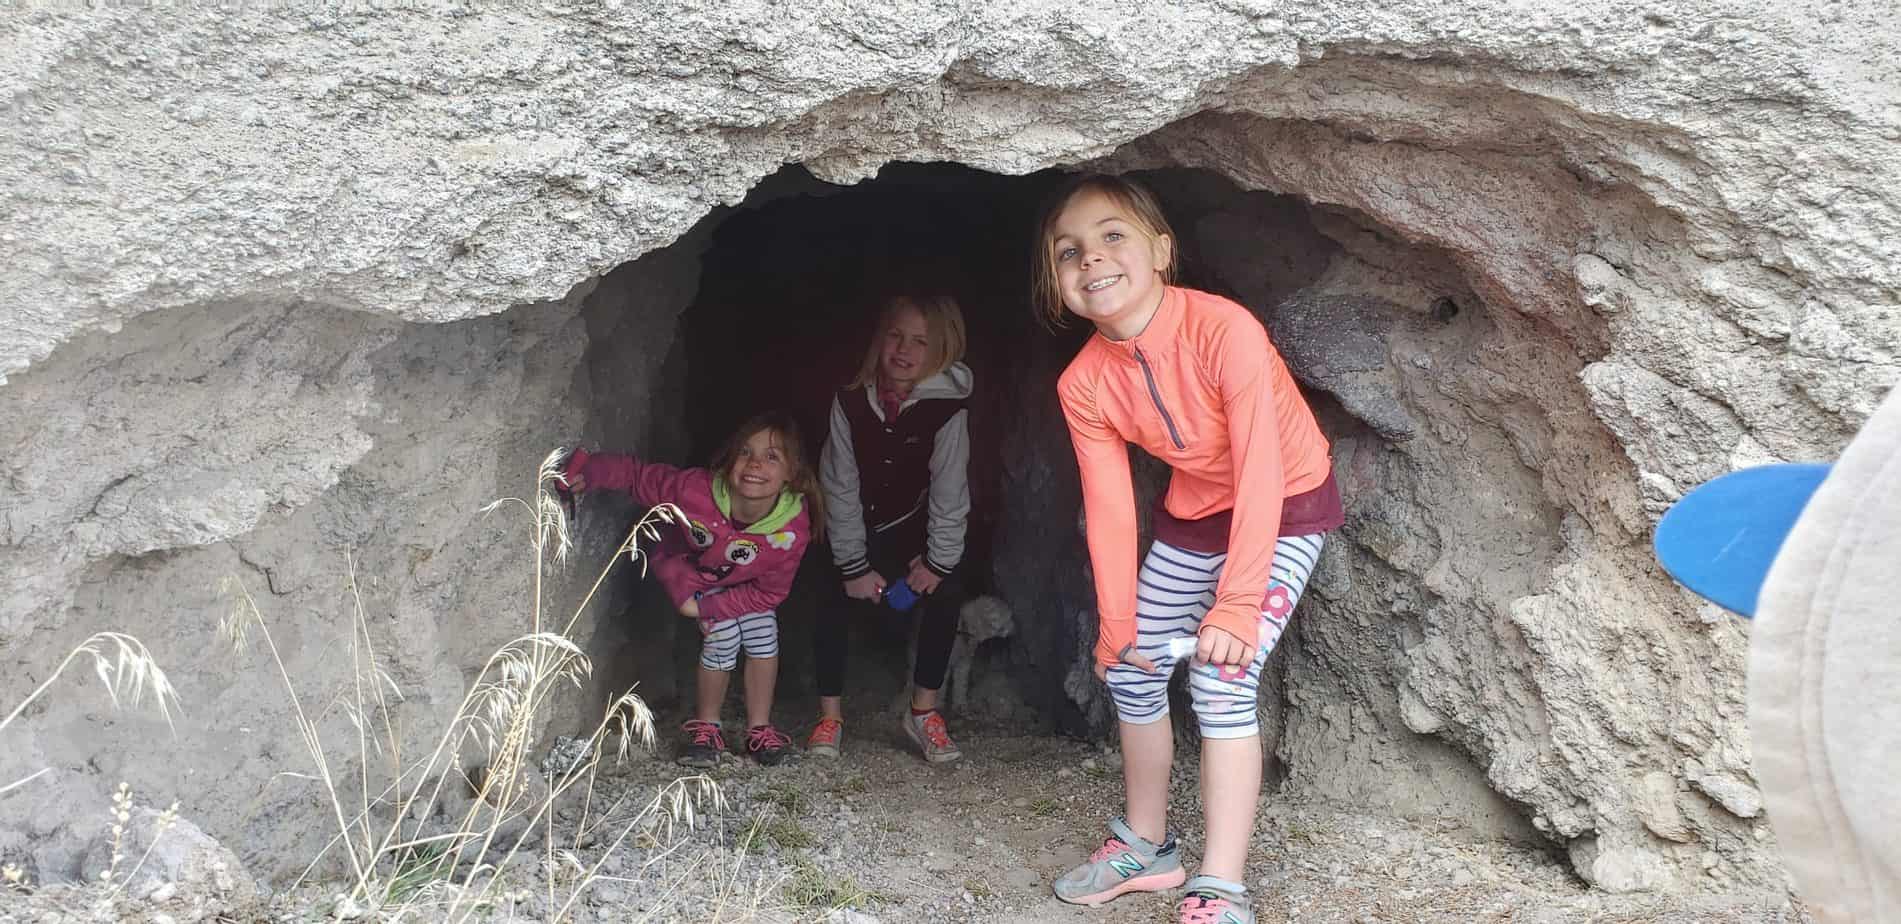
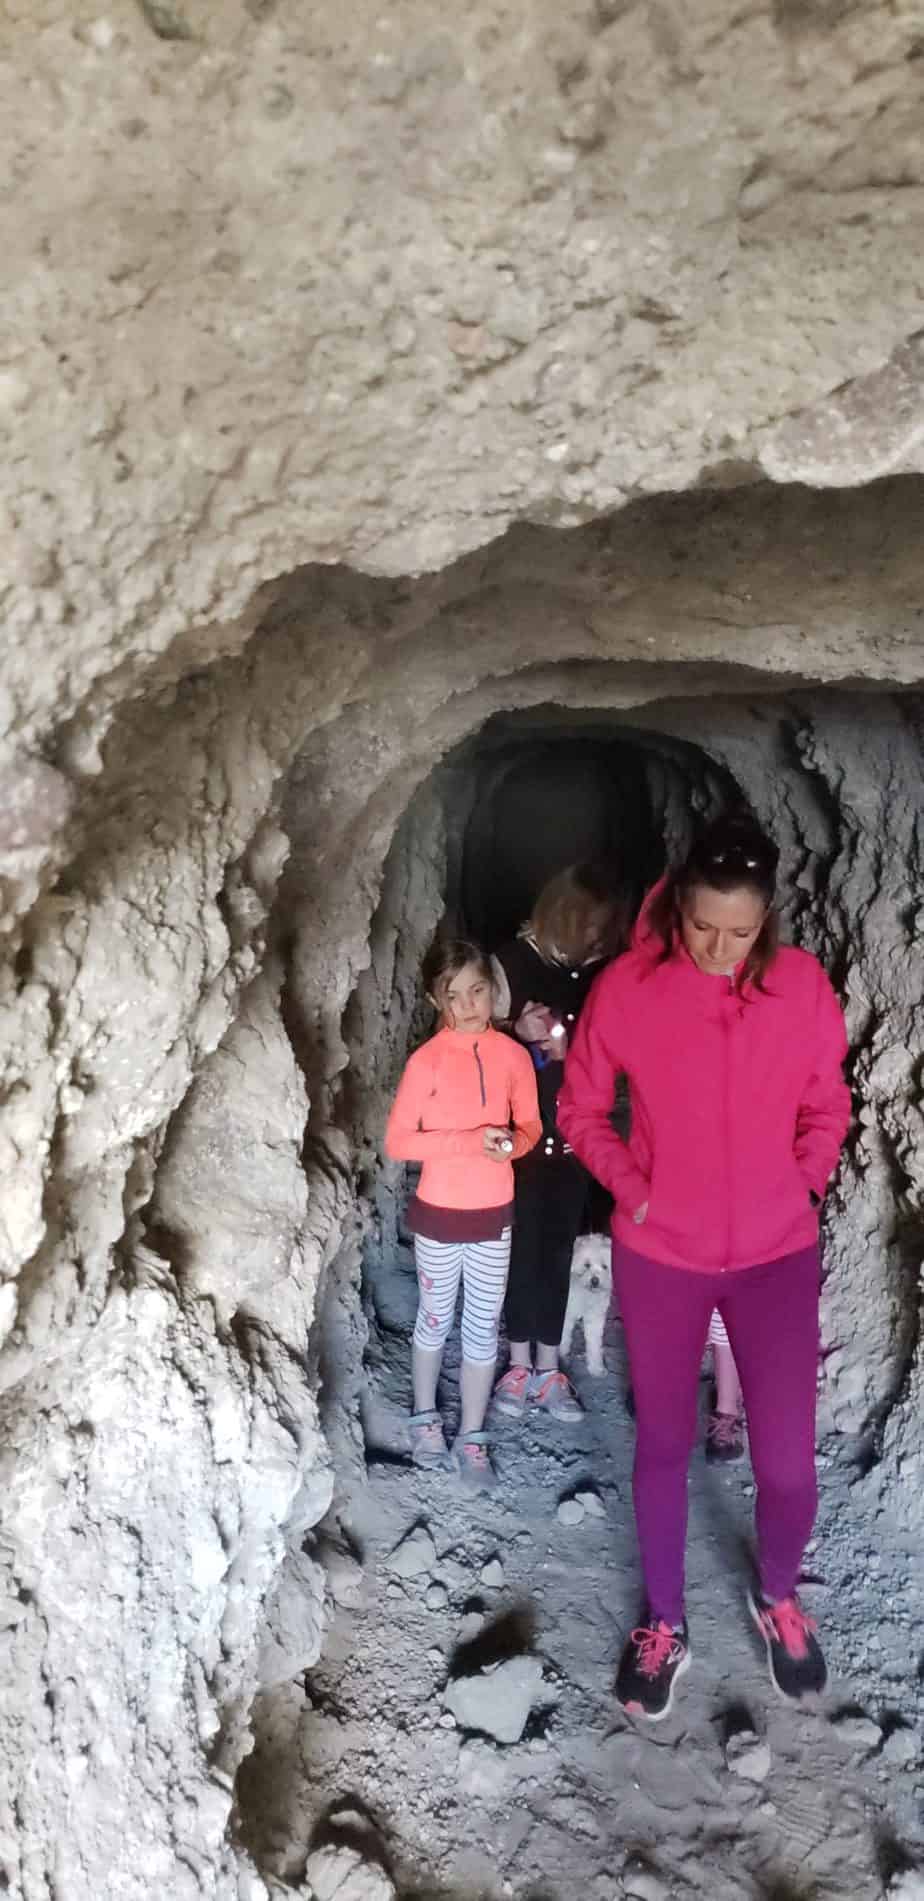
A short walk from the tunnel, we also found an old mine shaft. It is located north-west of the north end of the tunnel along a hillside. The entrance is somewhat hidden from view behind a large boulder. We did take a light into this mine because it is very dark near the end. This is not a long mine shaft, probably only about 20 feet.

The Tin Tic Train Tunnel was worth a quick visit for us. It gave us a way to do some exploring away from people and be outside during the beginnings of the COVID pandemic.

PROS & CONS

PROS

  • Easy for kids of all ages
  • Fun area to explore
  • Nearby old mine

CONS

  • Possibility of ATV traffic in the tunnel
  • No bathrooms or amenities close by

DIRECTIONS TO TINTIC TRAIN TUNNEL

The Tin Tic Train Tunnel is located just west of the town of Elberta, Utah. Turn west off of highway 68 on to Elberta Slant Road. You can use google maps and search Tintic Railroad Tunnel or Elberta Slant Road Tunnel. The main dirt road is easy to maneuver.

Off the main dirt road you need to continue along a smaller dirt road either by foot or by vehicle to the north for about 0.4 miles. This smaller road is more rugged, so we chose to park and walk the remaining amount. We were driving a minivan. An SUV or truck would make it the full-way to the tunnel without a problem.

MAPS


MORE INFO

Utawesome

OTHER NEARBY ADVENTURES

Eureka, an old mining town (15 minutes)
Paul Bunyan’s Woodpile hike (40 minutes)
Old Sinclair Station, corner of highway 6 and highway 68 (10 minutes)

ABOUT

Hi, I’m Corrine! I’m an outdoor enthusiast and mother of four.

My goal is to inspire you to get outside and create your own amazing memories as a family. Life is precious and there are too many adventures to be had to spend life on the couch or in front of a screen.

YOU MIGHT ALSO LIKE:


How to Find Sunstones in Utah

How to Find Sunstones in Utah

Finding Sunstones in Utah is not hard if you know where to go and what to look for. Watch the ground glitter in the sun from sunstones left by an ancient volcanic eruption at Sunstone Knoll. This unique site,...

Fossil Hunting: Delta, Utah

Fossil Hunting: Delta, Utah

Fossil Hunting in Utah is a great way to dig into Utah's rich geological history with your kids. You can find and keep your own fossils in fossil beds near Delta, Utah. This is where the classroom meets real-life...

Alien Tower Hike: Draper, Utah

Alien Tower Hike: Draper, Utah

The Alien Tower Hike leads to the top of a small peak with an old a-frame, metal structure and amazing 360 degree views of the Wasatch Mountains and valleys below. It is a dog and family-friendly, out-and-back hike,...

How to Hike Delicate Arch with Kids

How to Hike Delicate Arch with Kids

Delicate Arch in Arches National Park is an iconic Utah symbol and is a must-see when living in or visiting Utah. Visiting Delicate Arch with kids is very doable with a little preparation and determination. To see...

Draper Suspension Bridge Hike, Utah

Draper Suspension Bridge Hike, Utah

The Draper Suspension Bridge hike is a must for any family along the Wasatch Front in Utah. It offers gorgeous views of the Salt Lake Valley, as well as is a  fun destination to Draper’s newer suspension bridge that...

Hike the Y with Kids: Provo, Utah

Hike the Y with Kids: Provo, Utah

Hike the Y with Kids: Provo, Utah

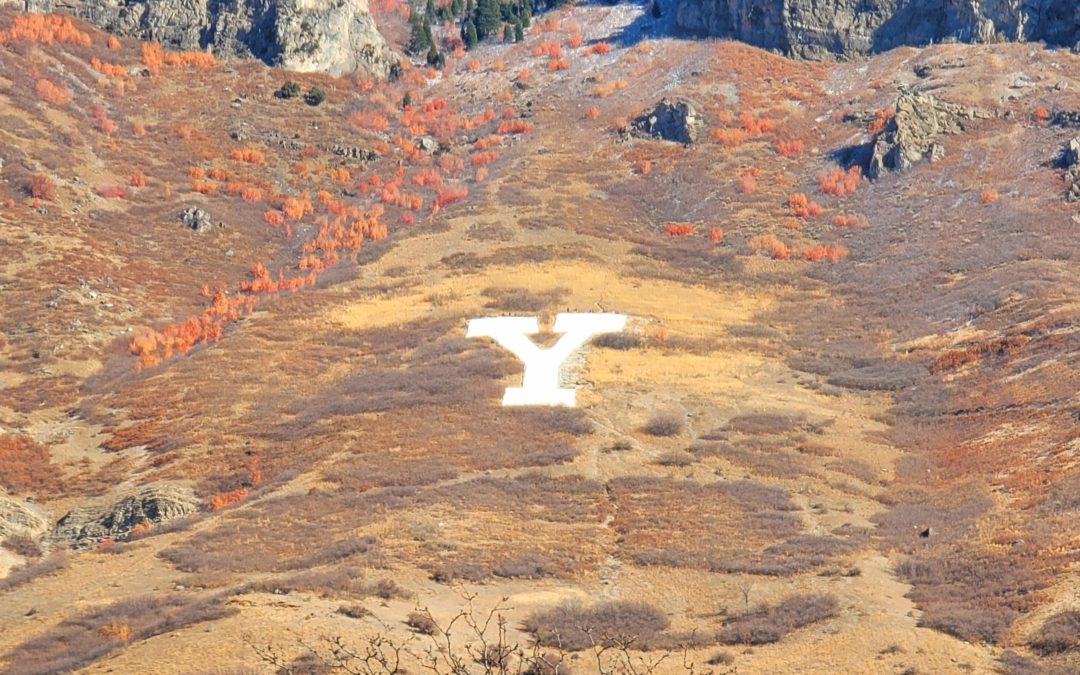
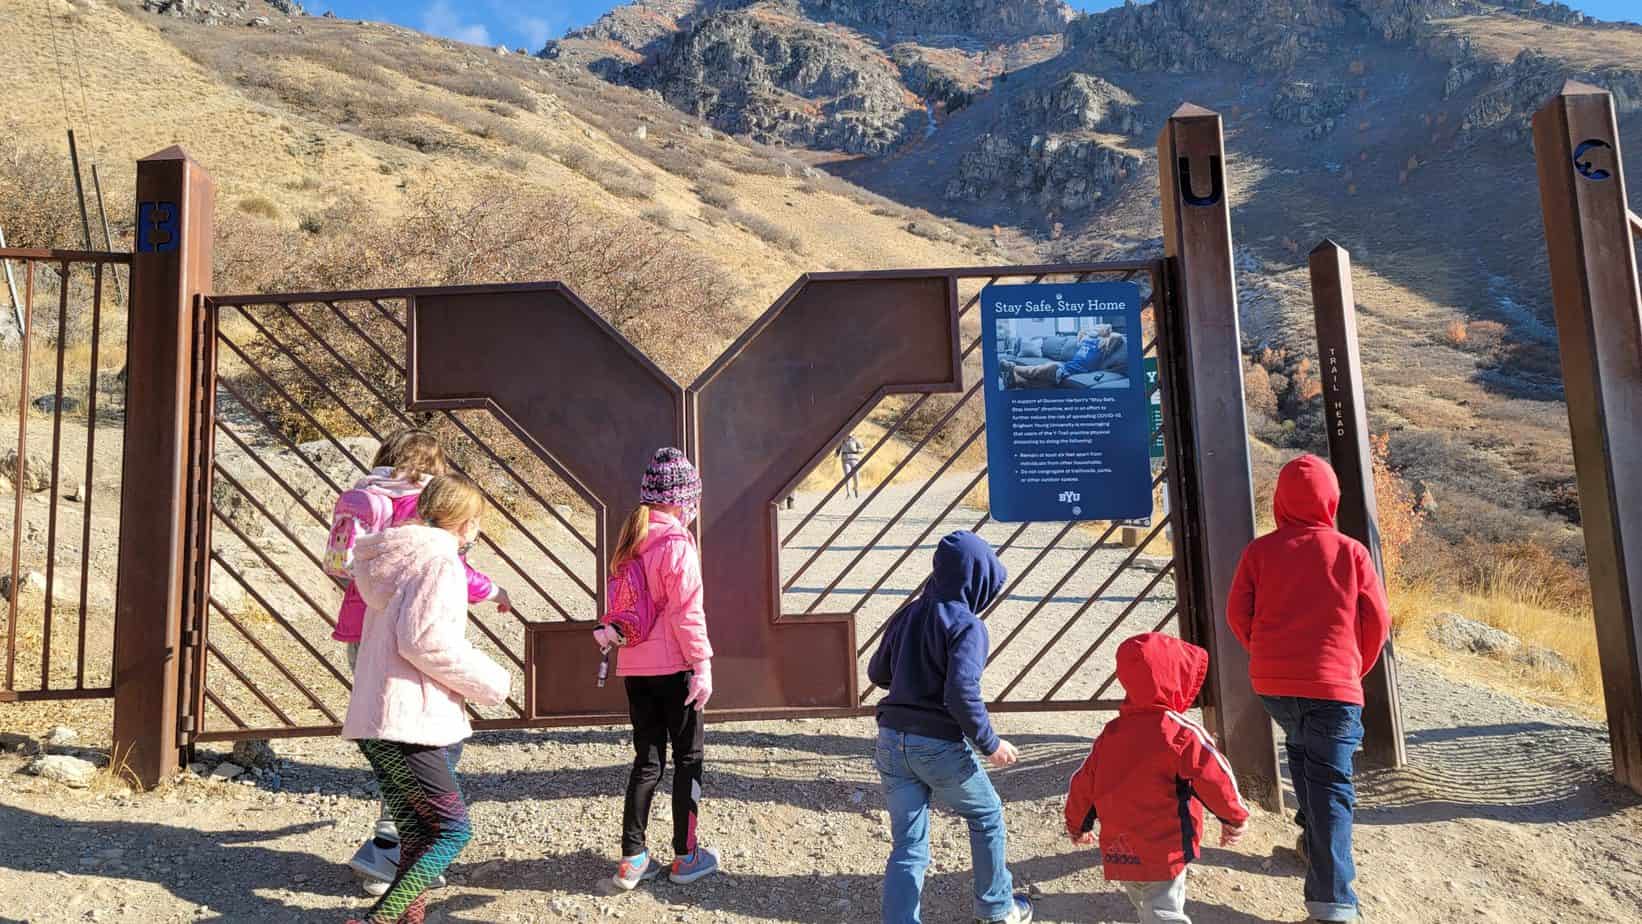
The Y hike in Provo, Utah is a Utah County classic hike that traverses the steep hillside to the iconic Y on the mountain. Hike the Y with kids, for is short and steep adventure with beautiful views of Utah County and Utah Lake. This family friendly hike can be a fun for kids and parents alike. 

KID RATINGS

Fun: ⭐⭐⭐ (out of 5)
Difficulty:     Very Easy    Easy    Moderate    HARD    Very Hard

KEY FEATURES

Hiking Distance: 2.2 miles round trip
Hiking Elevation Gain: 1100 ft
Terrain: Dirt, rocks, switchbacks, steep, exposed trail
Time Needed: 1.5 to 2 hours
When to Go: Spring, Summer (morning or evening), Fall. 

COST

Free

AMENITIES

  • Bathrooms at trailhead next to parking lot
  • Gas stations and grocery stores just a few miles away in Provo

THINGS TO BRING

  • Sunscreen, trail exposed
  • Water
  • Snacks
  • Hiking shoes with good traction
  • Dogs allowed

DETAILS

The Y on the mountain was originally built by Brigham Young University High School in 1907 and is made of rock, sand and cement. It is an iconic college symbol that is 380 ft tall and 130 ft wide which makes it bigger than the Hollywood letters in Los Angeles

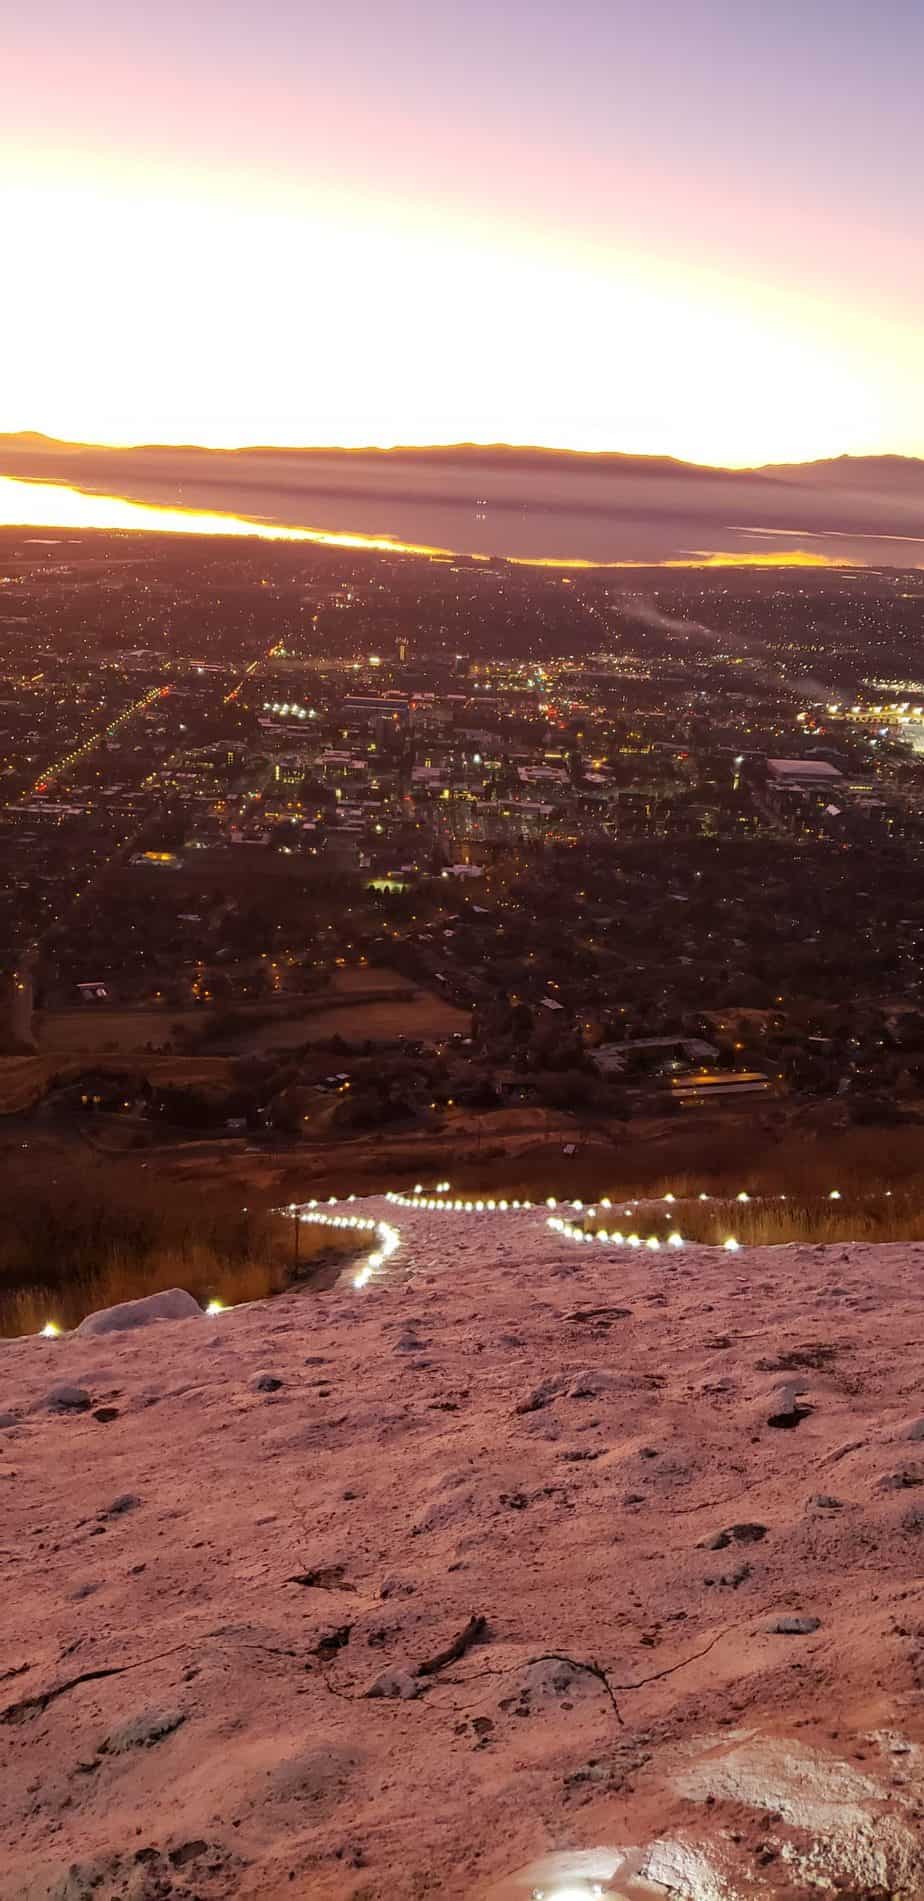
When a BYU athletic team wins a competition, the perimeter of the Y is lite up. We were lucky enough to hike the Y during a winning night.

The Hike the Y Trailhead begins on the mountainside east of Brigham Young University (BYU). There are three separate asphalt parking lots at the base of the hike. We hiked this in November just before sunset and there were plenty of parking spots. This is a popular hike so I imagine the parking is crowded during summer and early fall months when the leaves are changing.

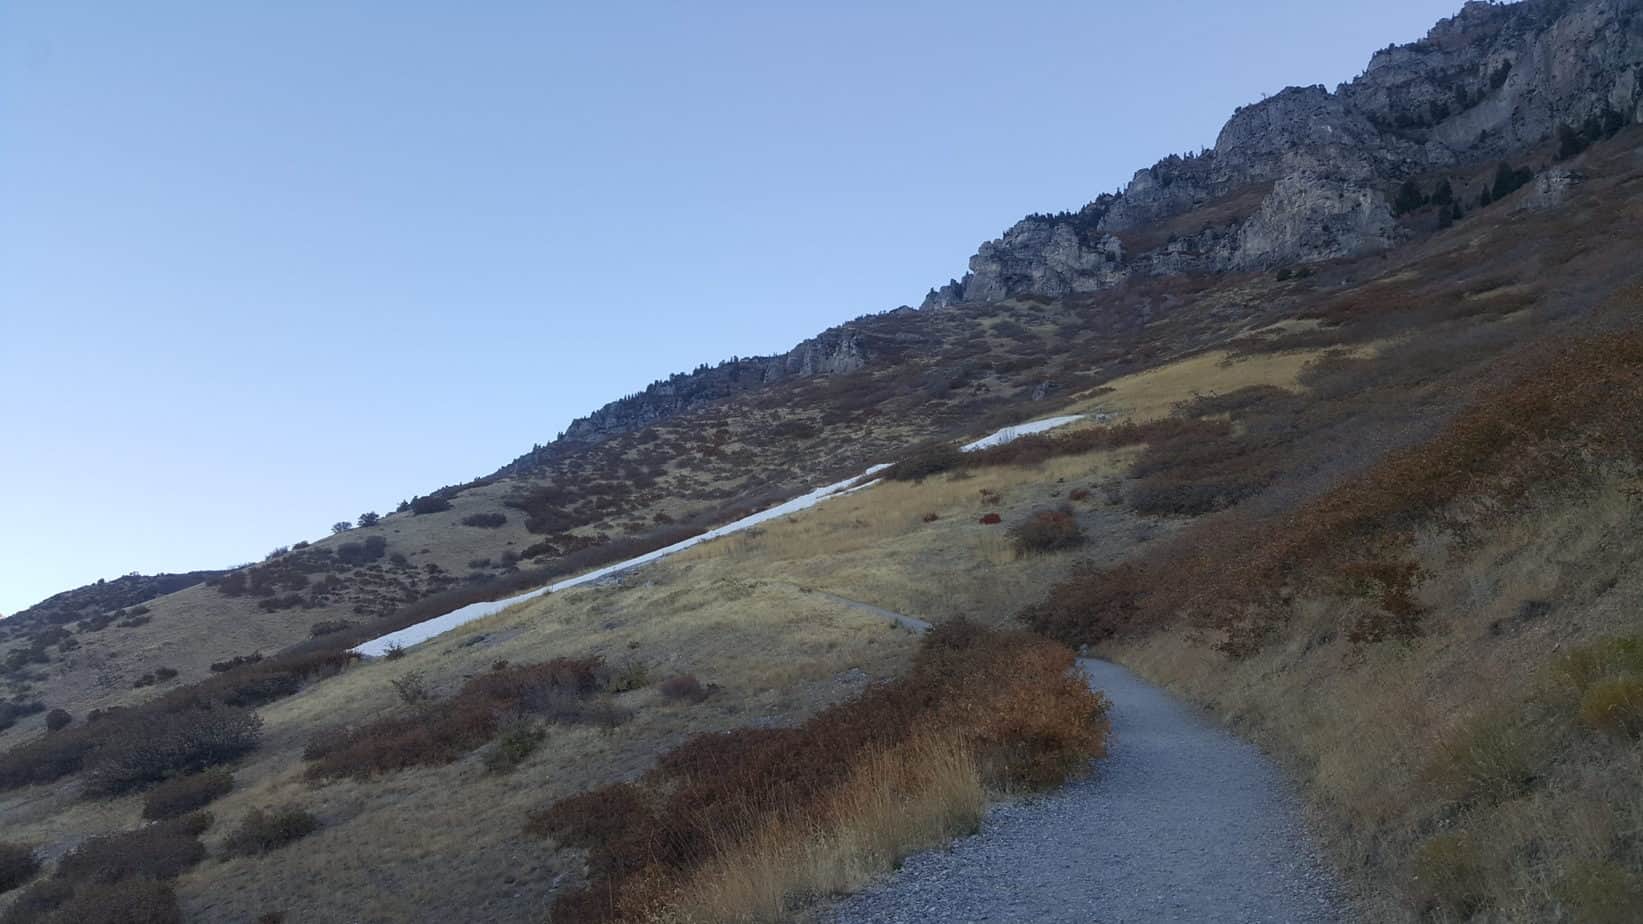
This hike gains just over 1000 feet in 1.1 miles! Steep! This is why I rated this hike as hard for kids. It took us just over an hour and a half to complete with a few stops to rest and a snack break at the top.

The majority of the hike is a series of switchbacks on a wide well marked trail with a total of 11 turns. There is a sign at each turn identifying which turn you are on in case you lose track.

There are also signs with fun facts about the local wildlife and habitat. My kids loved all the nature facts. We did find a live tarantula along the way.

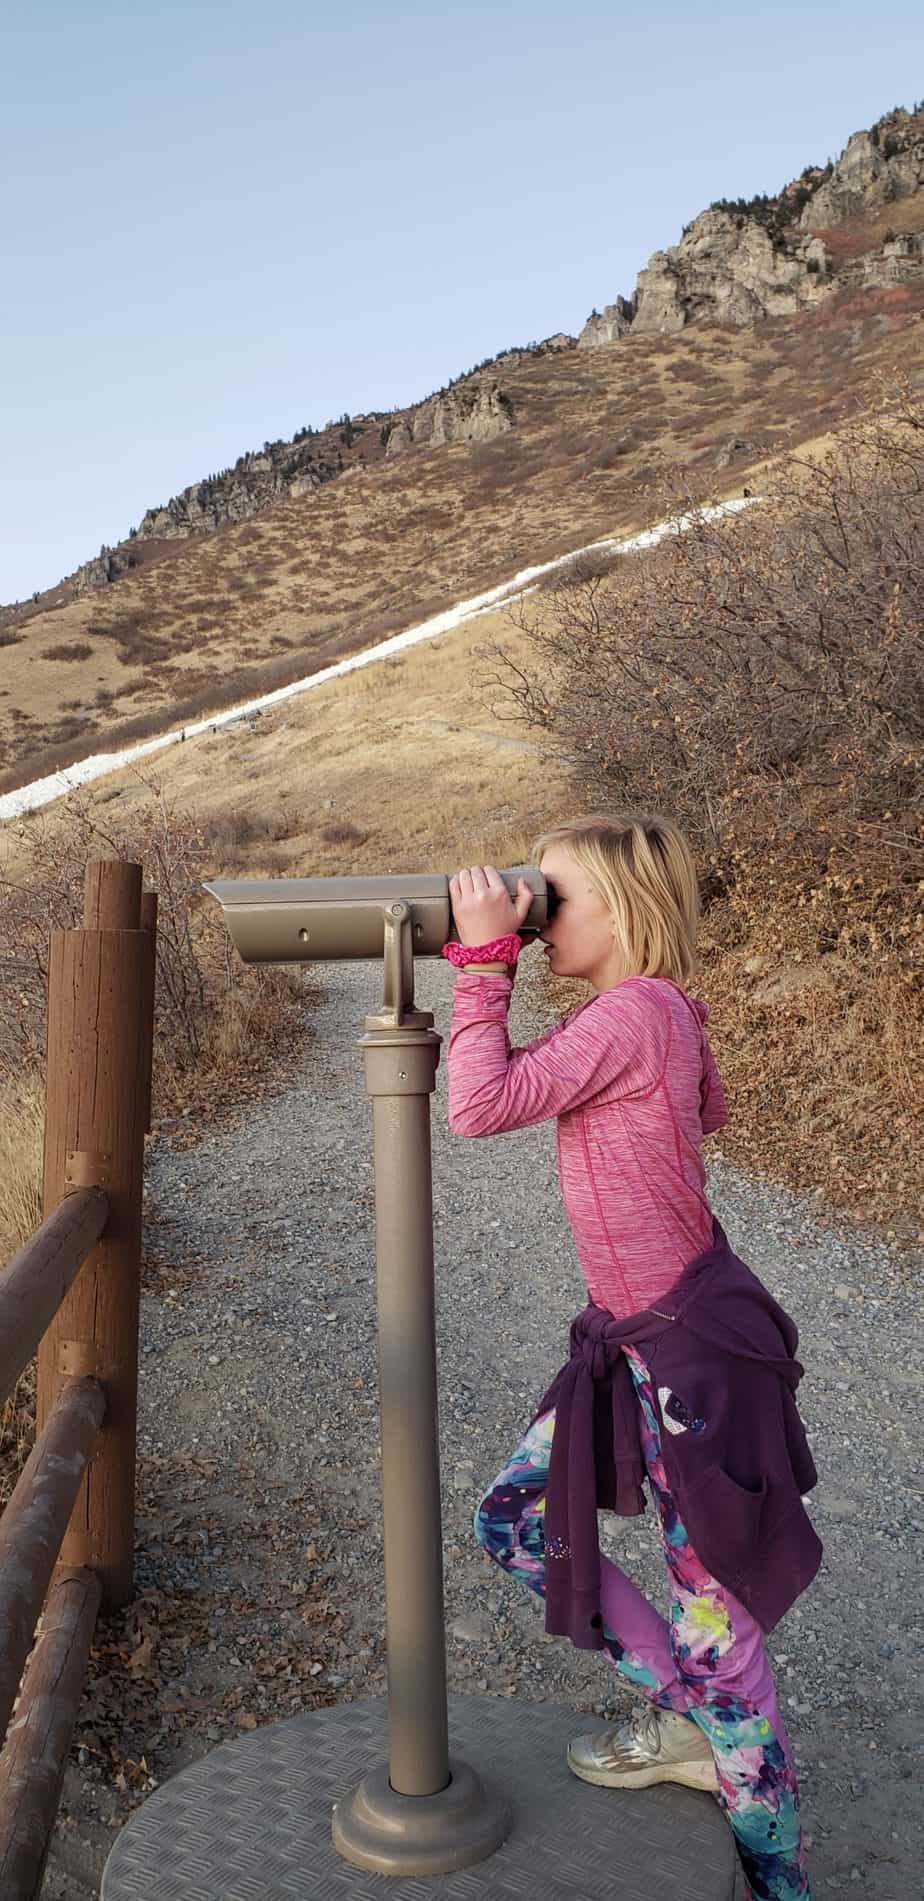
There are also binoculars to look down at the valley.
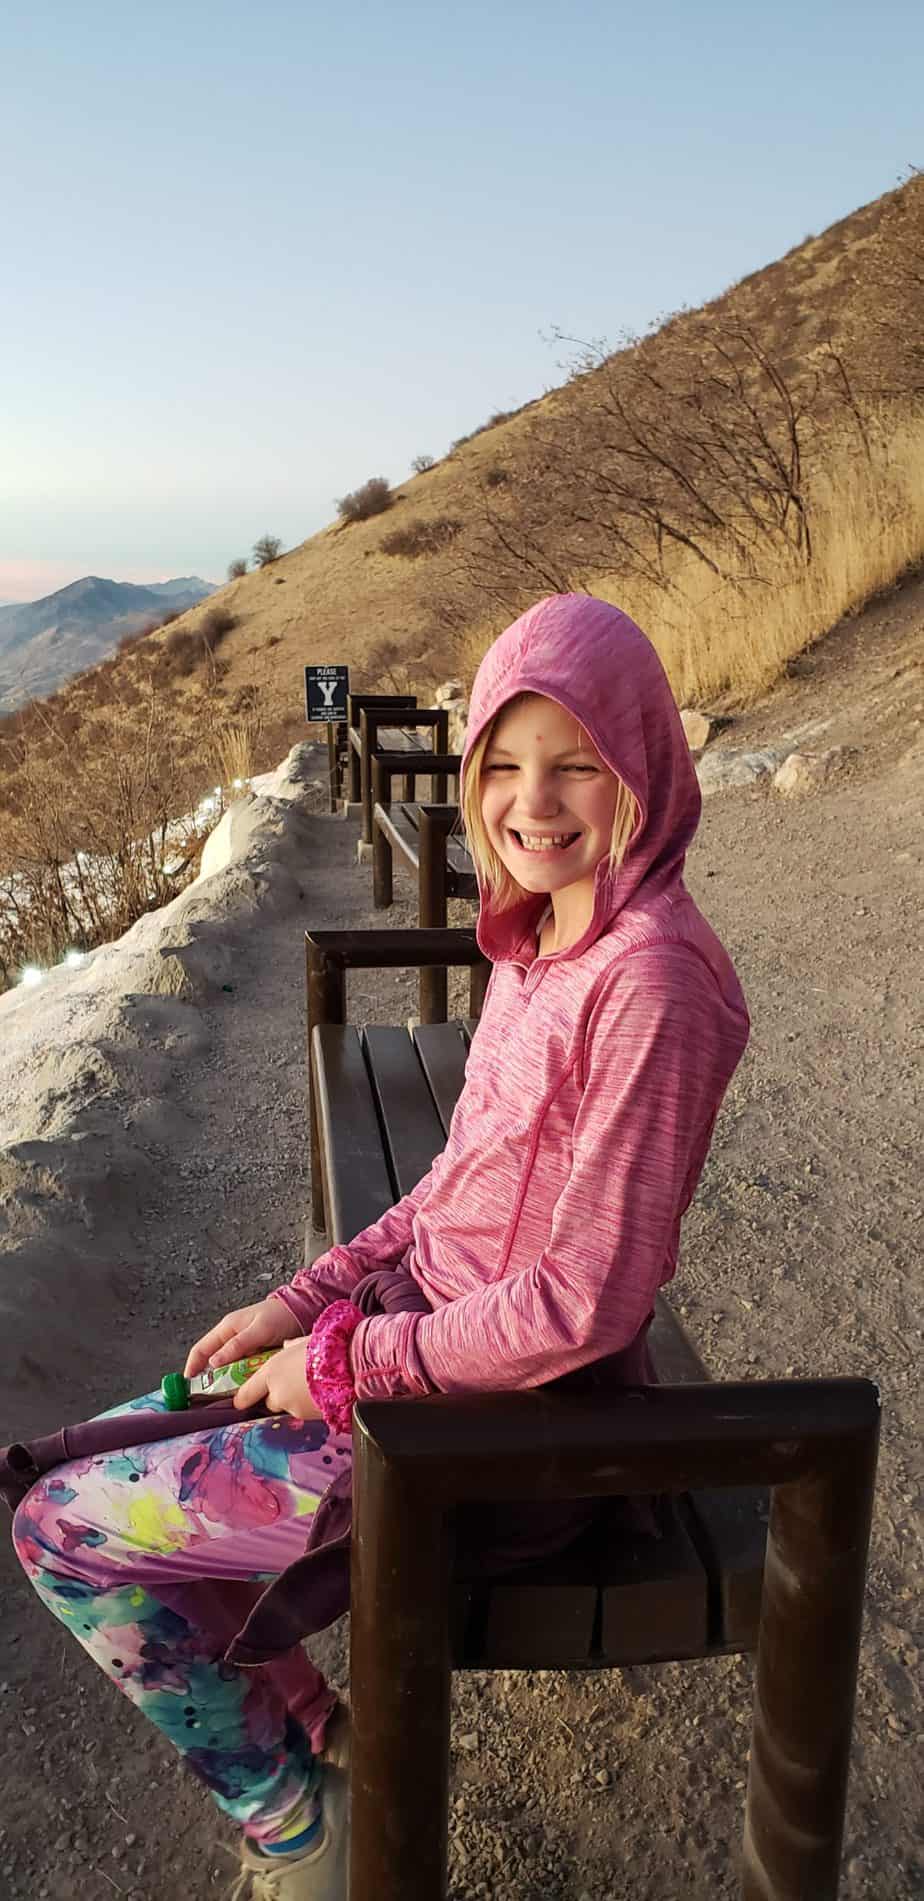
You will first arrive to the lower portion of Y. Continue upward to get to the top. There are benches at the top to sit on for snack and break time. There are trails that continue into the mountain beyond the Y if you want a longer hike.

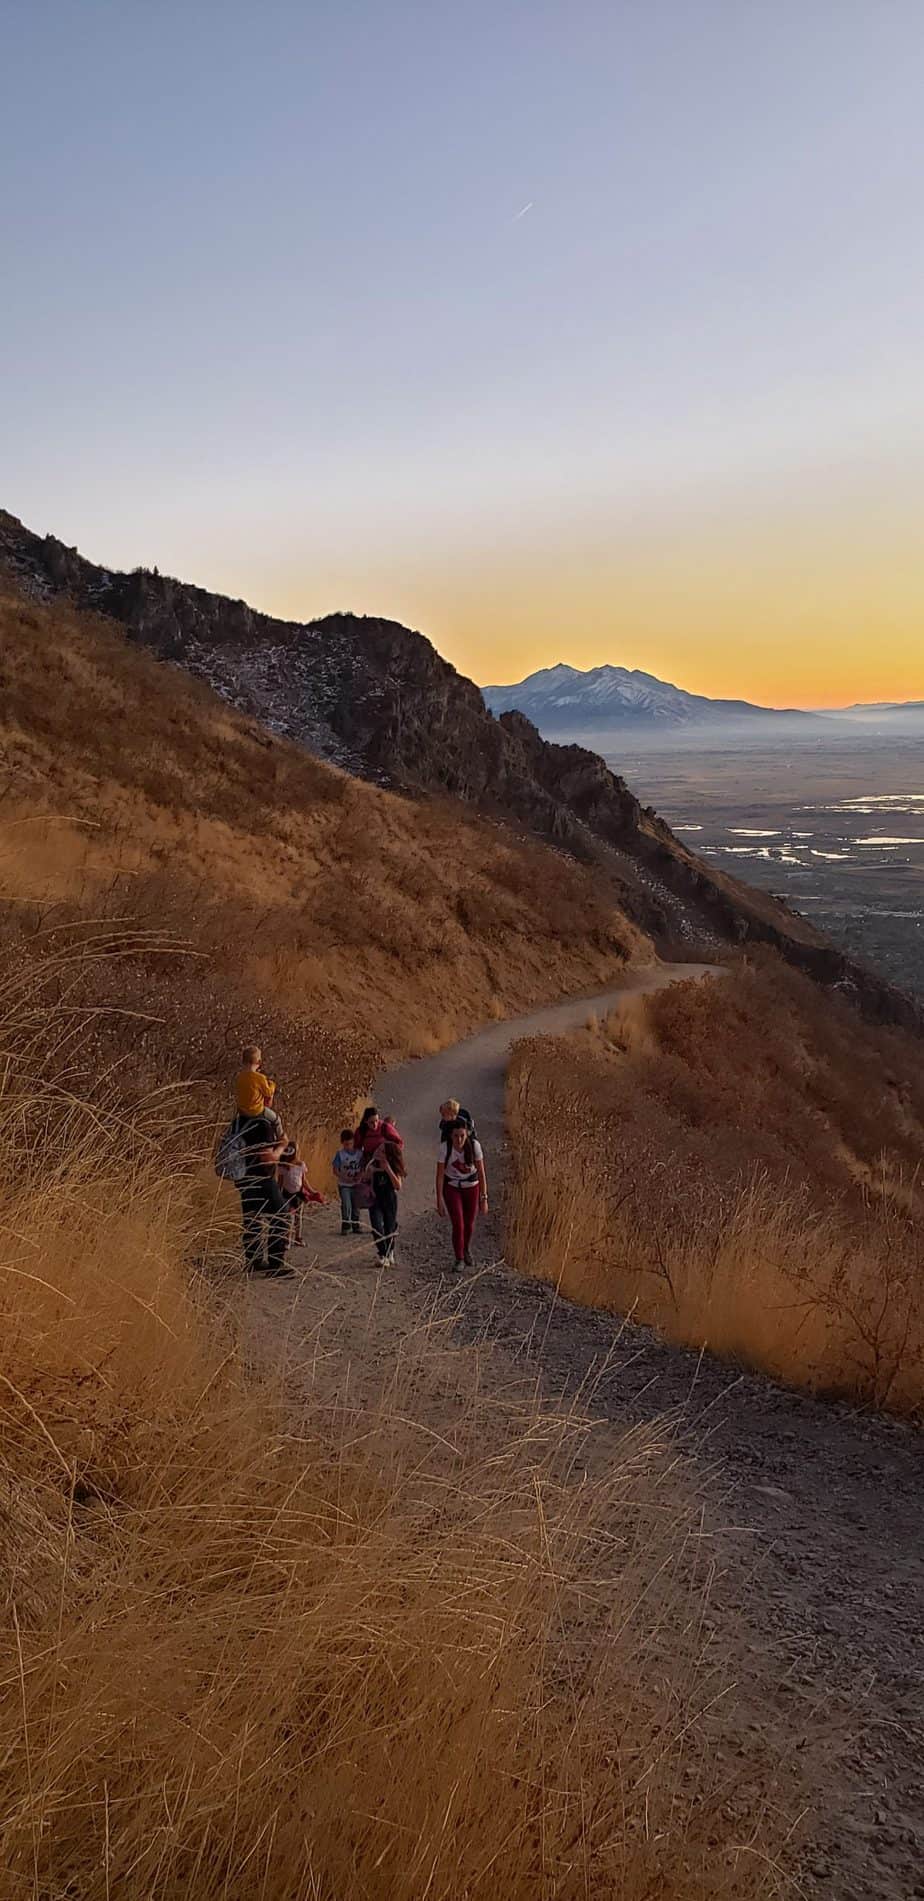
 The kids did great on this hike. They loved running down the steep switchbacks on the way down. I think it helped a lot to have friends with us. The hike was steep but short so it was very doable. We had a beautiful sunset to watch as we hiked down.

Despite the steepness the hike was still enjoyable. It has gorgeous views and the kids loved getting close to the huge Y on the mountain side. If you want to hike the Y with kids, I suggest doing a few other smaller hikes first.

PROS & CONS

PROS

  • Beautiful views
  • Fun destination
  • Possibility for wildlife viewing

CONS

  • Hot in the summer months and trail is exposed
  • Steep!
  • Can become crowded

DIRECTIONS

The Y hike trailhead is located on the east bench of the mountains behind Brigham Young University. The address is Slide Canyon Trail 062, Provo, UT 84604 or you can search Y trailhead on your GPS device.

MAPS


MORE INFO

All Trails Hike the Y

History of Y Mountain

OTHER NEARBY ADVENTURES

Bridal Veil Falls (20 minutes)

Upper Falls (25 minutes)

Float the Provo River (20 minutes)

Stewart Falls (30 minutes)

Battlecreek Falls (30 minutes)

Utah Lake State Park (20 minutes)

ABOUT

Hi, I’m Corrine! I’m an outdoor enthusiast and mother of four.

My goal is to inspire you to get outside and create your own amazing memories as a family. Life is precious and there are too many adventures to be had to spend life on the couch or in front of a screen.

YOU MIGHT ALSO LIKE:


No Results Found

The page you requested could not be found. Try refining your search, or use the navigation above to locate the post.

Kodachrome Basin State Park with Kids

Kodachrome Basin State Park with Kids

Kodachrome Basin State Park with Kids

Kodachrome Basin State Park in Utah features colorful desert scenery, sandstone formations and hikes that are worth the trip off the beaten path to explore with your kids. You can stay for a few days, utilizing the campgrounds or bunkhouses in the park, or make it a quick day-trip while visiting Bryce Canyon National Park and Grand Staircase Escalante Monument.  This guide will help you plan your adventure to Kodachrome Basin with kids.

KID RATINGS

Fun: ⭐⭐⭐⭐ (out of 5)
Difficulty: Very Easy    Easy    Moderate    Hard    Very Hard
(Hikes range from very easy to hard depending on the hike)

KEY FEATURES

Terrain: Sand, dirt, sandstone, exposed trails, paved trails, dirt trails, paved roads
Time Needed: A few hours to a couple days
When to Go: Anytime of the year but best time is spring or fall for best temperatures

Hiking Distance: 0.5 miles to 6 miles, depending on the trail
Hiking Elevation Gain: Flat to 300 feet


COST

Day Use Fee $10 per vehicle

Camping:
Basin and Bryce View: no hookups $25
Basin: full hookups $35
Arch: water and power hookups $35


AMENITIES

  • Flush or vault toilets depending on where you are in the park
  • Water
  • Fire wood for sale
  • Warm Showers
  • Laundromat – awesome for long road trips
  • Dining: no dining options on site. Closest restaurants in Tropic about 20 minutes away.  
  • Lodging – camping or bunkhouse in the park. Motels/hotels in Cannonville or Tropic 15 to 20 minutes away. 

THINGS TO BRING

  • Food for camping of snacks for day use, no restaurants on site
  • Water containers and bottles
  • Camping gear
  • Sand toys
  • Good hiking shoes
  • Bikes if desired – a few of the trails are great for mountain biking
  • Dogs allowed
  • Sunscreen, exposed trails

DETAILS

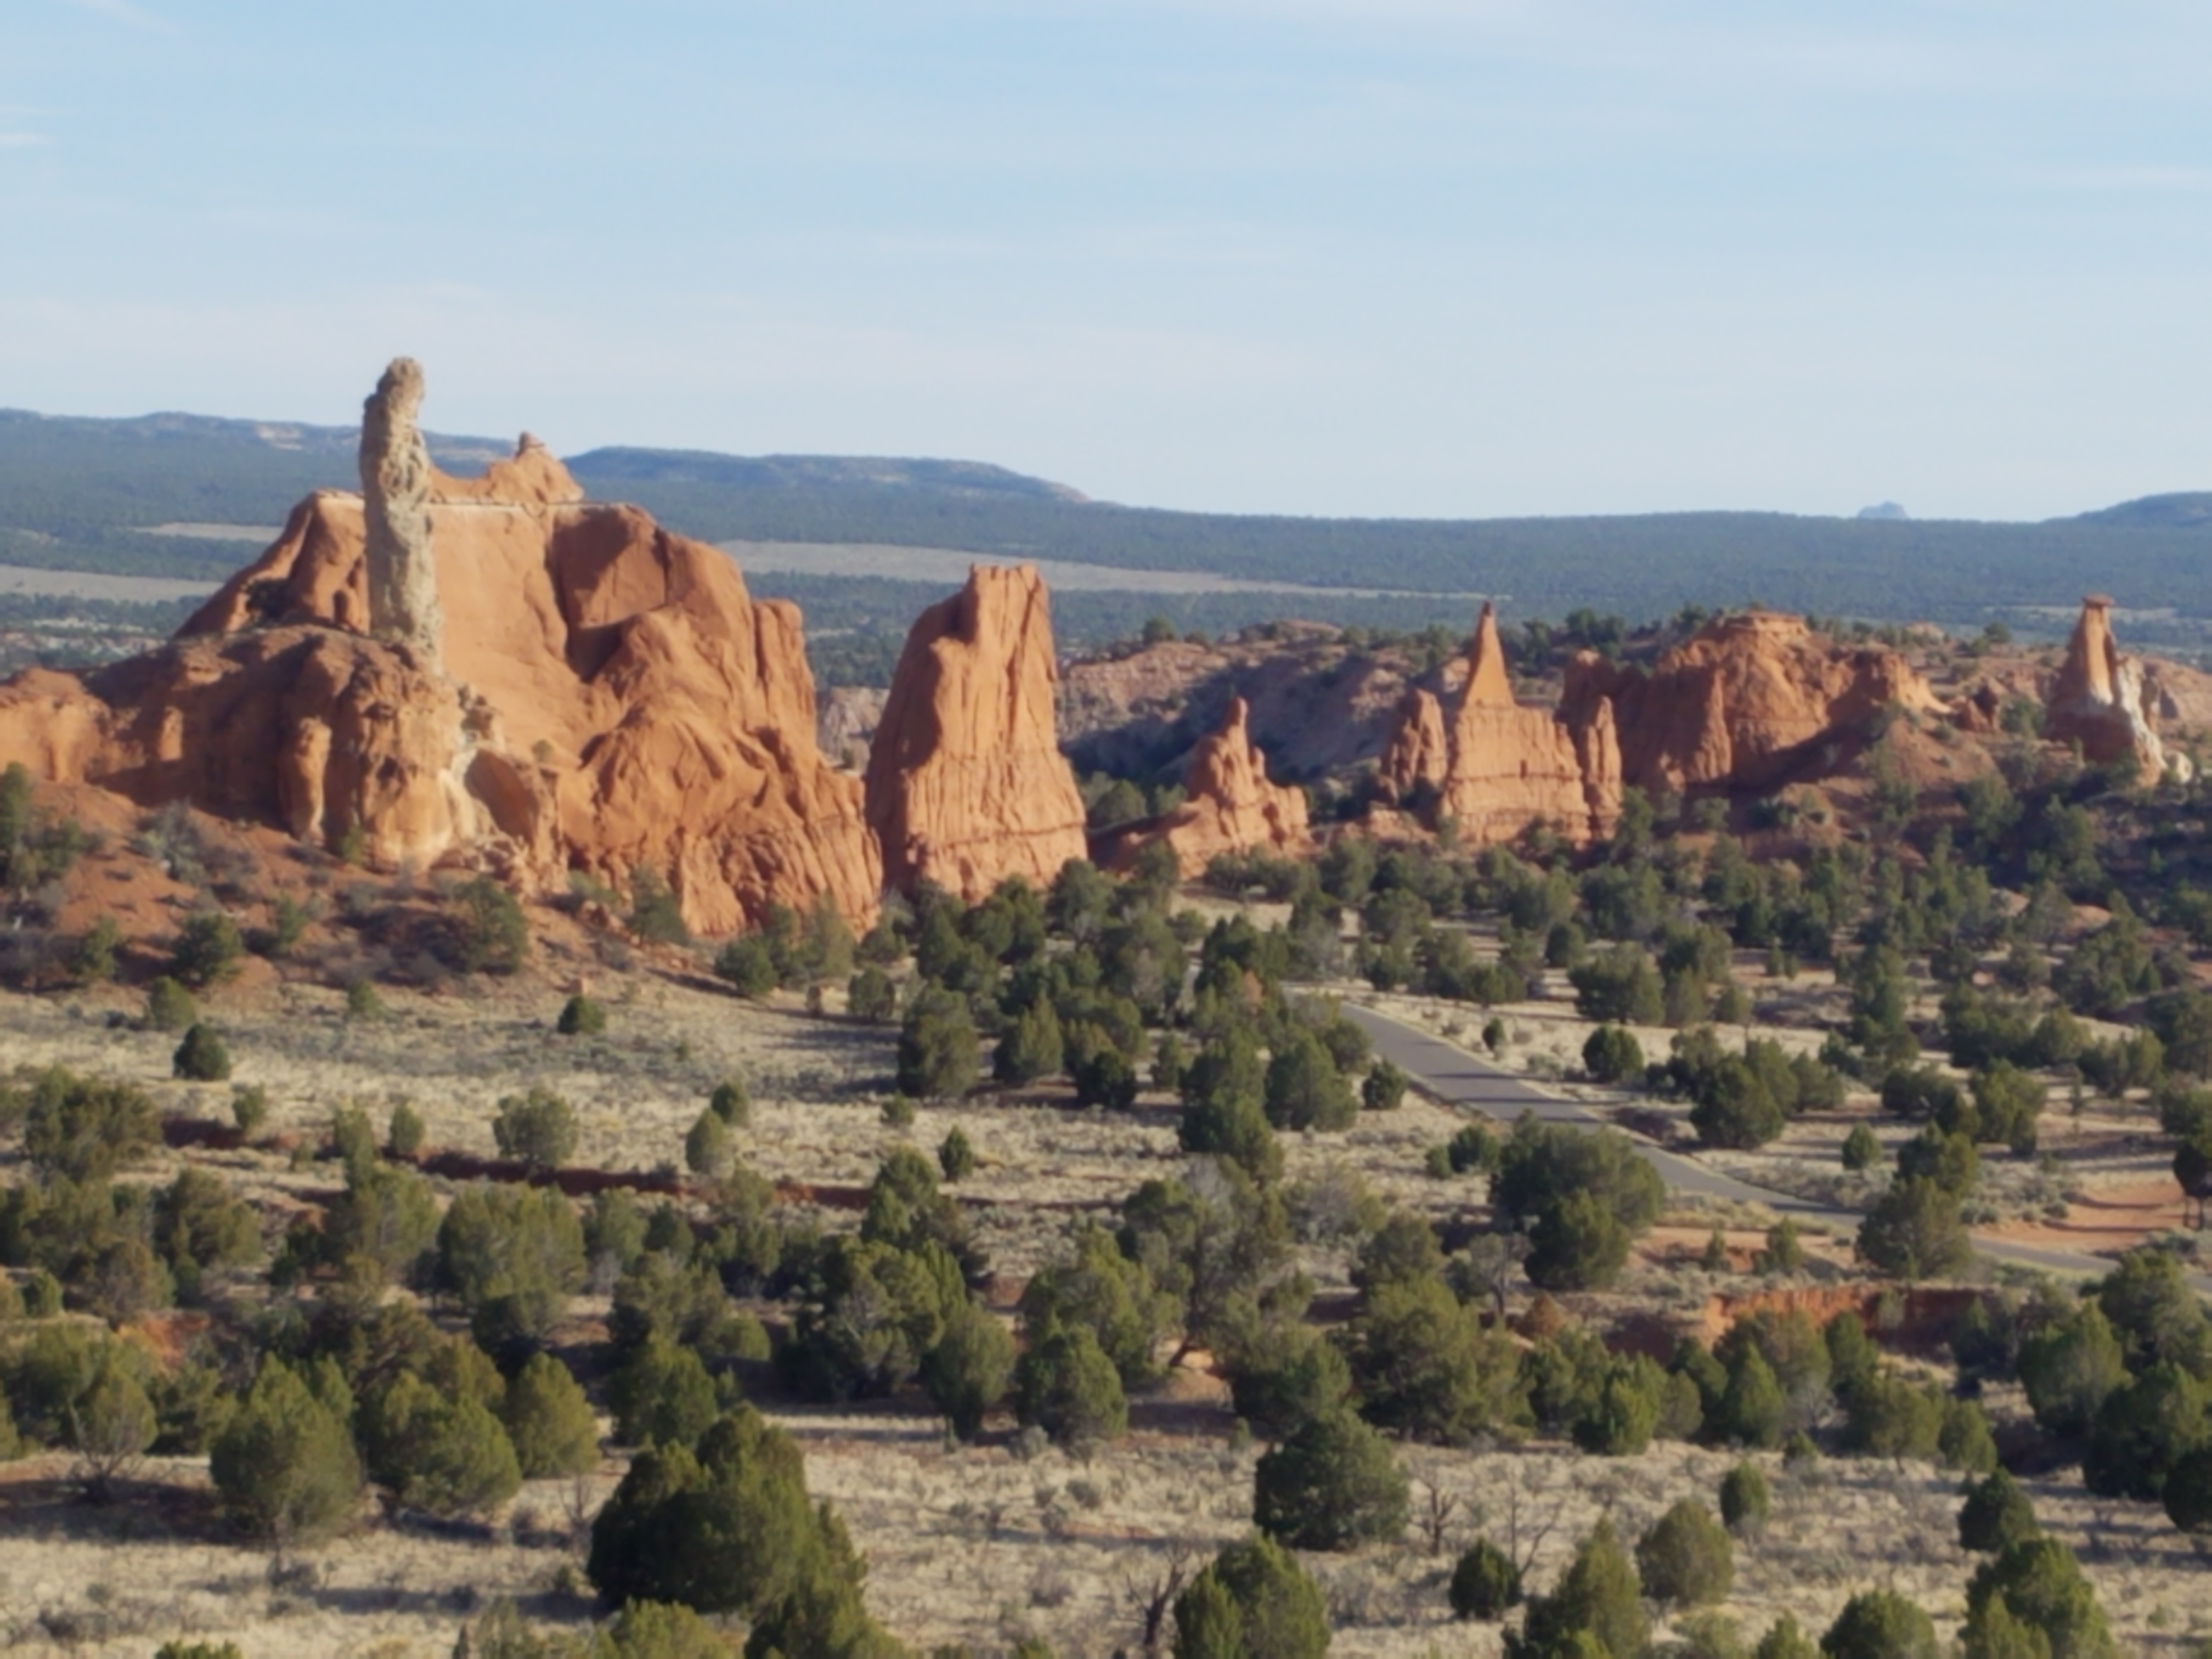
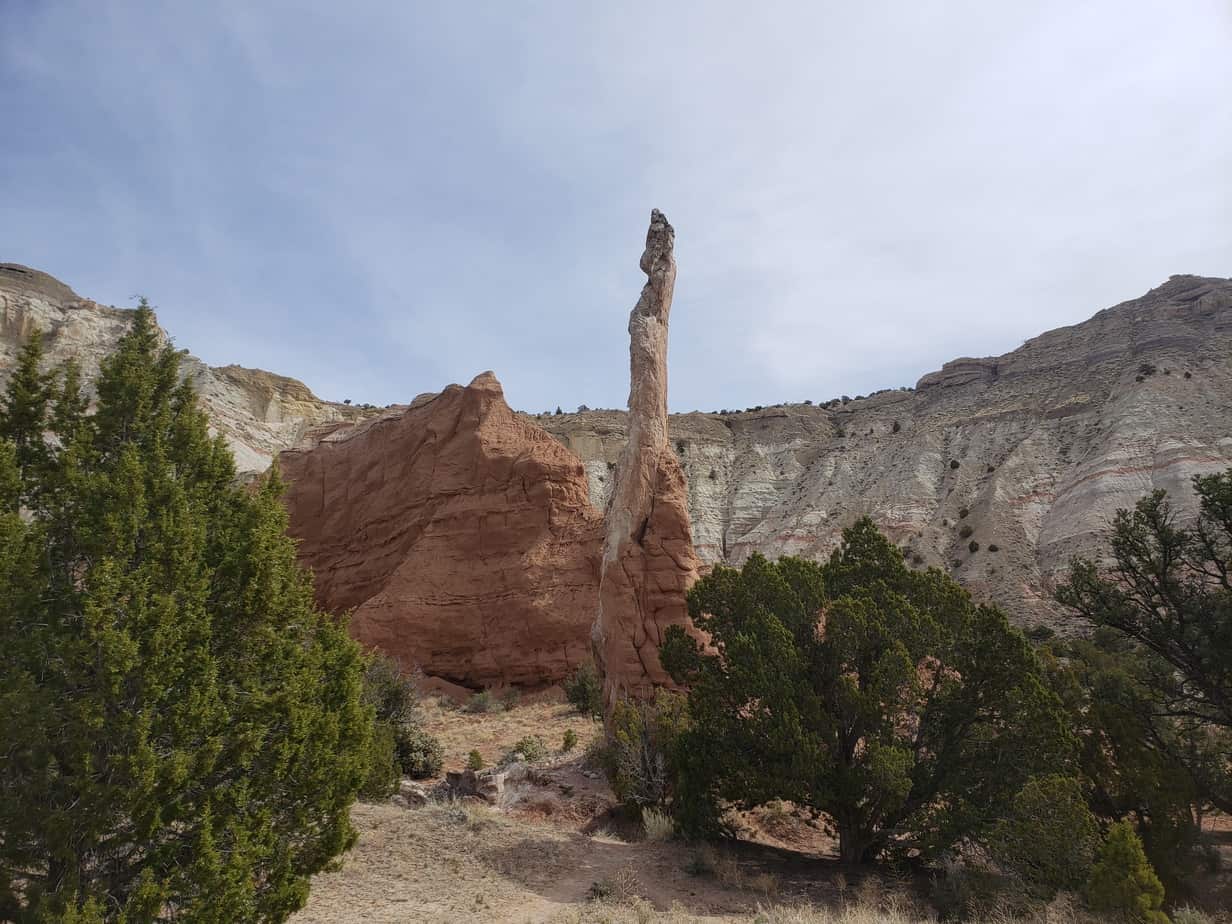
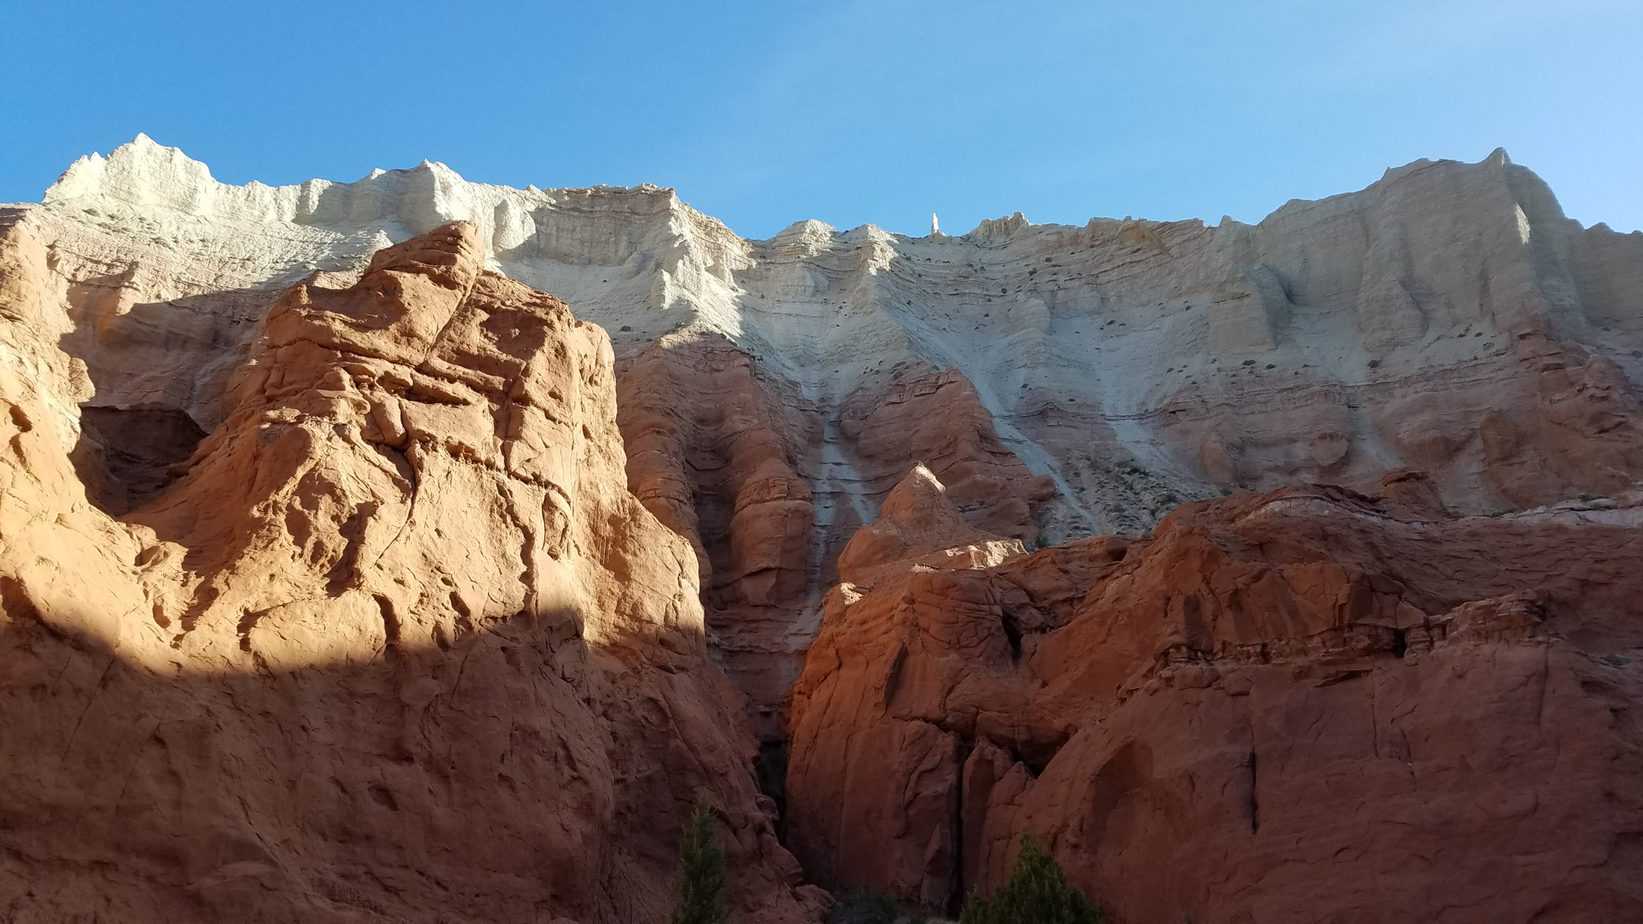
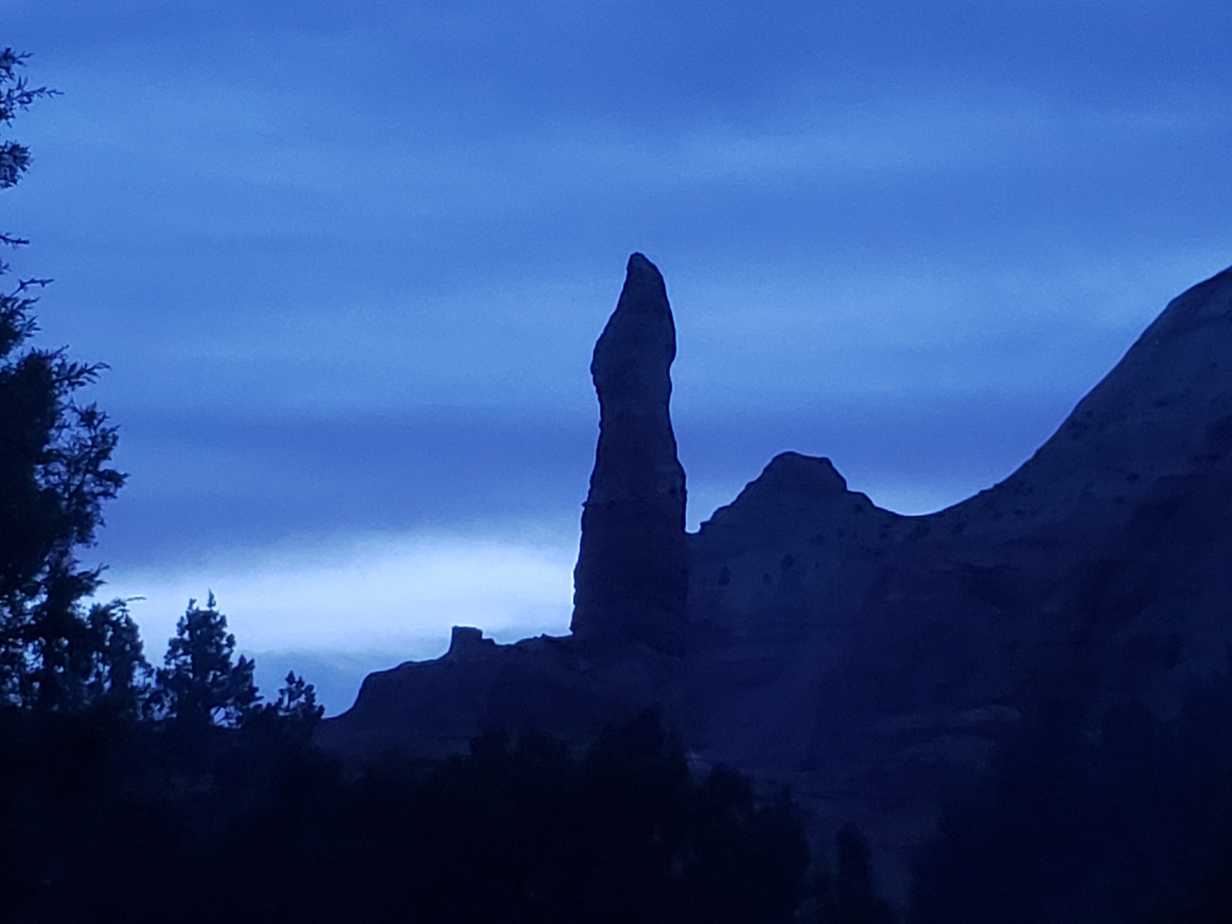
Kodachrome State Park was named after a new brand of Kodiak film by National Geographic  in the 1940’s because of the color and beauty that was found there. There are sandstone spires and pipes and mountains with layers of orange, red and white.

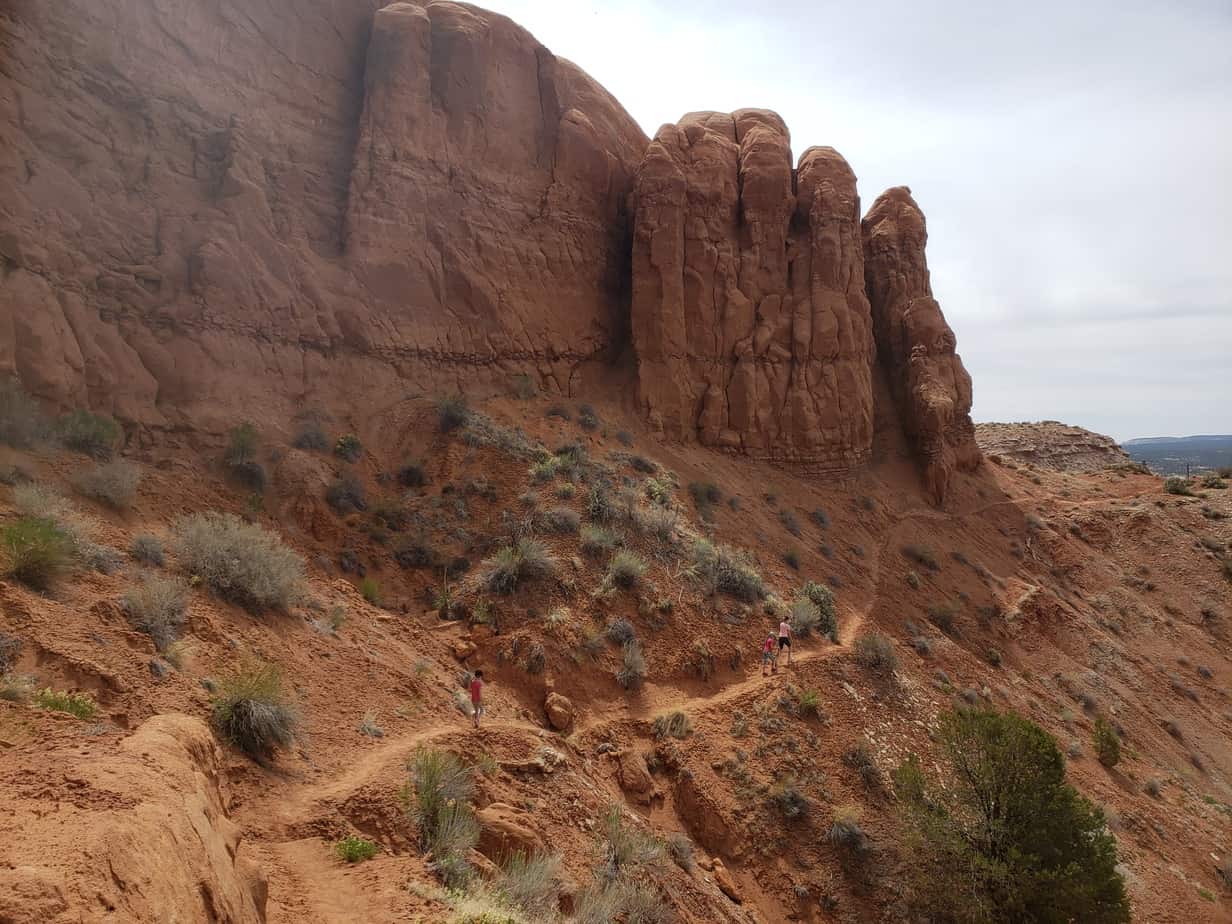
Kodachrome Basin with kids has become one of my favorite Utah adventures. We stayed two nights camping in the park. There was plenty to do within the park and the surrounding area. It is a great base if you are adventuring in Bryce Canyon or Grand Staircase Escalante Monument. There is beautiful desert scenery on each hike and within the campgrounds. 

THINGS TO DO 

CAMPING

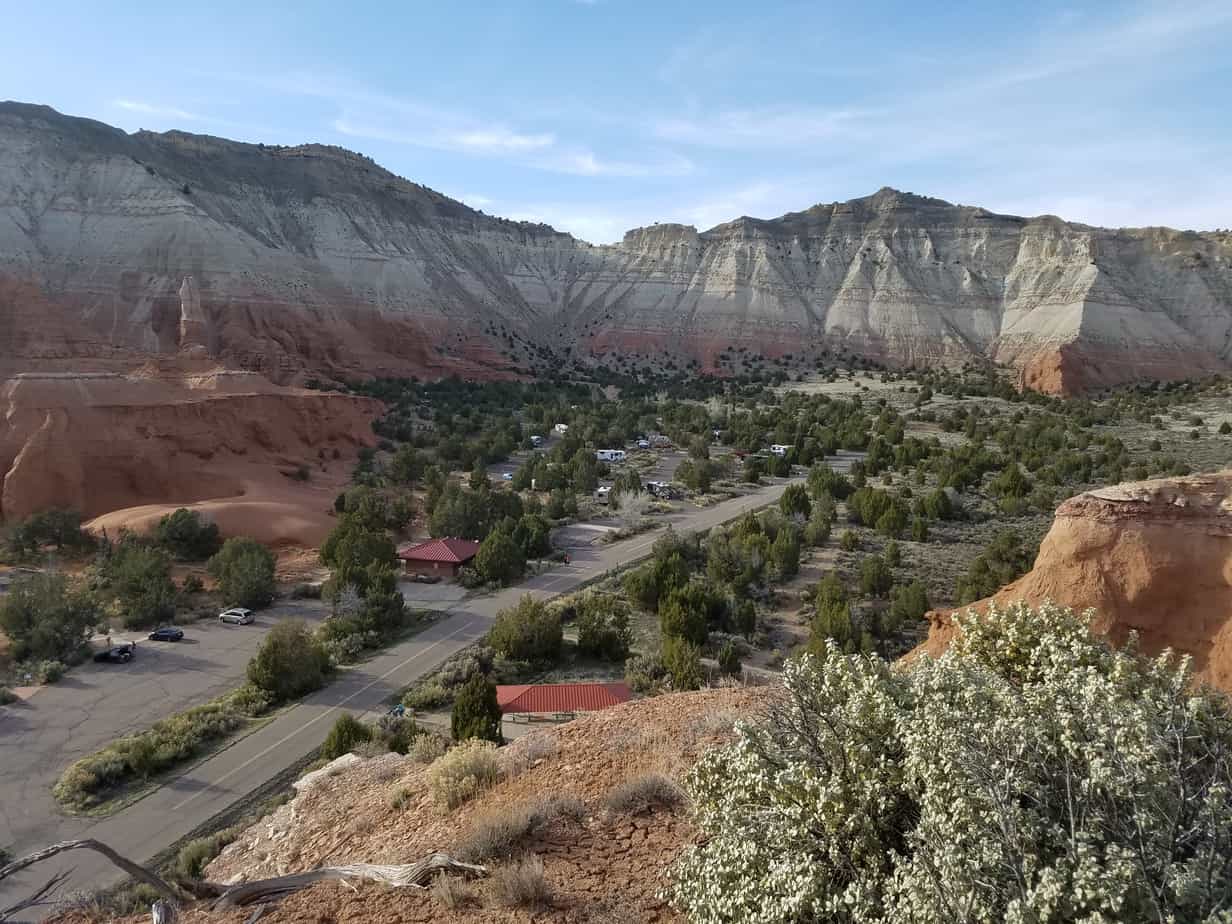
Kodachrome State Park has three main campgrounds: Basin, Bryce View and Arch. All three campgrounds have tent and RV options. There is also a large group site called Oasis. Each campsite has a fire ring and picnic table.


The Basin Campground is my favorite in the park. It is nestled in the actual basin area of the Park and has gorgeous views of the surrounding sandstone mountains. It offers well-kept bathrooms with flush toilets, warm water and showers.

The Oasis group site is nearby and offers the same facilities. Bryce View and Arch campground have outhouse style bathrooms with no showers.

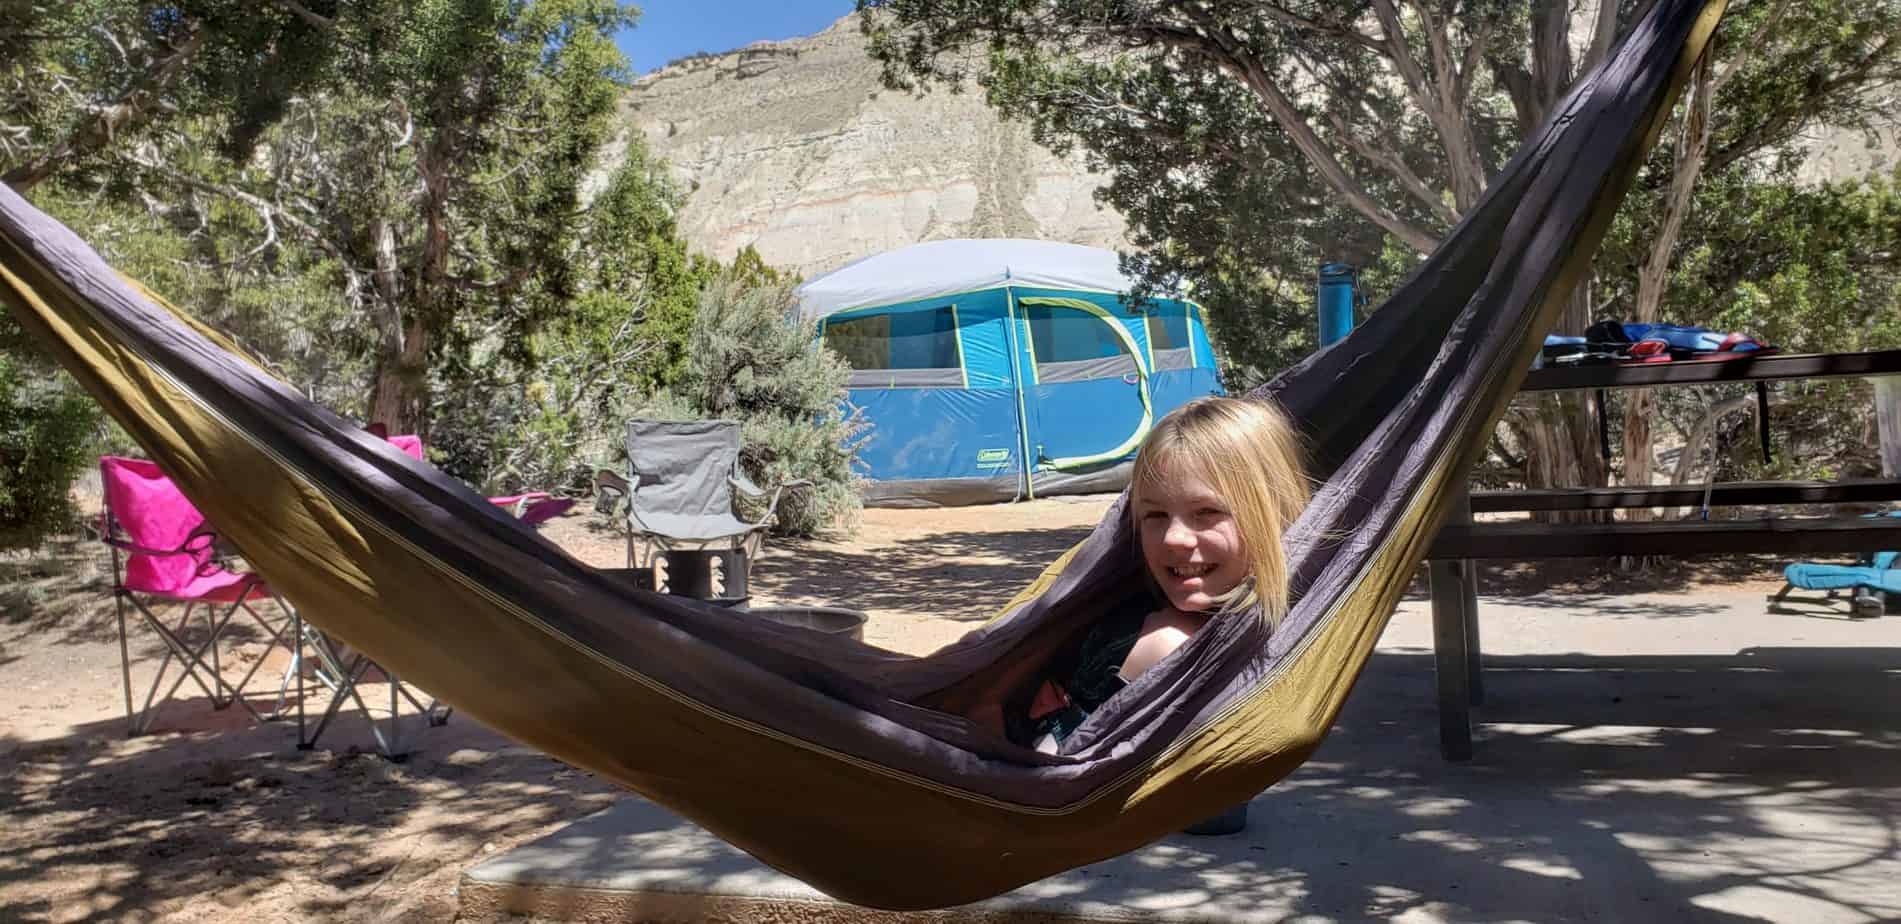
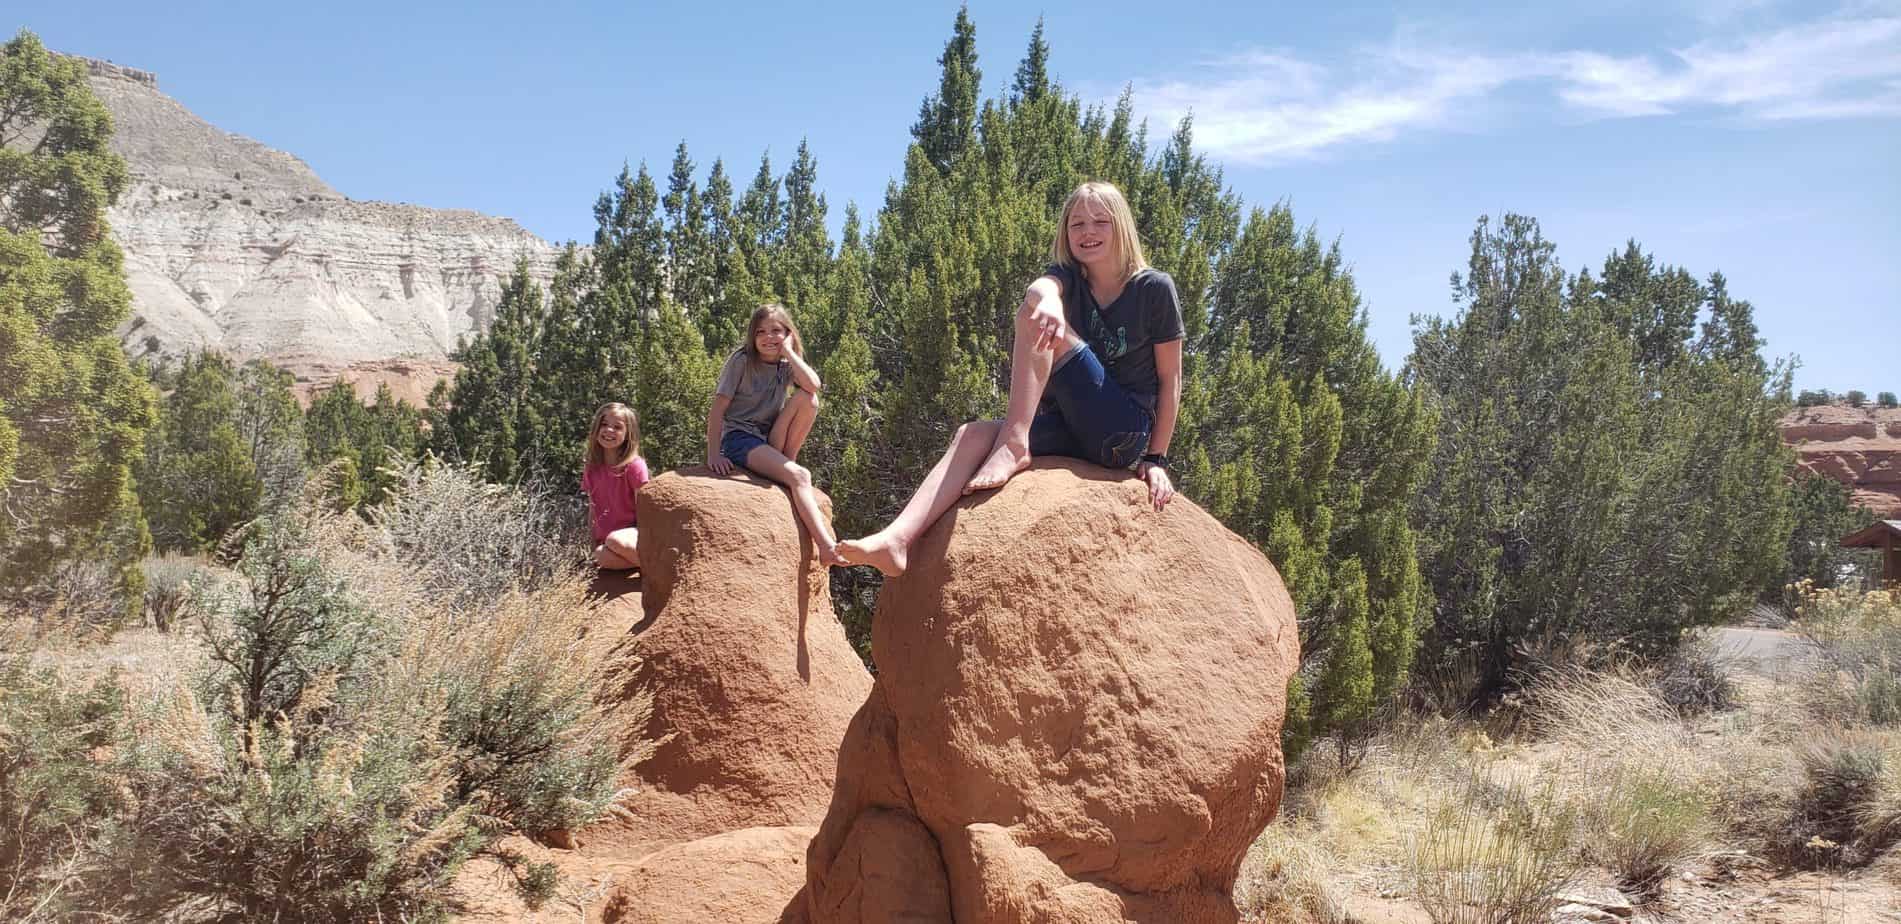
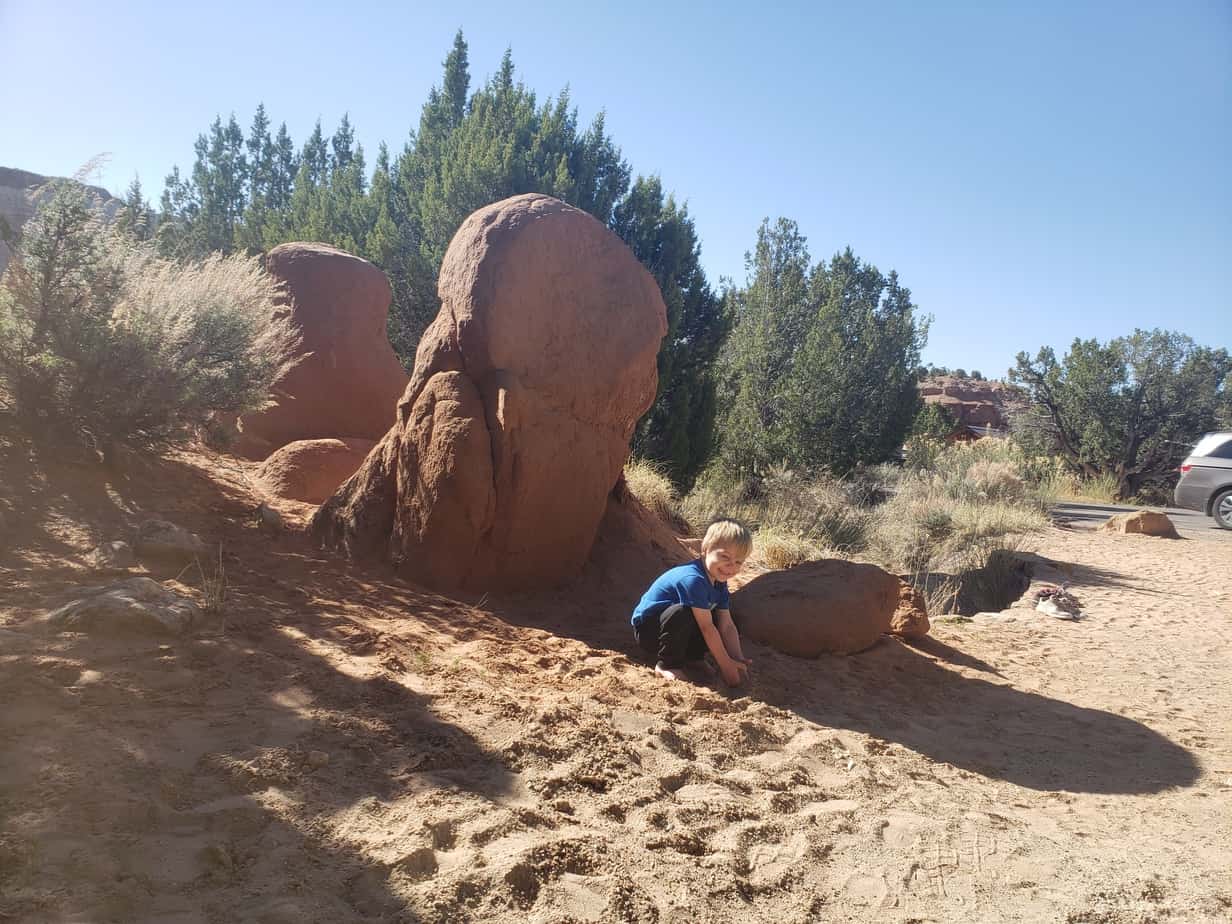
We stayed in the site #3 of the Basin Campground and absolutely loved it. There was shade the entire day around the picnic table, fun sandstone for the kids to climb on and a small creek running through it at times. The kids loved playing in the sand and the water. We had plenty of room and privacy and even set up the hammocks in the trees.

Other sites that we liked as we drove by were 1, 5, and 10 because they also had a good amount of privacy and shade. Sites 17 and 22 were on the outer edge and were right up against the sandstone mountain creating a beautiful camping backdrop; however a deeper ditch ran through these sites and might not be best with toddlers. 

HIKING

Each of the six hikes in Kodachrome State Park offer differing terrain and a range of scenery. I loved each hike for different reasons. Full reviews of each hike to come. Each hike can be done or modified if 

1. Eagles View Trail: An easy 1 mile trail offering views of the Kodachrome Basin.

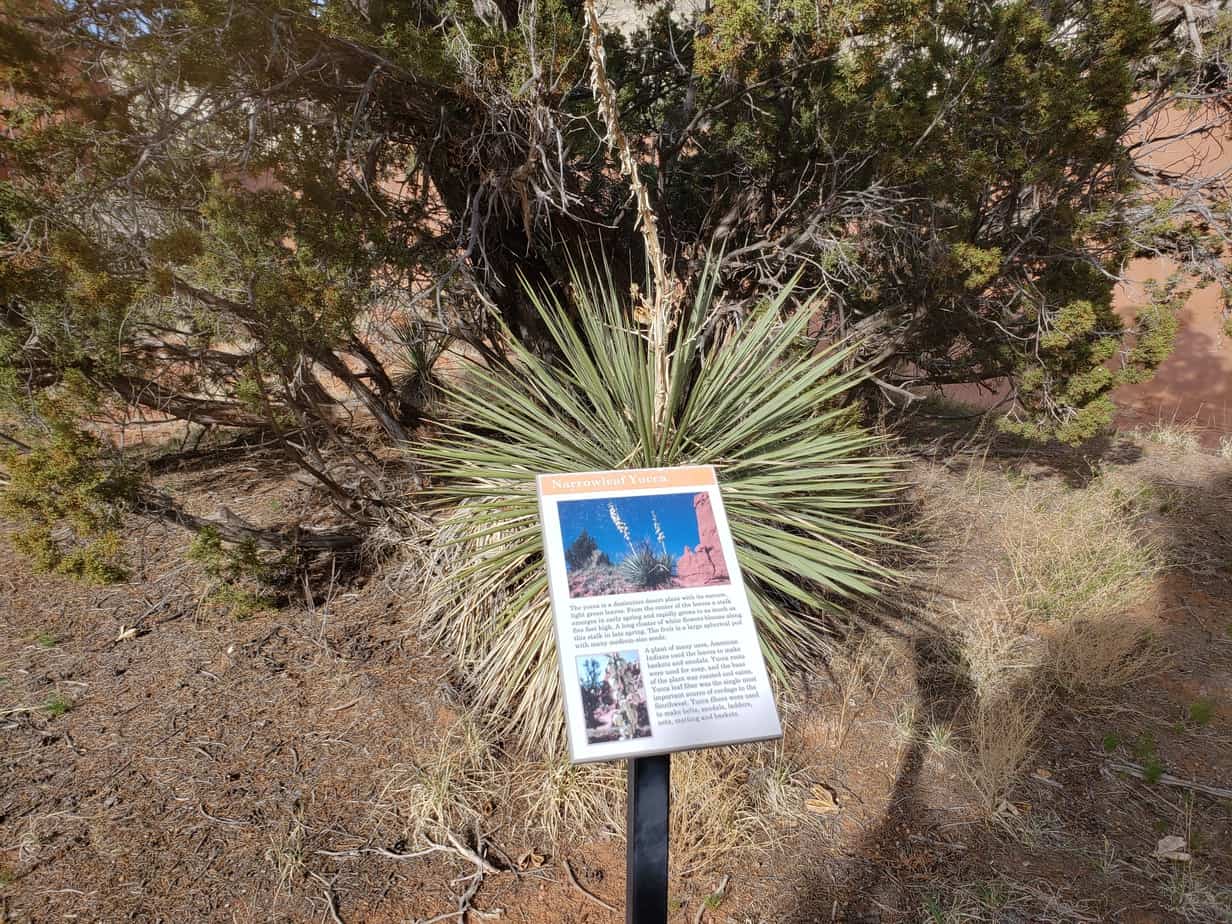
2. Nature Trail: A very easy, 0.6 mile flat trail that offers education via signs of plant and geological features within the park. This trail is ADA accessible.

3. Grand Parade Trail: An easy 1.5 mile flat hike along the bottom of the basin floor that can be extended to 2 miles by exploring the two secluded box canyons adjacent to the trail.

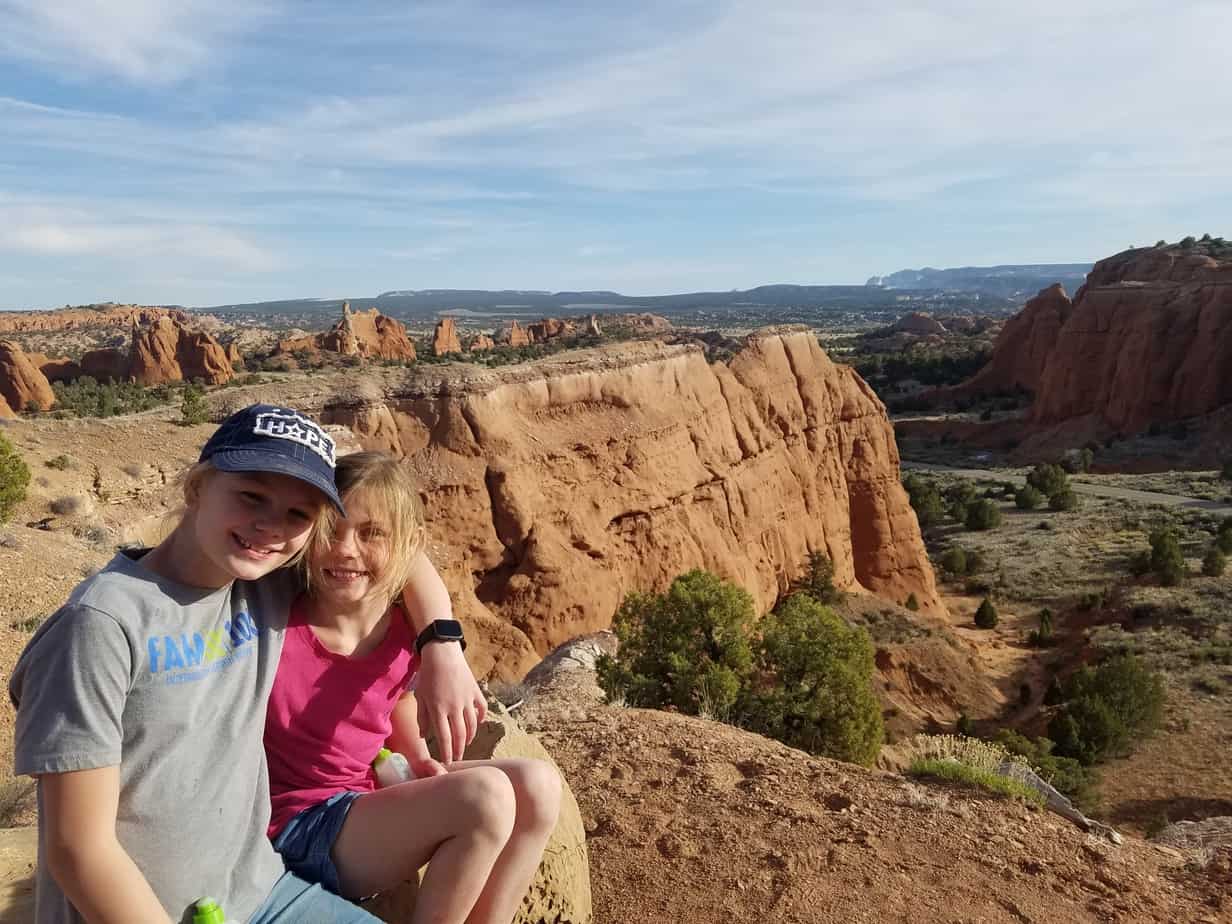
4. Angel’s Palace Trail: A steeper hike, gaining 150 feet in .75 miles providing beautiful views of Kodachrome Basin and beyond. This hike has steep drop offs in some areas. I do not recommend for young children who run off.

Top of Angels Palace Trail

5. Panaroma Trail: A 3 to 6 mile hike with multiple points of interest along the way including the Hat Shop, Indian Cave, Ballerina Leg, Secret Passage, Cool Cave and Panorama Point.

6. Shakespeare Arch: Sentinel Trail: A 2 mile hike that once offered views of Shakespeare Arch. This arch fell in 2019 but the hike still offers beautiful views and scenery. This hike has some difficult terrain but well worth the views.

MOUNTAIN BIKING

I was so glad we brought my mountain bike. I wanted to check out each trail while we were there but we just ran out of time. I was able to bike the Grand Parade Trail which was a lot of fun. My husband biked a portion of the Panaroma Trail which is also an awesome trail to bike. Keep in mind that mountain bikes are not allowed on every trail.


STAR GAZING

My seven year old told me that the sky did not look real at night because there were so many stars to see. We were lucky our first night with a completely clear sky and no moon. We slept with the rain fly off. The kids had been asking to sleep under the stairs for a couple years and it finally worked out.

PLAYING IN THE SAND

Wish we would have brought beach toys and buckets for the kids to play with. There was so much sand for the kids to play in at our site. They were literally playing in it like we were at the beach.

GRASS GAMES

There is a grassy area next to the bathrooms in the Basin Campground with picnic tables. At the visitors center you can rent Bocce Ball, Frisbee Golf, Giant Jenga, Cornhole or Ladder Toss for the day for $5.

HORSEBACK RIDES

Horseback rides are available on the Panaroma Trail through Red Canyon Trail Rides. There weren’t any rides going at the time that we visited, due to Covid-19 concerns. They offer one hour rides for $40/person or two hour rides for $60/person. Horseback rides must be booked ahead of time.

VISITOR’S CENTER

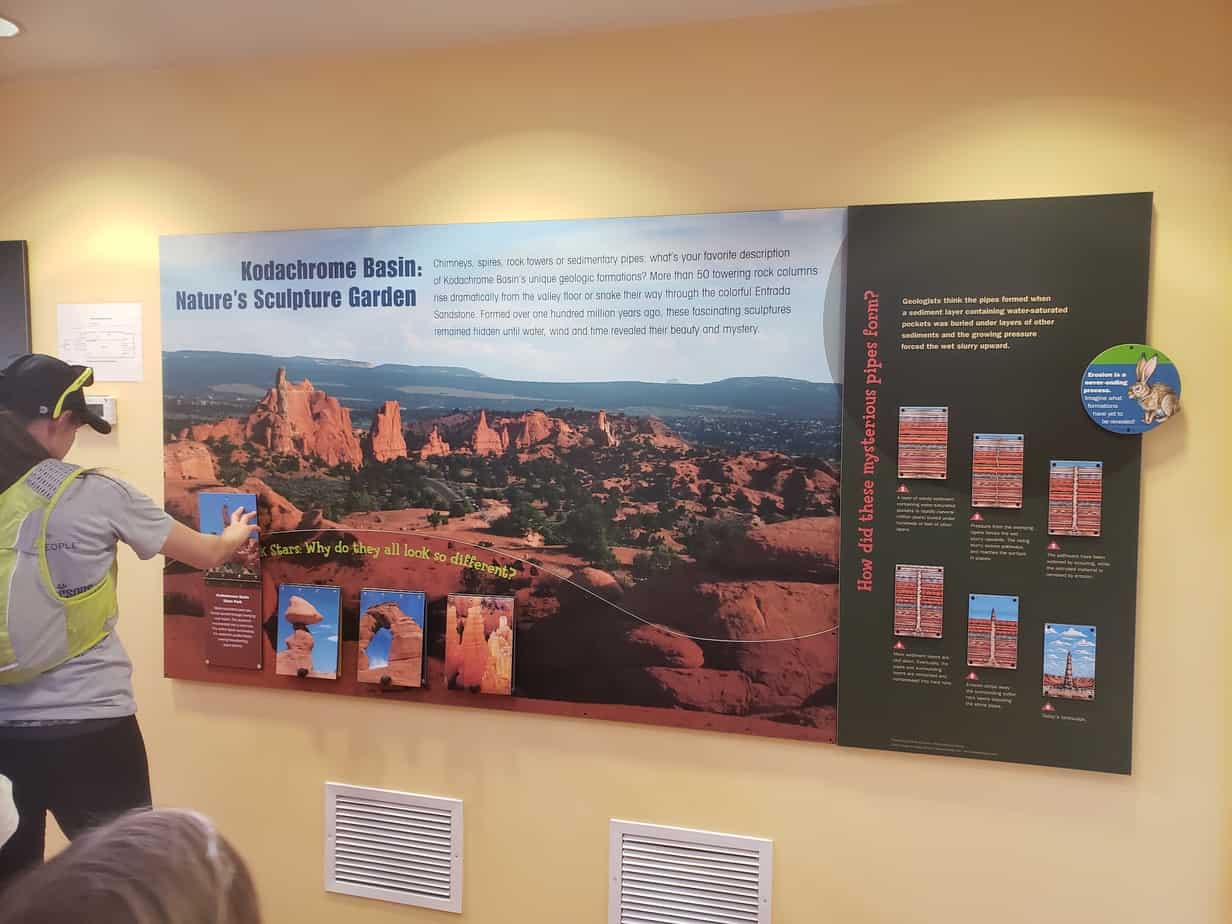
The Visitor’s Center is very small but it did have a couple of wall exhibits that were engaging and informative. It also has a small gift shop and a freezer full of ice cream for purchase on a hot day.

Kodachrome Basin State Park Visitors Center Dispaly

PROS & CONS

PROS

  • Amazing hiking
  • Lots of things to do
  • Beautiful scenery
  • Low cost
  • Good for families of all ages
  • Variety of amenities: laundry, cabins, showers, 
  • Close to Grand Staircase Escalante and Bryce Canyon National Park

CONS

  • Hot in the Summer Months
  • No restaurants on site – Must drive to Tropic for food (20 minute drive)

DIRECTIONS

Kodachrome Basin State Park is located in Central Southern Utah near Bryce Canyon National Park and Escalante National Monument. It is about 15 minutes south of the town of Cannonville, Utah off of Highway 12. To get there, enter Kodachrome Basin State Park Visitors Center in your GPS device or click on my map link below.

MAPS


MORE INFO

Kodachrome State Park official site


OTHER NEARBY ADVENTURES

Grand Staircase Escalante National Monument (30 minutes to 2 hours), depending on where you go – the monument is over one million acres of land.
Willis Creek Slot Canyon (30 minutes)
Bryce Canyon National Park (30 minutes)
Red Canyon (40 minutes)
Peek-a-boo and Spooky Slot Canyons in Grand Staircase (1 hour 50 mins)

ABOUT

Hi, I’m Corrine! I’m an outdoor enthusiast and mother of four.

My goal is to inspire you to get outside and create your own amazing memories as a family. Life is precious and there are too many adventures to be had to spend life on the couch or in front of a screen.

YOU MIGHT ALSO LIKE:


No Results Found

The page you requested could not be found. Try refining your search, or use the navigation above to locate the post.