No Results Found
The page you requested could not be found. Try refining your search, or use the navigation above to locate the post.
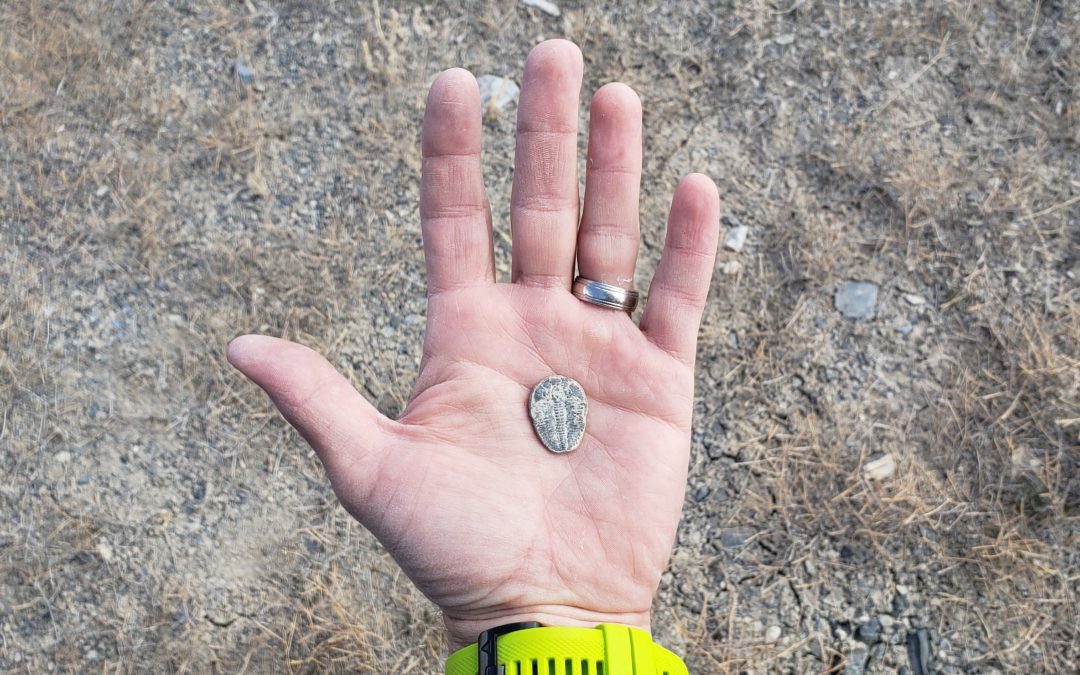
Fossil Hunting in Utah is a great way to dig into Utah’s rich geological history with your kids. You can find and keep your own fossils in fossil beds near Delta, Utah. This is where the classroom meets real-life and your kids can discover a love of geology and paleontology.
Fun: ⭐⭐⭐ (out of 5)
Difficulty: Very Easy Easy MODERATE Hard Very Hard
Terrain: Dirt, rocks, shale. Bumpy dirt road to access fossil area.
Time Needed: 1 to 2 hours
When to Go: Spring, Summer (morning or evening), Fall
Free on Bureau of Land Management (BLM) land.
U-Dig Fossil Quarry
There is a paid option up the road about a mile from the BLM land called U-dig Fossils. This private, 40 acre quarry provides tools and instructions on fossil hunting. We went fossil hunting when U-dig wasn’t open so I can’t speak to the success of fossil finding there. However, other blogs have mentioned that the overall fossil quality is better there than on the BLM land.
Prices at U-dig Fossils (as of April 2021):
2 Hours – Ages 7 to 16: $19 Age 17 and older: $33
4 hours – Ages 7 to 16: $33 Age 17 and older: $49
8 hours – Ages 7 to 16: $58 Age 17 and older: $90
Ages 6 and under are free with a paying adult
Personally, I think 2 hours is plenty of time to fossil hunt. Especially when you are in a paid quarry where there are more fossils.
Bucket
Shovel
Pickaxe or hammers
Lots of water, especially in the summer months
Snacks
Sunscreen, no shade in the area
Spare tire, just in case
During the social distancing of COVID-19 our family found out about a place to hunt for trilobites and fossils in Utah for free! So much fun!
This area is on BLM land, about 1-hour outside of Delta Utah. It is literally in the middle of nowhere, but don’t worry, I have directions, maps and GPS coordinates below. The last 45 minutes of the drive is on a dirt road. We take our mini-van everywhere and it did just fine on the dirt and gravel. Keep your eyes out for wild horses. We saw a few on the drive!
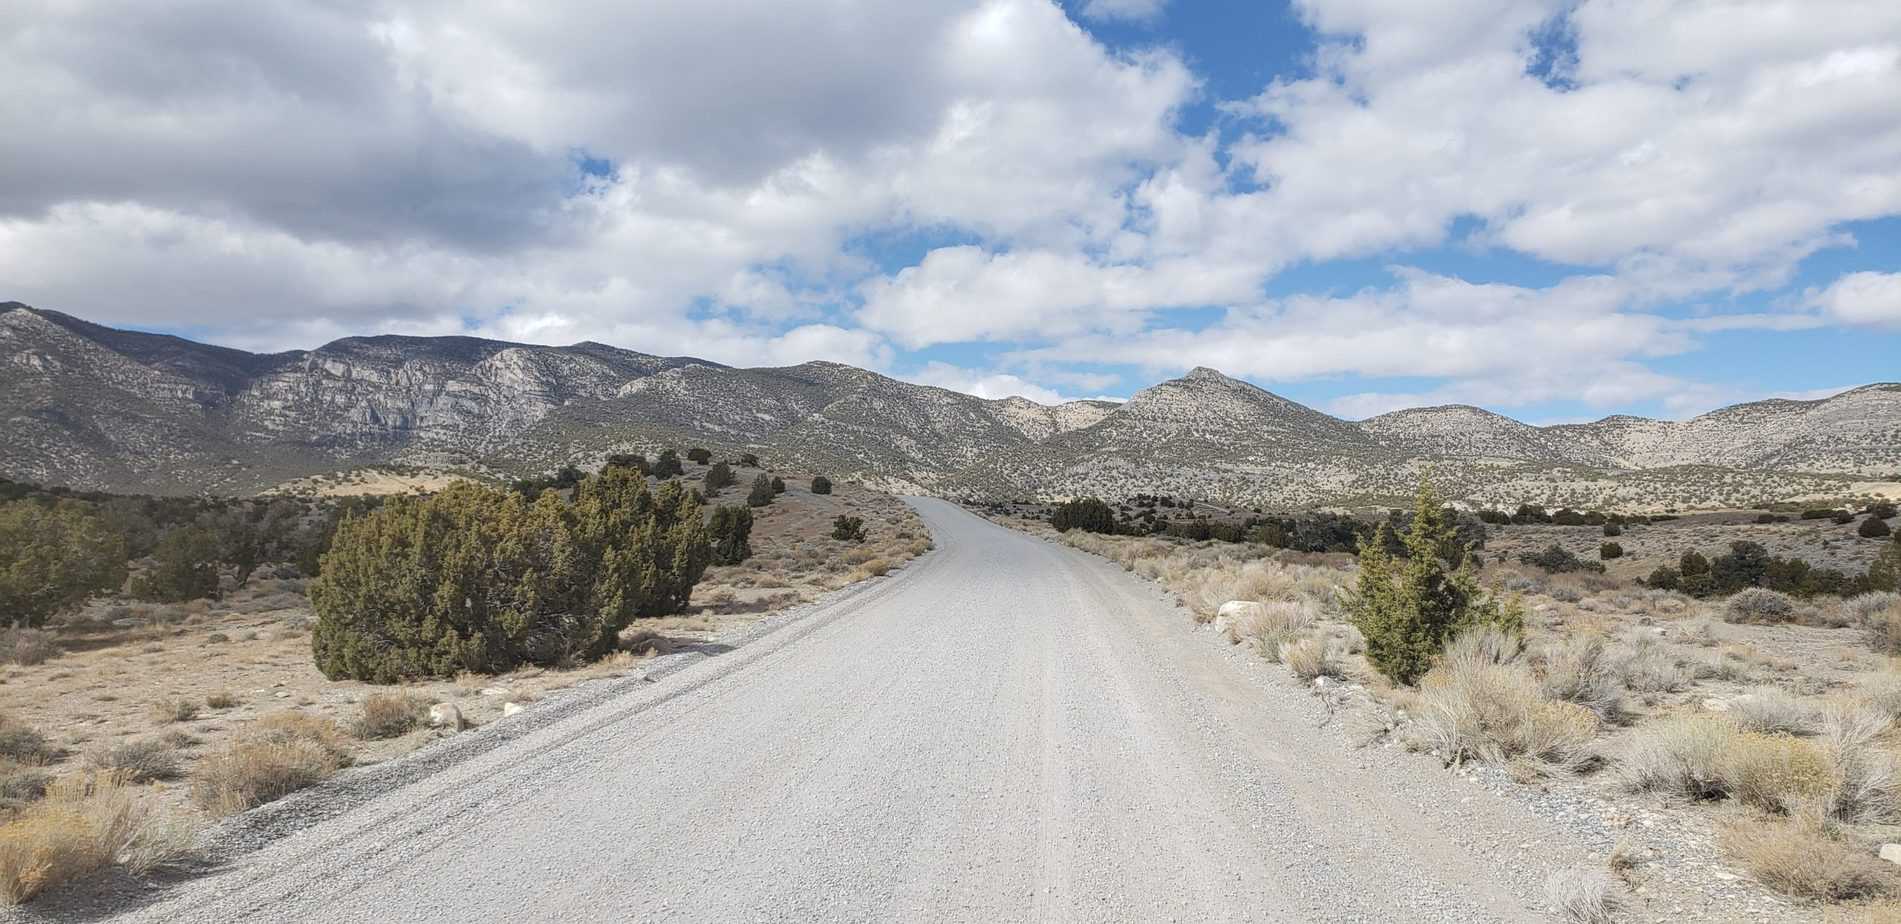
The location for fossil hunting is in a ravine where the side of a hill has been visibly cut out by a tractor. There are mounds of rock where the side of the hill has been removed, exposing layers of shale.
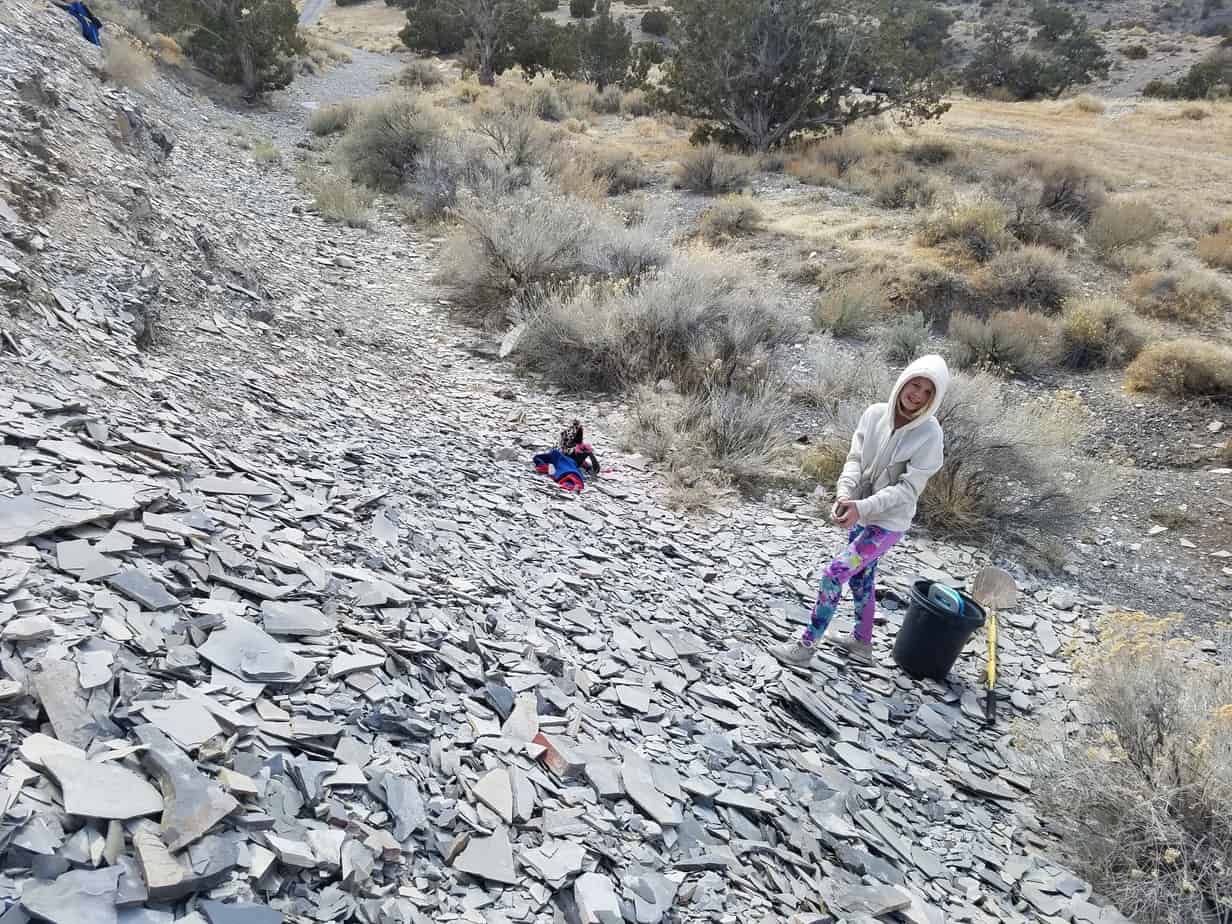
There are a few different methods to find fossils
1) Simply pick up pieces of shale that is already broken and inspect to see if you find a fossil. This is how we found the majority of ours.
2) Break apart the shale with your hands to find fossils in between the layers of hardened mud.
3) Using a shovel, hammer or pickaxe you can chip away at shale that is either still attached to the hill or larger pieces that are on the ground.
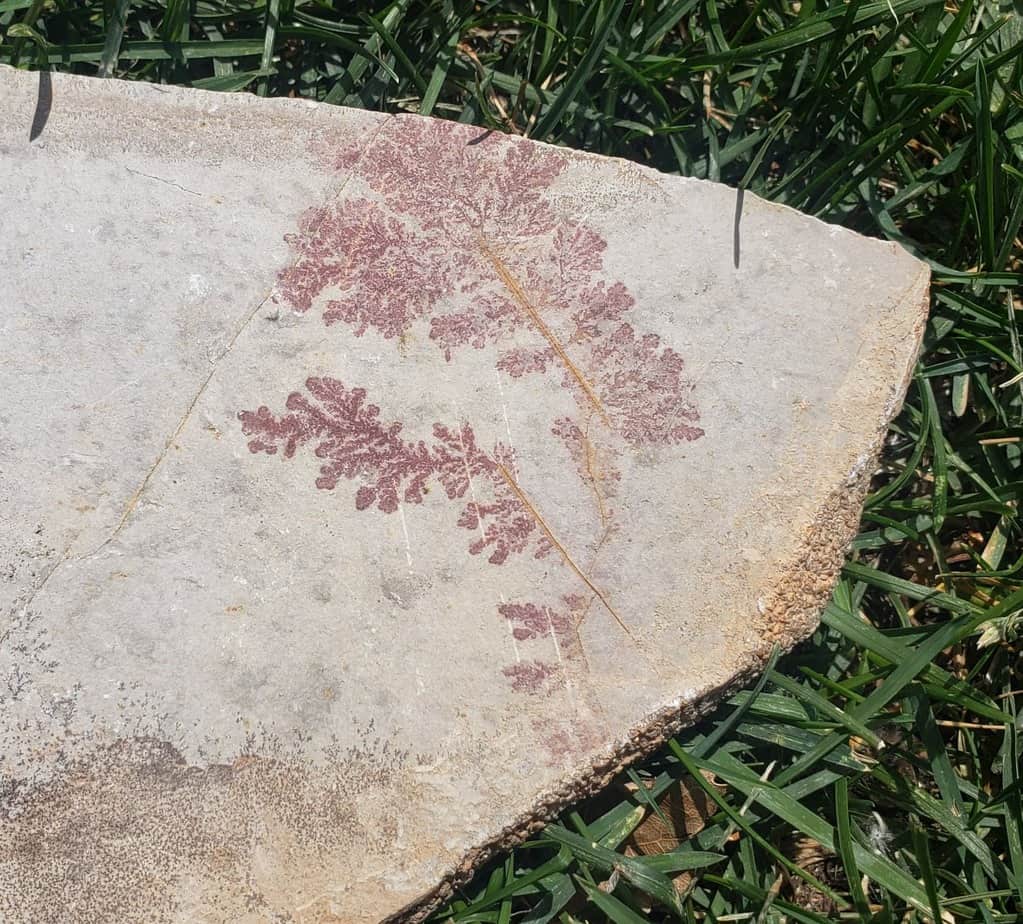
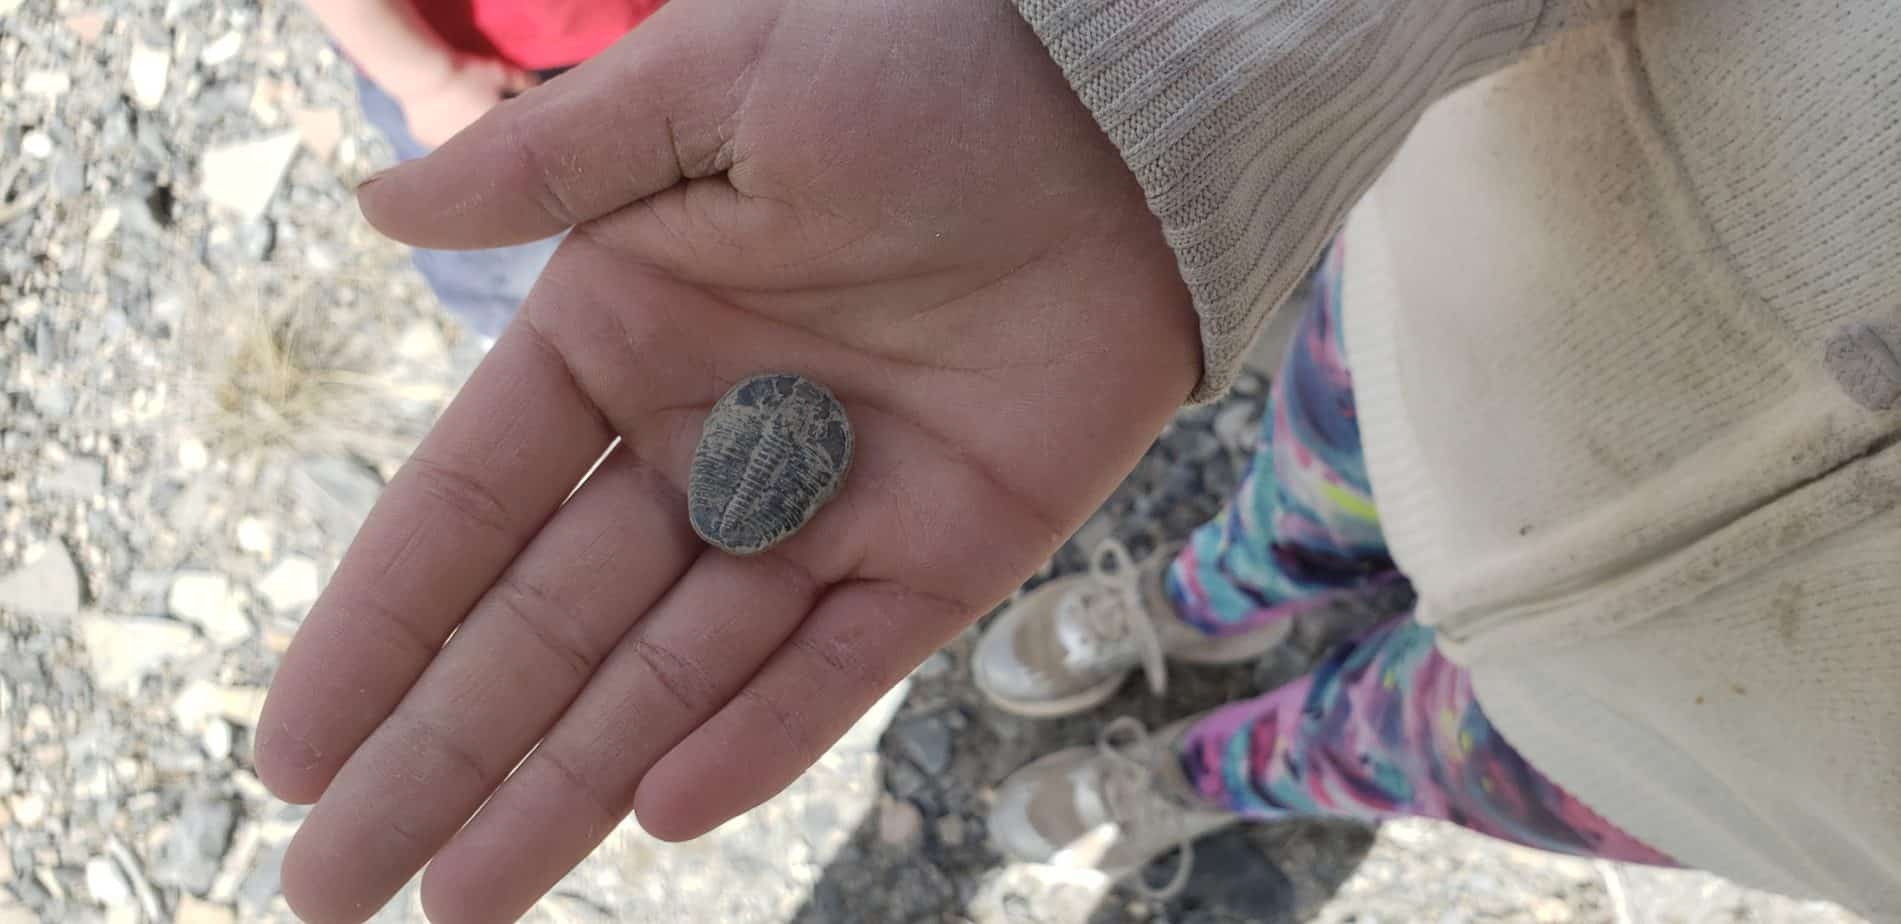
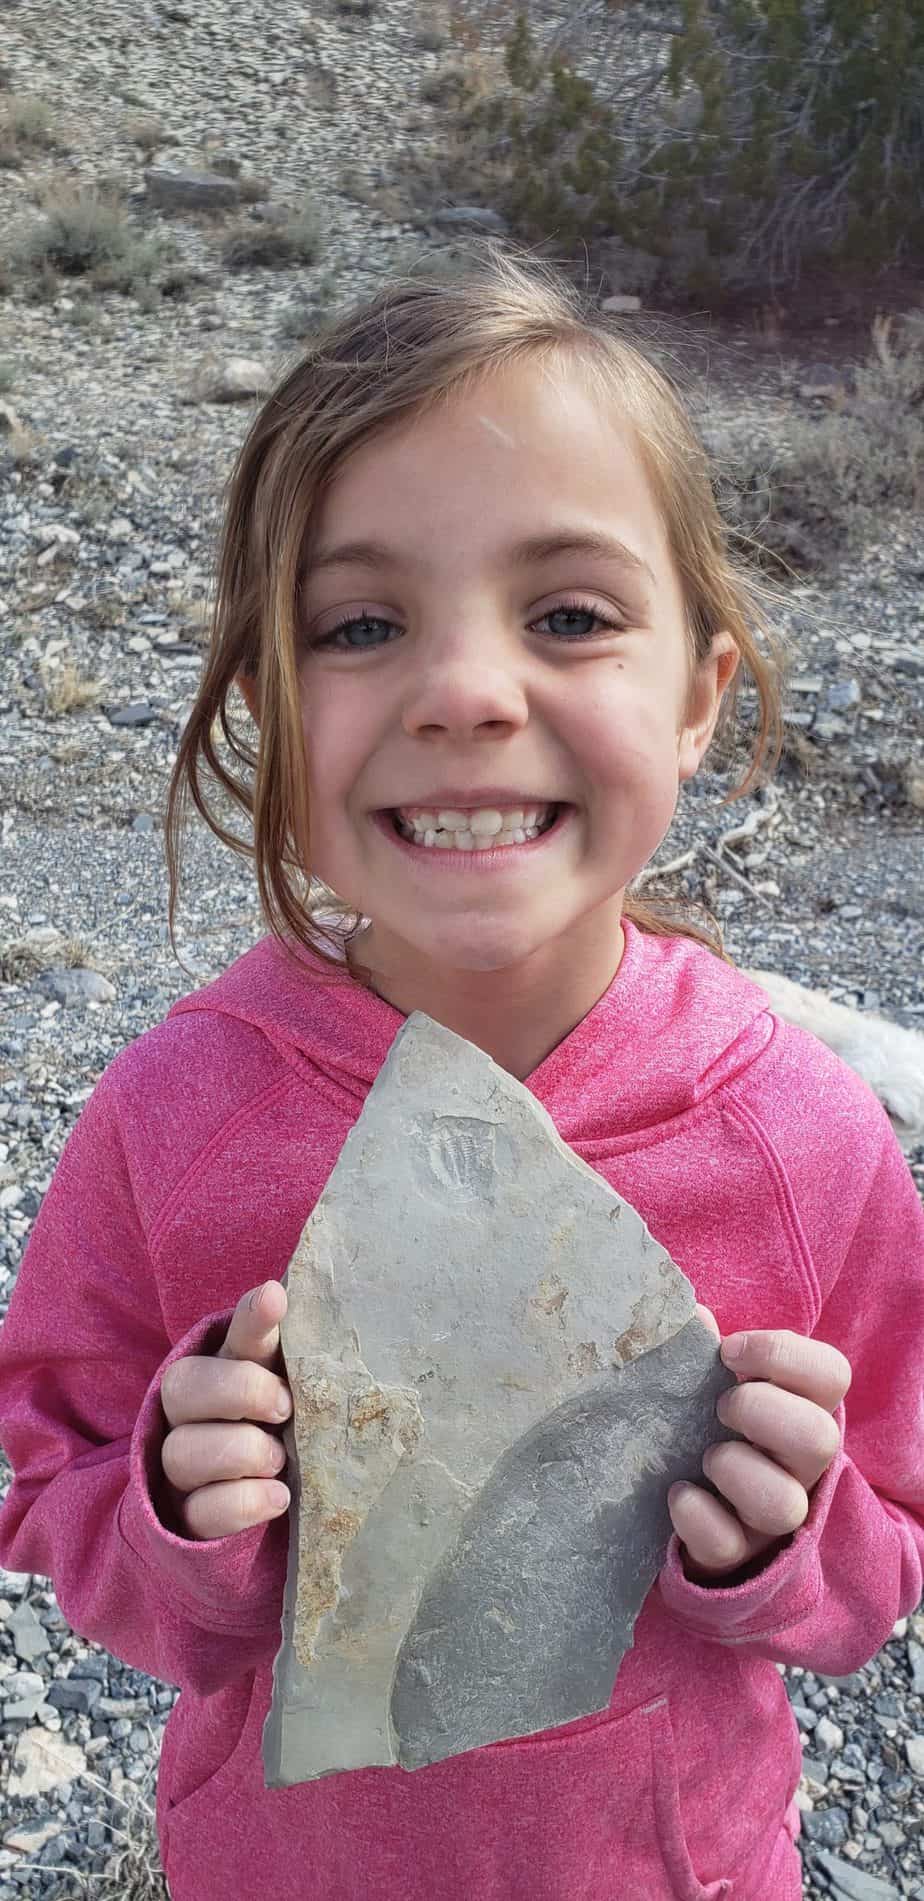
We spent only an hour looking and found many plant fossils, one full trilobite and several imprints of trilobite fossils. A couple of my kids spent most of the time just climbing up the shale hill, only spending a few minutes looking, and they still found a few fossils.
A bit of patience is required to find quality fossils. Our 10 year old had this patience and was able to find a whole trilobite.
PROS
Fairly easy to find fossils
Fun place to explore
Free!!
Paid quarry near-by
CONS
Long drive on a mildly bumpy dirt road
No amenities nearby unless going to private quarry
We went fossil hunting about 60 minutes west of Delta, Utah. The GPS coordinates are 39.345756,-113.275586. You can also follow my map below.
From Delta, head west on Highway 6 (also called Highway 50). You will turn north on a dirt road called Death Canyon Road. You will then follow this for about 45 minutes. Off Death Canyon Road you will see a fork in the road to the right, head to this fork and then take a left at this fork. The area we searched for fossils is about 0.1 miles off of this fork.
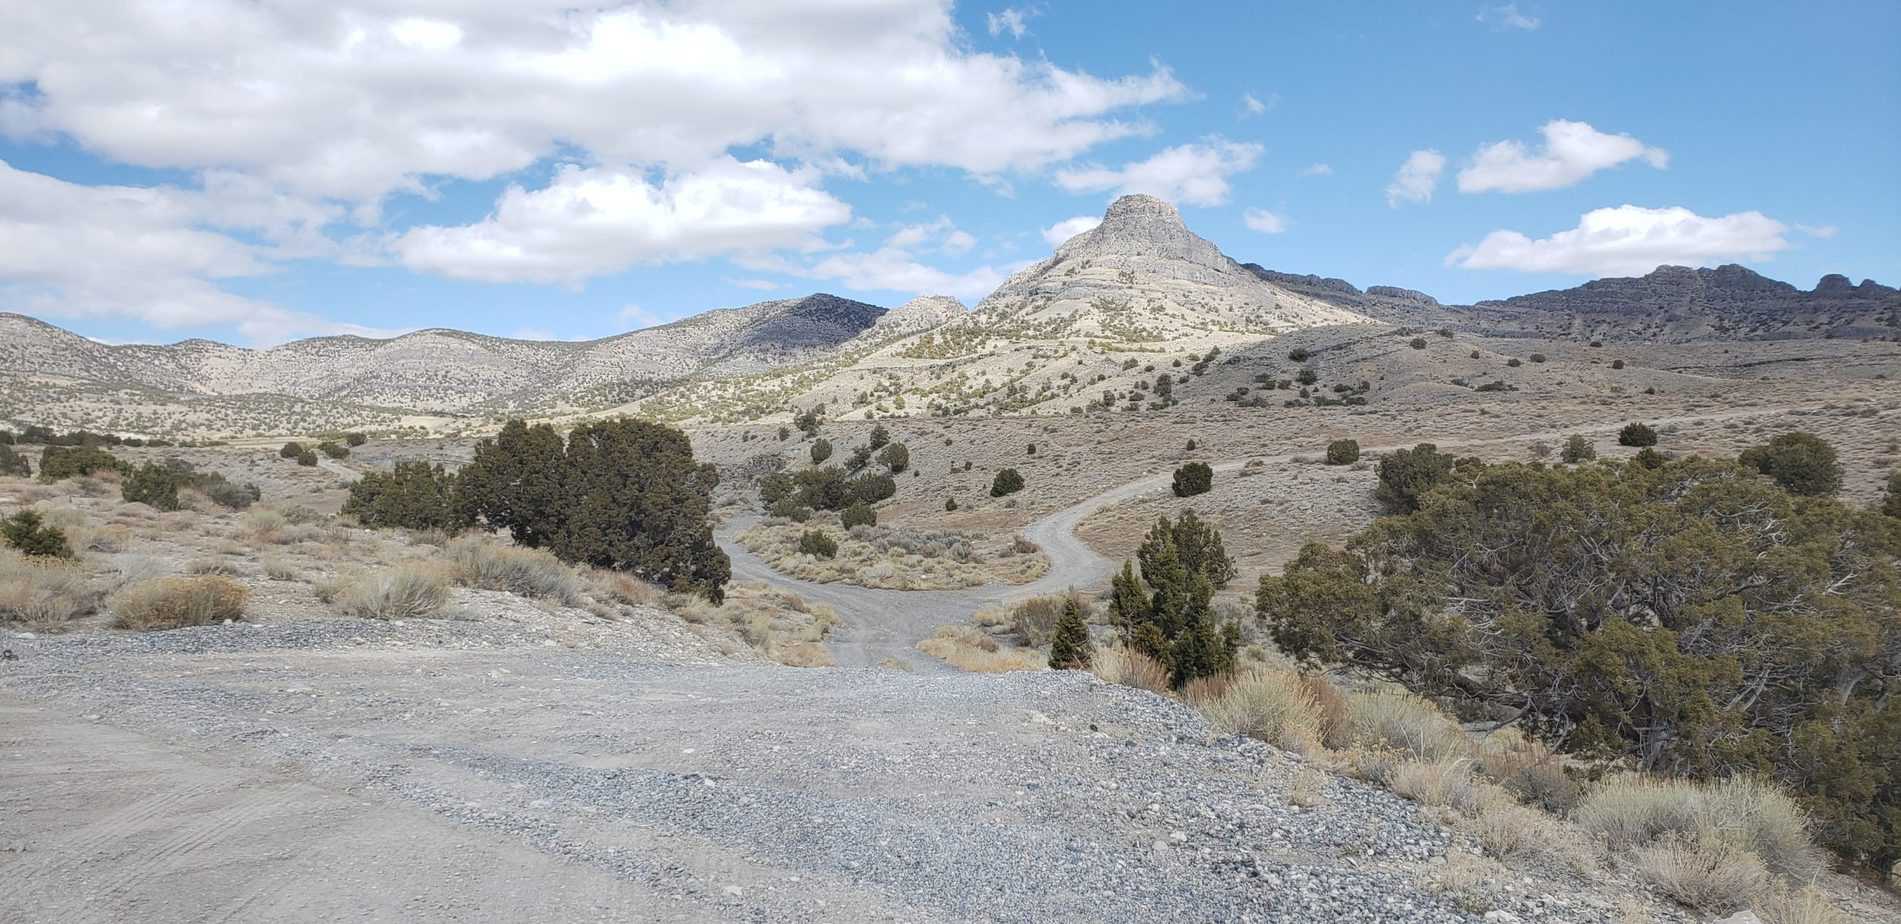
To get to the U-Dig Fossils private quarry, stay on Death Canyon Road for another mile after the BLM quarry. There will be signage to direct you when to turn for the quarry.
As I was looking at other blogs about trilobite hunting afterward, I found that there is another BLM quarry about 1 to 2 miles from where we were hunting that looks awesome. I wish I would have known about it before we went. Follow this link for info and directions to the additional location. Also, here is the approximate GPS coordinates: Lat: 39 Deg 21′ 29″ N and Long: 113 Deg 15′ 58″ W.
Rock hounding for sunstones at Sunstone Knoll (1 hour)
Great Basin National Park (1.5 hours)
Fort Deseret State Park (1 hour)

Hi, I’m Corrine! I’m an outdoor enthusiast and mother of four.
My goal is to inspire you to get outside and create your own amazing memories as a family. Life is precious and there are too many adventures to be had to spend life on the couch or in front of a screen.
The page you requested could not be found. Try refining your search, or use the navigation above to locate the post.
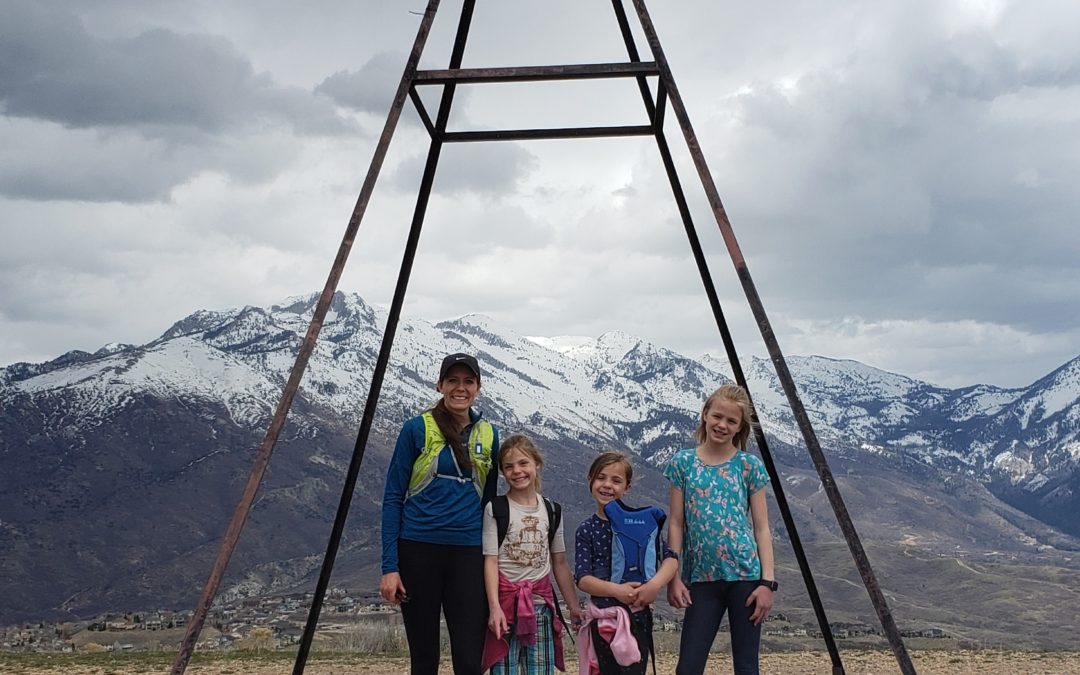
The Alien Tower Hike leads to the top of a small peak with an old a-frame, metal structure and amazing 360 degree views of the Wasatch Mountains and valleys below. It is a dog and family-friendly, out-and-back hike, that gains 538 feet over 2.5 miles, and is well worth the trek.
Fun: ⭐⭐⭐ (out of 5)
Difficulty: Very Easy Easy MODERATE Hard Very Hard
Hiking Distance: 2.5 miles round trip
Hiking Elevation Gain: 540 ft
Terrain: Dirt trail, rocks, exposed trail,
Time Needed: 1.5 to 2.5 hours
When to Go: Spring, Summer (morning or evening), Fall
Free
The Alien Tower hike is a fun, free adventure in Draper, Utah. We hiked to the Alien Tower in early spring with an 11, 9, 7 and 2 year old. We had fun making up stories about aliens and how the tower got to the top of the mountain.
The Alien Tower hike begins from a small parking area at the end of Deer Ridge Drive in Draper, Utah. If there is not enough parking near the trail head, Maple Trailhead Park is directly adjacent on the north side and has a few parking stalls. There is a trail that connects Maple Trailhead Park to the Alien Tower Trailhead if you park there or you can just walk from the park to the Alien Tower Trail via the sidewalk.
There is a chain blocking the large trail to restrict motorized vehicles from entering. This is where the hike begins.
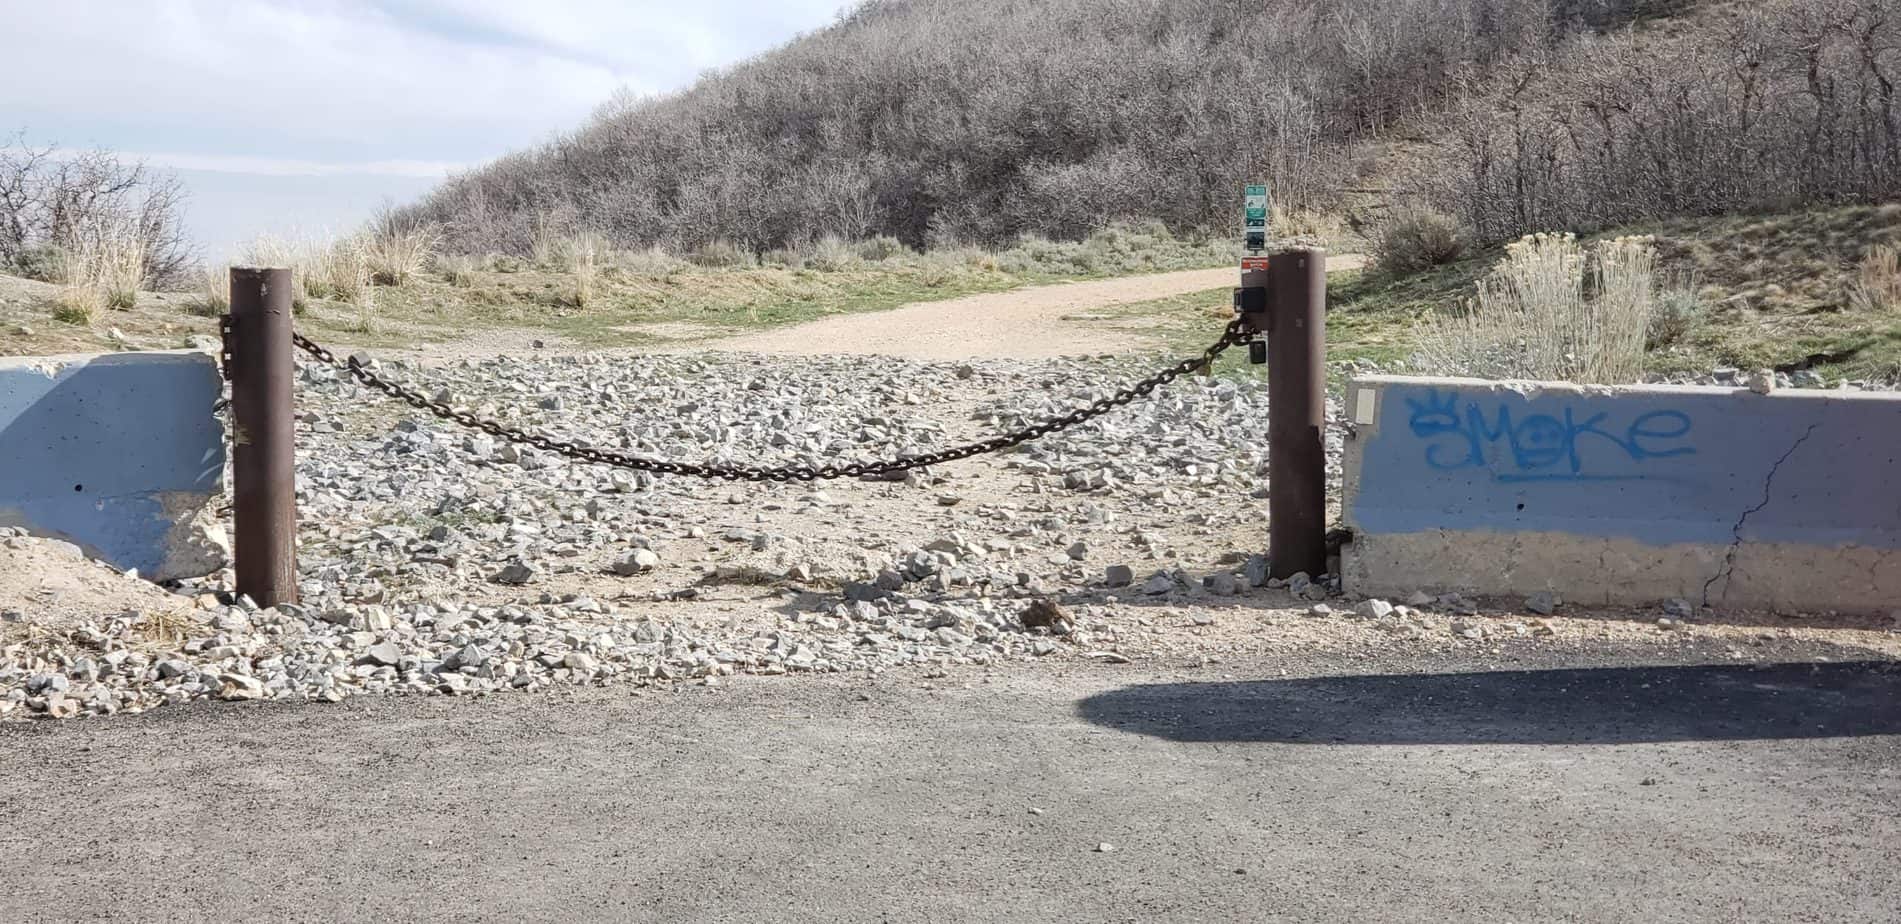
There are two main route options to get to the alien tower but they begin from the same place. After a few minutes on the main trail there is a trail to the left that heads south. We followed this route. However, you can continue on the main trail where the off leash dog area is. Each route leads to the alien tower.
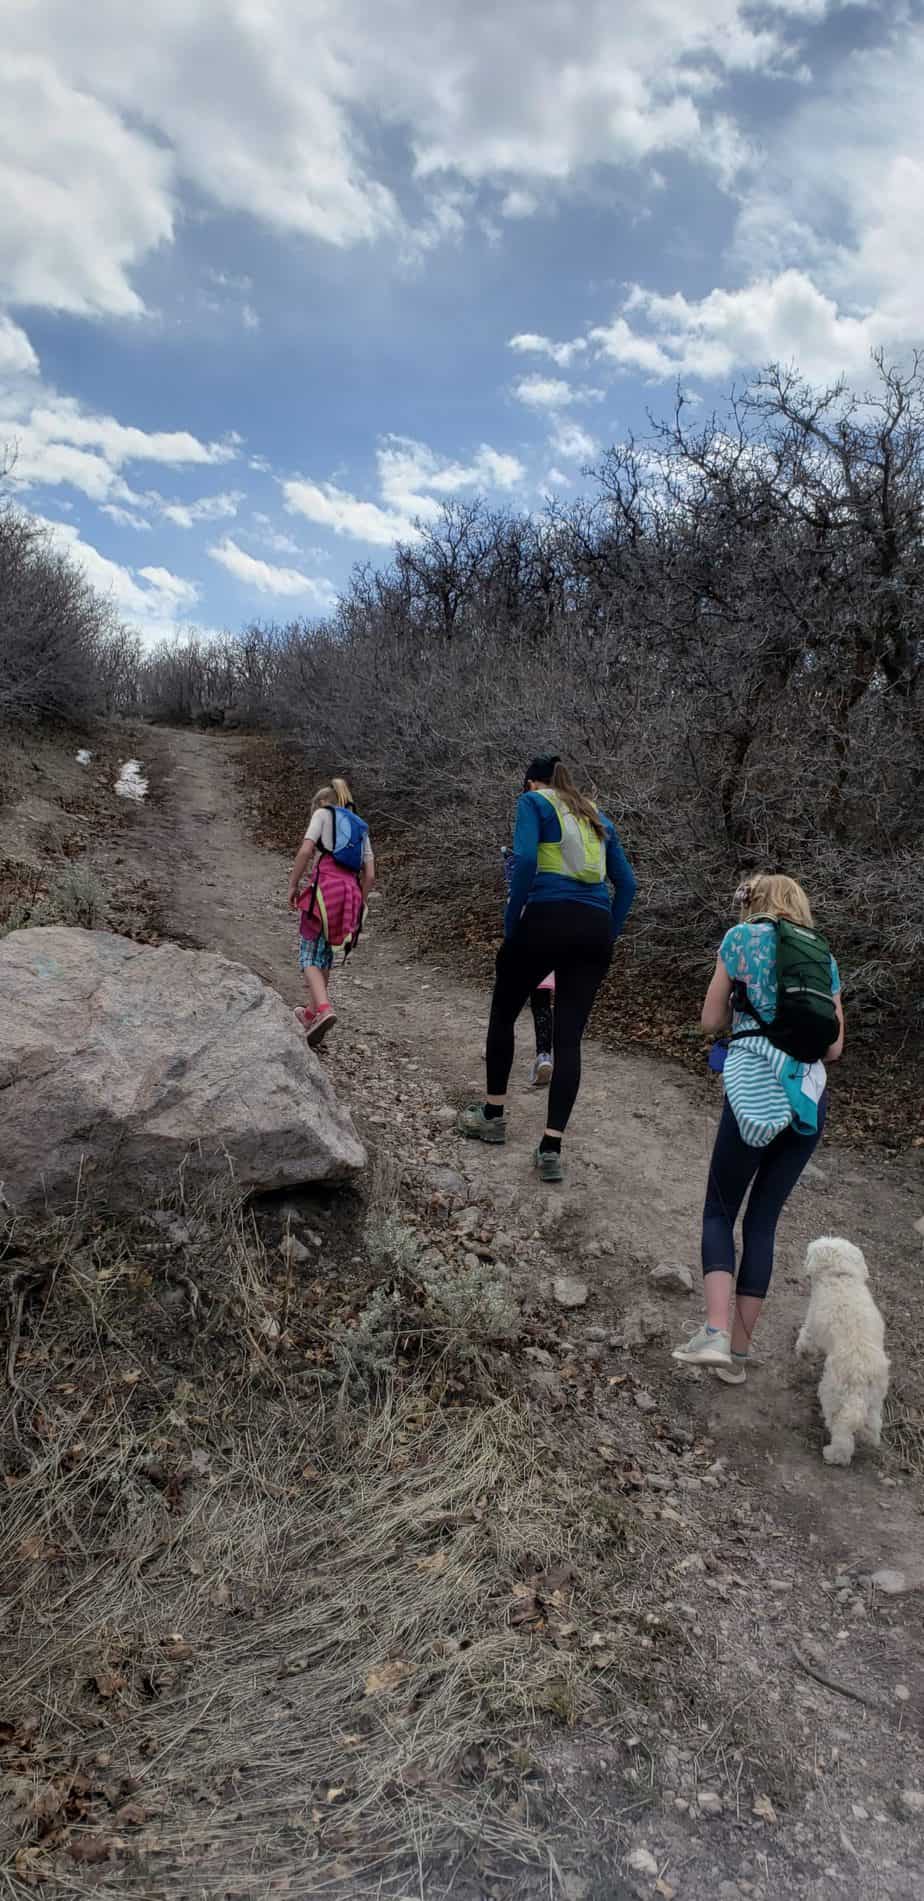
We enjoyed coming up with stories about aliens and what the alien tower might be used for. There is a twin alien tower on the top of Lake Mountain, near Saratoga Springs and maybe aliens use the two towers for communication. 😉
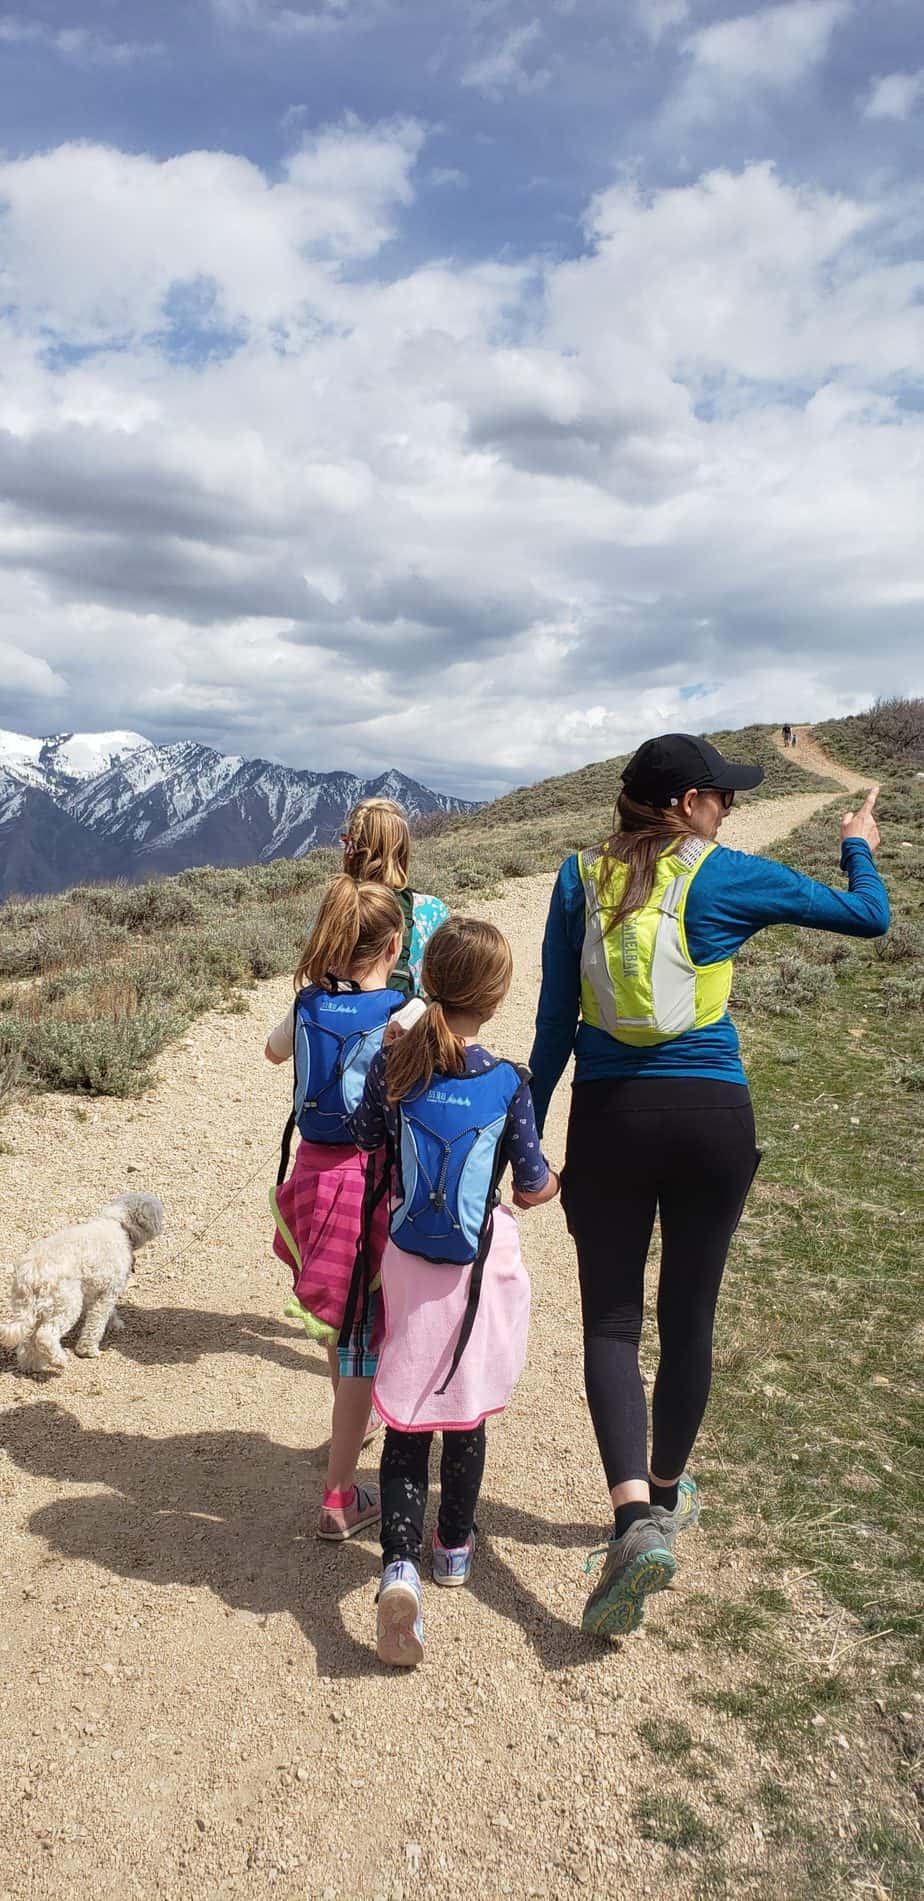
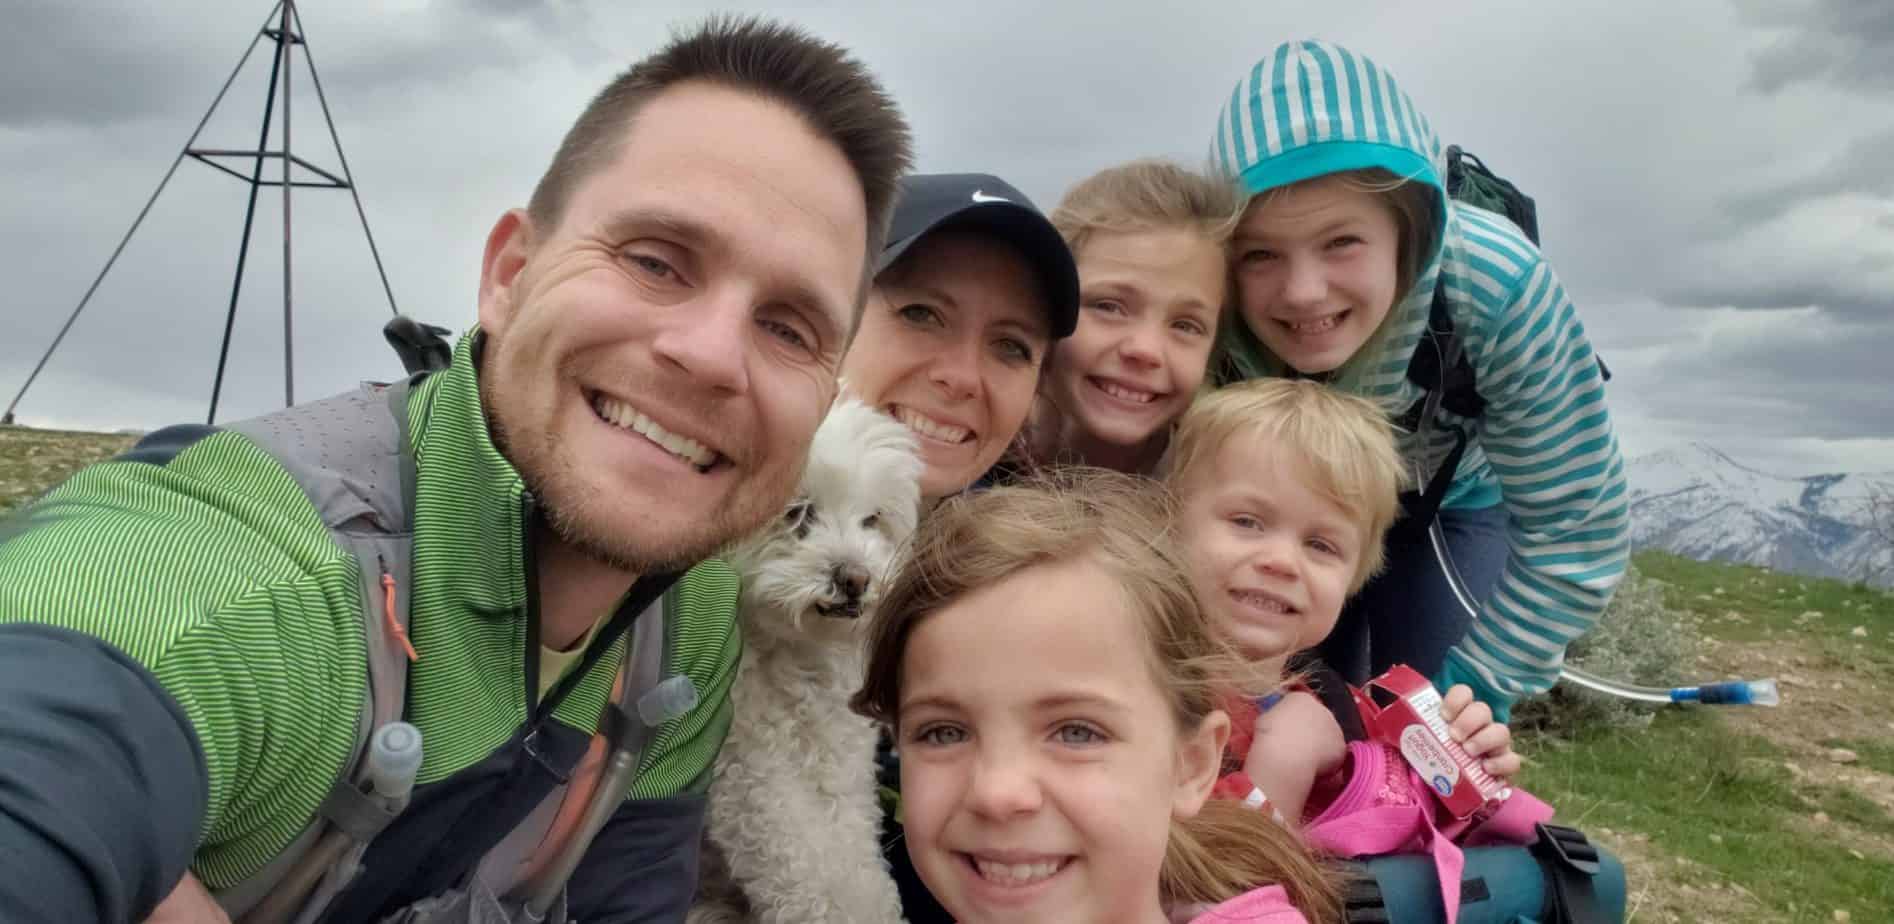
The alien tower is a-frame metal structure and marks the turn-around point at the top for the hike. We took a break here for a snack, enjoyed the views and pointed out landmarks that we know.
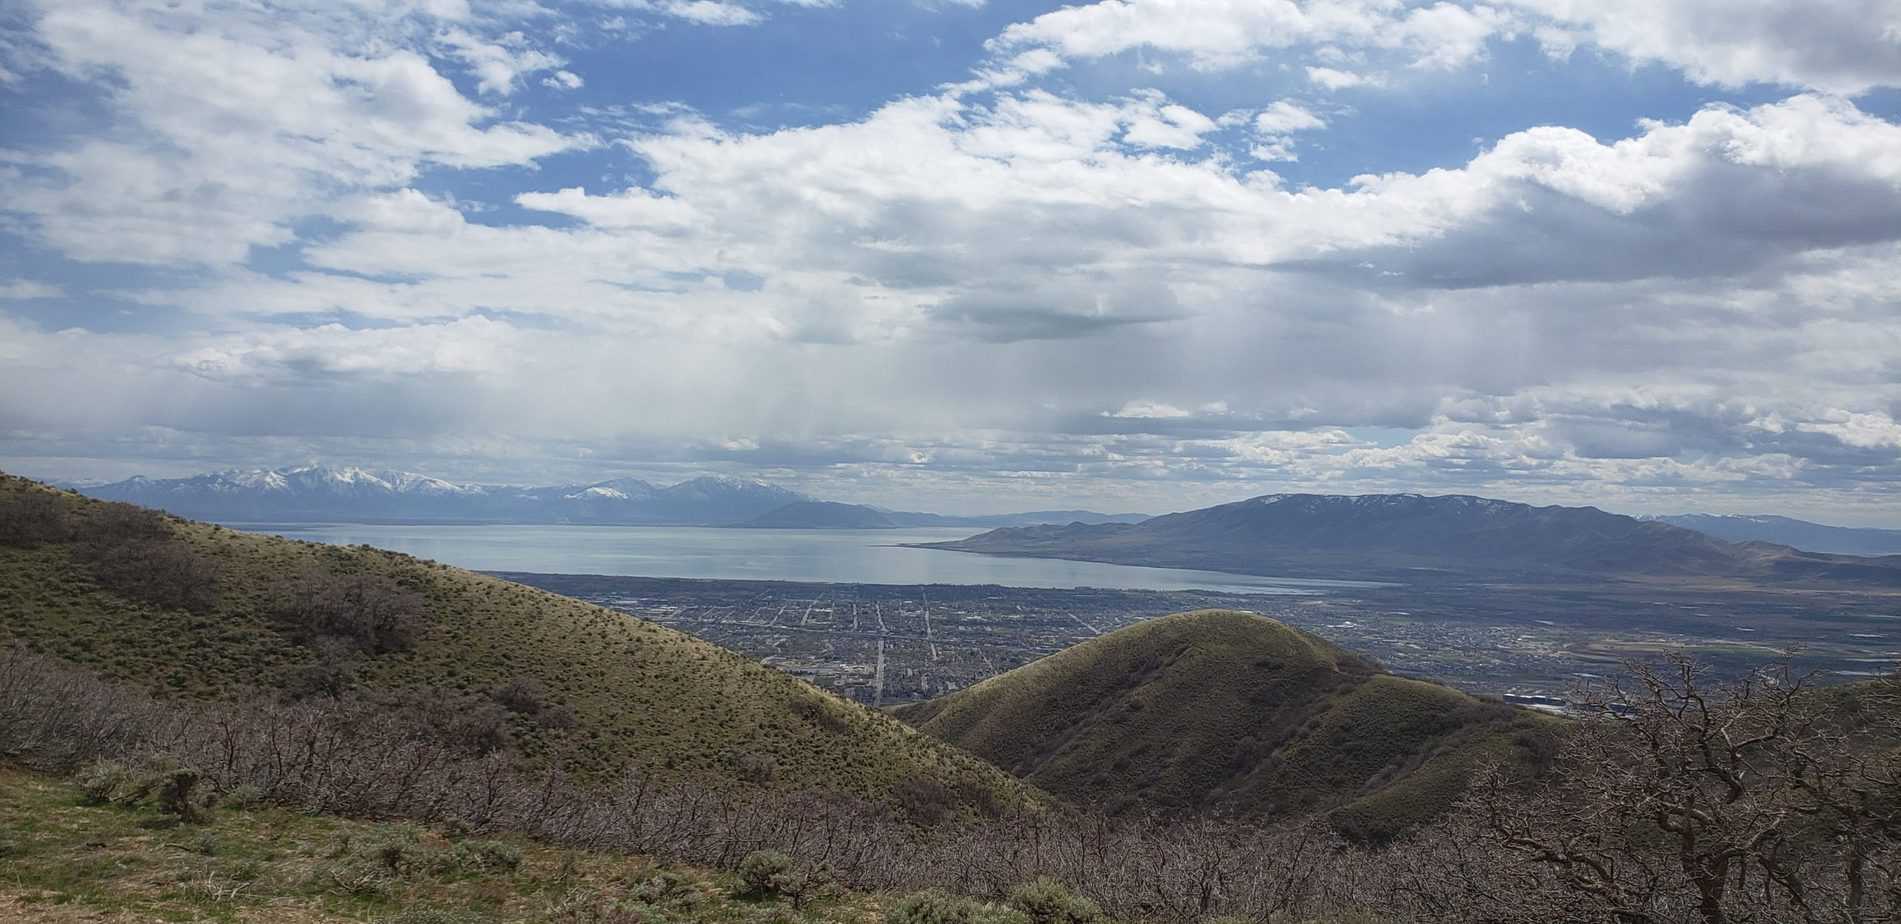
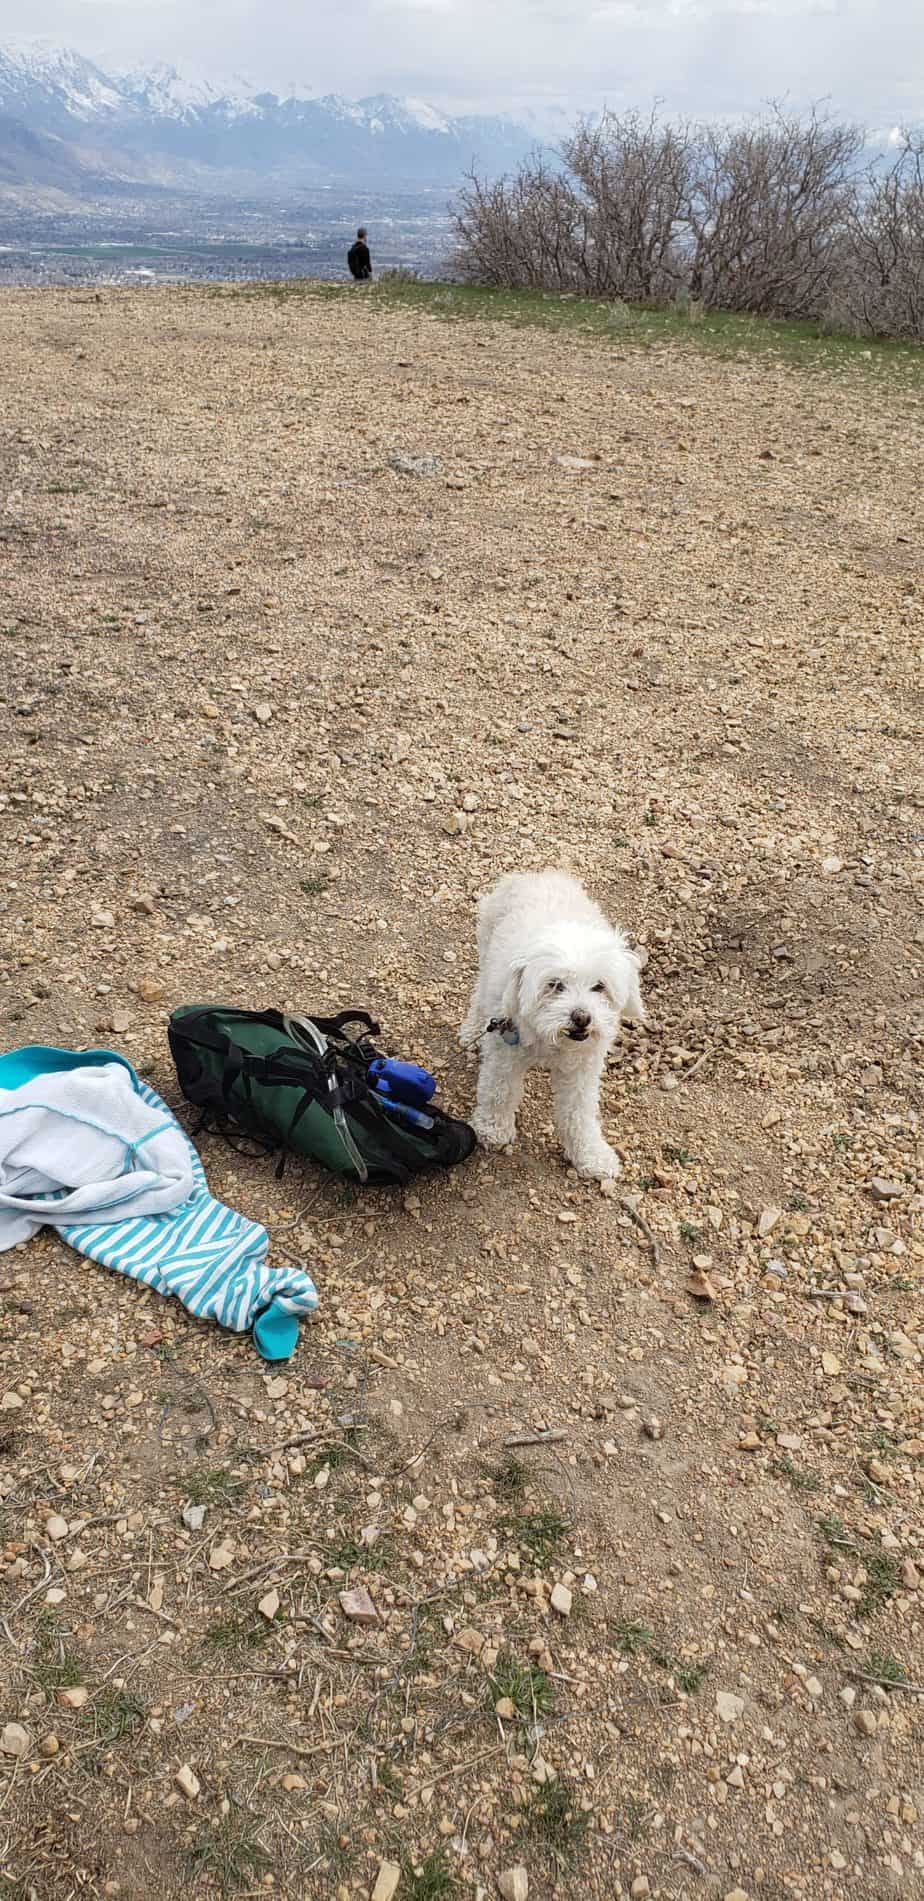
Dogs are allowed on this trail and there is a specific area where dogs are allowed off leash that is well marked. There was a lot of dog waste along the path. Please clean up after your dog if you bring one.
The distance and climb make it a great hike for families. It is not too short and not too steep, but there was still enough climbing to get couple minor complaints from our youngest daughter. According to my GPS, the hike was closer to 2.8 miles. There are not any trail markers along the way so you can follow the All Trails route.
PROS
CONS
The trailhead is officially called Deer Ridge Offleash Dog Trailhead on google maps, but there is not a sign that calls the trailhead this. The address is 1455 Deer Ridge Dr, Draper, UT 84020. Type Deer Ridge Offleash Dog Trailhead in google maps or the exact address to get you to the starting point.
We pulled up the map from All Trails to get directions to the trail head and follow the actual trail to make sure we were going the most direct route.
There are a few different ways to get to the alien tower, we took the most direct route taking a left at the first fork in the road. You can make this hike slightly longer by adding in a loop.
Rocky Mouth Waterfall Hike (10 minutes)
Draper Suspension Bridge (15 minutes)
Horsetail Falls Hike (30 minutes)

Hi, I’m Corrine! I’m an outdoor enthusiast and mother of four.
My goal is to inspire you to get outside and create your own amazing memories as a family. Life is precious and there are too many adventures to be had to spend life on the couch or in front of a screen.
The page you requested could not be found. Try refining your search, or use the navigation above to locate the post.
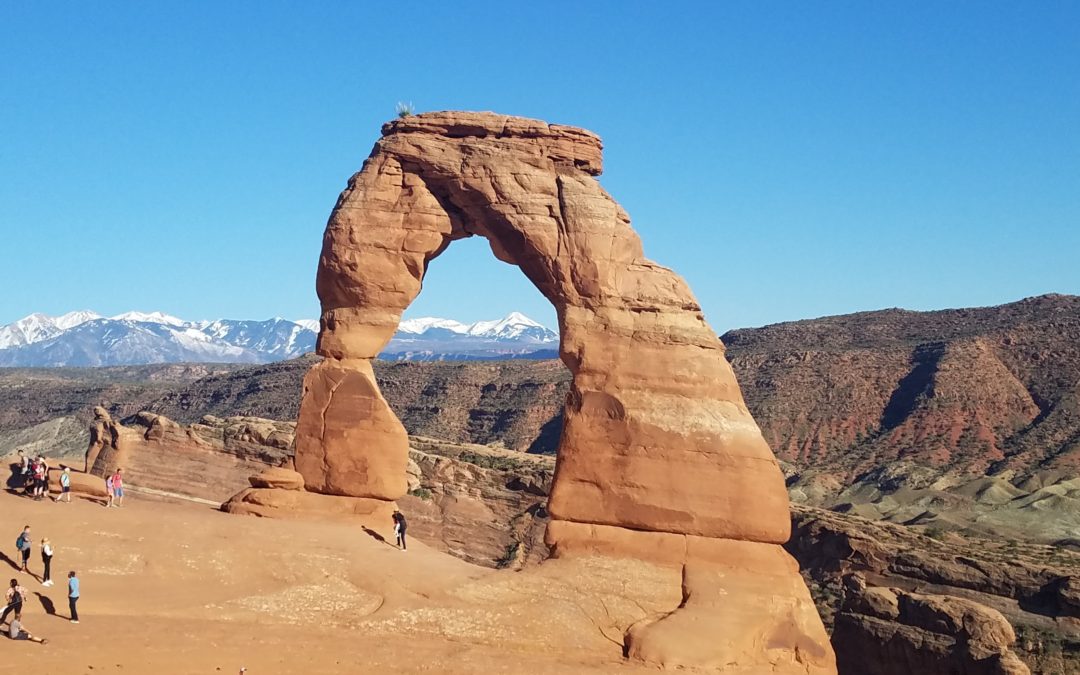
Delicate Arch in Arches National Park is an iconic Utah symbol and is a must-see when living in or visiting Utah. Visiting Delicate Arch with kids is very doable with a little preparation and determination. To see Delicate Arch up-close you will need to hike 3 miles on Utah red rock. This guide will help your plan your hike to Delicate Arch with kids.
Fun: ⭐⭐⭐ (out of 5)
Difficulty: Very Easy Easy Moderate HARD Very Hard
Distance: 3.1 miles round trip
Elevation Stats: Trailhead: around 4000 ft above sea level, Elevation gain: 680 ft
Terrain: Sand and slickrock, steep areas, some drop-offs, exposed trail
Time Needed: 1.5 to 3 hours
When to Go: Spring, Fall, Winter (weather permitting). Before 9 am or after 3pm during peak season (spring and fall) and on weekends. Park closes entrance when it reaches capacity. Check if park is at capacity before you go on the Arches National Park page.
$30 for seven day Arches National Park Pass. Check current entrance prices on Arches National Park page.
Free if you have a 4th grader: Get your Every Kid Outdoors Pass.
Note on Hotels and Campgrounds: Moab campgrounds and hotels fill quickly, especially in spring and fall. I recommend booking your stay 6 months in advance.
This world-famous, majestic sandstone arch is 46 feet high, 32 feet wide and is the largest free standing arch within Arches National Park. It is worth the three mile hike with kids to see. Delicate Arch was on my 4th-grade daughter’s bucket list. She learned about it in school and begged to visit since.
We visited Arches National Park over Memorial Day weekend. This is a very busy weekend, but we were still glad we went. Be prepared for crowds and a 30 to 60 minute wait to get into the Park if going on a holiday or peak season weekend in spring or fall. Arches will turn away people if it reaches capacity. If you are visiting during these times, I recommend entering Arches by 9am or after 3pm so you are not turned away and minimize the wait time to enter.
Grab a map at the entrance to the park or follow my map in the MAPS section to get to the trailhead. The trailhead is located at the Wolf Ranch Parking lot which is 13 miles from the park entrance. Finding a parking spot can be difficult if visiting at a peak time. Try to hike in the morning, later afternoon or evening. The trailhead is located on the east side of the parking lot near the bathrooms.
The Delicate Arch hike begins with a flat sandy path that then leads to an upward climb on hardened sandstone slickrock. Before the slickrock begins there is a historical cabin and petroglyphs. After walking 0.2 miles from the trailhead you will see signs for the Petroglyph Interpretive Trail. Follow this trail for petroglyph viewing. It will loop around and hook back into the main Delicate Arch Trail.
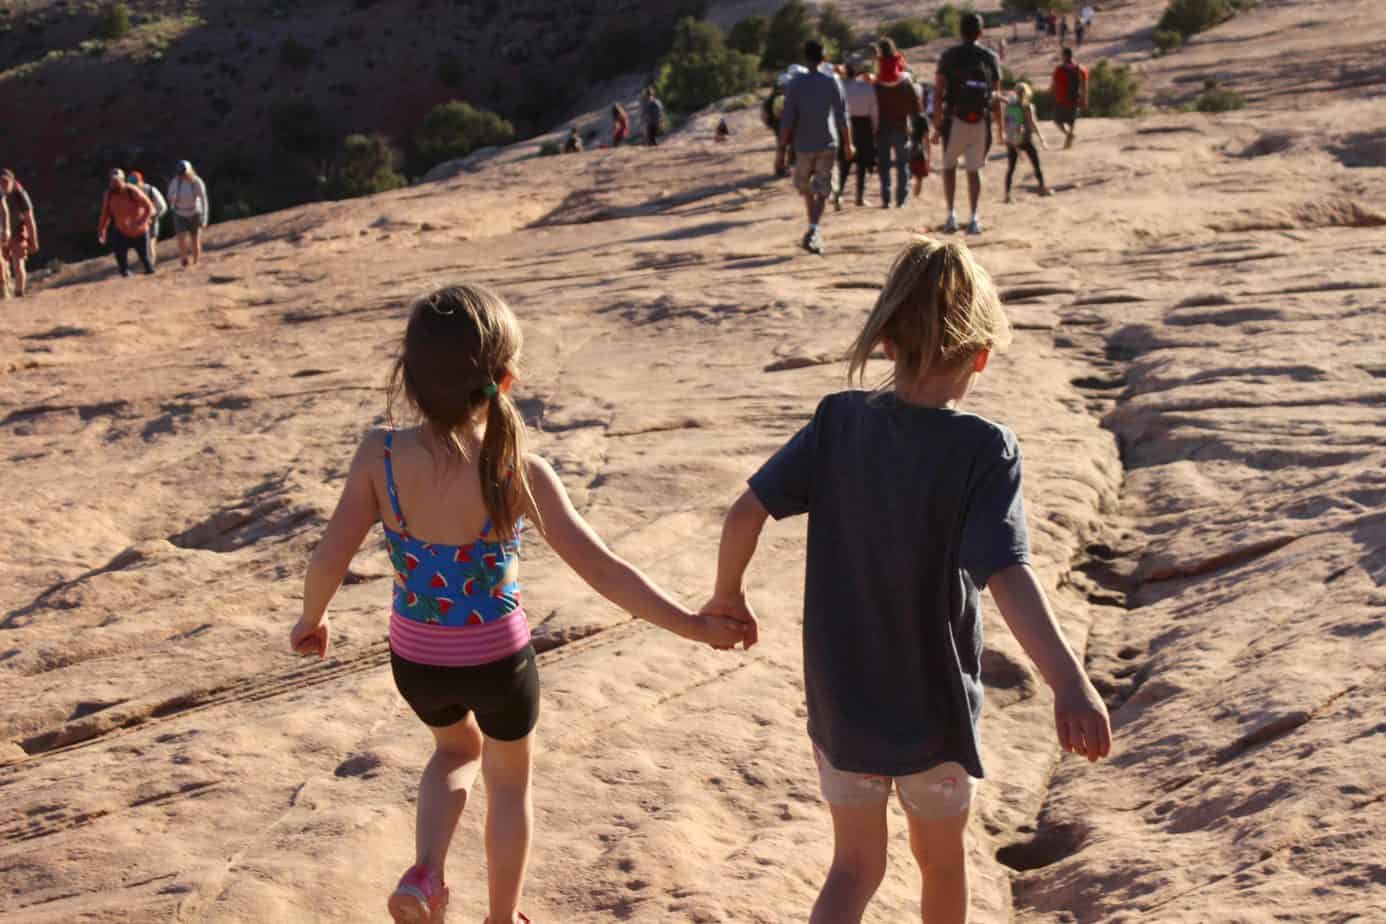
There are usually a large amount of people hiking Delicate Arch so don’t worry about getting lost. Just follow the masses up the slickrock. The slickrock area contains most of your elevation gain. We hiked with our kids and cousins with ages ranging from 1 to 10. Kids 3 and under were in hiking carriers. The one 4 year old did really well over all and just needed a piggy back ride for about a half mile on the slick rock. Make sure to take snack and water breaks with your kids.
The trail is completely exposed and many people who hike this aren’t use to the high elevation and elevation gain. Delicate arch sits around 4600 feet above sea level.
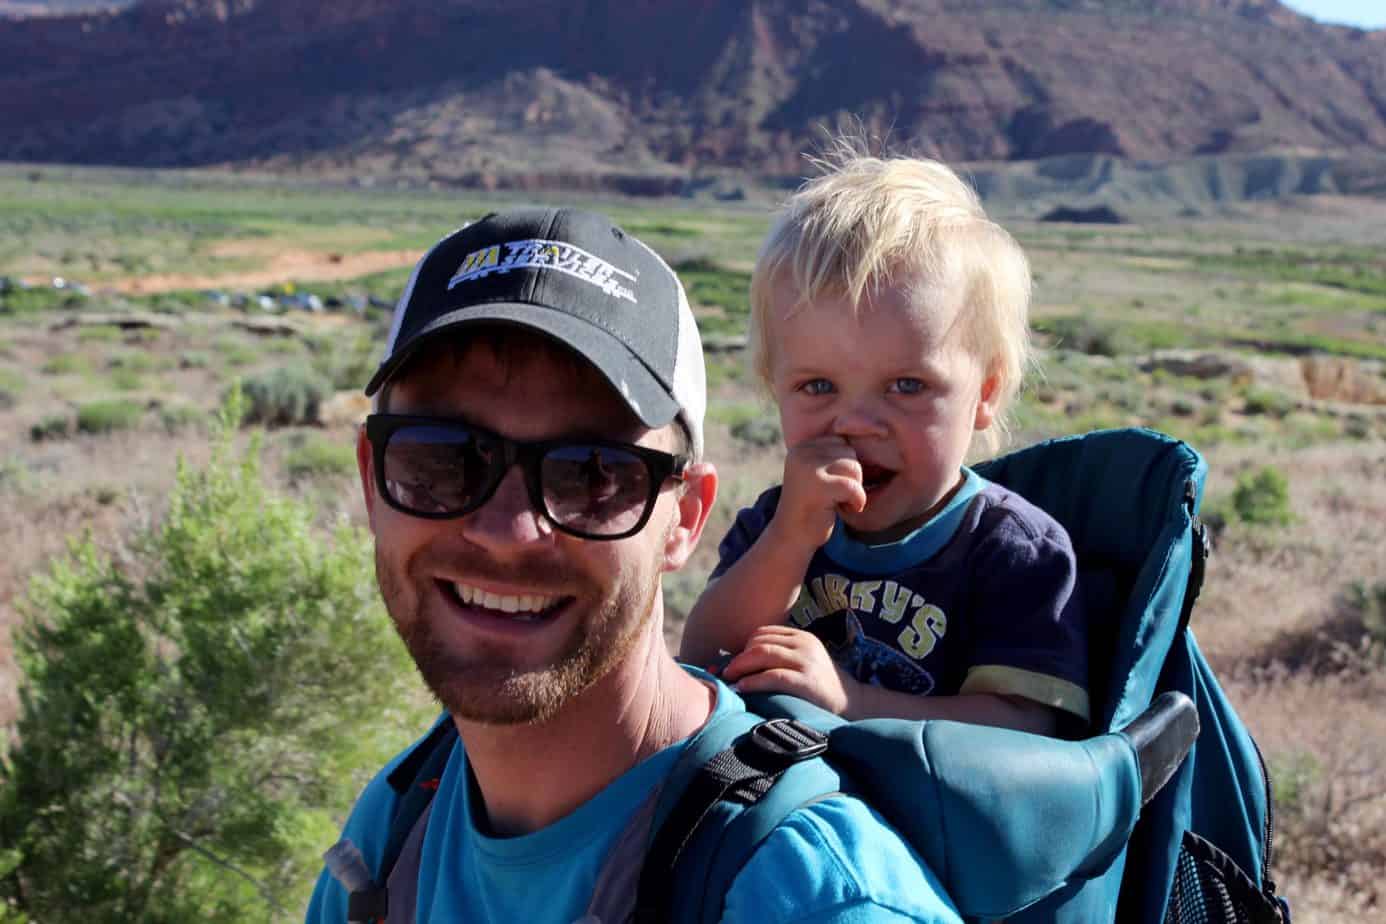
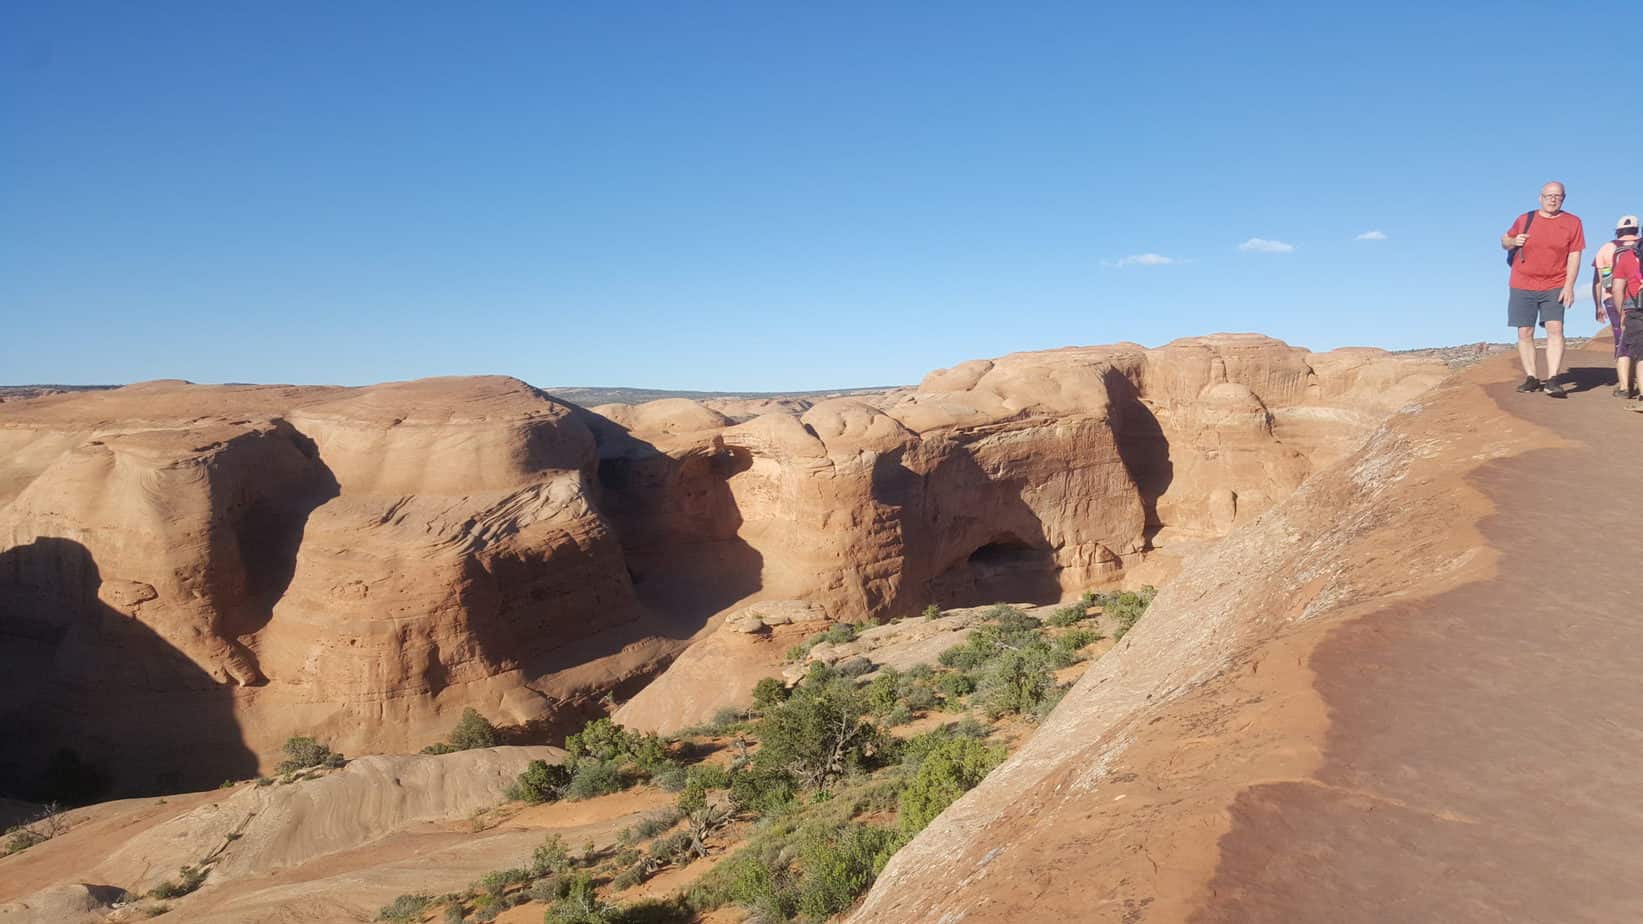
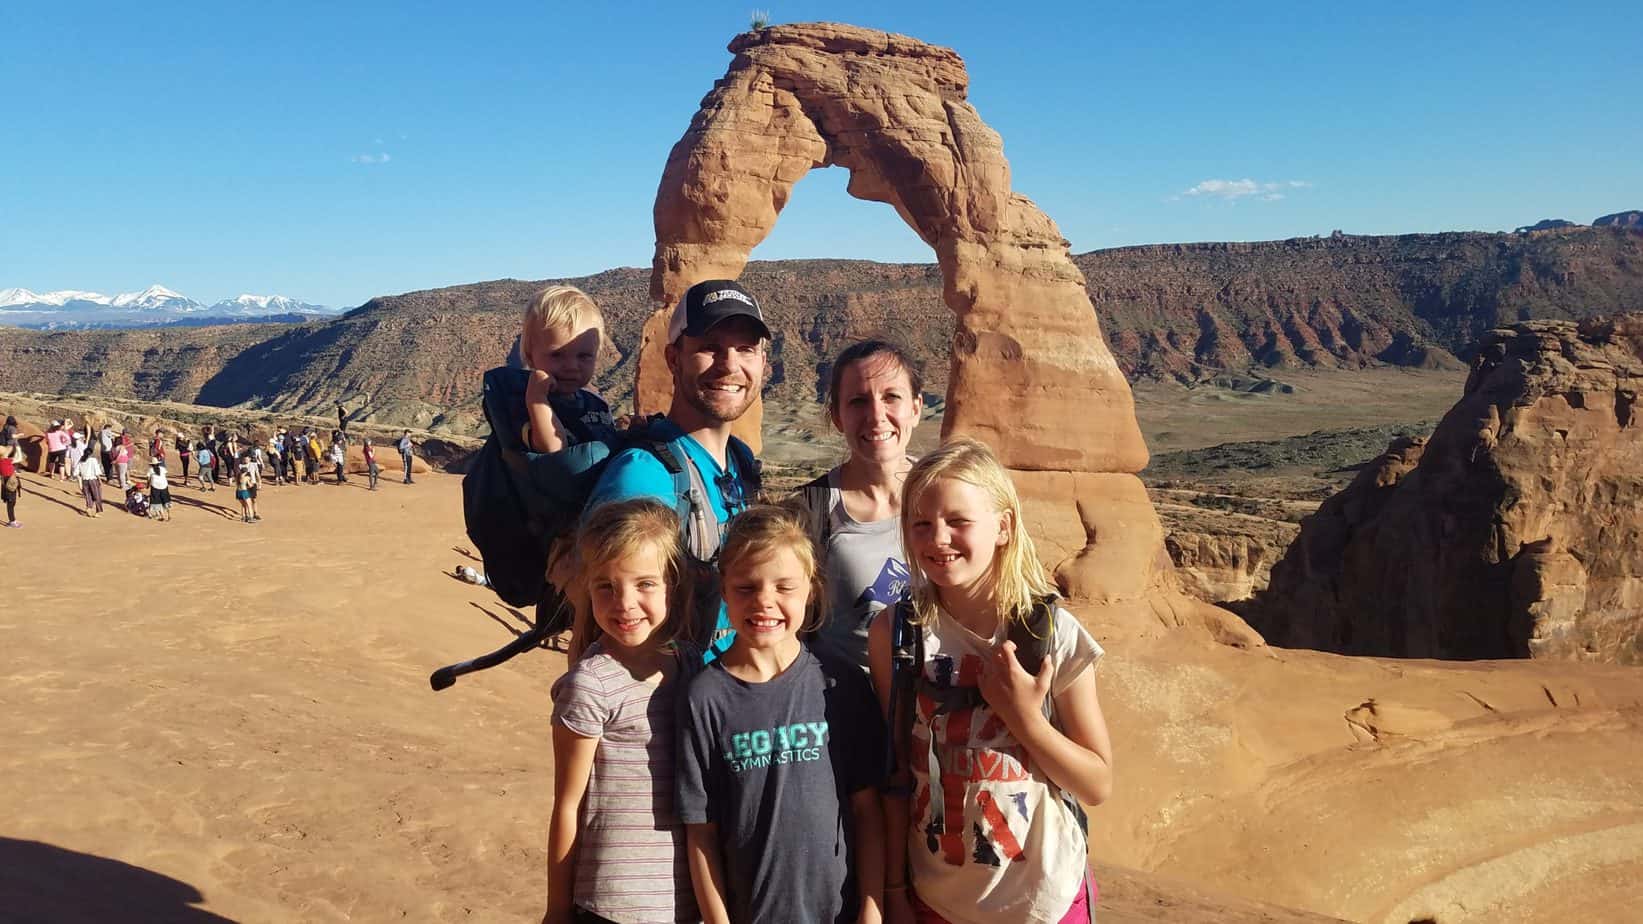
Once you come to the Delicate Arch you can view the Arch from a distance or get up close by walking along the top of the “bowl” formation. There is quite a bit of wind at the top as you can tell from some of the pictures with all our hair in our faces.
The “bowl” is a large, circular drop directly in front of the Arch. This is something you don’t want to fall into so keep your kids near the top. You can stand under the arch if you want however, there is usually a line of people trying to take a picture underneath.
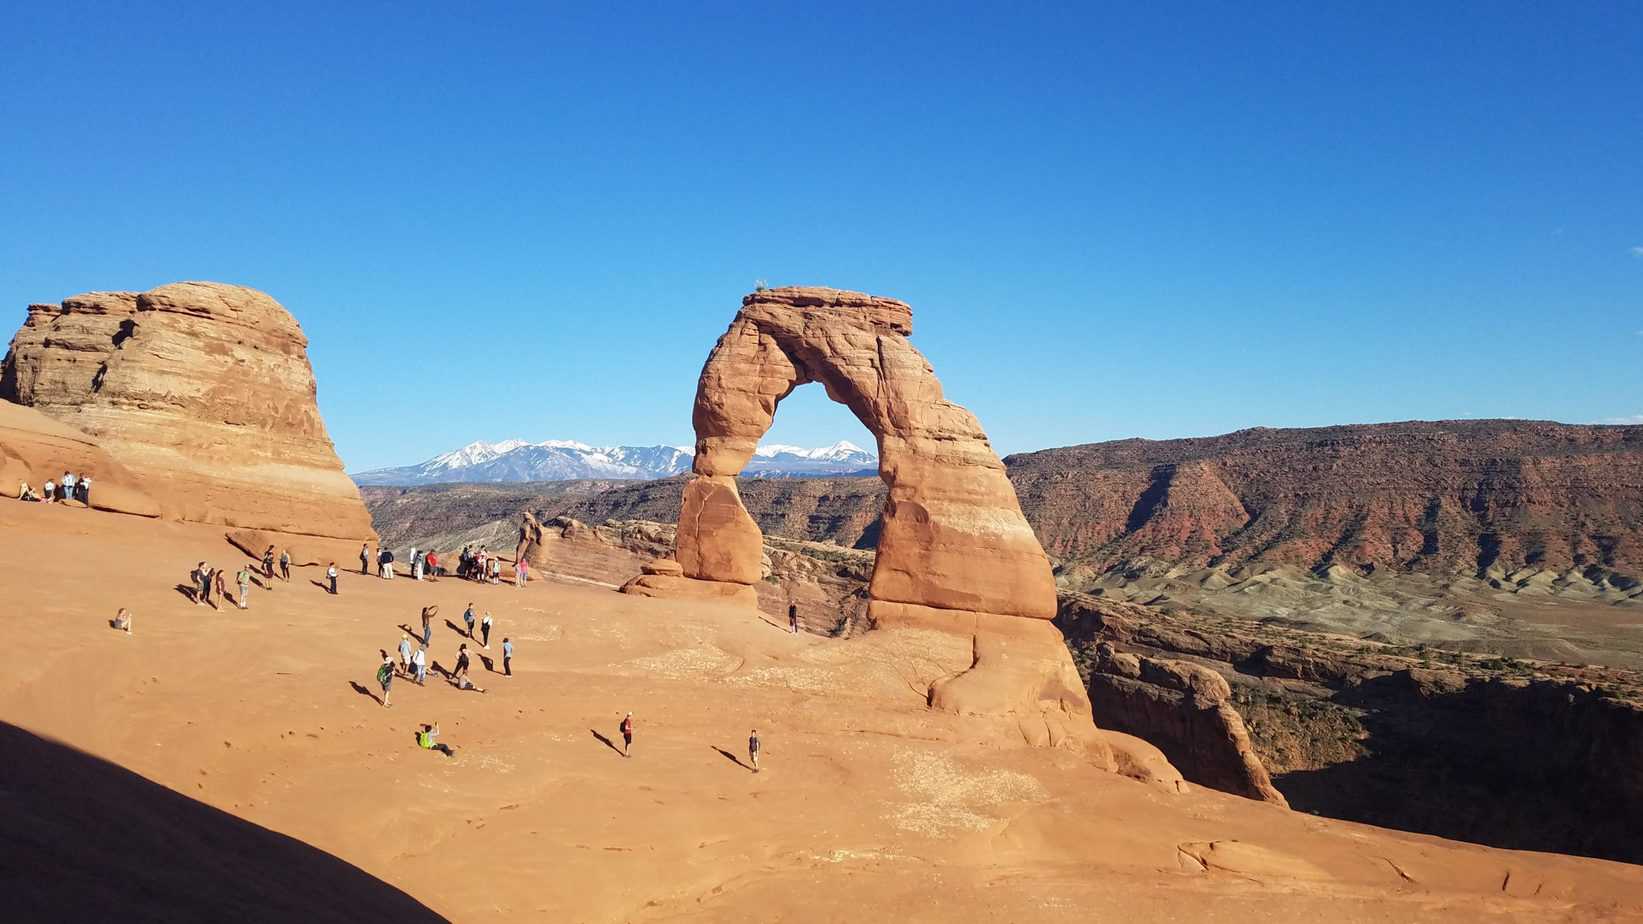
After you are finished at the arch, you simply turn around and re-trace your steps back to the trailhead. The way back is easy because you are going down the same 600 foot elevation change that you just climbed up.
My husband and I actually left the kids with grandma that same night and snuck away to see the arch again with no moon and a sky full of bright stars. We were able to sit directly under the arch for as long as we wanted without having to quickly move for someone else to get a picture. One of the most surreal hikes I have been on. The pictures below don’t do this experience any justice.
If you would like to Hike Delicate Arch at night, I recommend hiking it earlier in the day so you get a feel for where you are going. I was glad we did the hike just a few hours before so that we knew where to go in the dark. My husband and I hiked solo without kids. If you choose to bring your kids to Delicate Arch at night, I would probably only bring older kids and teens.
PROS
CONS
Delicate Arch hike is located 13 miles inside Arches National Park. The entrance to Arches National Park is located just 5 miles north of Moab, UT on Highway 191. Once in the park, follow the main road to the second fork, turn right at this turn. There is plenty of signage on the road to direct you to the Delicate Arch hike. The trailhead is located on the east side of the Wolfe Ranch/Delicate Arch parking lot. You can also follow my map below.
Arches National Park Hikes
Canyonlands National Park (30 minutes from park entrance, 1 hour from trailhead)
Dead Horse Point State Park (35 minutes from park entrance, 1 hour from trailhead)
Hi, I’m Corrine! I’m an outdoor enthusiast and mother of four.
My goal is to inspire you to get outside and create your own amazing memories as a family. Life is precious and there are too many adventures to be had to spend life on the couch or in front of a screen.
The page you requested could not be found. Try refining your search, or use the navigation above to locate the post.
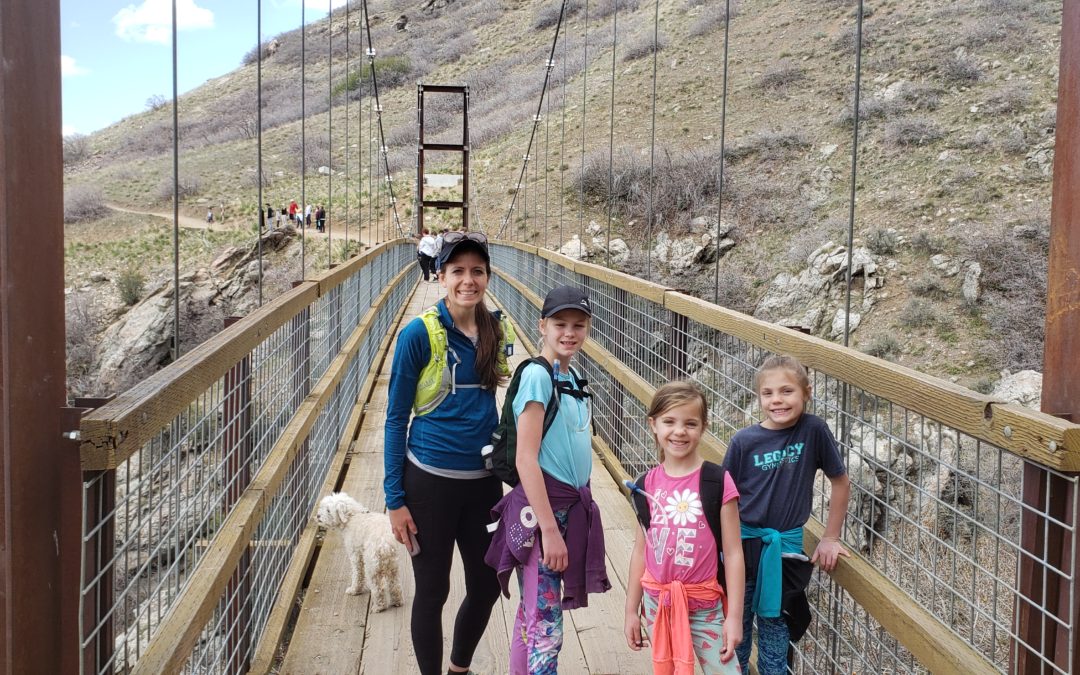
The Draper Suspension Bridge hike is a must for any family along the Wasatch Front in Utah. It offers gorgeous views of the Salt Lake Valley, as well as is a fun destination to Draper’s newer suspension bridge that connects the well-groomed Bonneville Shoreline trail over Bear Canyon.
Fun: ⭐⭐⭐ (out of 5)
Difficulty: Very Easy Easy MODERATE Hard Very Hard
Hiking Distance: 2.2 miles round trip
Hiking Elevation Gain: 440 ft
Terrain: Dirt trail, rocks, exposed trail, suspension bridge
Time Needed: 1.5 to 3 hours
When to Go: Spring, Summer (morning or evening), Fall
Free
The Draper Suspension Bridge Hike is a perfect hike for adults, kids and dogs. It isn’t terribly steep and mid way through you are able to walk on a fun suspension bridge. The suspension bridge is 185 feet long and was finished in 2015 to connect the Bonneville Shoreline Trail over Draper’s Bear Canyon.
We hiked to the Draper Suspension Bridge in early spring on a Saturday. The weather was perfect and we even brought our dog.
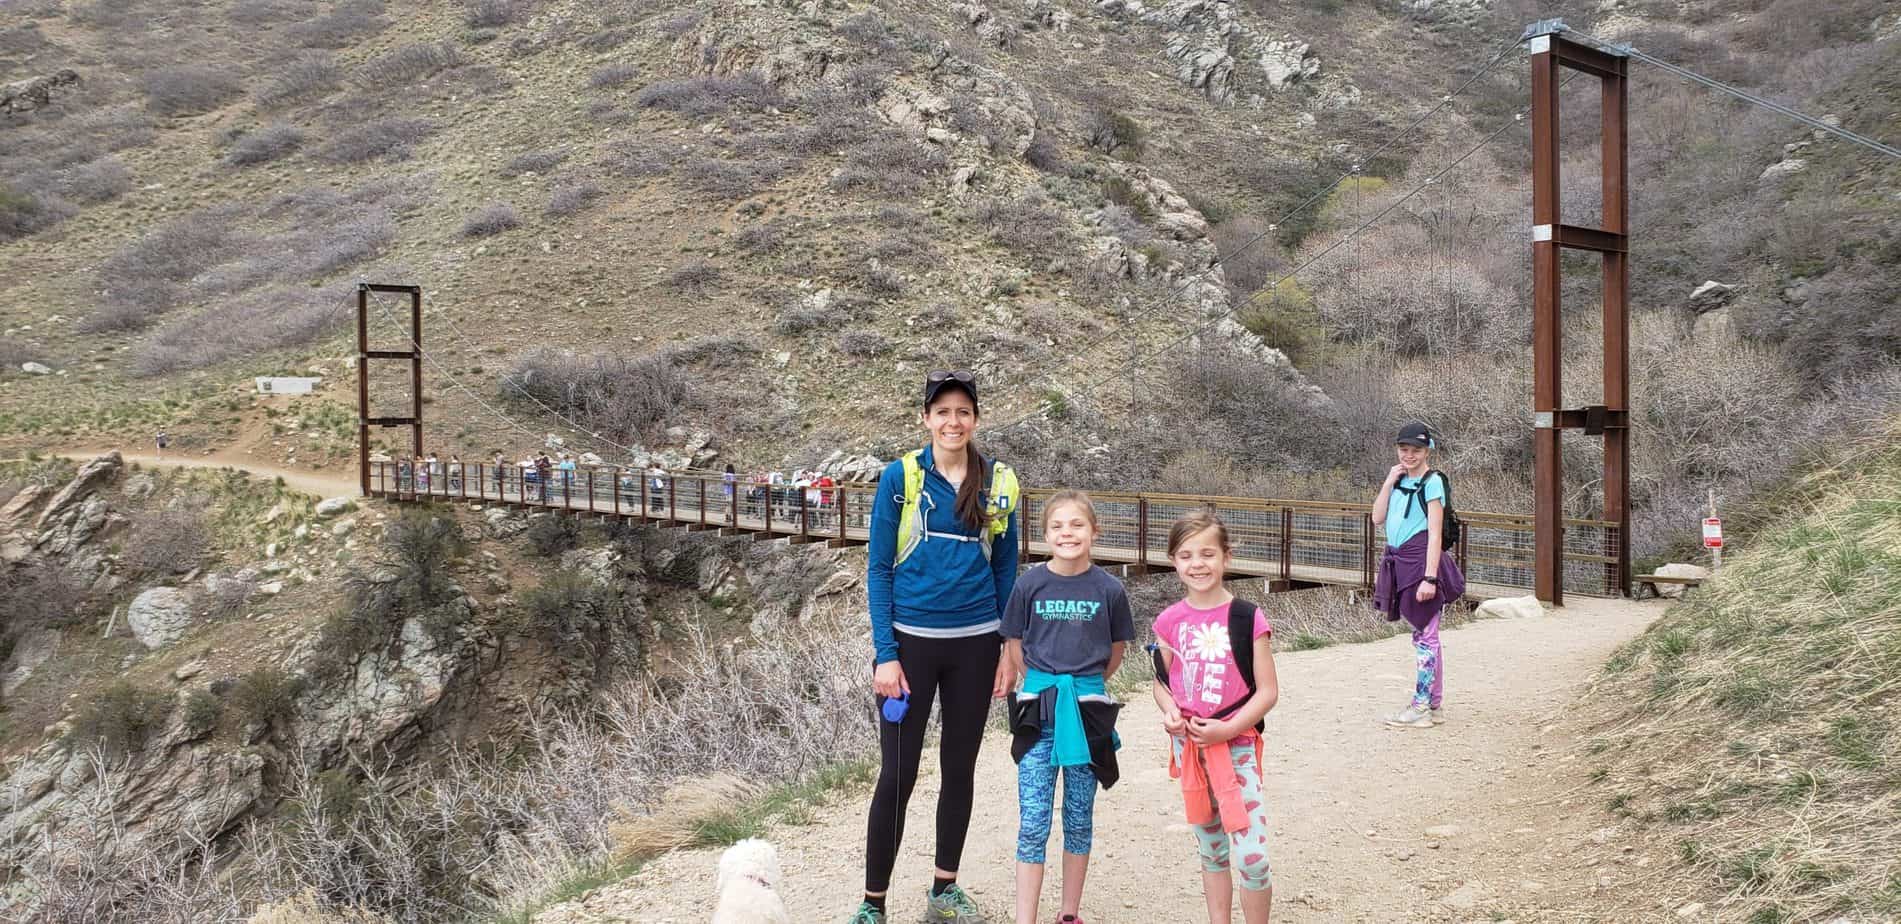
I was a little worried at first when I saw the amount of cars parked on the street with the parking lot full, but there are so many hikes in the area and everyone was well spread out. I felt like the trail was not too crowded and we were able to social distance appropriately during the days of COVID-19.
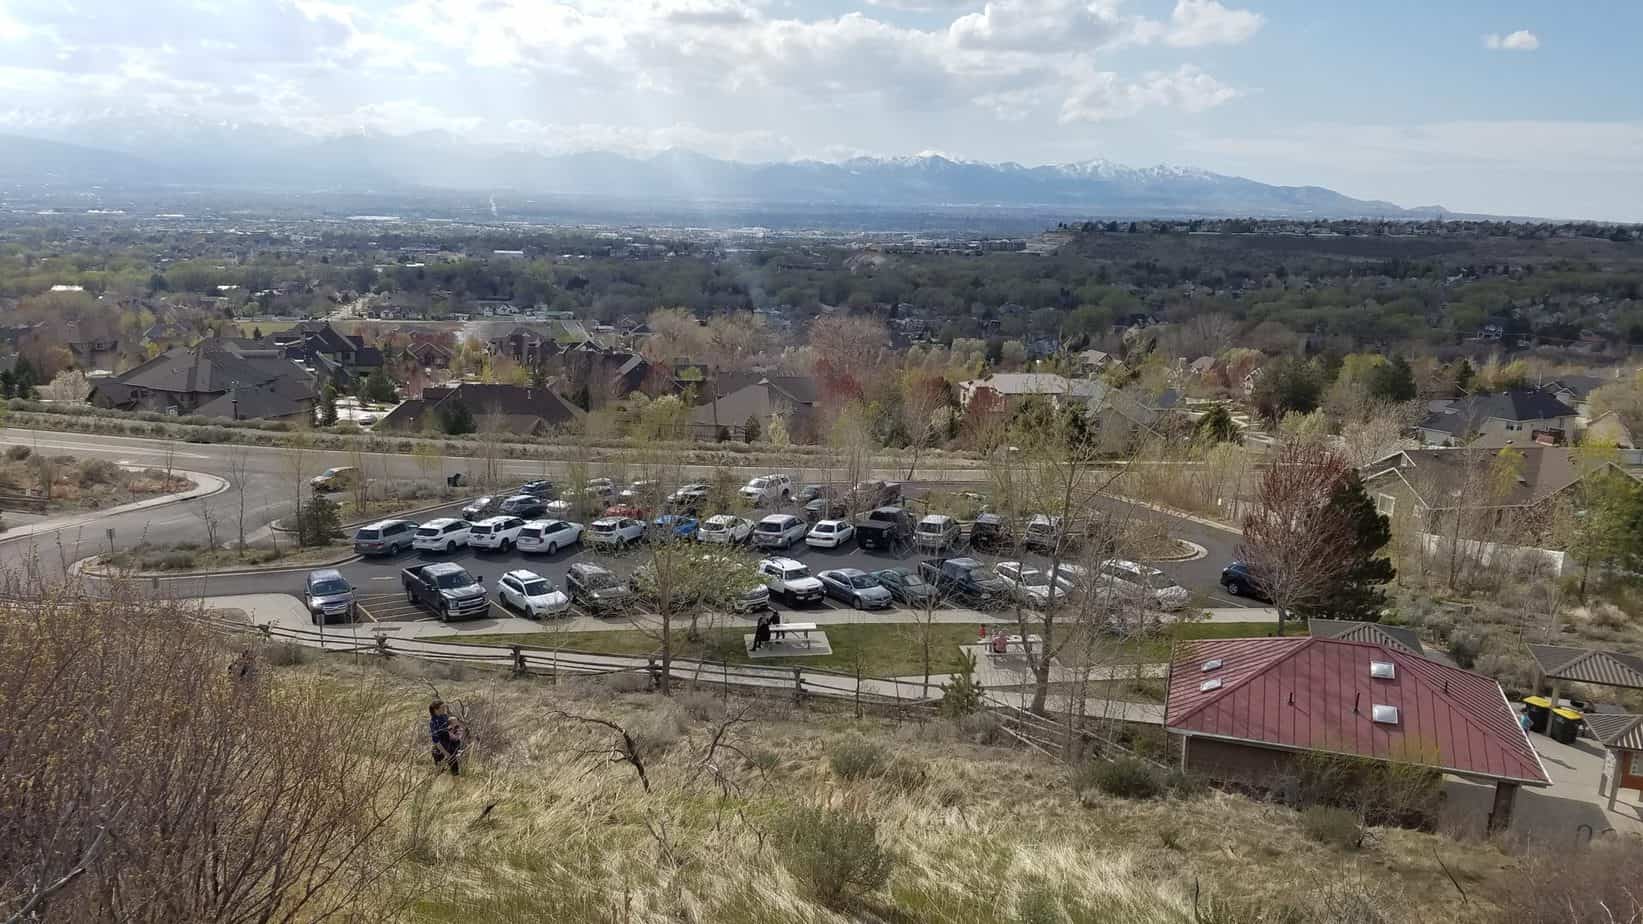
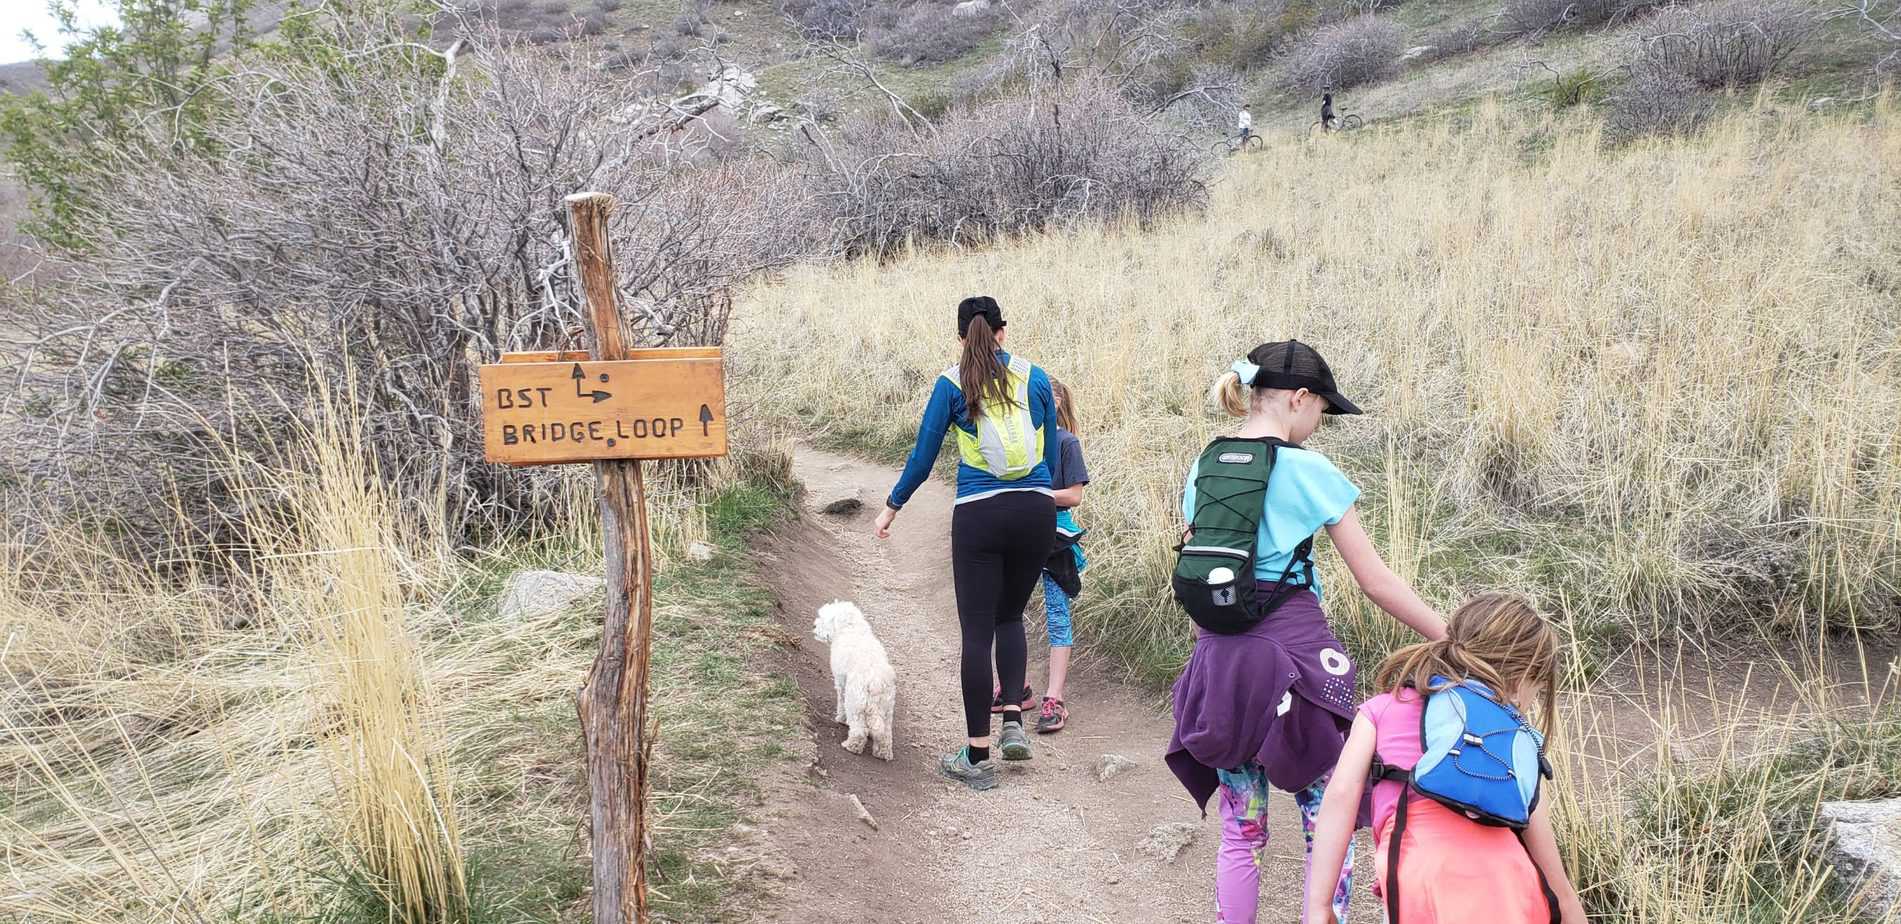
The trailhead is at Orson Smith Park just north of the bathroom building. The parking lot can hold 30 to 40 vehicles and there is also some street parking available if the parking lot is full. There are several trails in the area, but you will want to follow signs for the Bridge Loop for the quickest and most direct path to the suspension bridge.
The hike begins with a wood stairs followed by a few quick switch backs and then levels off as you continue north and come to the Aquaduct trail.
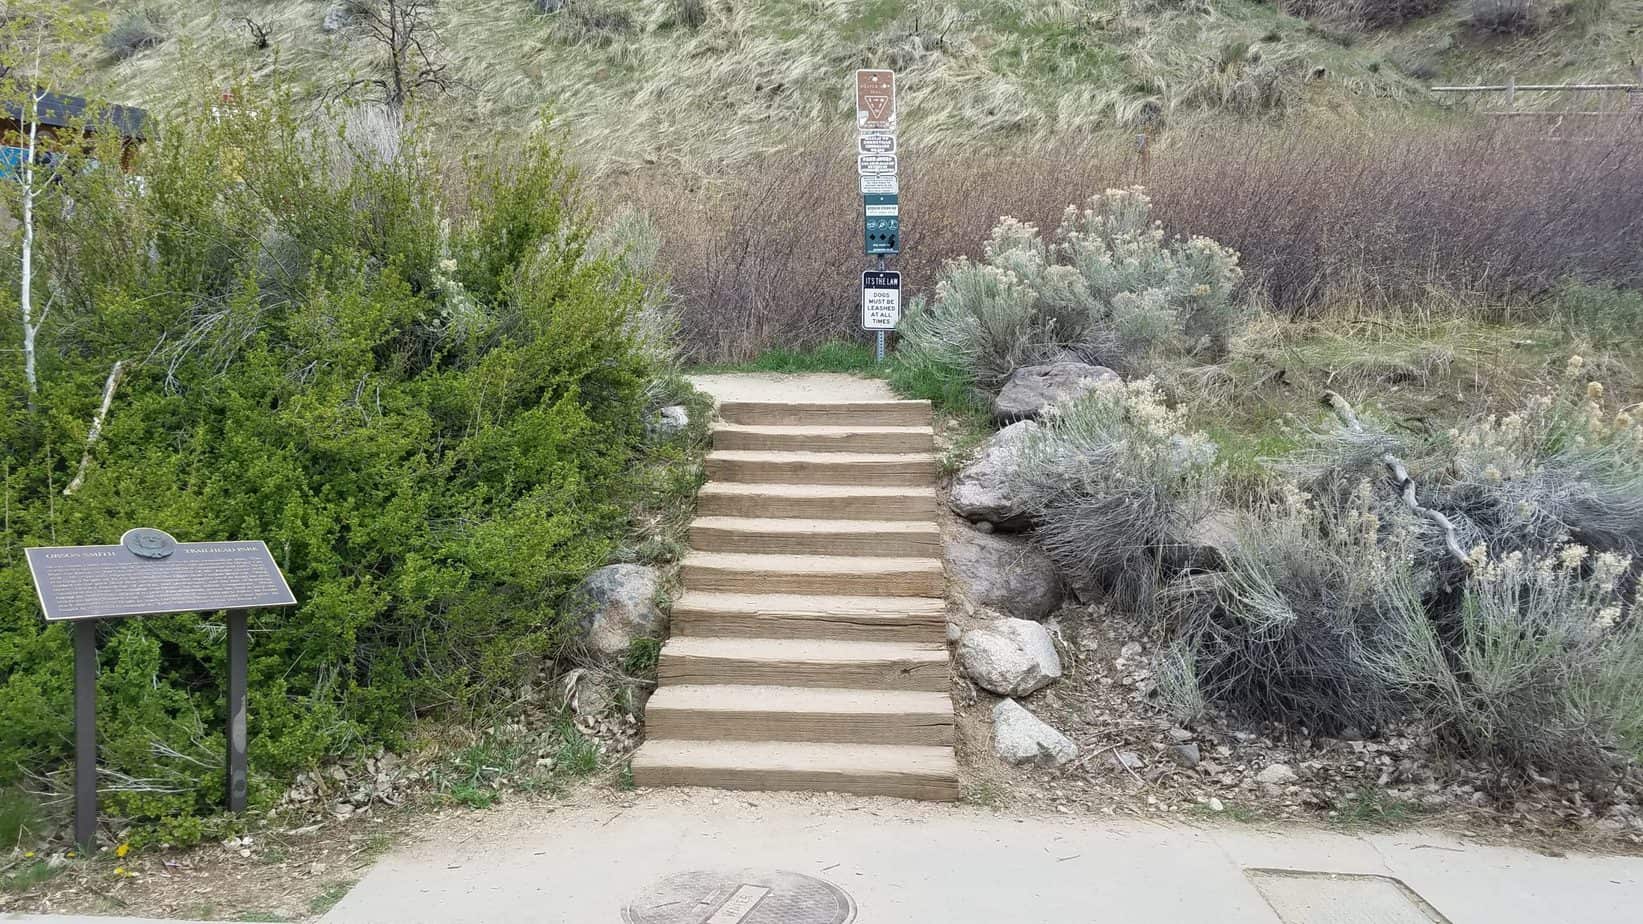
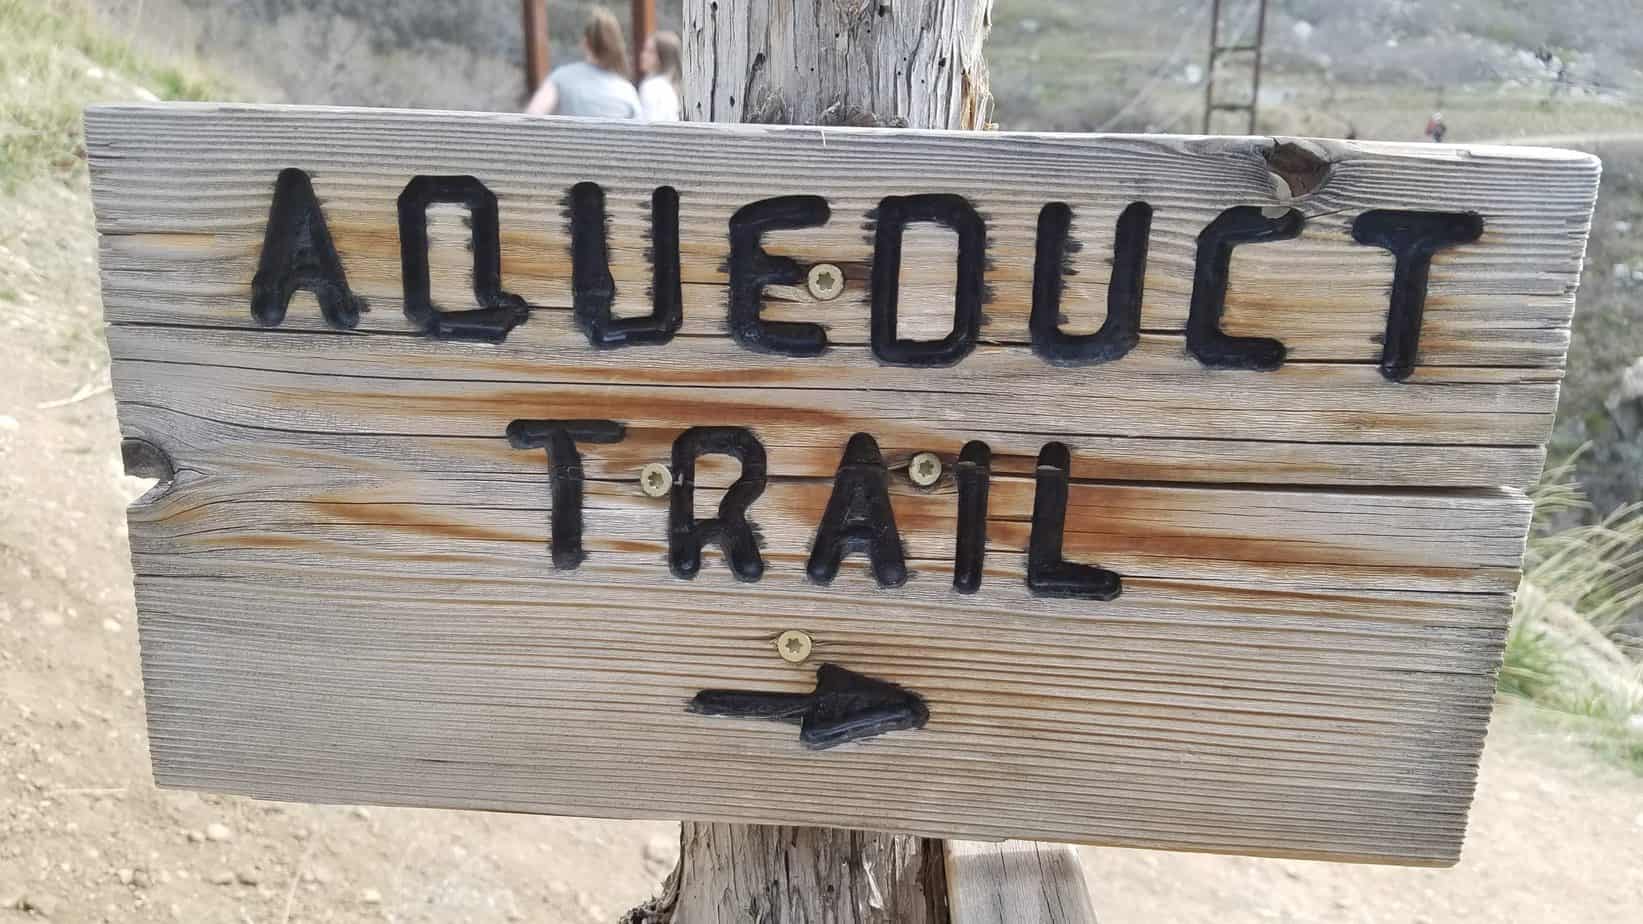
From here, you can continue on the Aquaduct Trail which is first flat and then you hike upwards to the bridge or you can get the uphill portion done at the first and continue east following signs for Bridge Loop. Either way you will reach the suspension bridge.
We chose to get the uphill portion done first while the kid’s legs were still fresh. We continued on a few more switchbacks following the bridge loop signs eastward and then continued north connecting to the Bonneville Shoreline Trail (BST). Follow BST until you come to the Bear Canyon Suspension Bridge. This is about 1.1 miles from the trailhead.
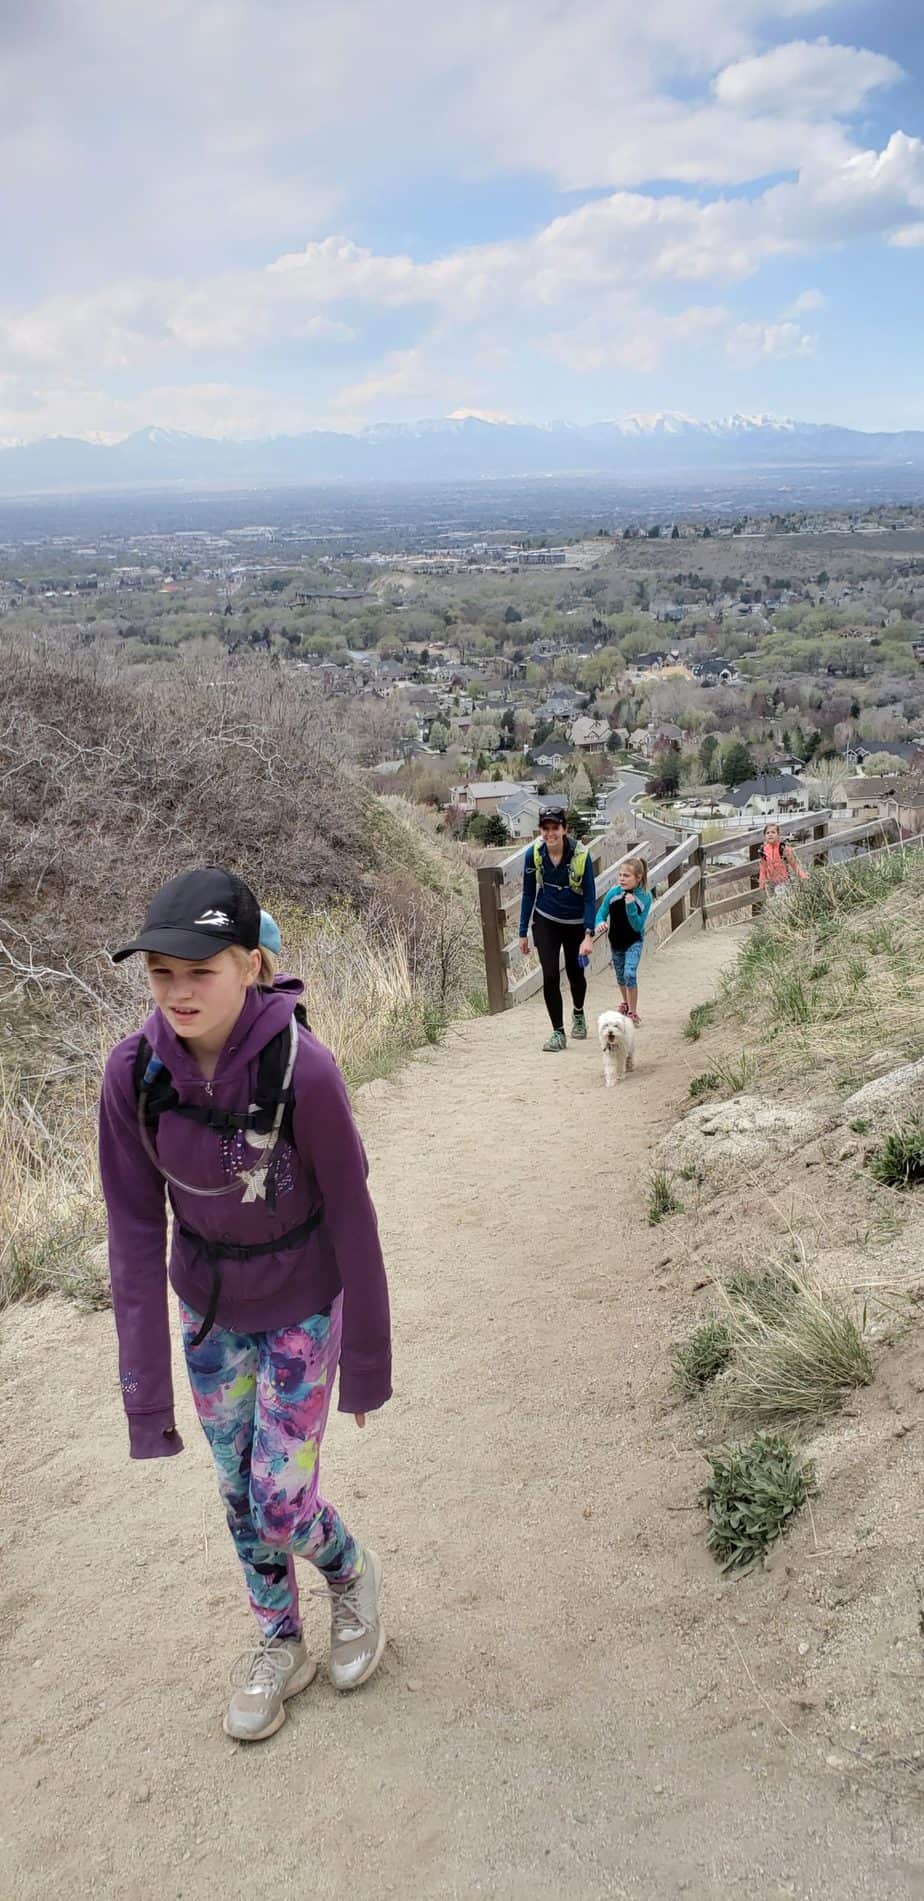
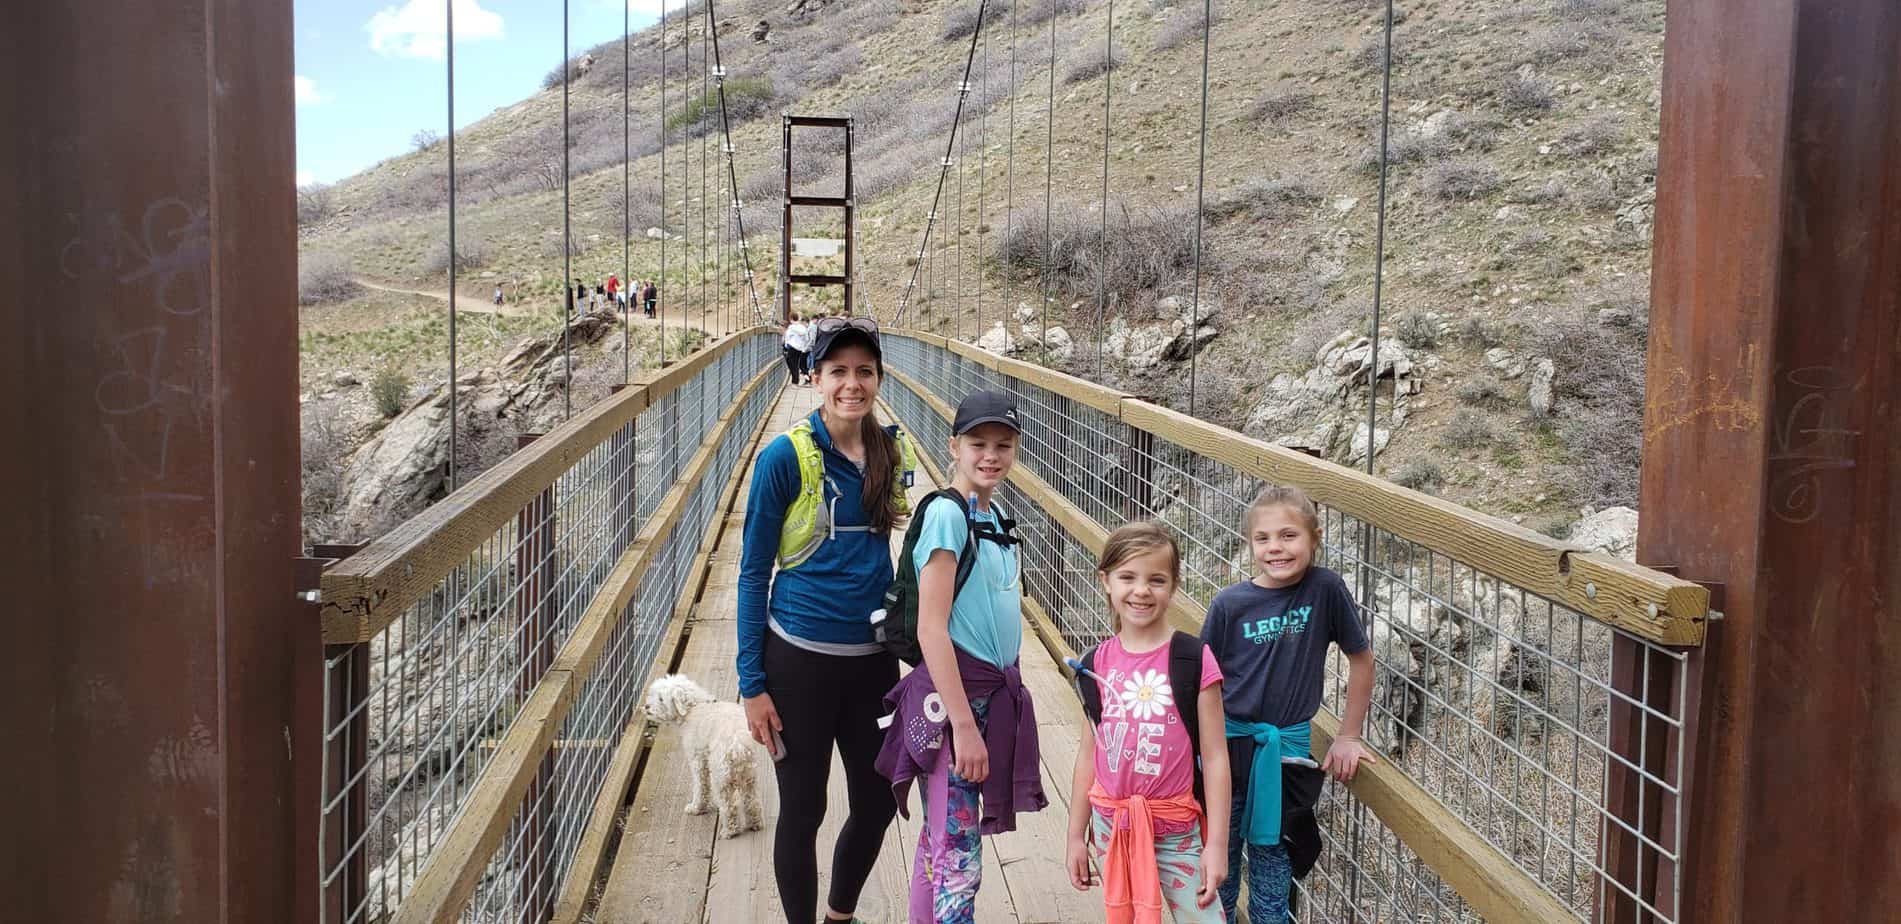
From the suspension bridge you can choose between 3 route options to return to Orson Smith Park or continue hiking the BST:
1. Go back the way you came for an out-and-back hike
2. Head west(downward) continuing to follow the bridge loop trail
3. Continue onward on the BST for more mileage.
We choose option 3 and continued along the BST another 0.4 miles to see a small rock tunnel. This area of the BST is flat, easy and goes under several large boulders. My kids enjoyed exploring this area for a few minutes. We didn’t stay long because of the busyness of the trail that day and the bikers who needed to pass us on the trail where we were.
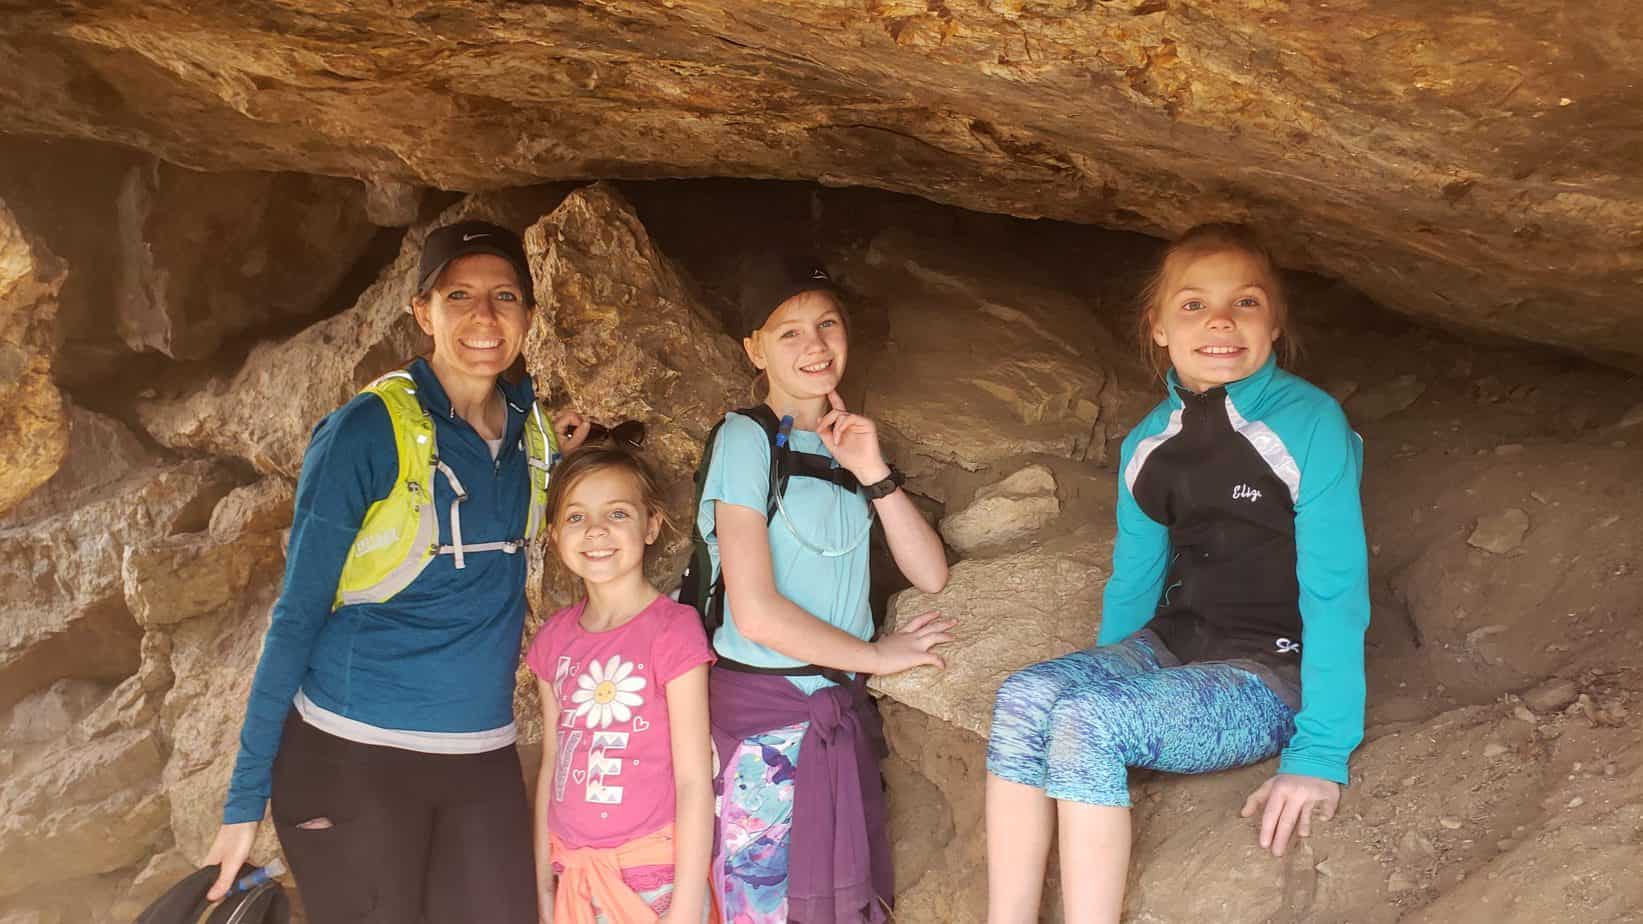
From the rock tunnel, we turned around and headed south until we came back to the suspension bridge, then continued west (downward) on the Bridge Loop Trail. As you connect back to the Aqueduct Trail you head south and will see the Orson Smith Park parking lot below. The hike ended up being about 3 miles with the extra distance we added to the rock tunnel from the suspension bridge on the BST.
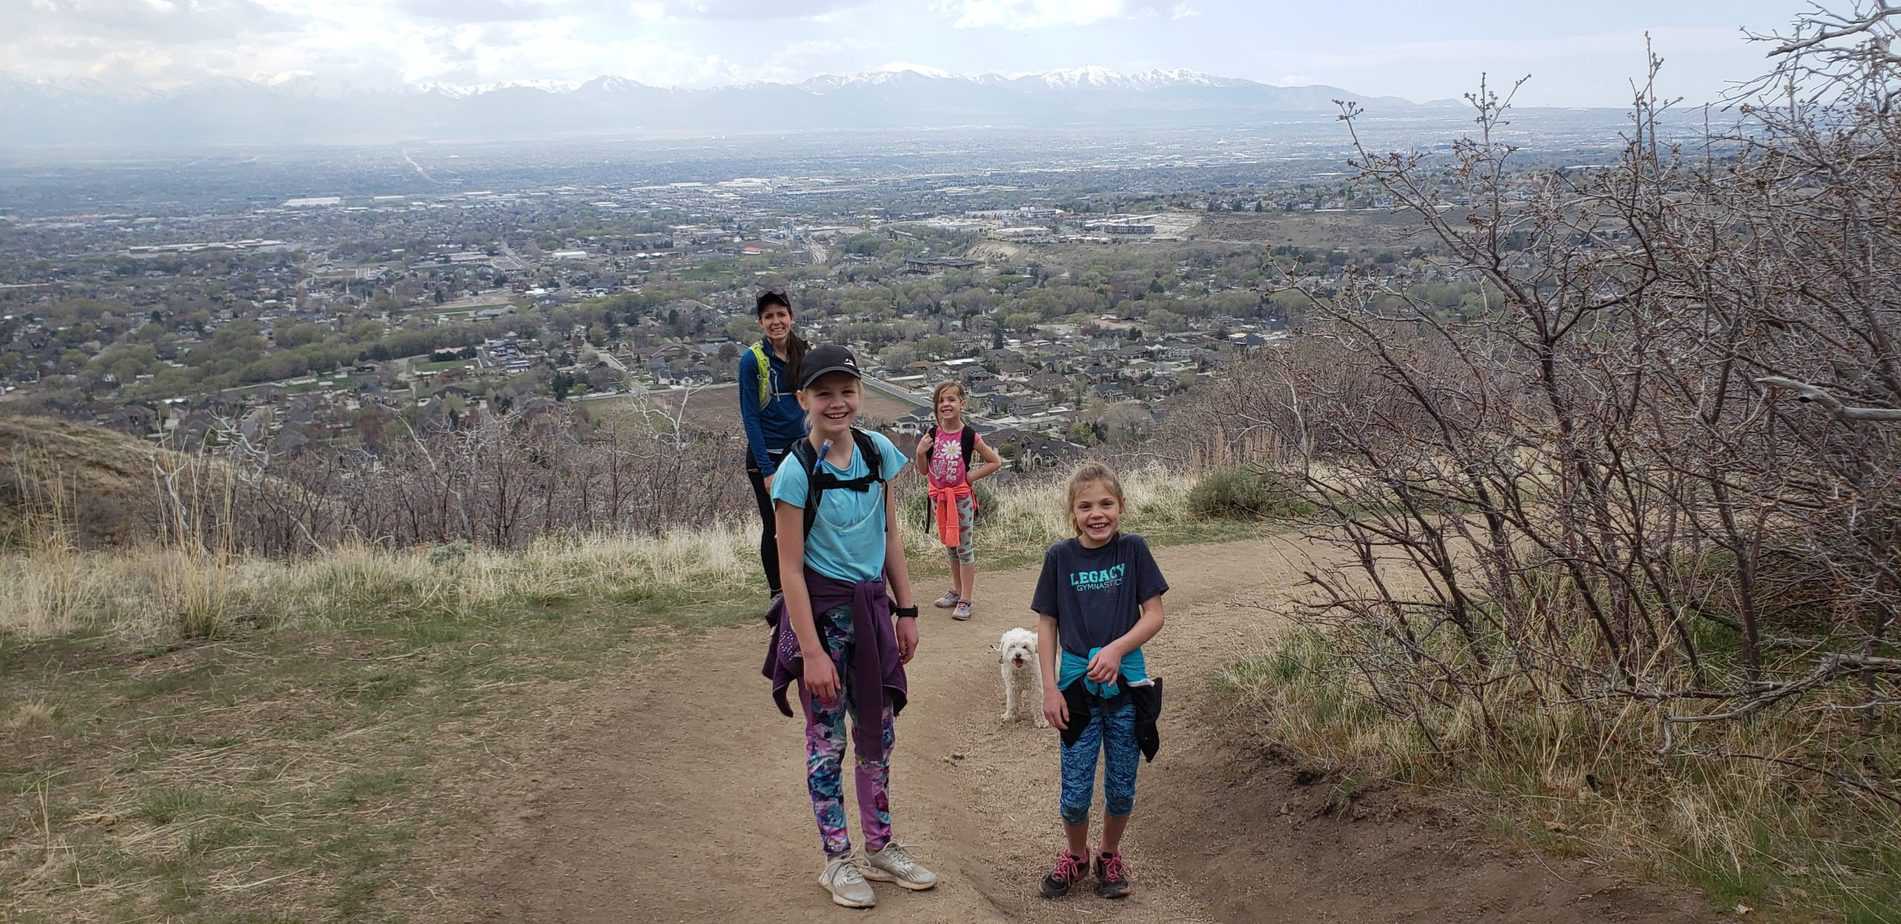
The terrain is fairly easy and the trail is well groomed. I even saw a family on the trail with a running stroller, although I wouldn’t recommend this on the switchbacks. There are also lots of signs and maps along the way to get in in the right direction. If my directions seem a bit complicated, just follow signs for the Bridge Loop and you will get to the bridge pretty easily. It is hard to miss.
PROS
CONS
The trailhead is located just off Highland Drive in Draper at Orson Smith Park. You can search Orson Smith Park on your maps app to get you to the right location. The trailhead is located at the north side of the parking lot just north of the bathrooms. There is a dirt road to the south of the parking lot —- this is not the trailhead for the suspension bridge.
Rocky Mouth Waterfall Hike (10 minutes)
Alien Tower Hike (15 minutes)
Horsetail Falls Hike (30 minutes)
Hi, I’m Corrine! I’m an outdoor enthusiast and mother of four.
My goal is to inspire you to get outside and create your own amazing memories as a family. Life is precious and there are too many adventures to be had to spend life on the couch or in front of a screen. Read more….
The page you requested could not be found. Try refining your search, or use the navigation above to locate the post.
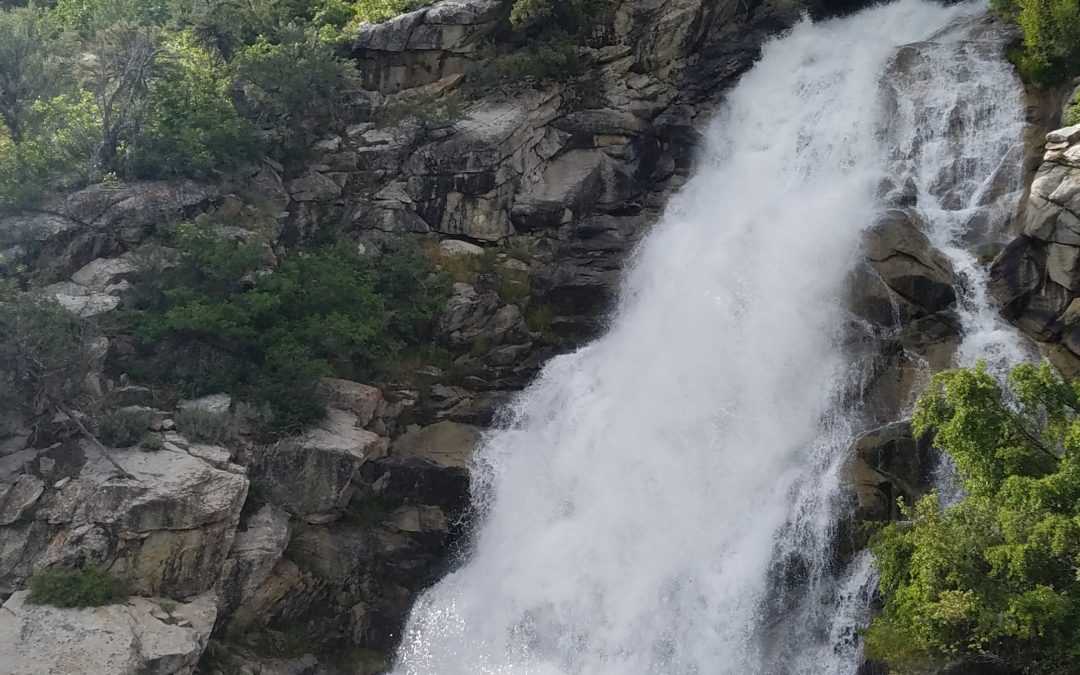
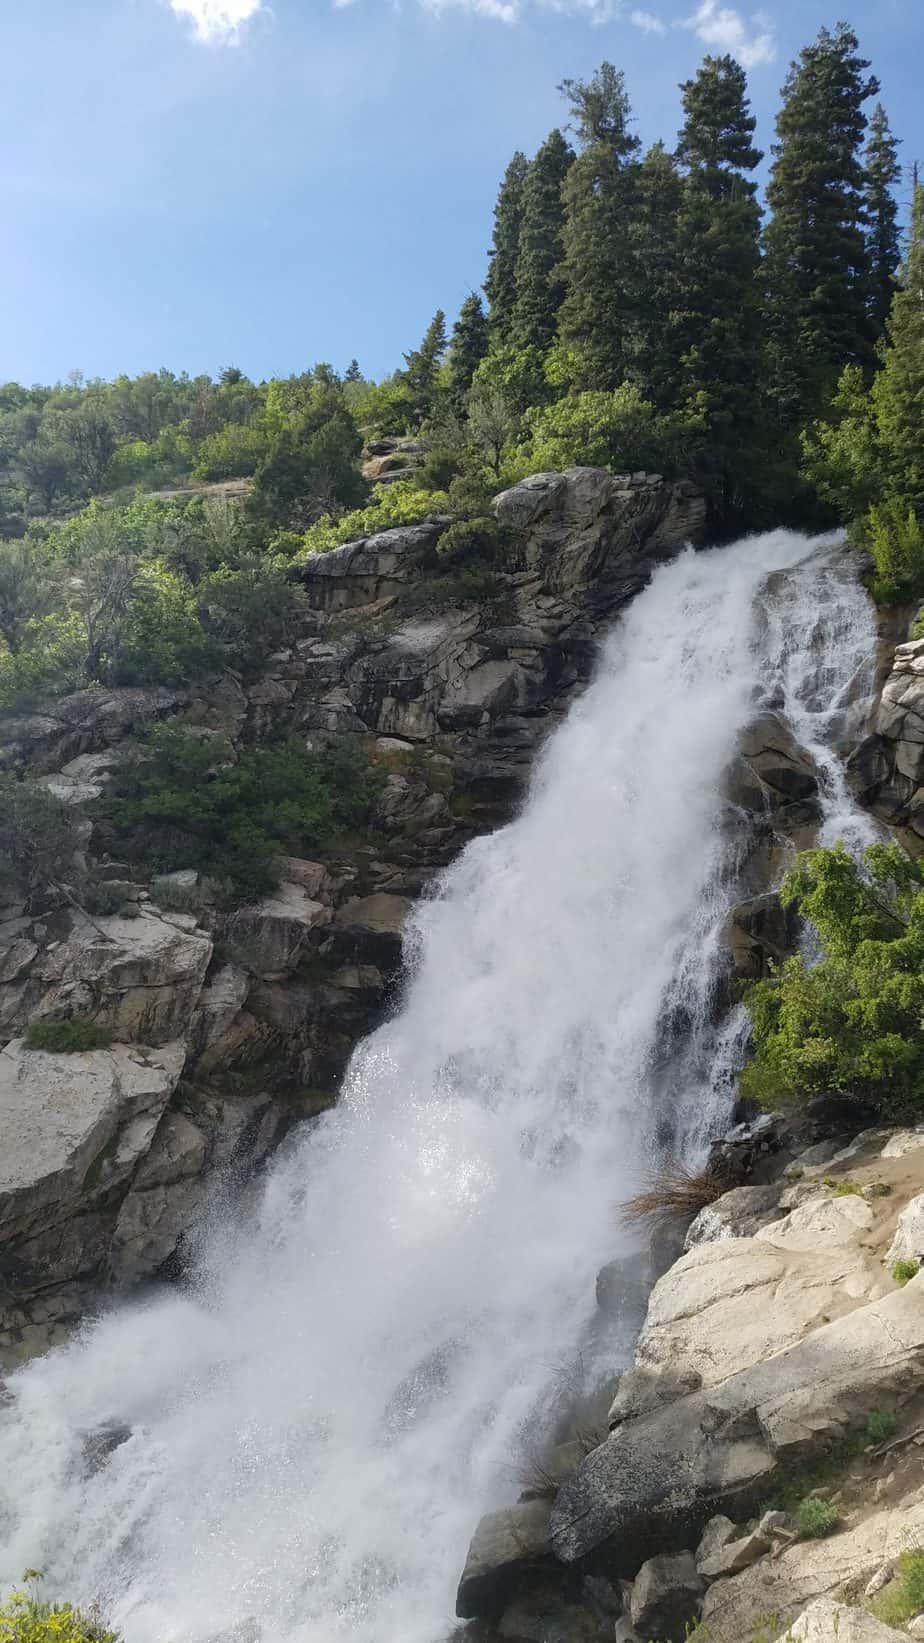
The Horsetail Falls hike takes you to a majestic waterfall with beautiful views of the Alpine and Highland areas below. This steep hike through beautiful scenery of the Lone Peak Wilderness and Uintah National Forest to a waterfall that is well worth the work. This is great hike for families and kids experienced in hiking.
Fun: ⭐⭐⭐ (out of 5)
Difficulty: Very Easy Easy Moderate HARD Very Hard
Hiking Distance: 4 miles round trip
Hiking Elevation Gain: 1600 ft
Terrain: Dirt, large and small rocks, small stream crossings, water on trail during certain times of the year. Trail is mostly shaded.
Time Needed: 2.5 to 4 hours
When to Go: Spring, Summer (morning or evening), Fall
Free
There are no bathrooms or water at the trail head. The nearest services are in downtown Alpine, about 10 minutes from the trail head.
Horsetail Falls hike ascends through mountain terrain and streams to a gorgeous waterfall and views of the valley bellow. This hike is not for small children not in packs or unexperienced older kids.
The elevation change to the waterfall is 1600 feet, which is why I rate this hike as “Hard” for kids. We hiked this with two 10-year-olds, a 9-year-old, and 6-year-old, as well as a 2 year old in a hiking carrier. The 6-year-old did a good amount of complaining, but kept going with some treat bribery, haha. The 9 and 10-year-olds did very well, and of course the 2-year-old loved life in the hiking carrier.
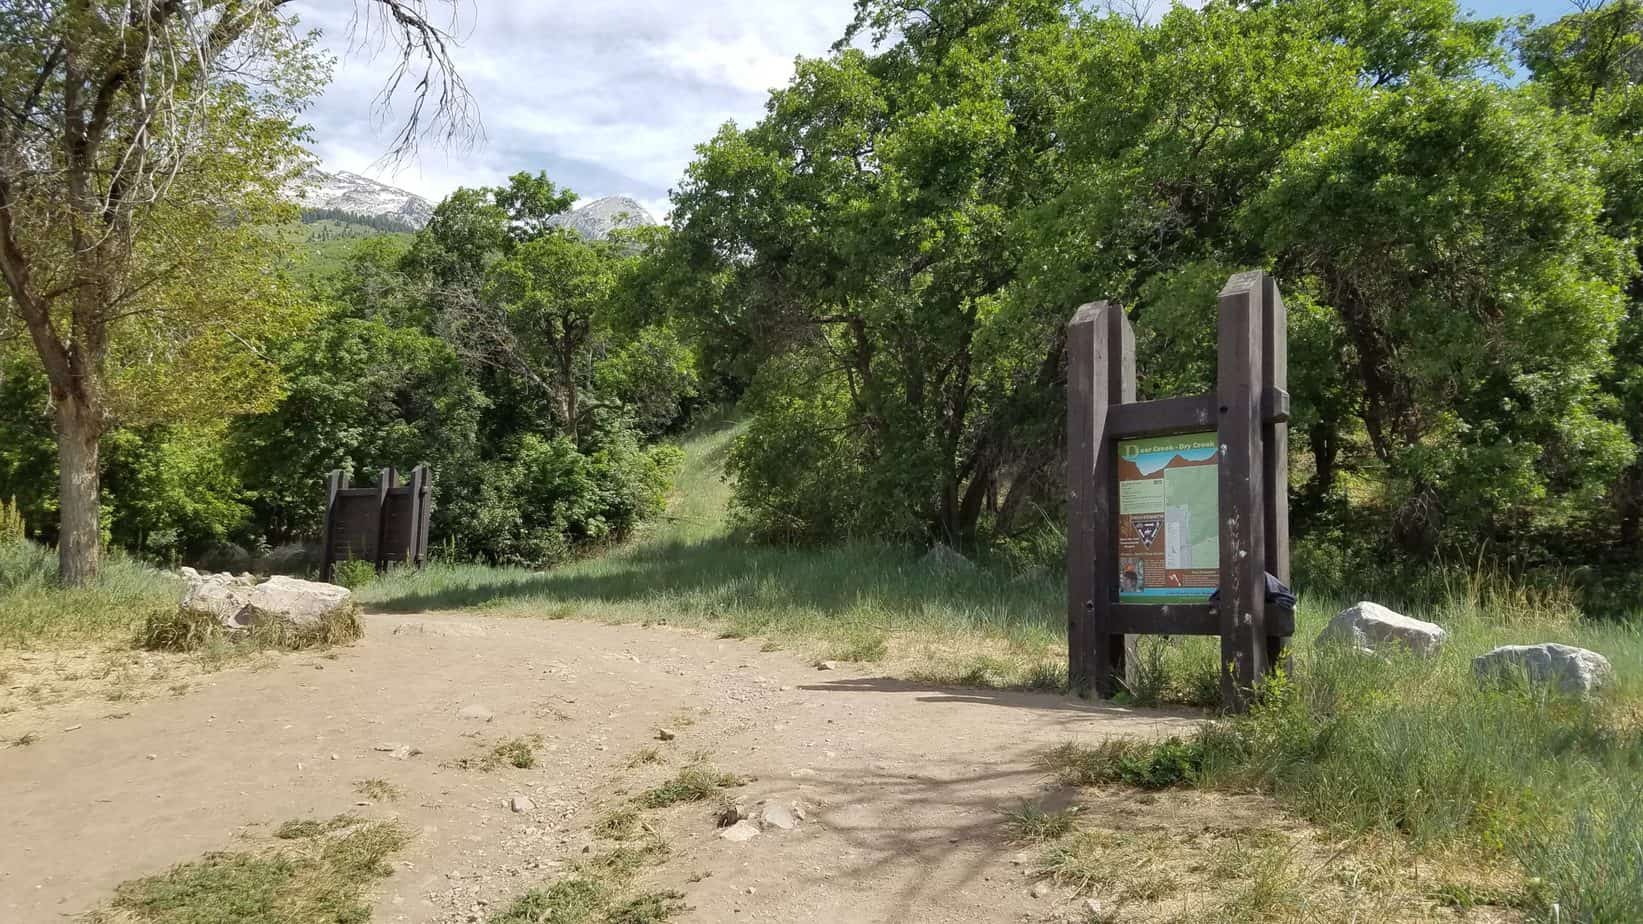
The trail follows the Dry Creek Canyon just east of Alpine, Utah. The trailhead is located at the end of Grove Drive in Alpine, Utah where there is large dirt parking lot that can fit at least 20 vehicles.
If the parking lot is crowded there is also street parking available. The trail begins on the north east corner of the parking lot with a map of the Dry Creek area.
The trail is well shaded for the majority of the hike except for the first and last quarter mile. We did the hike in June in the late afternoon.
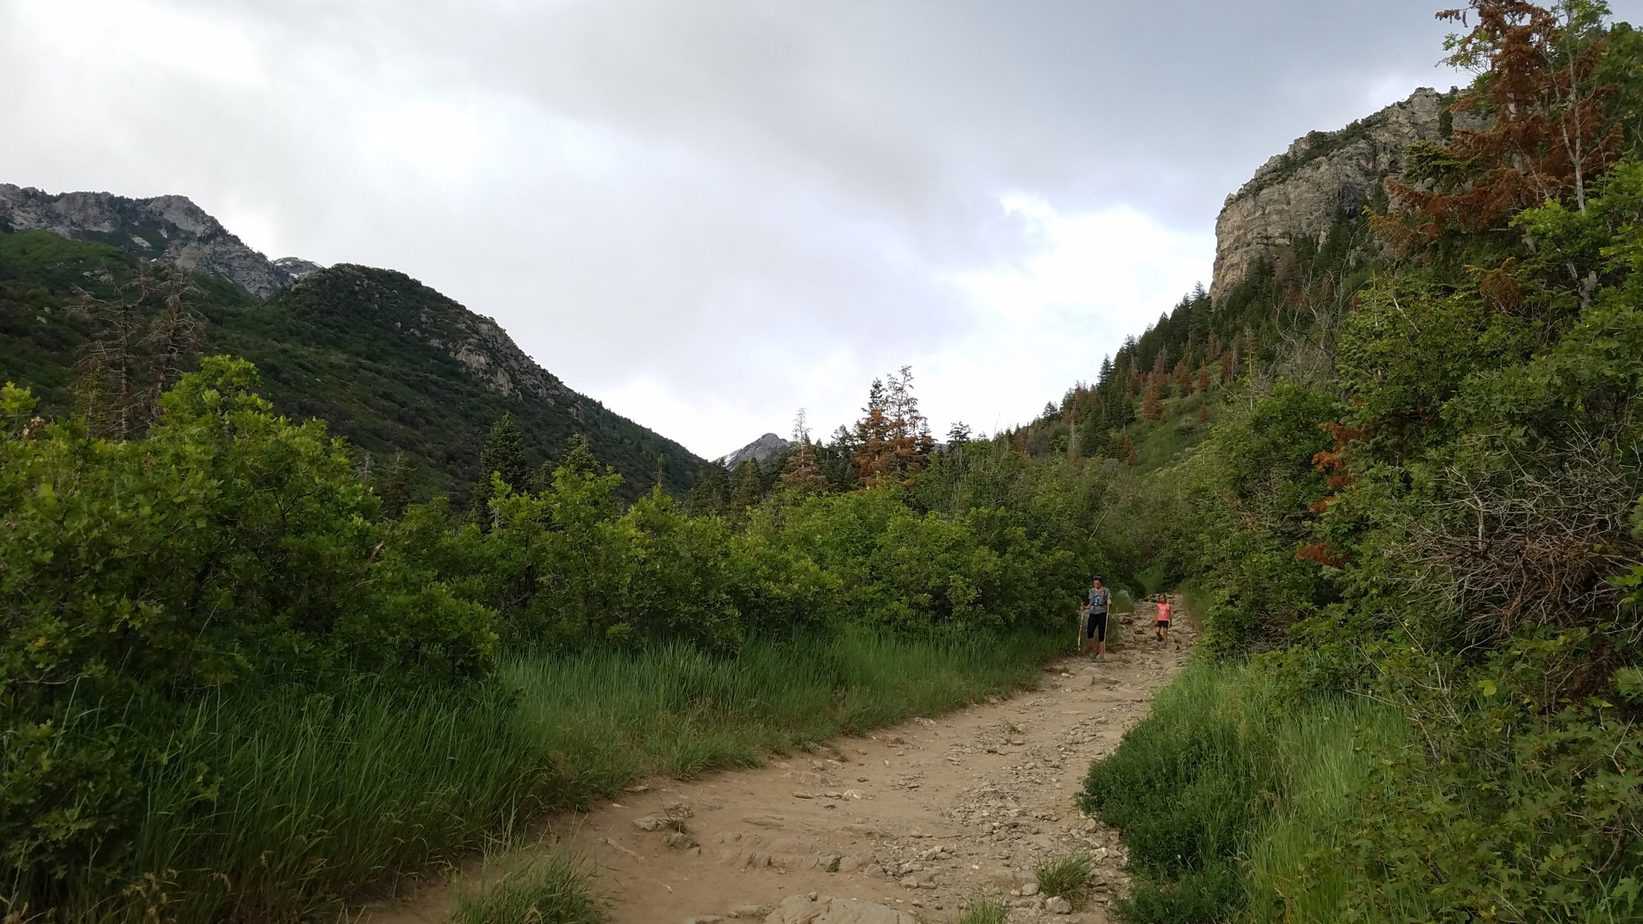
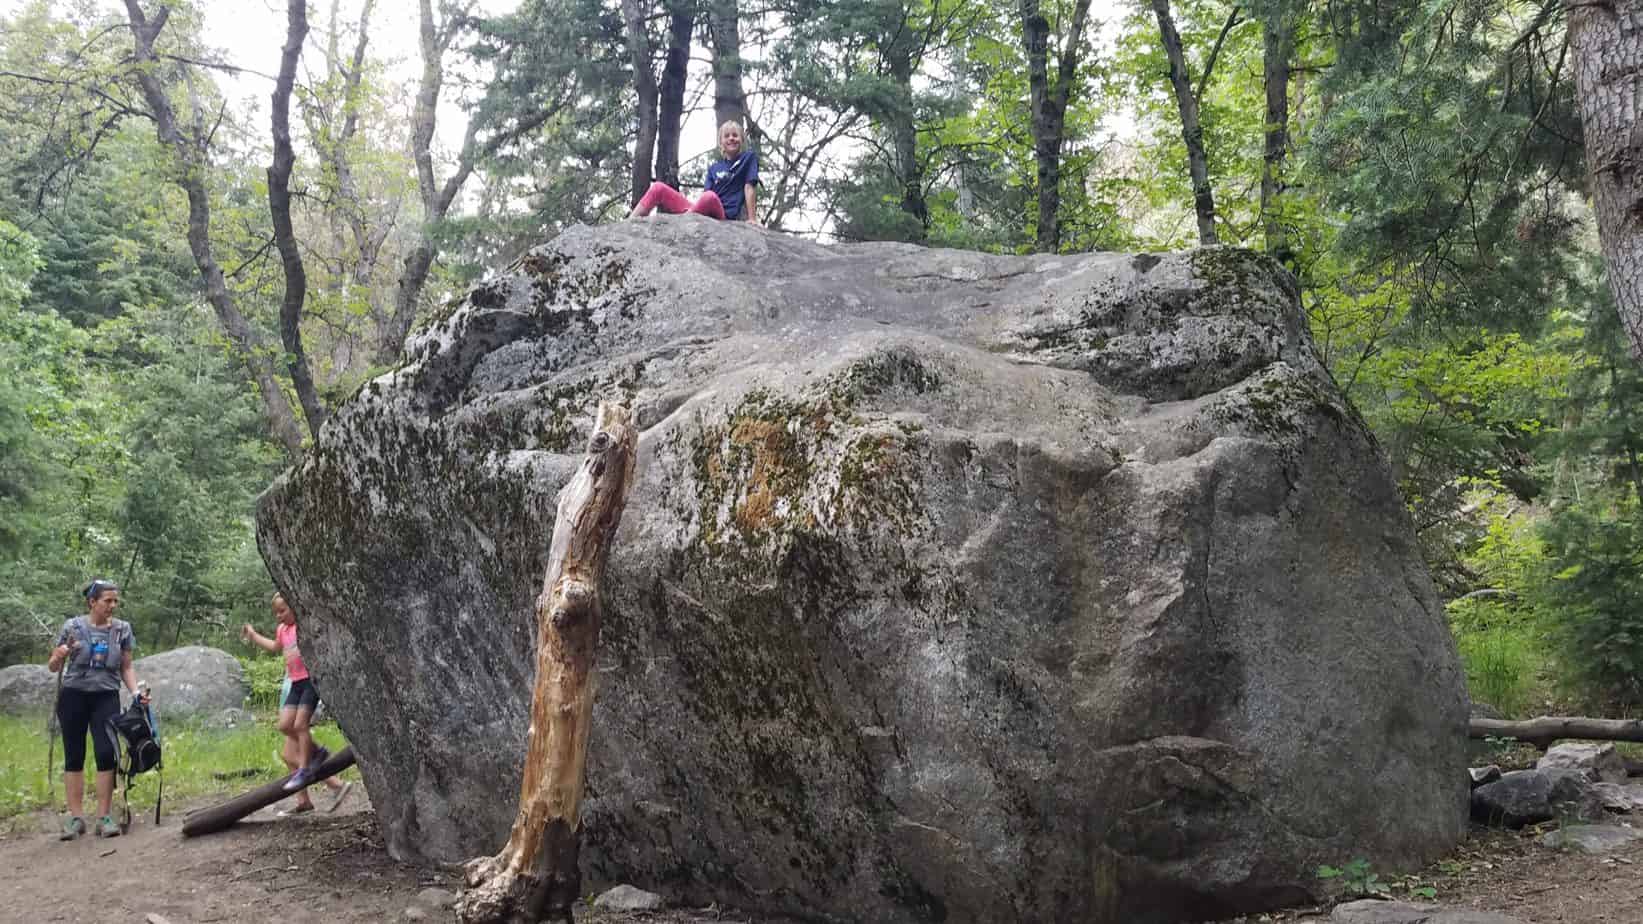
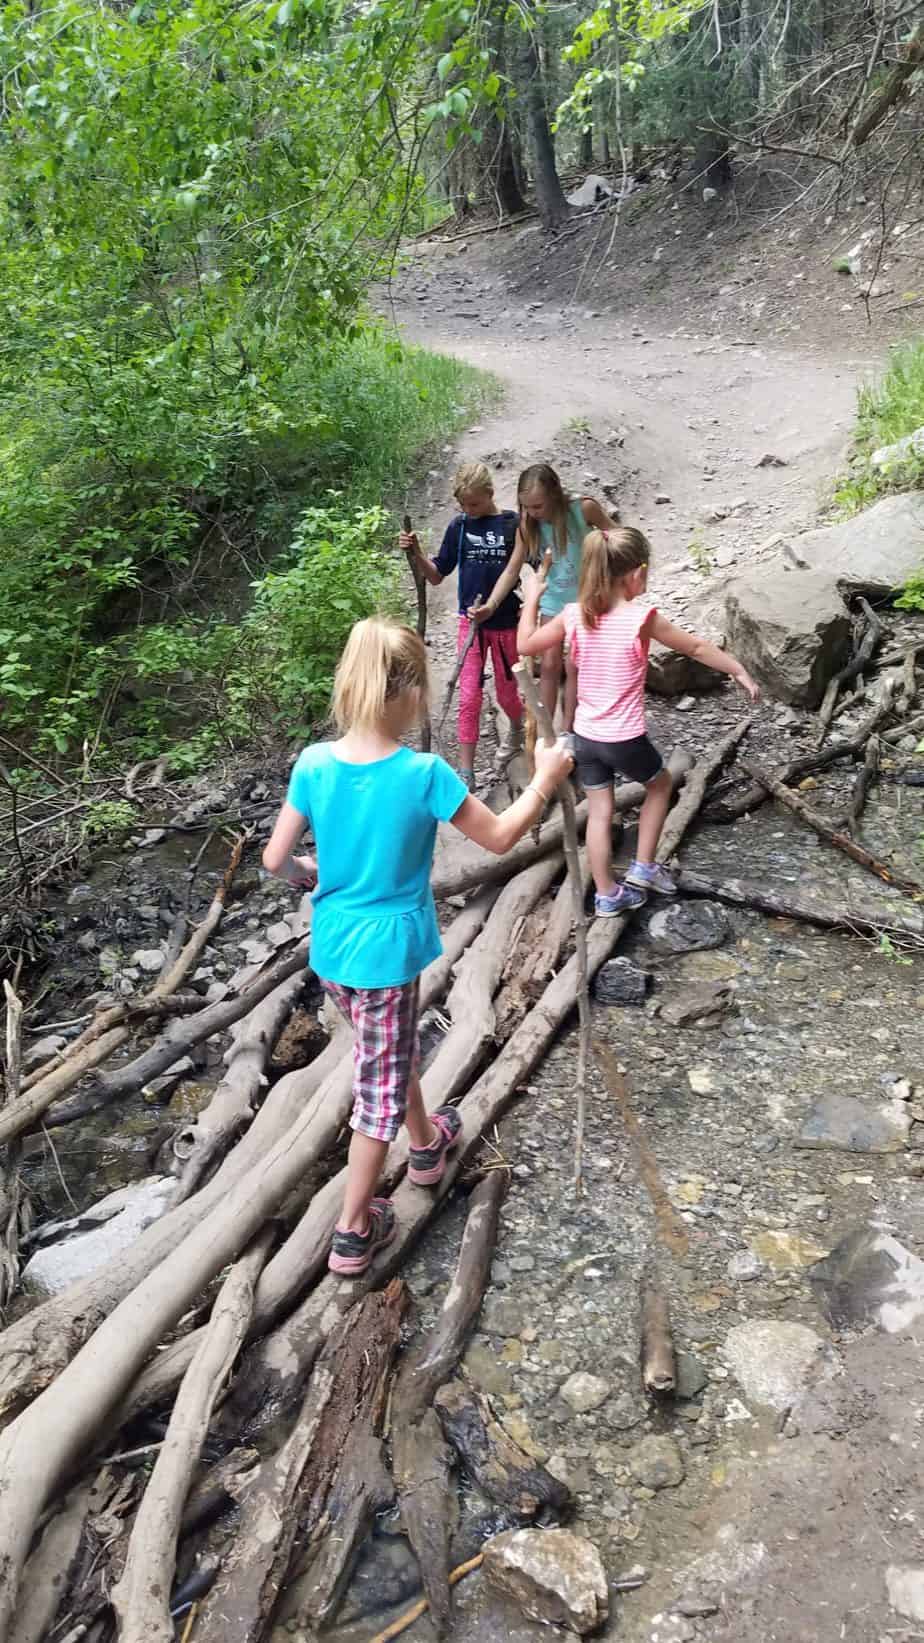
The terrain is very rocky with big and small rocks. There are a couple of small stream crossings which have logs and rocks placed so you don’t have to get wet if you don’t want to.
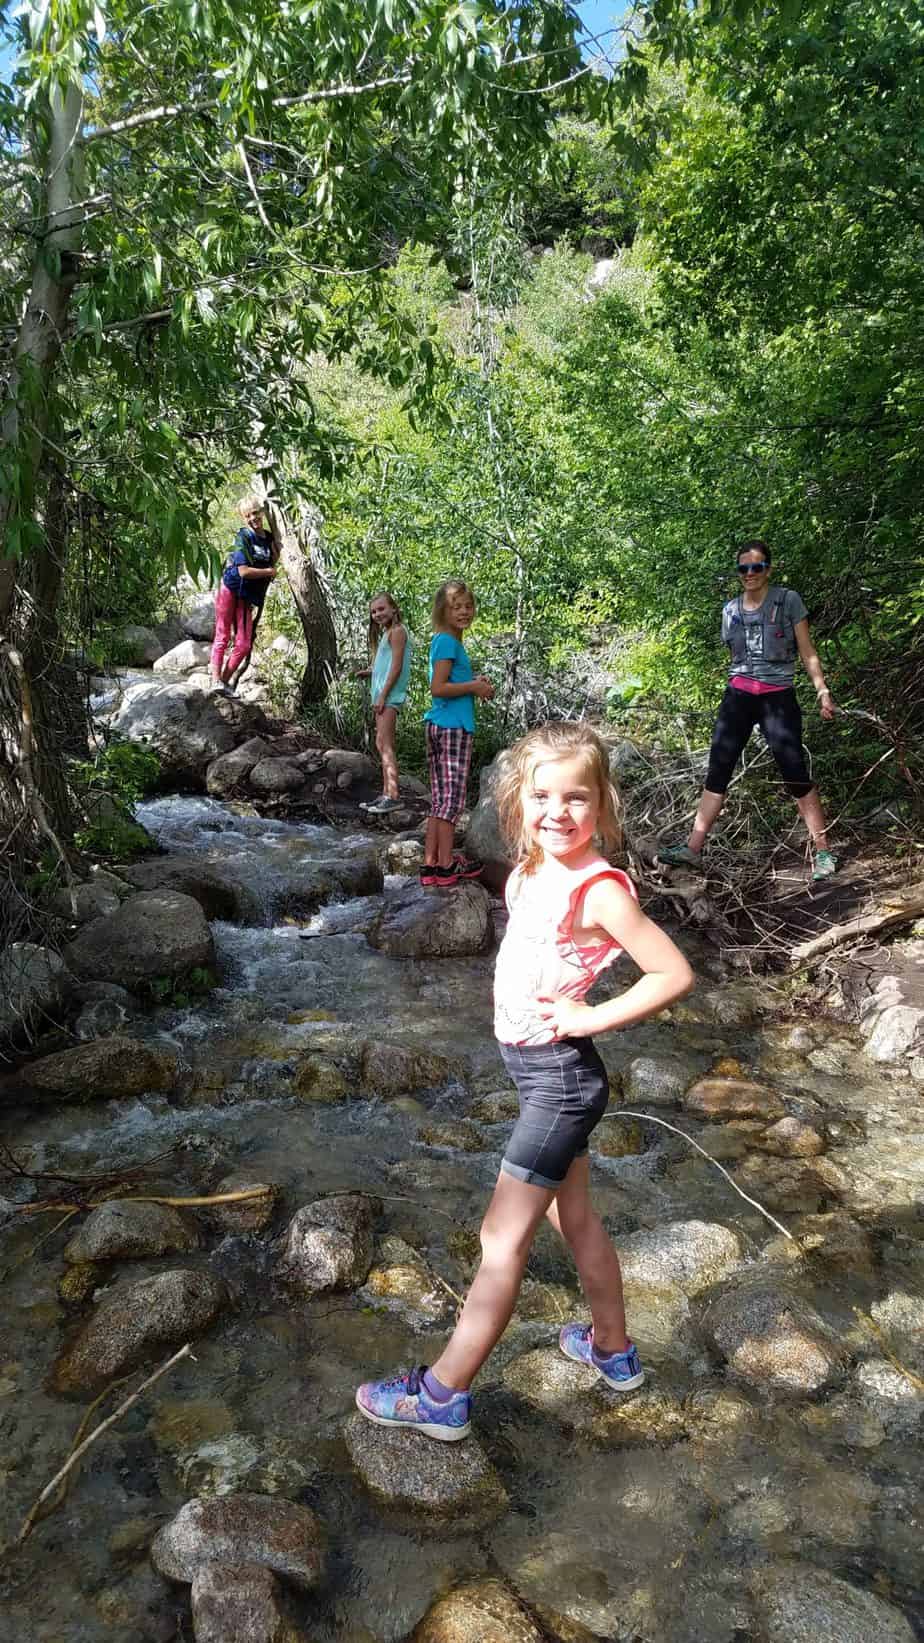
Dry Creek Canyon is for the majority of the time dry. However, due to the amount of spring rain when we did this hike, there was more than just a couple stream crossings.
There was actually water coming down on the trail for the last half mile on the way to the waterfall, making the trail a small stream. This is just what my kids needed to help them through the last bit of upward hiking. The kids loved walking through the water and getting wet.
One stream crossing was surprisingly stronger than it looked. So, as always, watch the kids and help them across these areas.
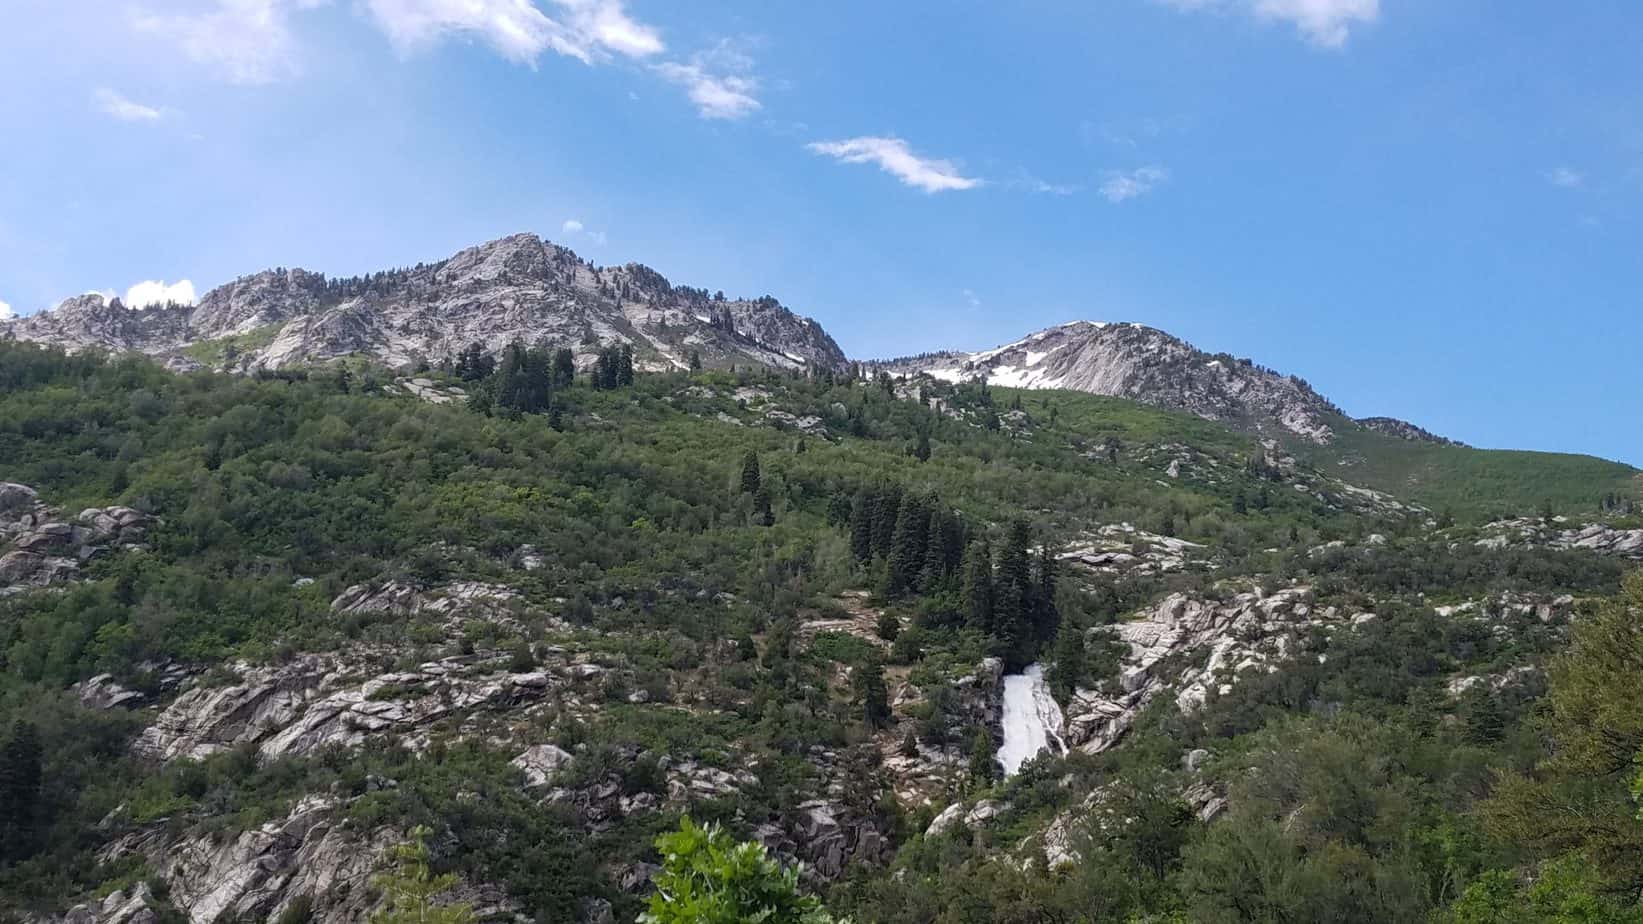
If you would like to get a close up view of the falls, I suggest continuing upward to a sign on the ground with an arrow pointing north that says horsetail falls.
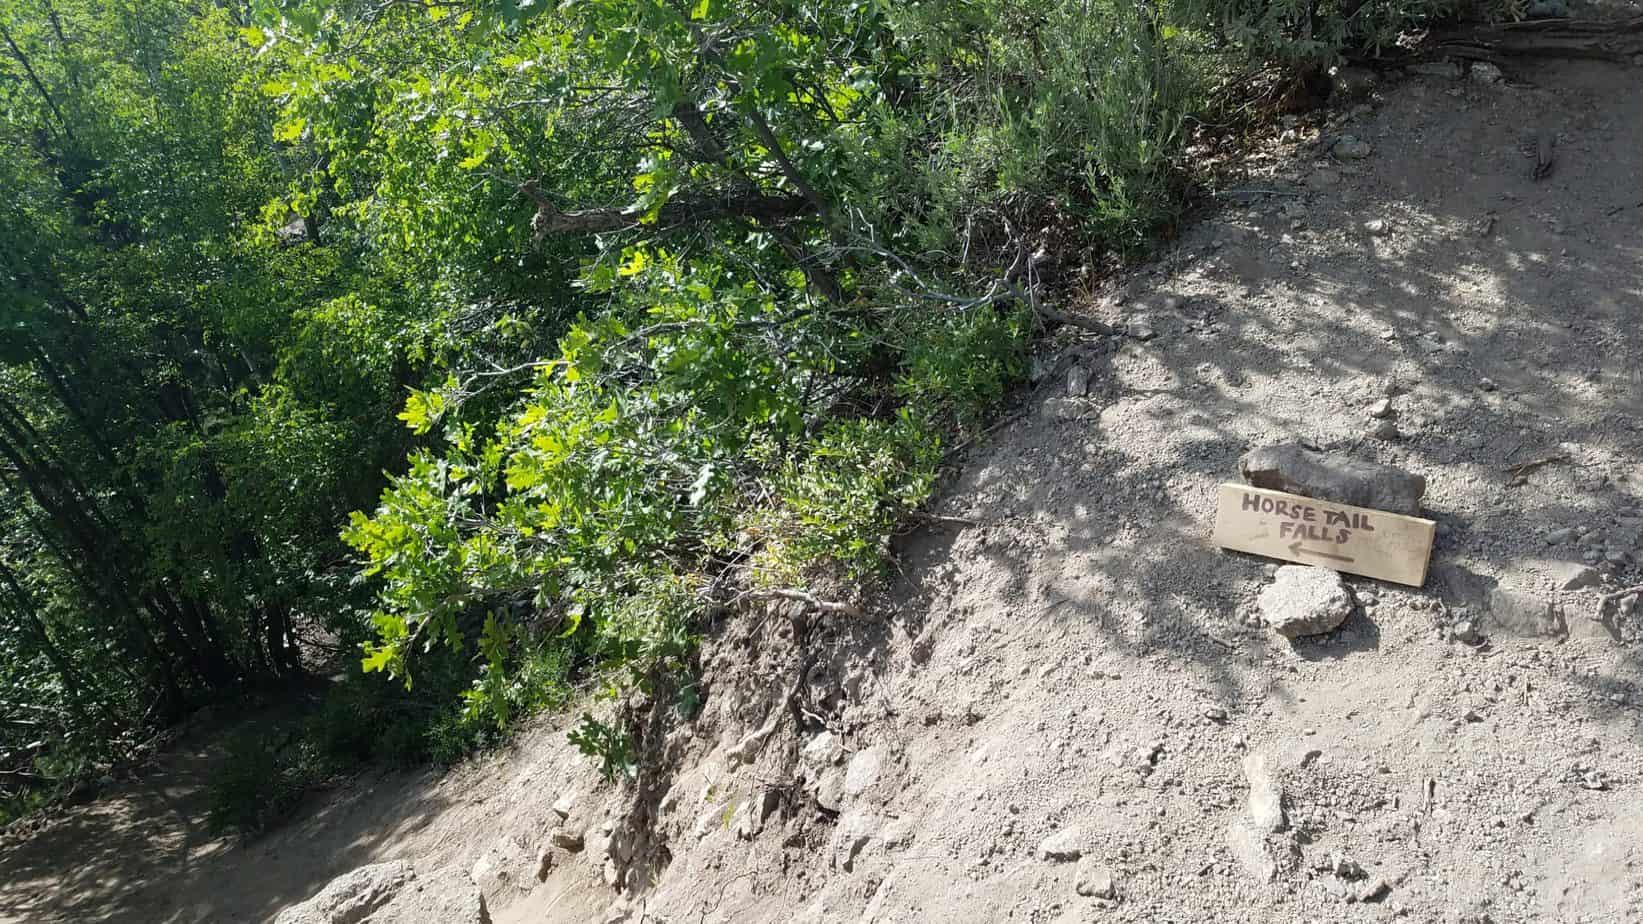
The waterfall comes up fairly quickly after turning off the main trail and is pretty awesome to see. The area near the waterfall is steep, so be cautious of your little ones getting there before you. You will likely be able to feel the mist of the falls as you get closer. Due to the heavy spring rain and runoff the waterfall was a lot bigger for us than I have seen in other pictures.
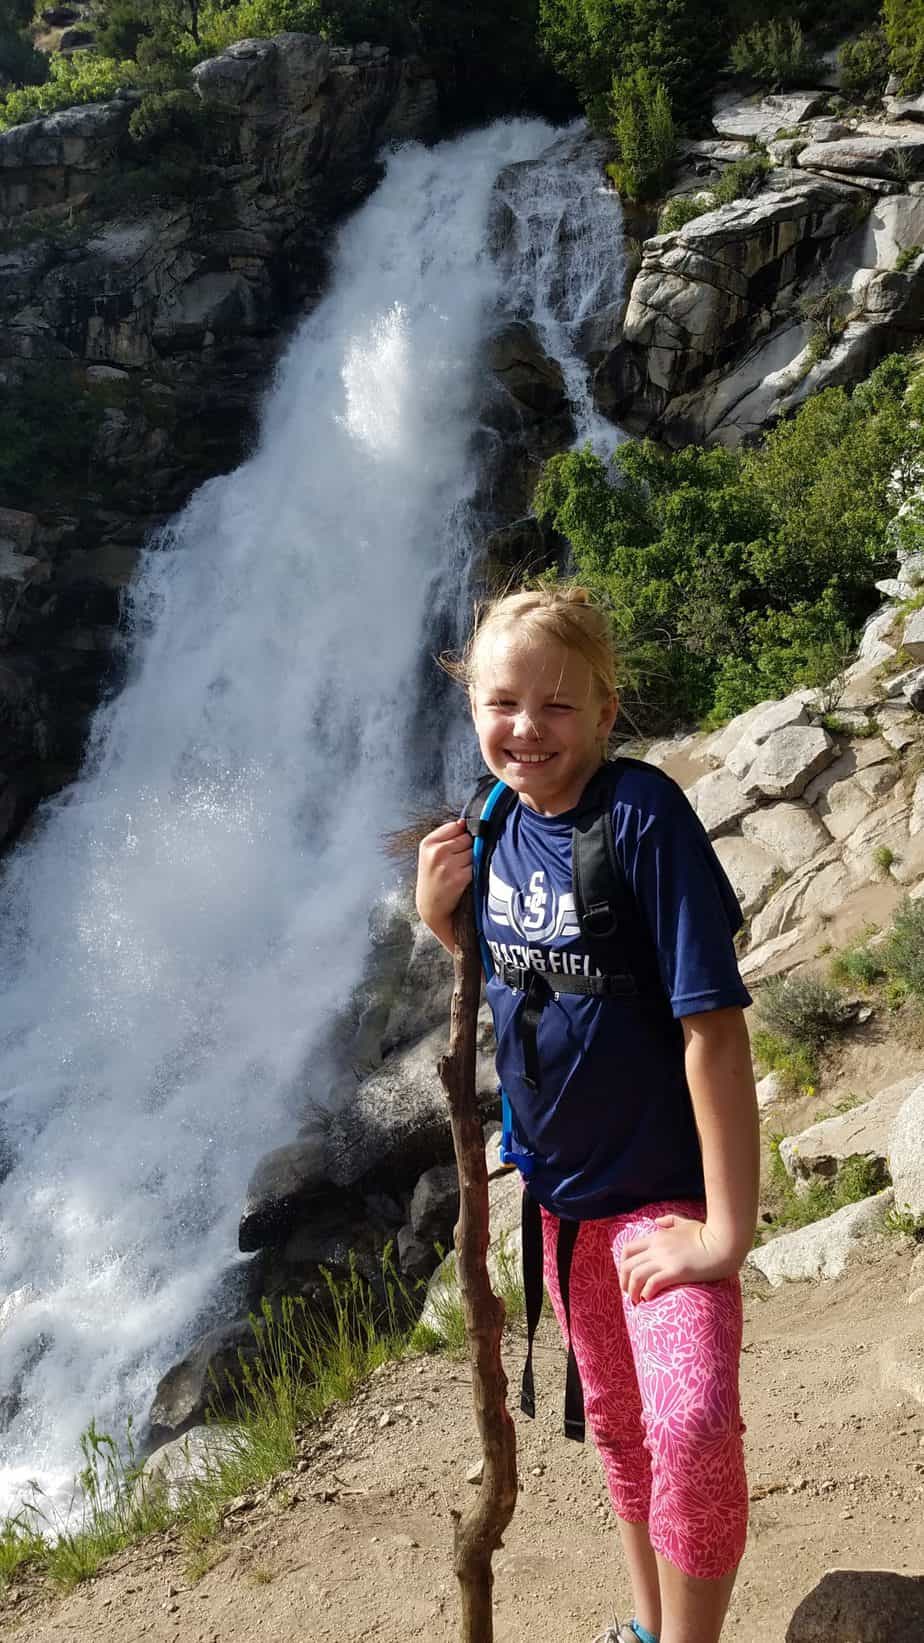
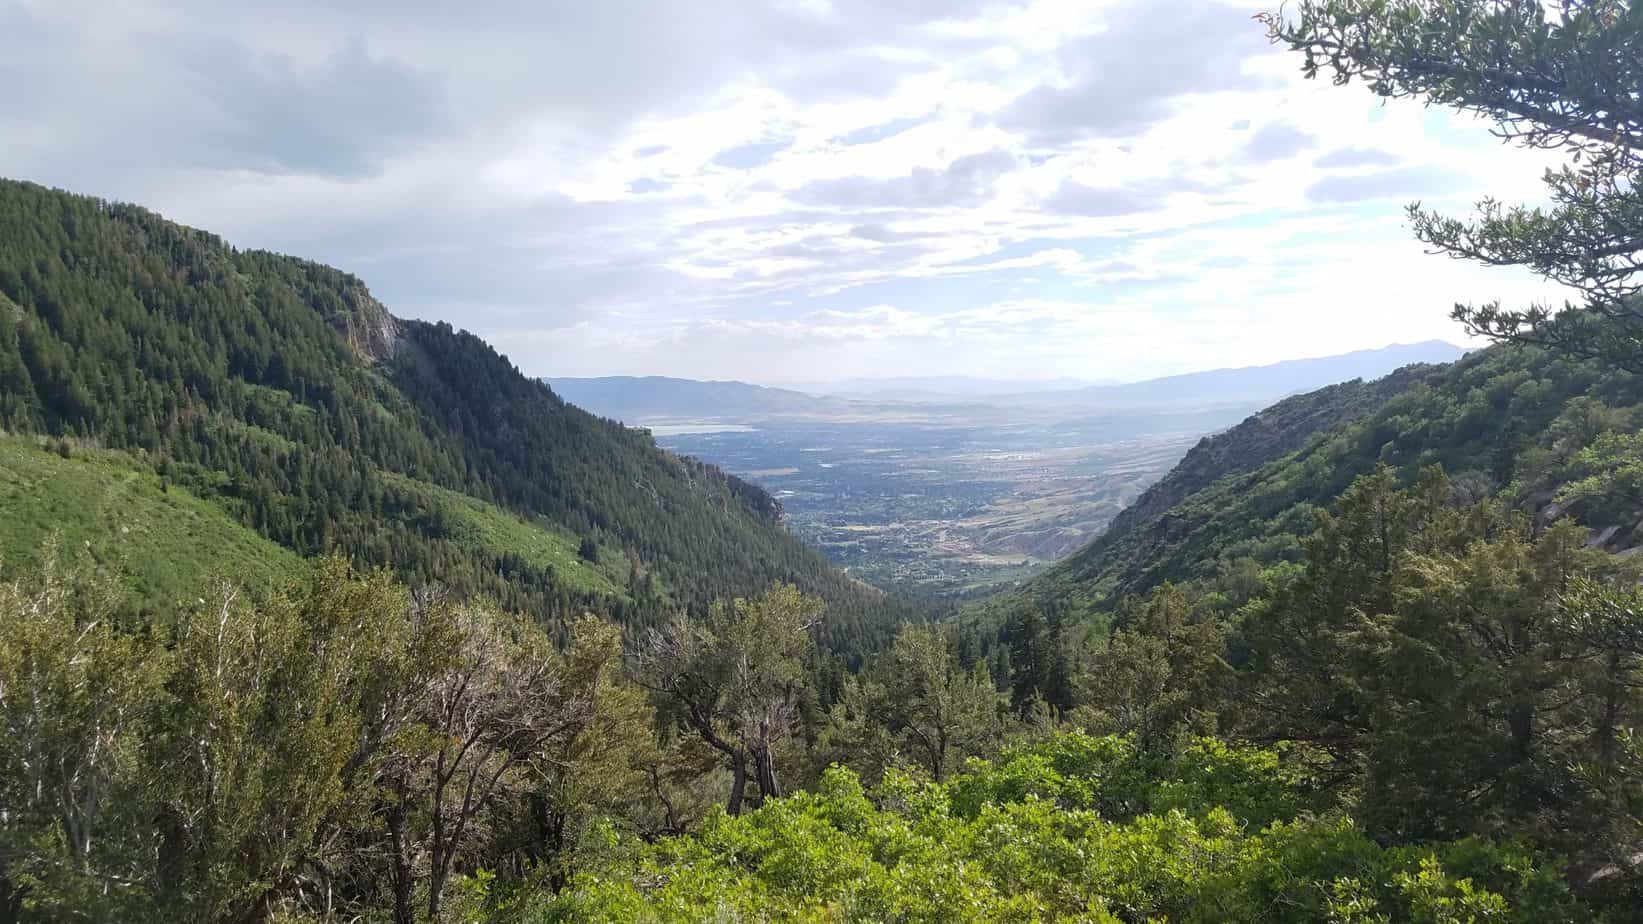
Overall, the hike was not too difficult for our family. However, we are a hiking family. I would not recommend this hike to a family new to hiking. Try a few shorter easier hikes first.
PROS
CONS
The trailhead is located at the end of Grove Drive in Alpine, Utah. To get to the Horsetail Falls trailhead put Deer Creek/Dry Creek/North Mountain Trail into your maps app. You can also use the search, Horsetail Falls Trail via Dry creek. This will lead you to a dirt parking lot at the end of Grove Drive in Alpine. You can also follow my map below.
Easier hikes in the area to try before Horsetail Falls:
Rocky Mouth Waterfall (45 minutes)
Alien Tower (30 minutes)
Draper Suspension Bridge (40 minutes)

Hi, I’m Corrine! I’m an outdoor enthusiast and mother of four.
My goal is to inspire you to get outside and create your own amazing memories as a family. Life is precious and there are too many adventures to be had to spend life on the couch or in front of a screen.