No Results Found
The page you requested could not be found. Try refining your search, or use the navigation above to locate the post.
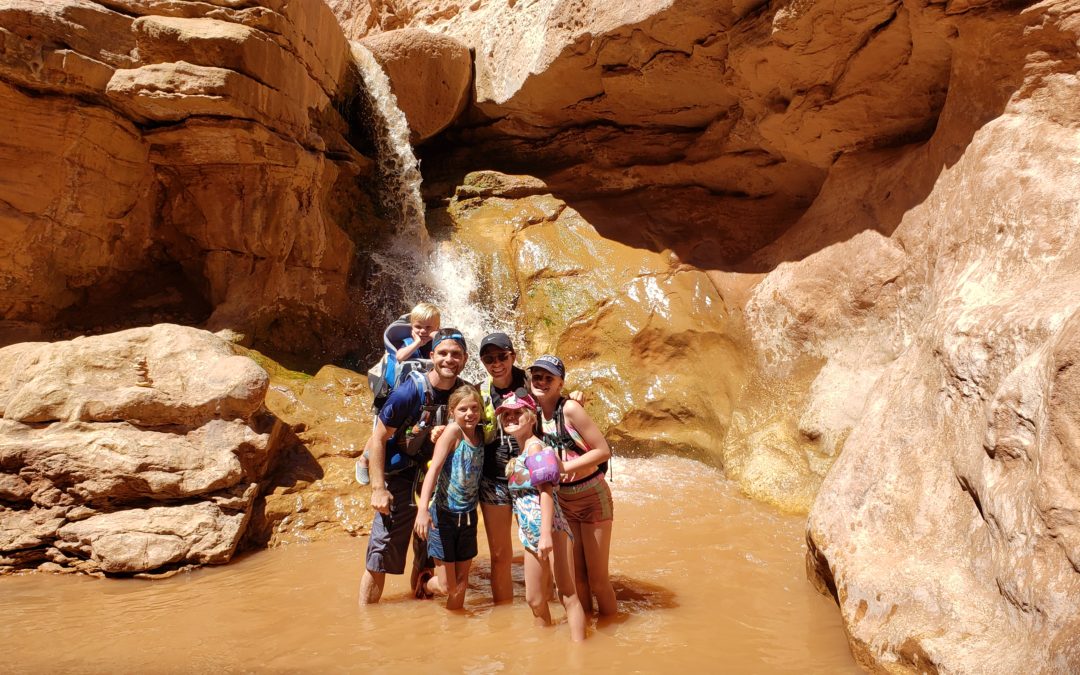
Hike Sulphur Creek with kids for an epic adventure in Capitol Reef National Park. This unique hike through a desert canyon will be one you never forget as you traverse redrock, wade through water, slide down small waterfalls and jump in natural pools. This guide will help you prepare and plan your hike through Sulphur Creek with kids.
Fun: ⭐⭐⭐⭐⭐ (out of 5)
Difficulty: Very Easy EASY Moderate HARD Very Hard (Easy or Hard depending on which way you hike and for how long)
Distance: 1.5 (easy) to 5.8 (hard) miles
Elevation Gain: 500 feet elevation loss on 5.8 mile hike, slight gain on 1.5 mile hike
Terrain: Water (creek, pools, waterfalls), sand, rocks, exposed trail in areas, canyon
Time Needed: 2 to 9 hours (depending on how far you go and how much you play on the way)
When to Go: Late Spring, Summer, Early Fall
Free
Bathrooms available at Capitol Reef Visitor’s Center
No water for public at Visitor’s Center, plan accordingly
If hiking full 5.8 miles, there is no water or bathrooms at trailhead
Sturdy hiking shoes or sandals that can get wet
Hiking clothes you can get wet in
Plenty of water, 1 – 2L per person
Snacks and/or lunch
Waterproof bag to carry supplies in
Sunscreen
Small first aid kit
Sulphur creek is one of our family’s all time favorite hikes. The kids loved hiking through the creek and playing in the natural pools and waterfalls.
Sulphur Creek Hike is a considered a narrow canyon. It is very important to check weather conditions before attempting to hike any narrow canyon or slot canyon. Flash flooding can happen creating a dangerous situation. Before hiking any narrow canyon we check the National Weather Service at www.weather.gov/slc/flashflood for Flash Flood Potential. We only attempt to hike if flash floods are not expected.
You can also check in with the rangers at the Visitor’s Center to check for flash flood warnings.
If you want a shorter hike but still want to enjoy the scenery of Sulphur creek, I suggest starting from the backside of the Capital Reef National Park Visitor’s Center and hiking upstream from the bottom up.
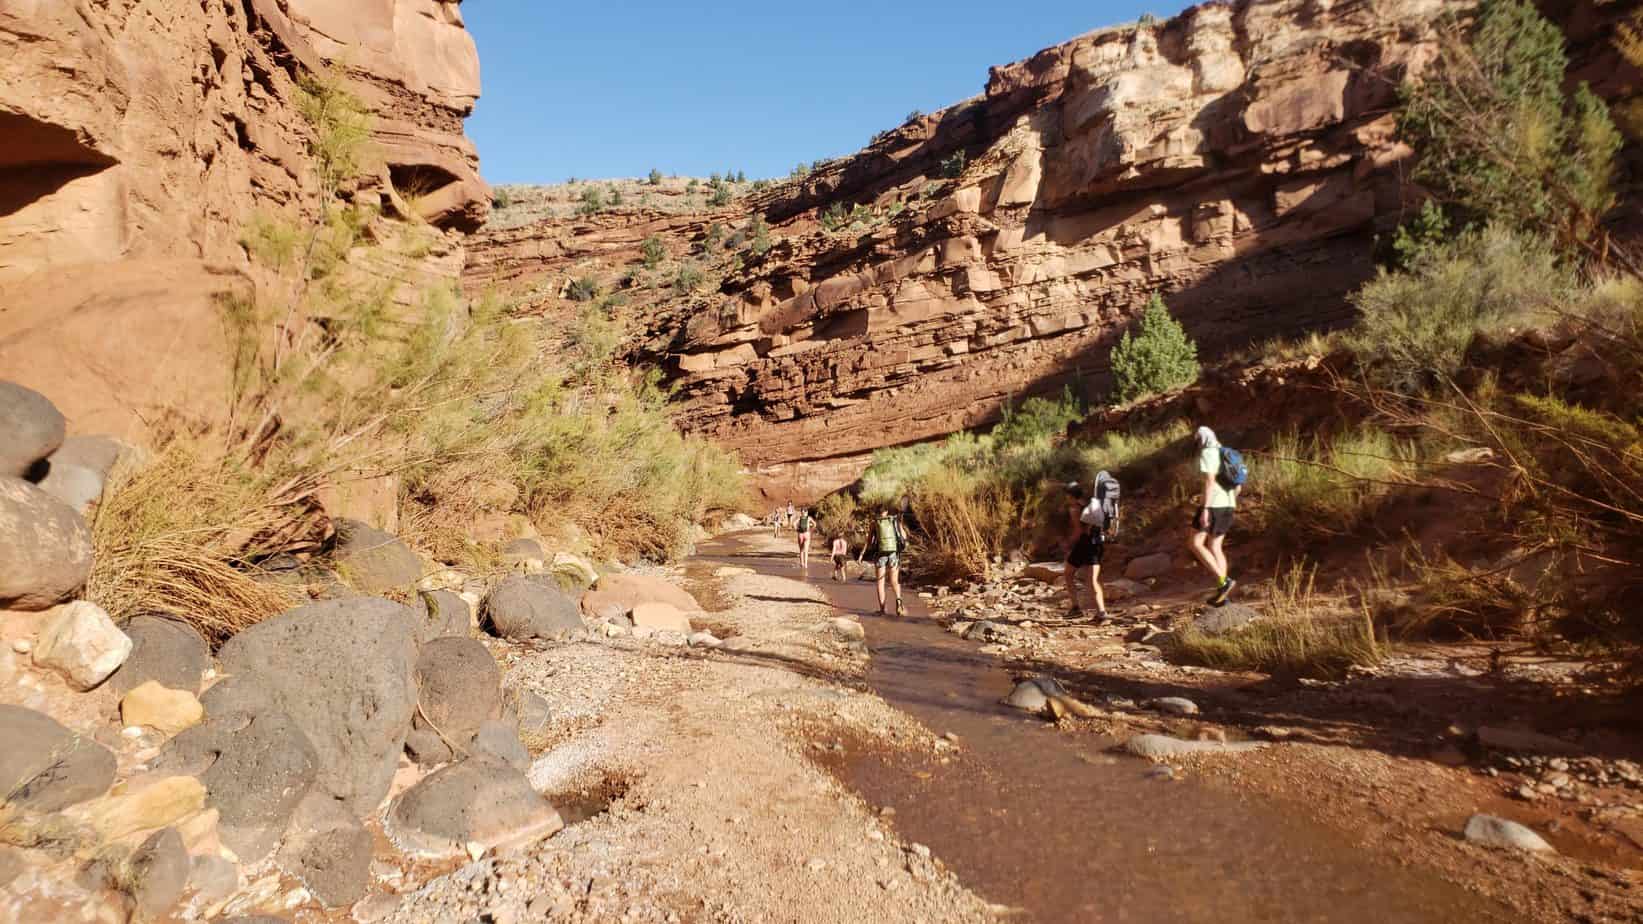
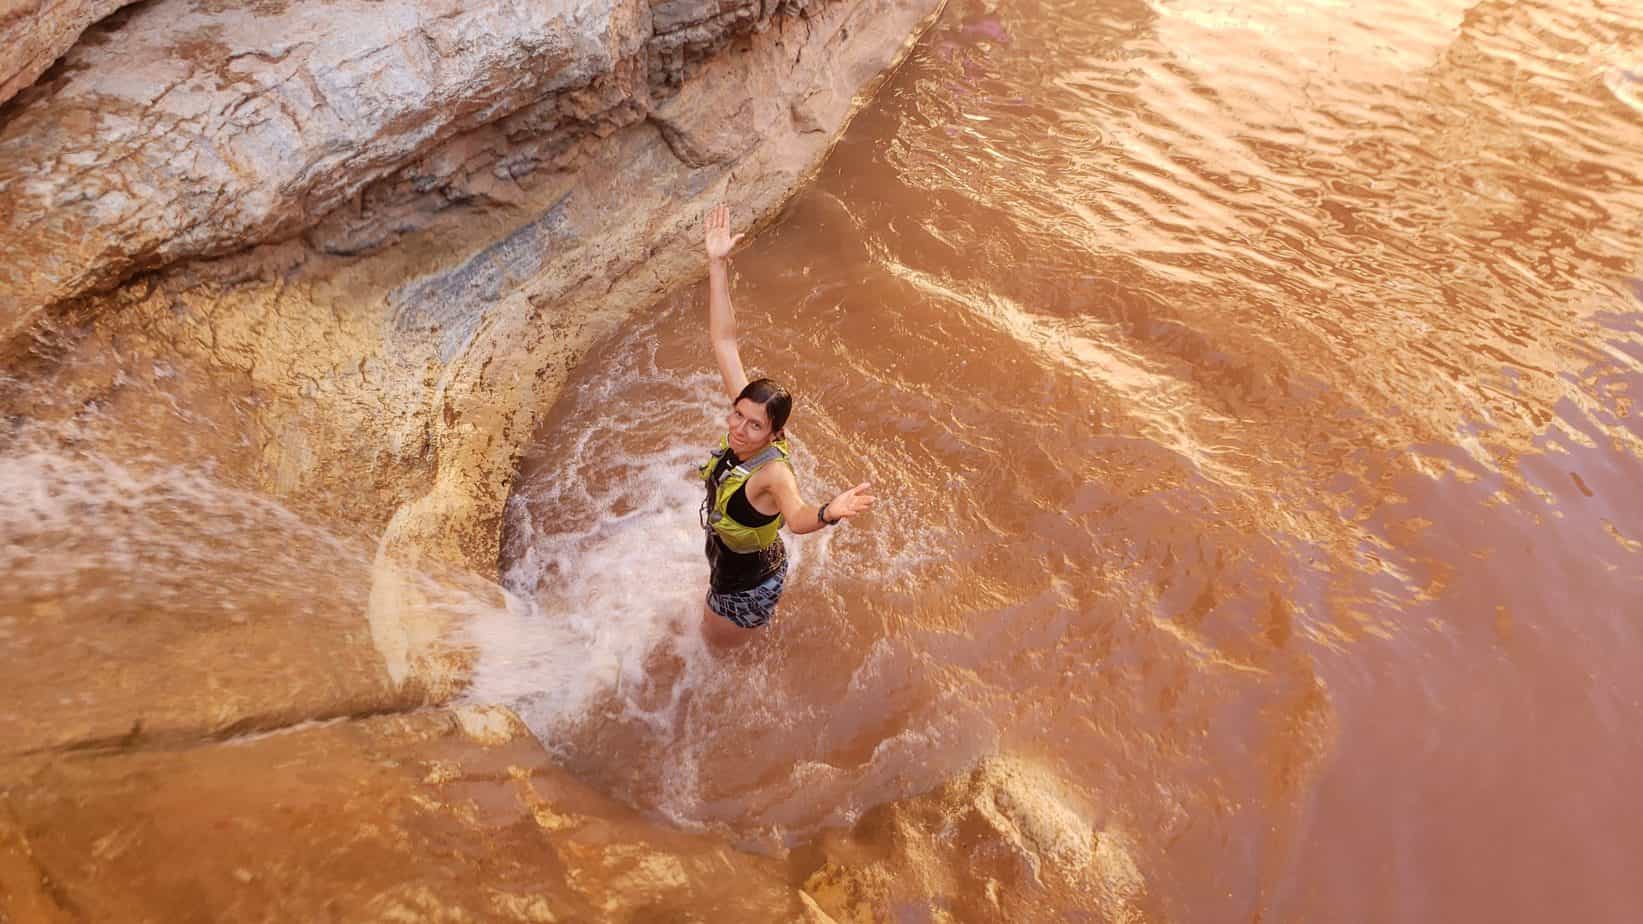
From the natural pool, you can turn around and head back to the visitor’s center to finish your hike. Another option is to continue upward following the creek. This is not the recommended way to hike the creek. It can be difficult to get up some of the slickrock in the pool areas hiking this direction. However, having now hiked the full 5.8 as a family, I know we could have made it starting from the visitor’s center and continuing onward to each of the 3 waterfalls. However, I would say we are a quite a bit more adventurous than most families
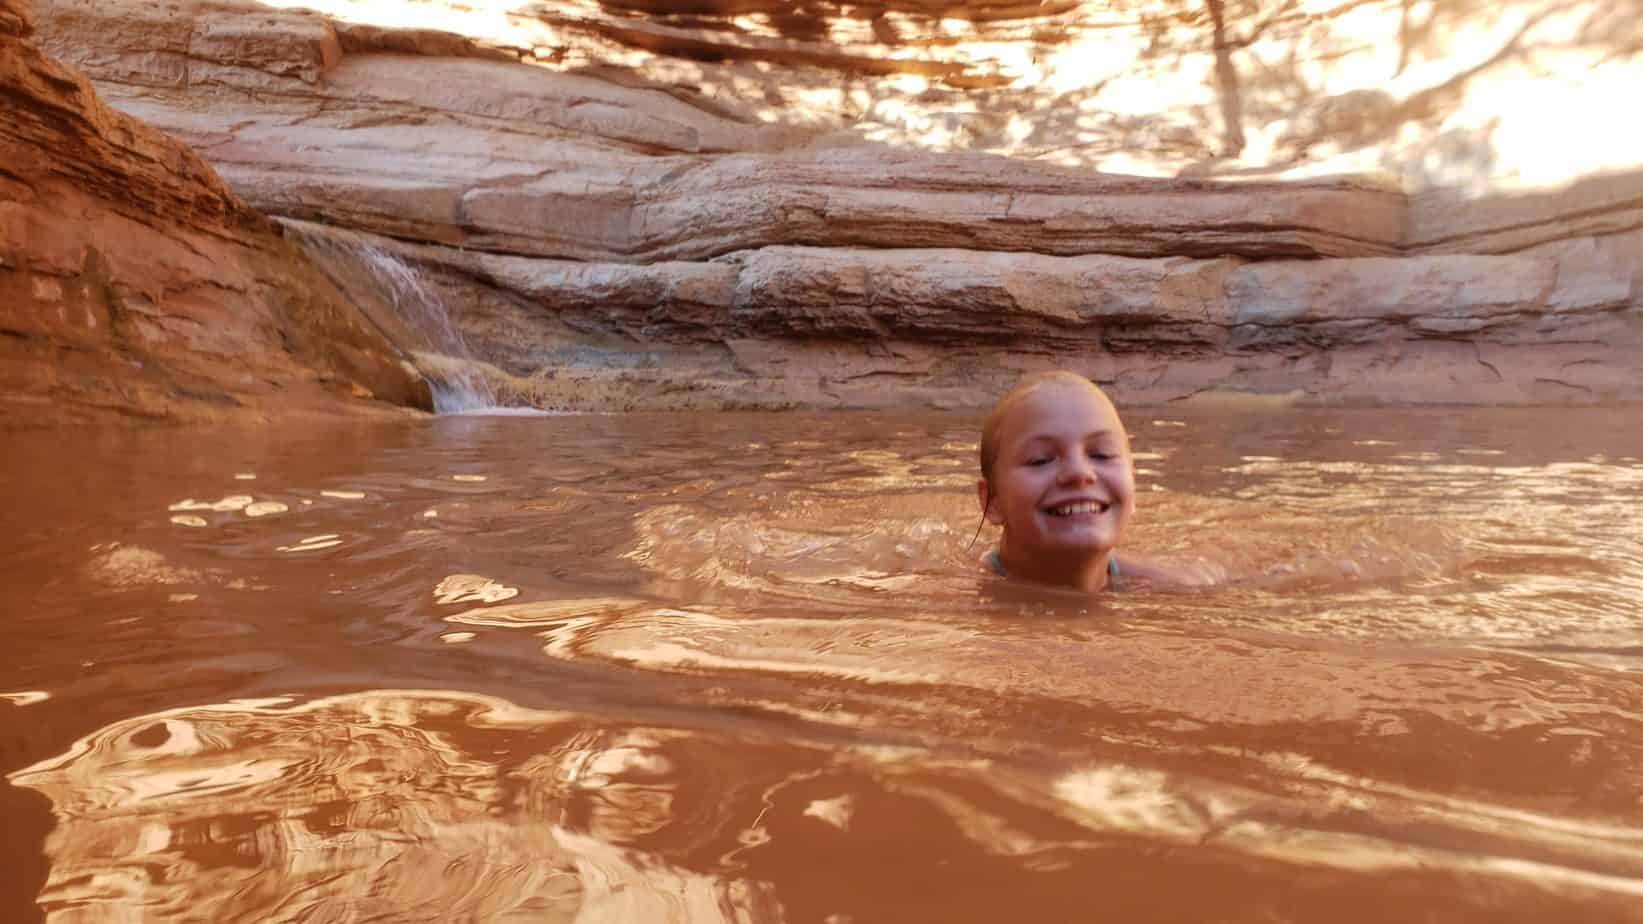
For the full Sulfur Creek hike experience it is recommended to hike downstream from the top to bottom as a one way trip. Before making this adventure check with the ranger station for flash flooding risk and water depth. There is an area between the first and second waterfall that may require swimming depending on water depth. The water levels vary throughout the year due to upstream water usage.
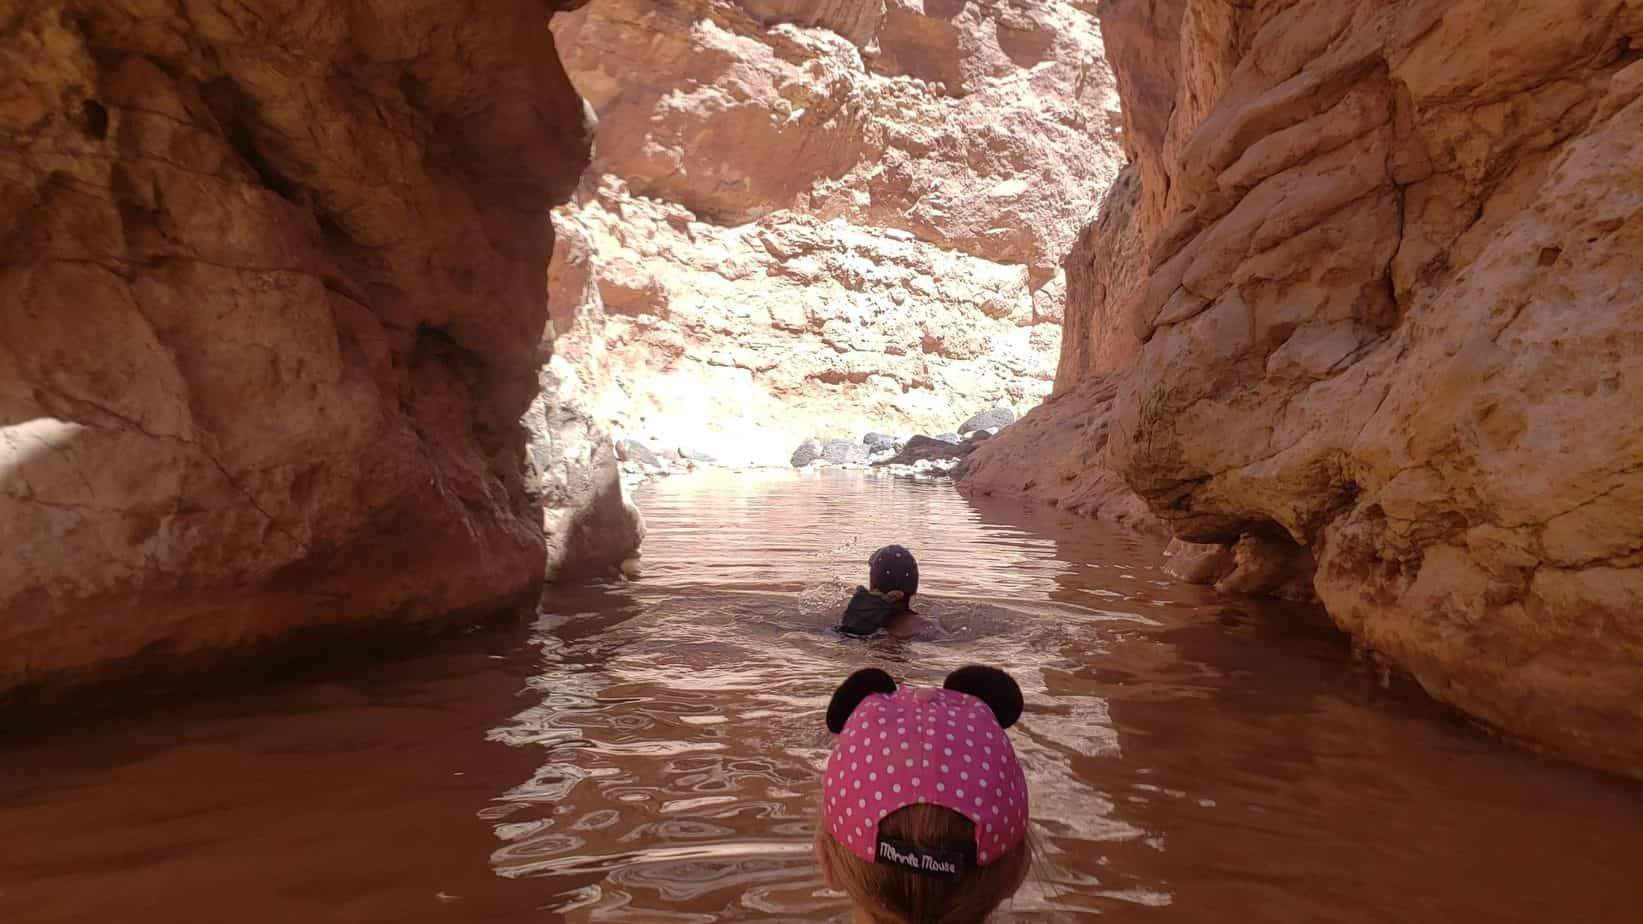
If you have multiple vehicles in your party you can have someone drop you off at the trailhead which is 3.3 miles from the visitor’s center. You can also leave a car at the visitor’s center and another car at the trailhead, which is what we did. I have also heard of people planting a bike at the Visitor’s Center and then riding up the 3 miles to get to their vehicle at the trailhead after the hike.
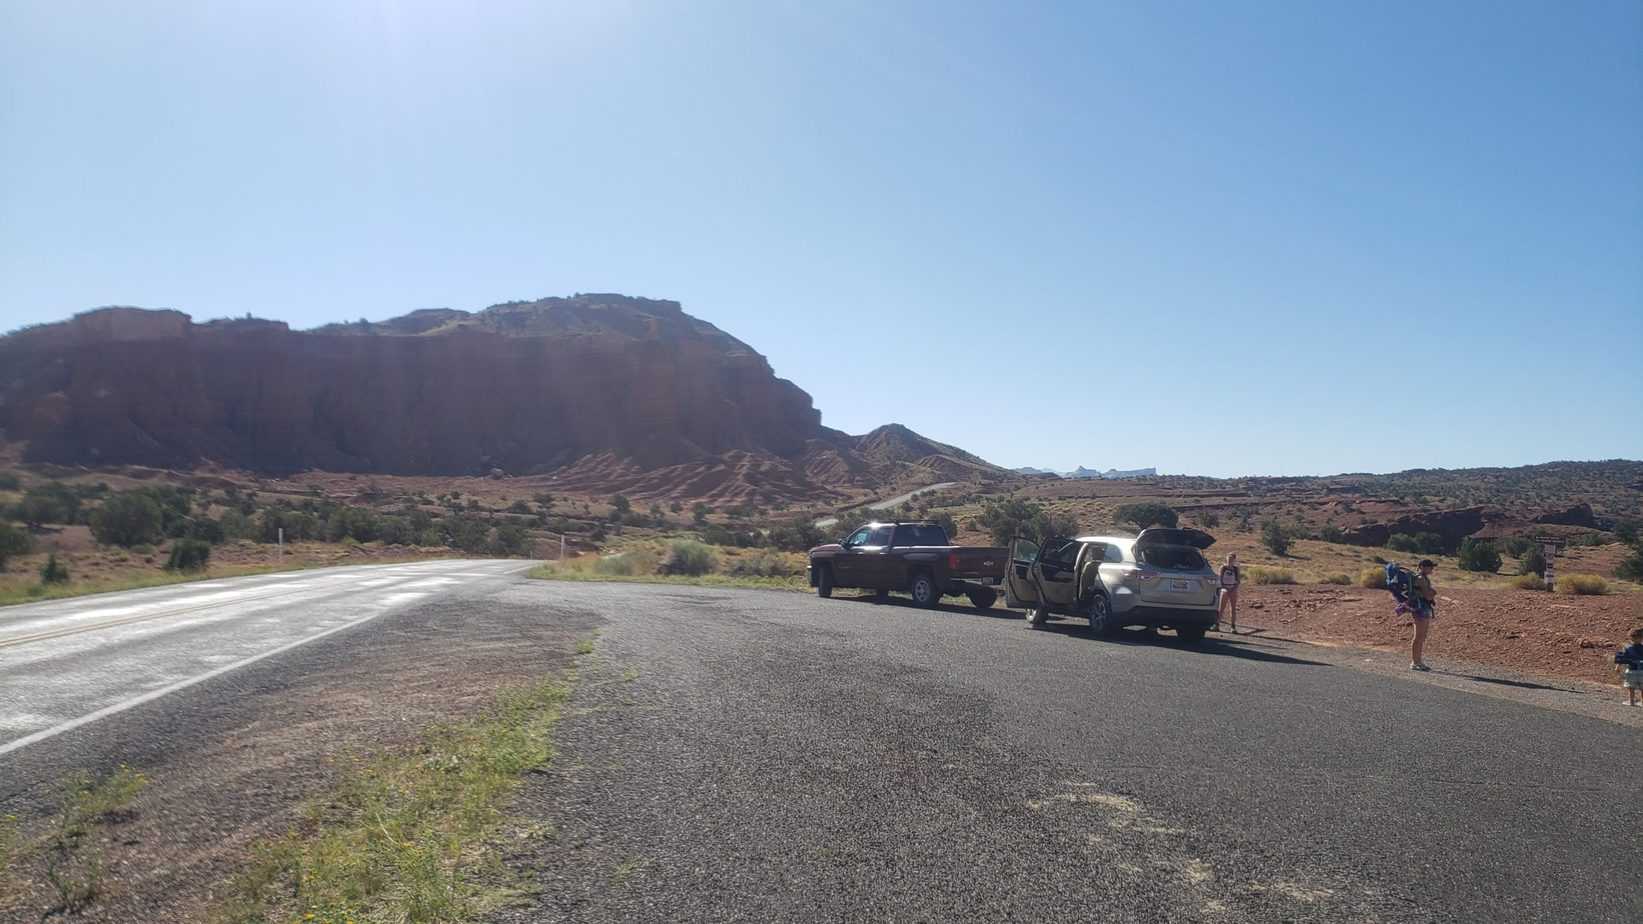
The trailhead is just a paved pullout located on the south side of Highway 24, 3.3 miles west of the Visitor’s Center near chimney rock.
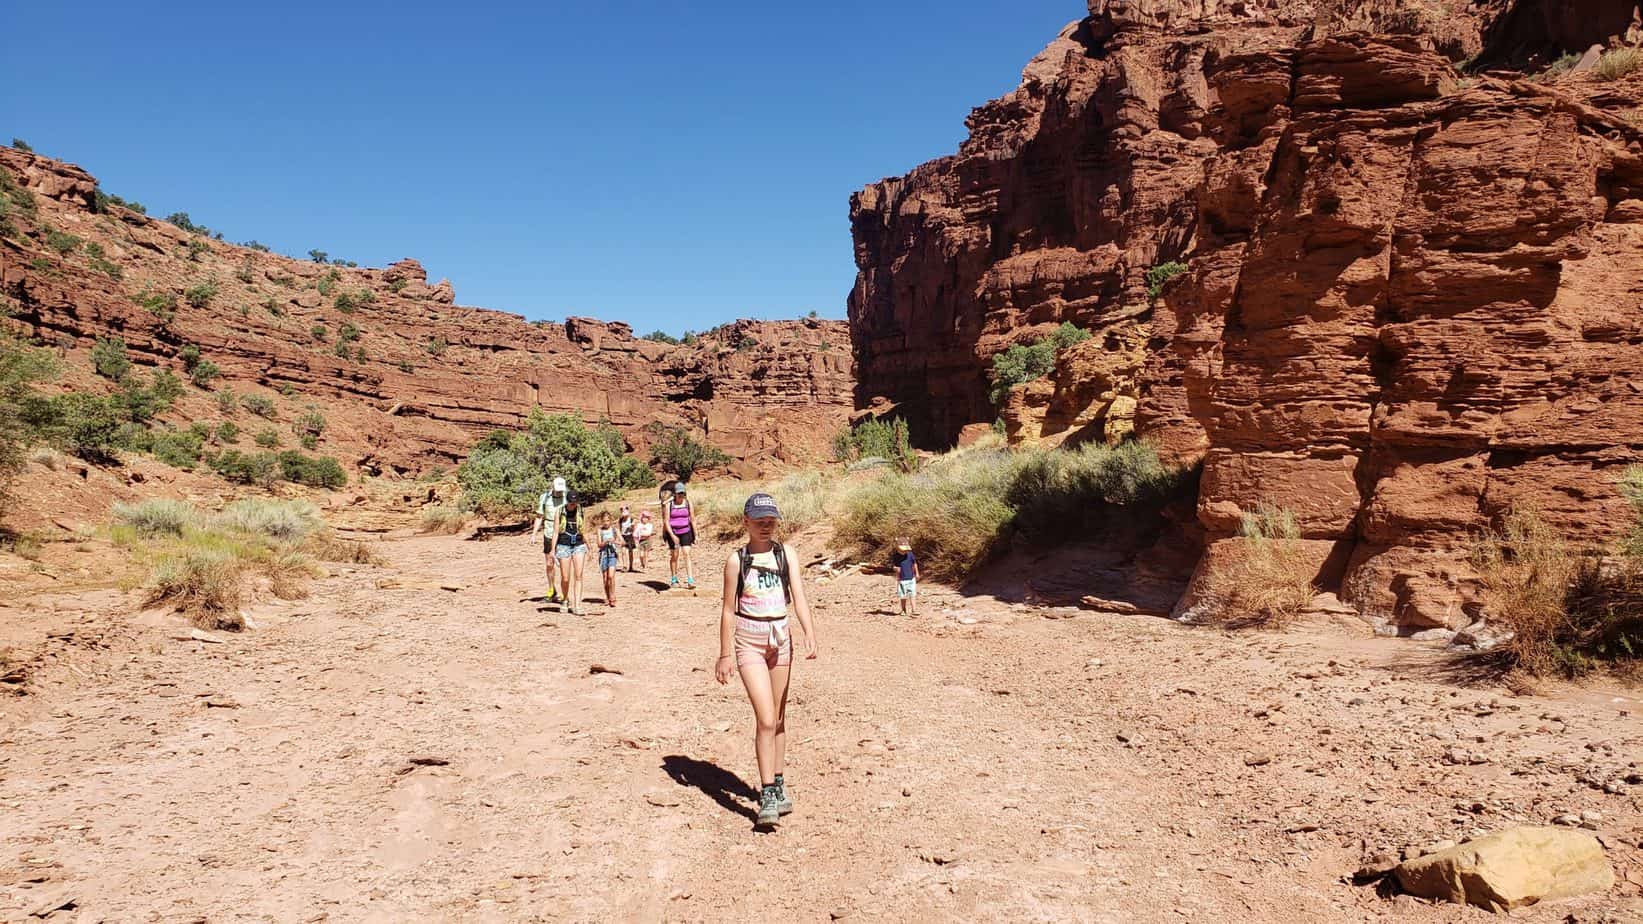
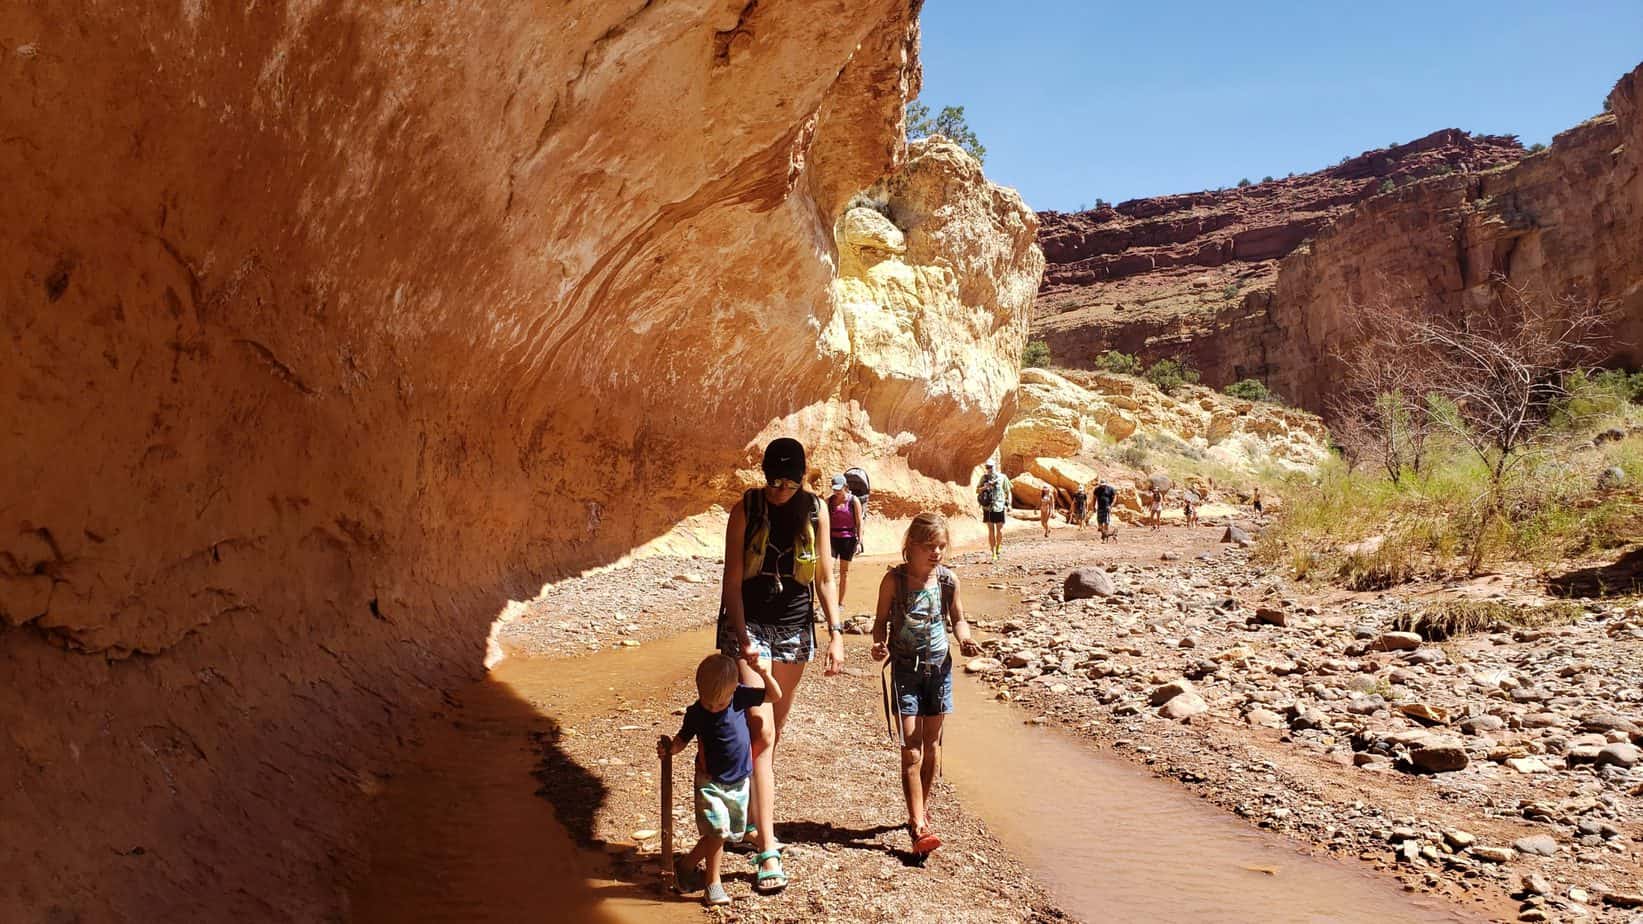
After coming to the creek, you will continue another 1.5 miles to the first waterfall. There is so much to look at and play in along the way. There is a layer of earth exposed through erosion that contains countless rocks that looked like geodes.
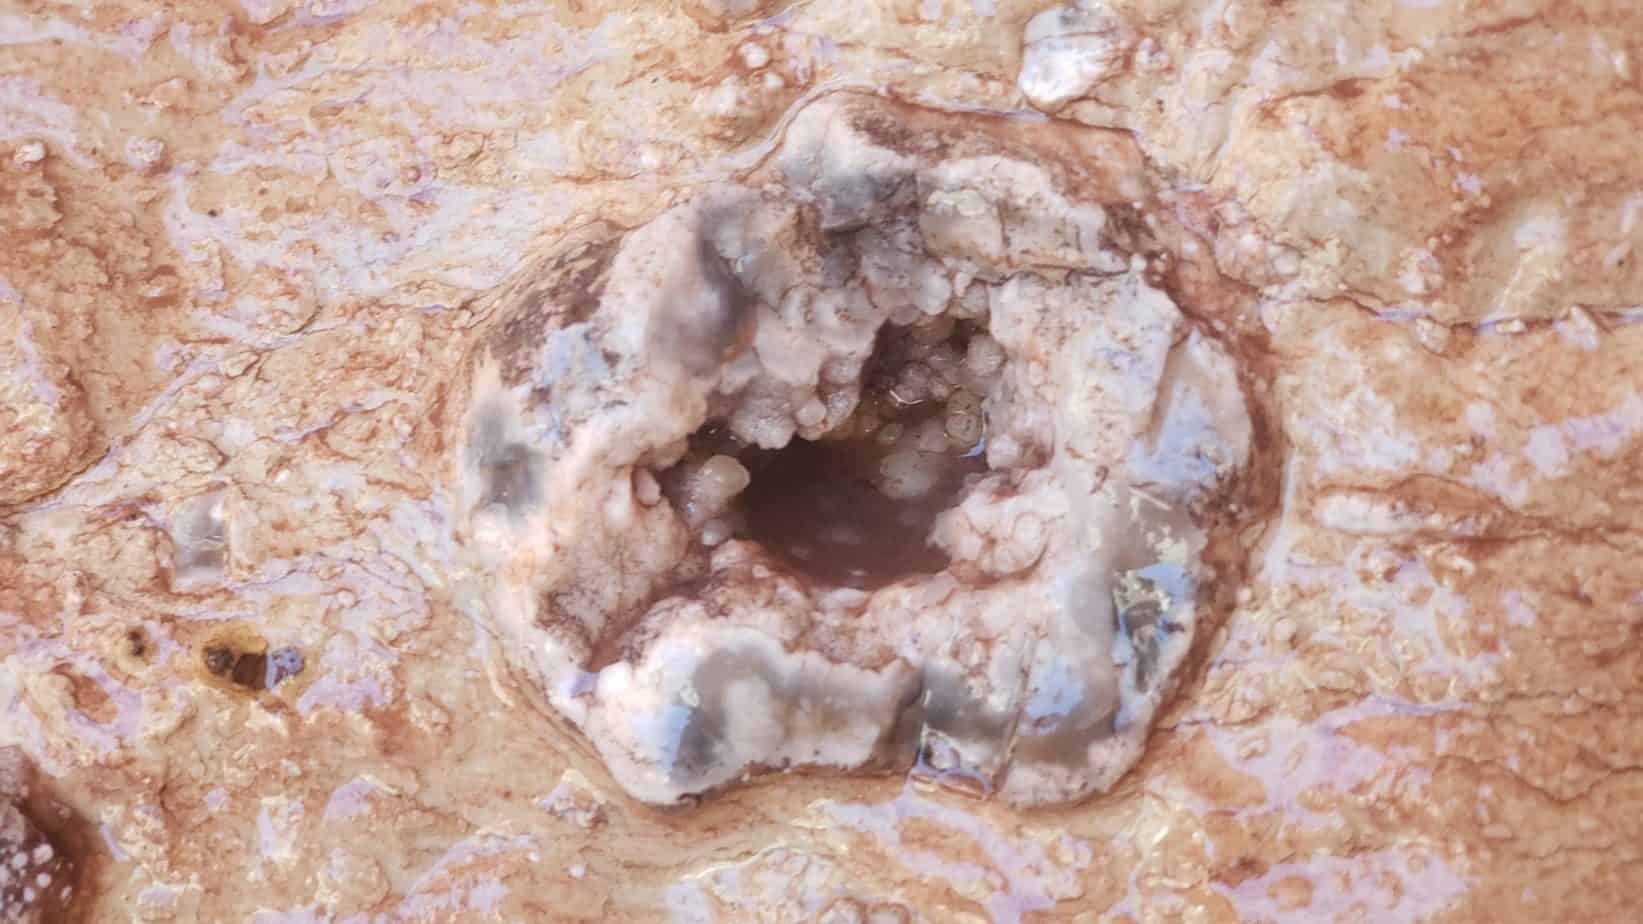
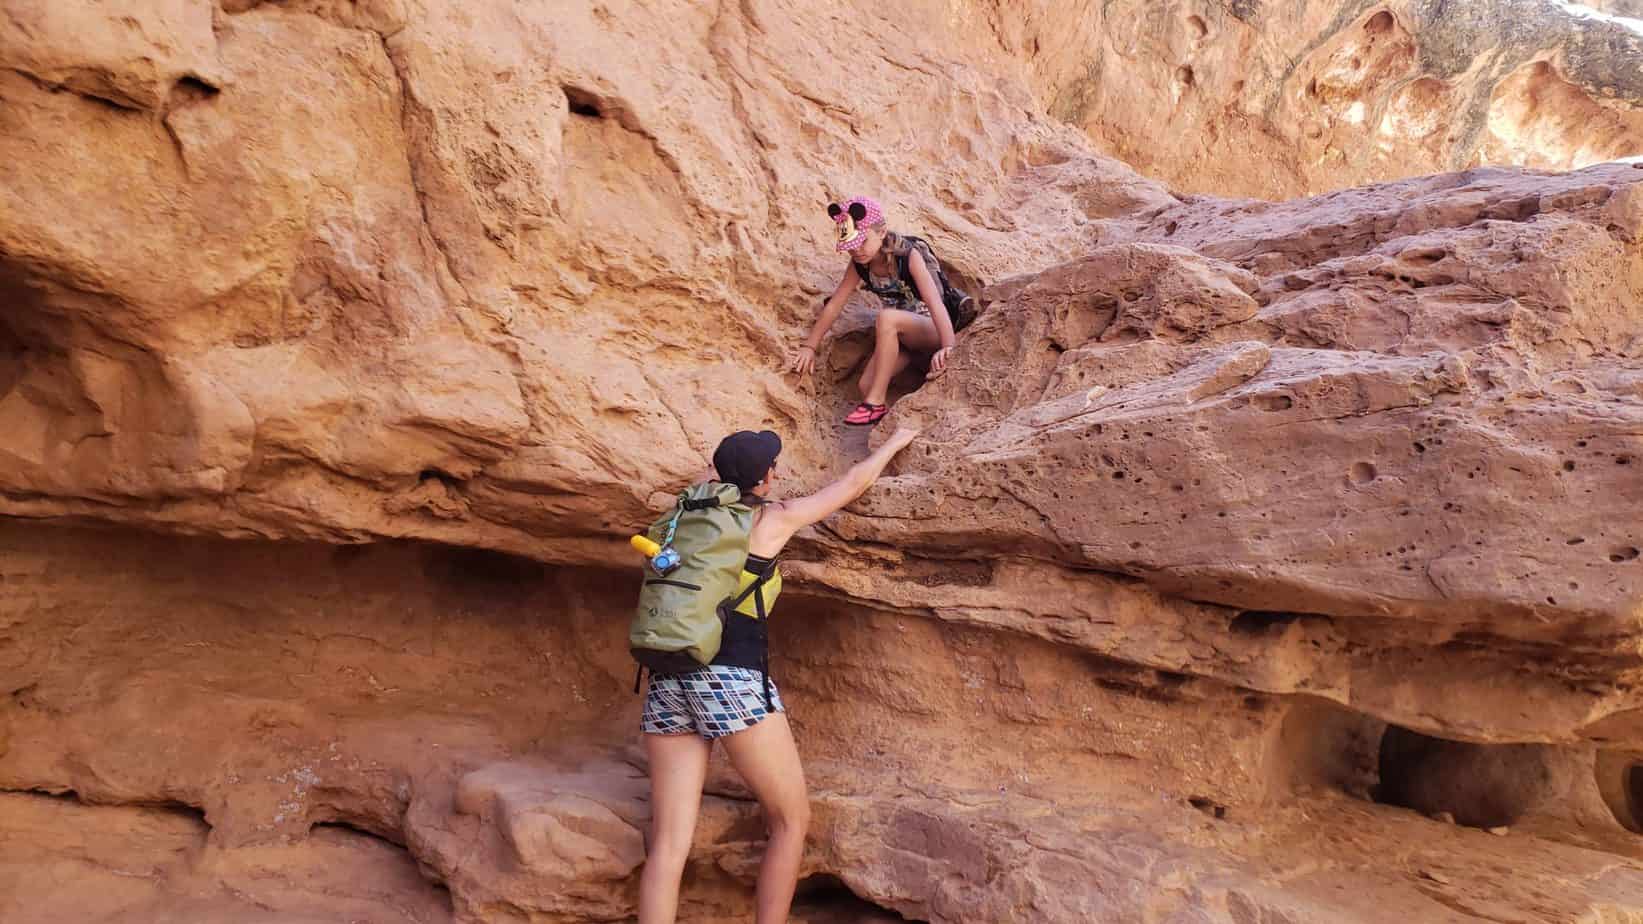
The First Waterfall is 3.2 miles from the trailhead off of Highway 24. When you reach the first waterfall you will need to scramble down some red rock about 12 feet. There are plenty of hand and foot holes along the way to assist you down. Have one adult at the top and one adult at the bottom to help the kids.
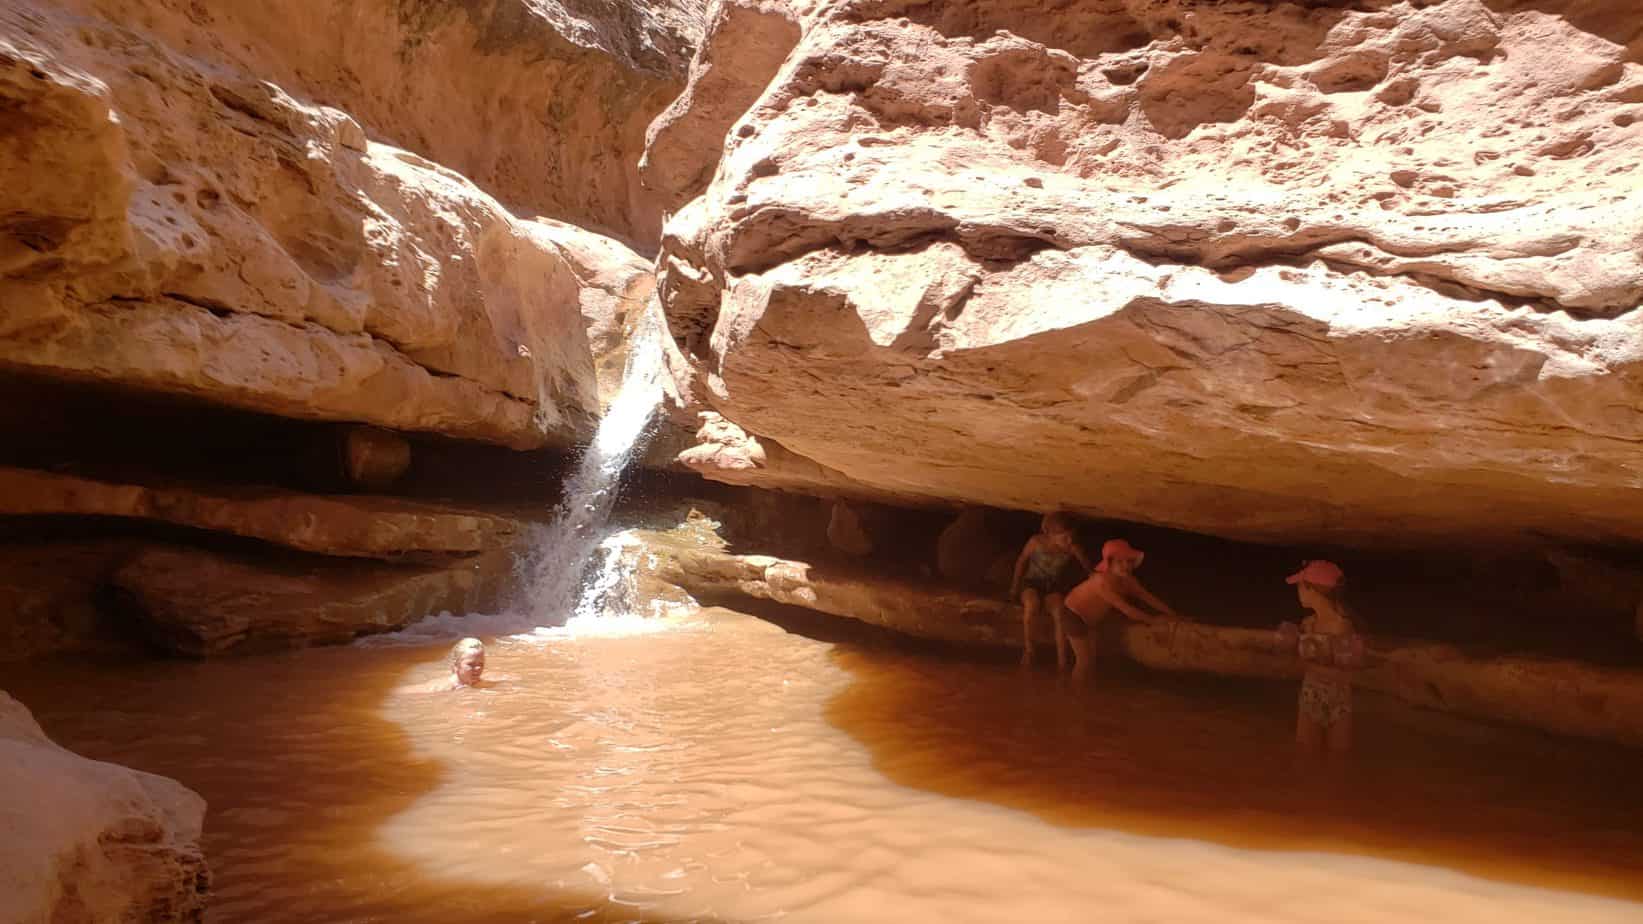
Between the first and second waterfall there is a long pool between narrow red rock walls. This pool was close to 5 feet deep. My kids that are good swimmers swam through it. We brought floaties for my seven year and three year old. I knew there would be pools and I wasn’t sure how deep the water would be. Our three year old ended up staying in the hiking backpack while my husband was able to walk through.
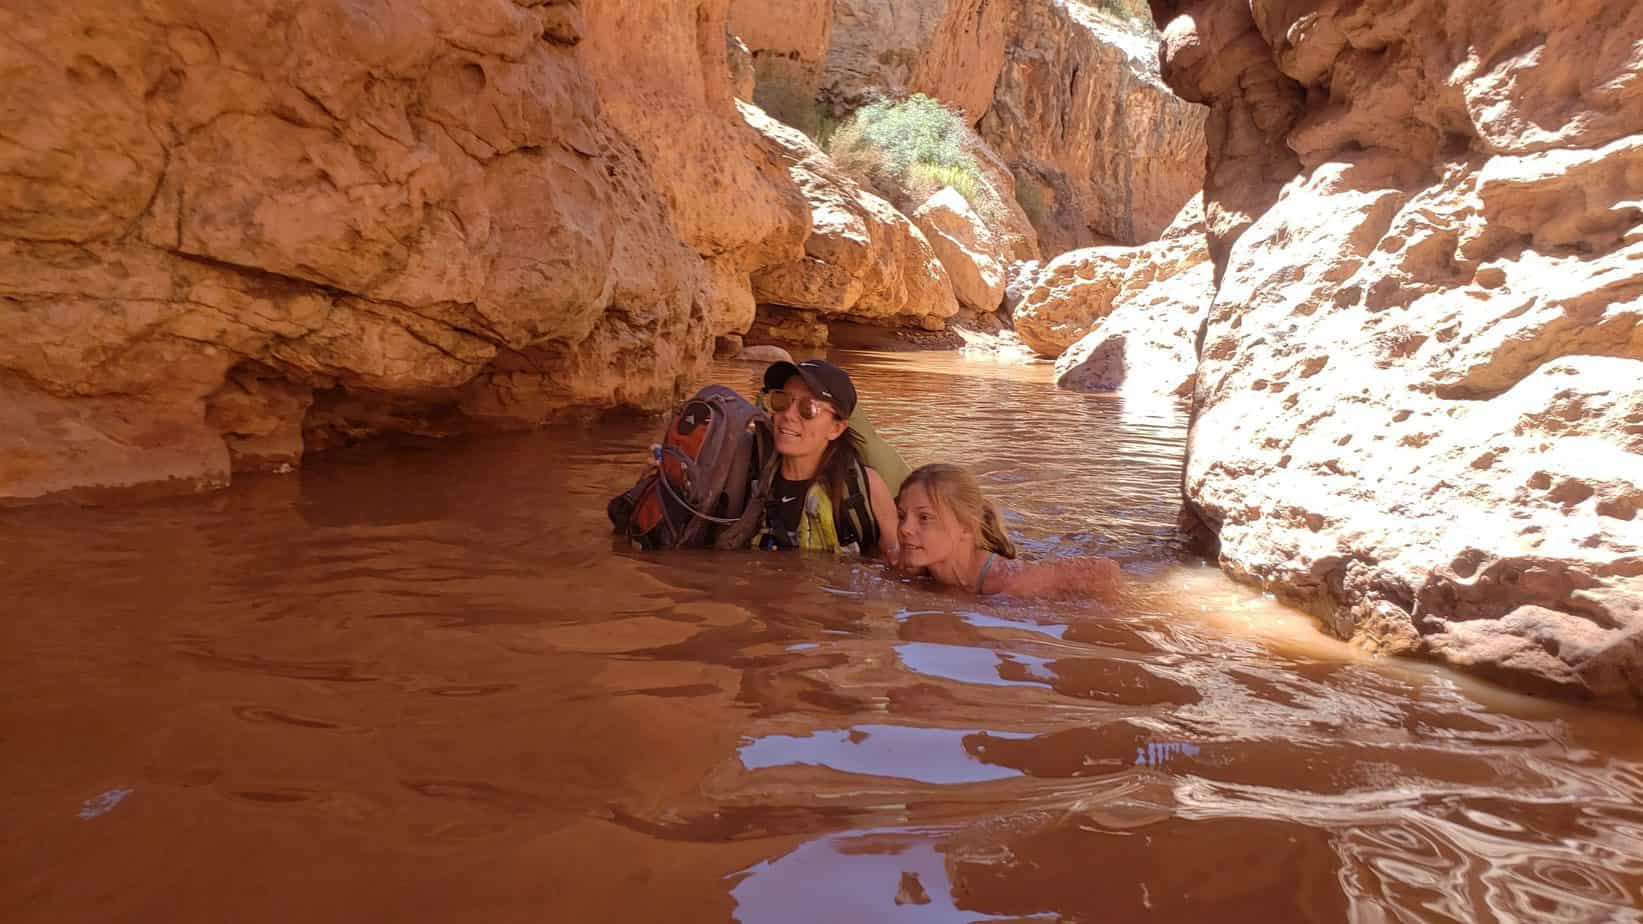
The second waterfall is only 750 feet from the first. It requires some more scrambling in between some rocks to get down to it. The younger kids needed a little help getting down but did really well.
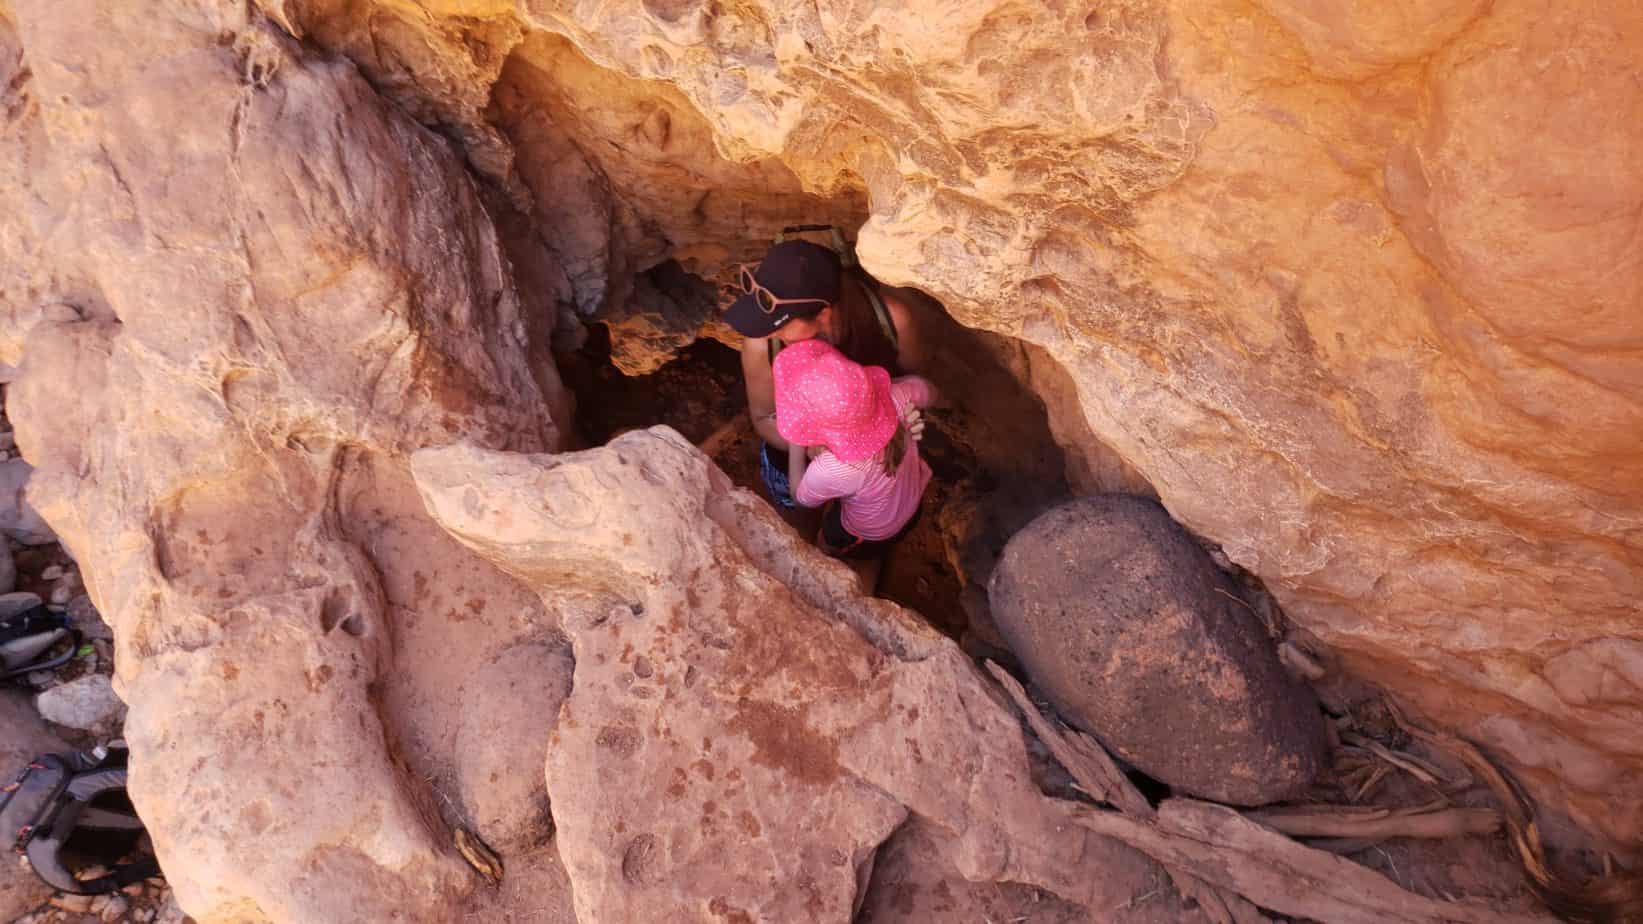
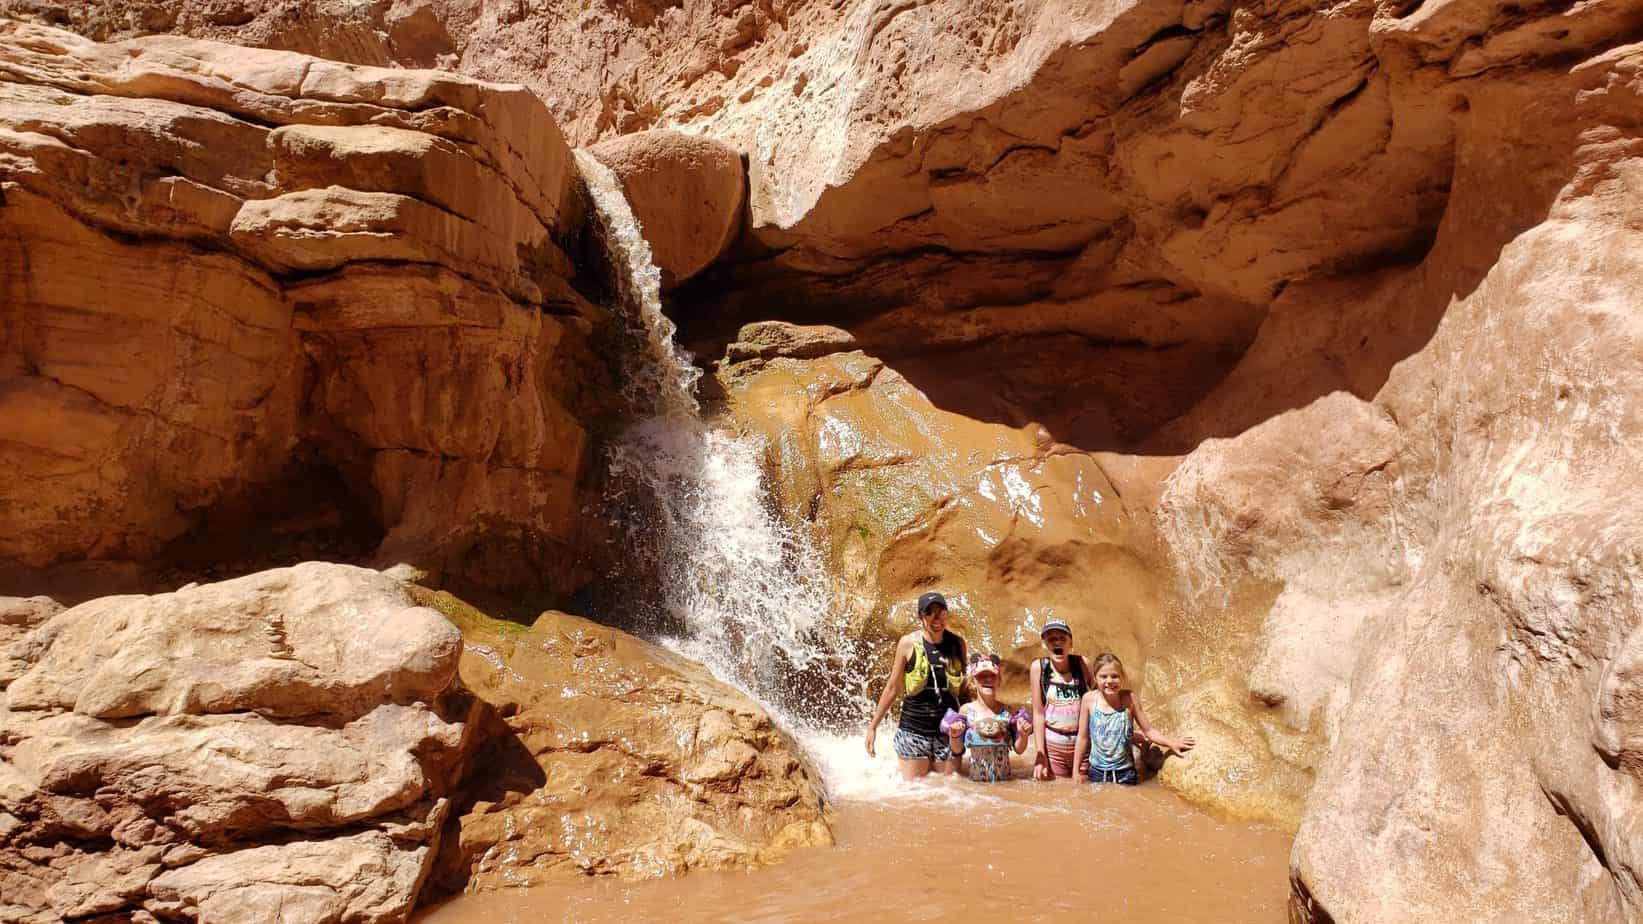
The third and last waterfall is 1.7 miles from the second. This feels like a lot longer, luckily the views continue to be beautiful and there are fun pockets of water to play in and mini waterfalls for the kids to slide down. This area was probably my most favorite part of the trail.
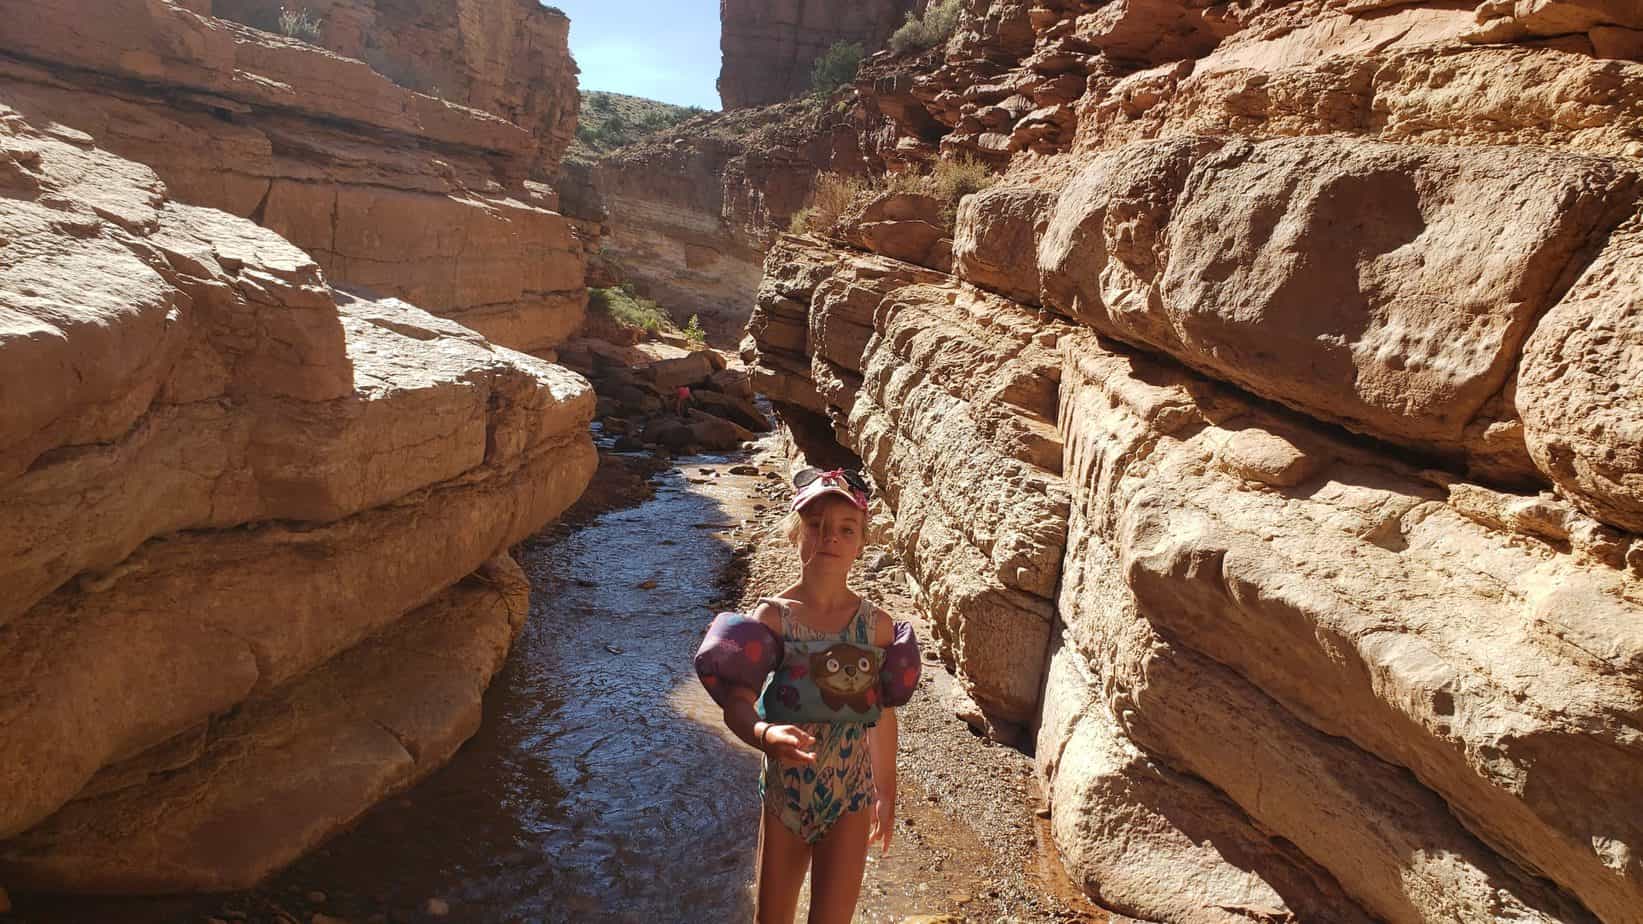
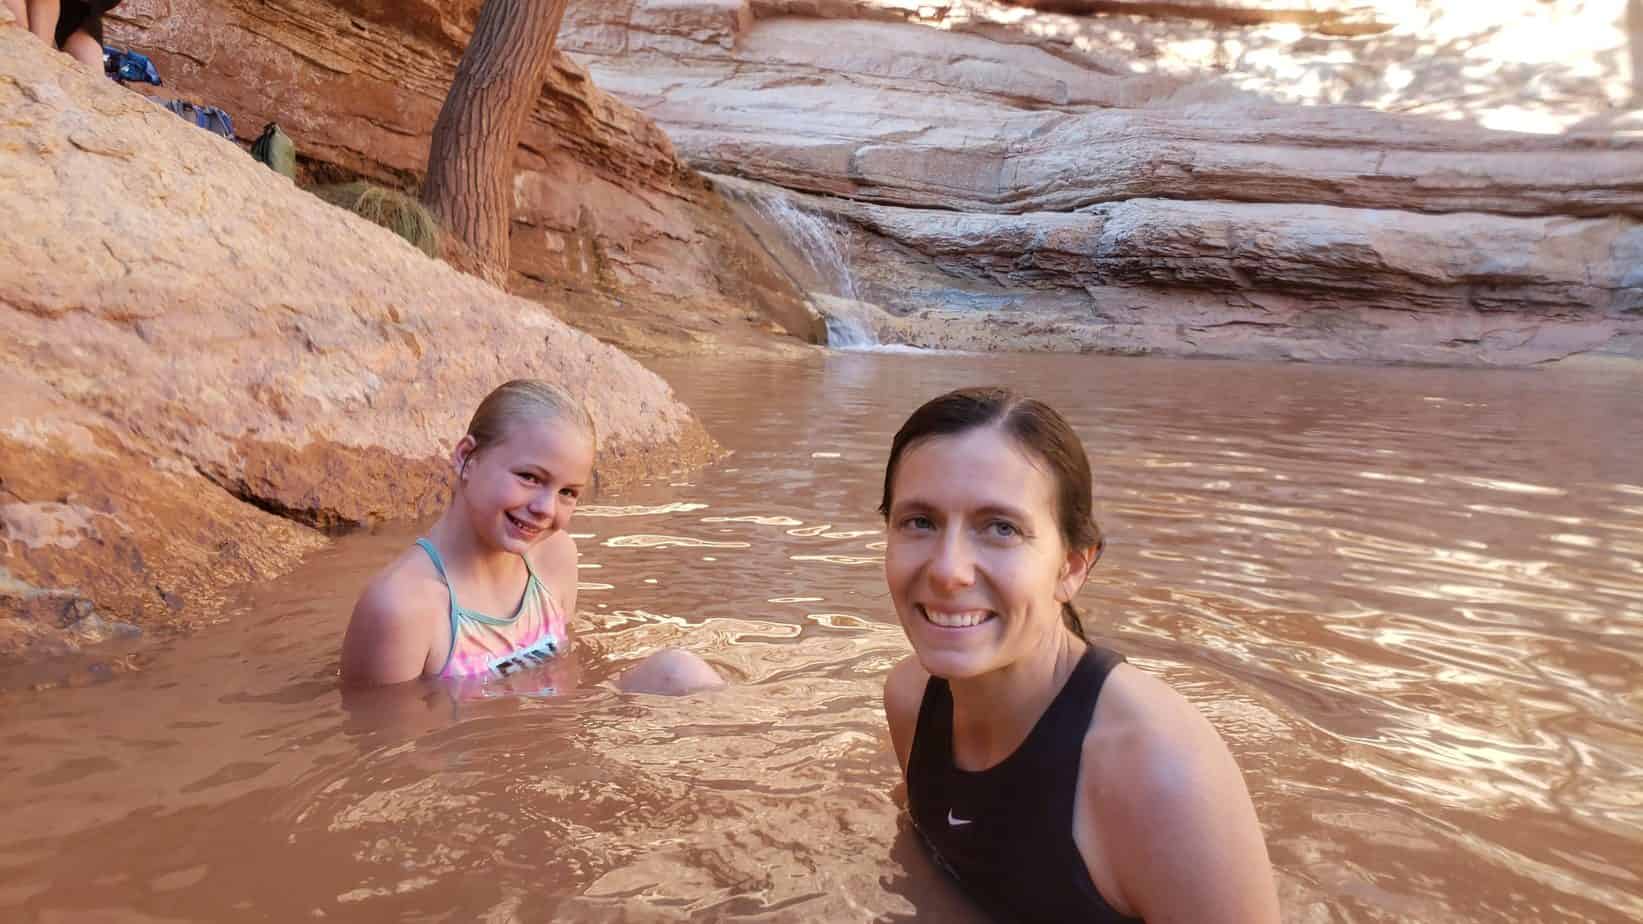
The third waterfall is by far the most fun. You can actually slide down the rock as a natural water-slide and swim in the pool area. This is the area you would go to if you start from the visitors center for the shorter hike.
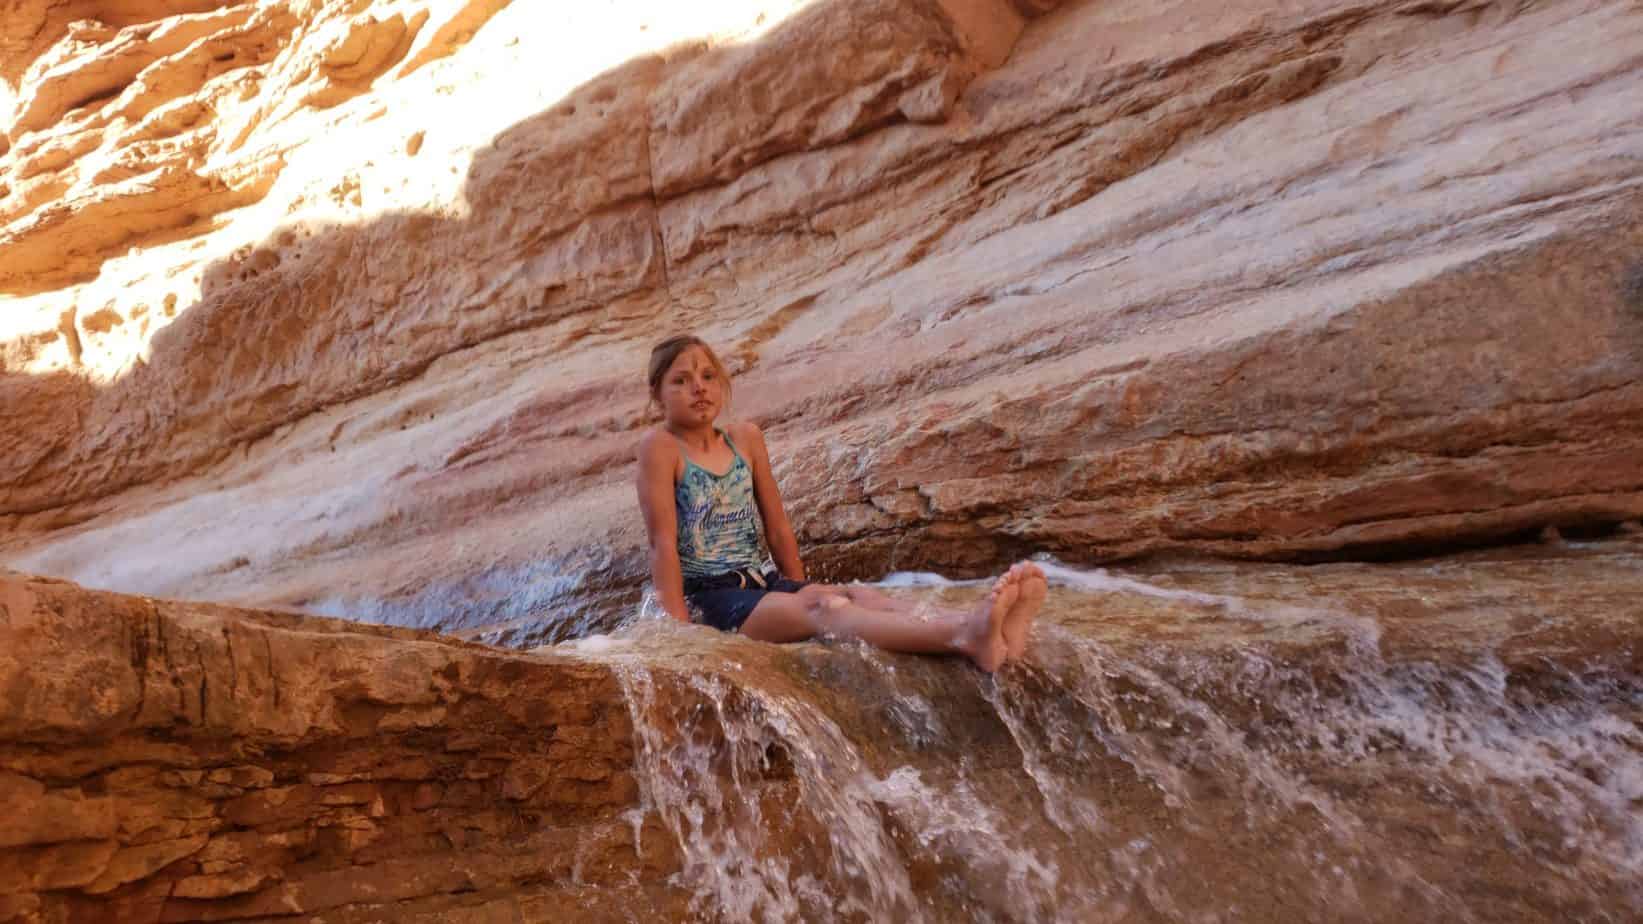
We had so much fun in this area sliding down the natural water-slide and jumping into the pool.
PROS
Water fun for the kids while hiking, including creek, pools and waterfalls
Epic adventure
Fun for all ages
CONS
No water at trailhead
First 1.8 of hike is completely exposed if starting from the top and doing the full 5.8 miles
Need transport back to the top if doing full 5.8 miles
Do not hike if there is any chance of rain due to flash flooding
No water at trailhead
If hiking the shorter length, you will start from the backside of the Capitol Reef Visitor’s Center. If hiking the full 5.8 miles from the top you will drive 3.3 west of the Visitors Center on Highway 24. There is a small pull-out on the south side of the road that you will park in. Make sure to have a ride back to your car so you don’t have to hike another 3.3 miles on the highway when you are done.
Petroglyphs inside Capitol Reef National Park (3 minutes)
Other hikes within Capitol Reef National Park (3 minutes to 1 hour)
Gifford House (3 minutes)
Fish Lake National Forest (1 hour)
Goblin Valley State Park (1 hour 15 min)
Lower Calf Creek Falls (1 hour 15 min)
Escalante Petrified Forest State Park (1 hour 45 min)
Arches National Park (2 hours 15 min)
Bryce Canyon National Park (2 hours 15 min)
Canyonlands National Park (2 hours 30 min)
Peek-a-boo & Spooky Slot Canyons (2 hour 30 min)
Hi, I’m Corrine! I’m an outdoor enthusiast and mother of four.
My goal is to inspire you to get outside and create your own amazing memories as a family. Life is precious and there are too many adventures to be had to spend life on the couch or in front of a screen.
The page you requested could not be found. Try refining your search, or use the navigation above to locate the post.
Fun: ⭐⭐⭐⭐⭐ (out of 5)
Difficulty: Very Easy Easy MODERATE HARD Very Hard (Moderate to Hard depending on how far you hike)
Distance: 3.5 – 5.5 miles depending on the parking lot
Elevation Gain: 700 ft
Terrain: Desert, rocks, sand, exposed trail, slot canyons
Time Needed: 2.5 to 5 hours
When to Go: Spring, Summer (morning or evening), Fall
Free
Plenty of water, 1 to 2 liters per person
Snacks/Lunch
Good hiking shoes
Download all trails map
Small hiking backpack, a large backpack will not fit through the slots
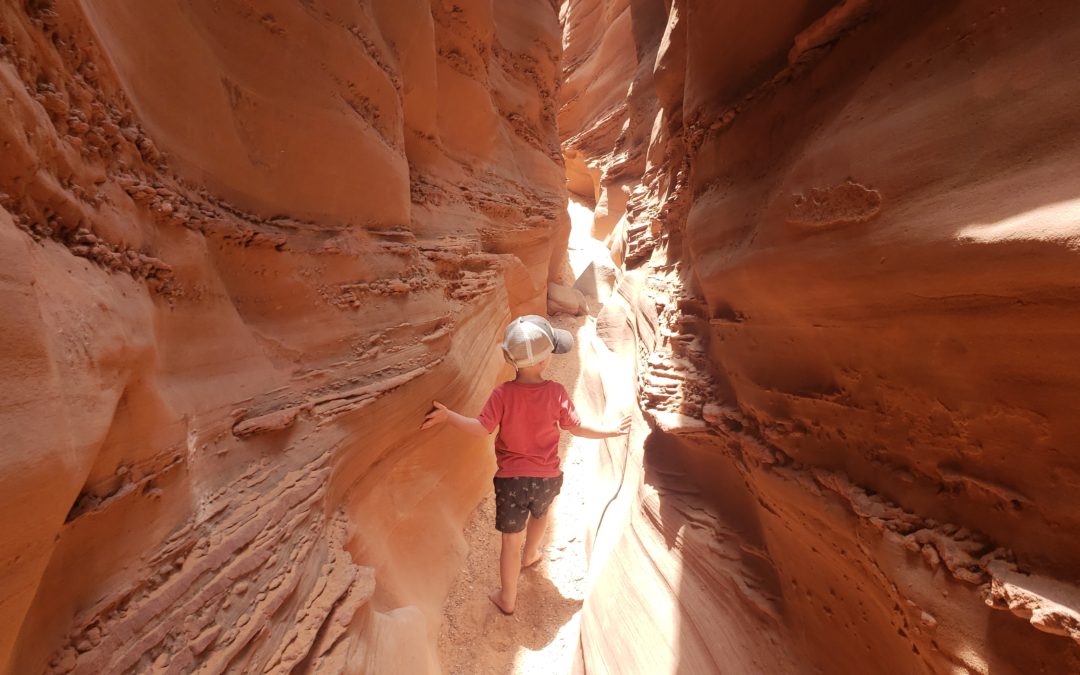
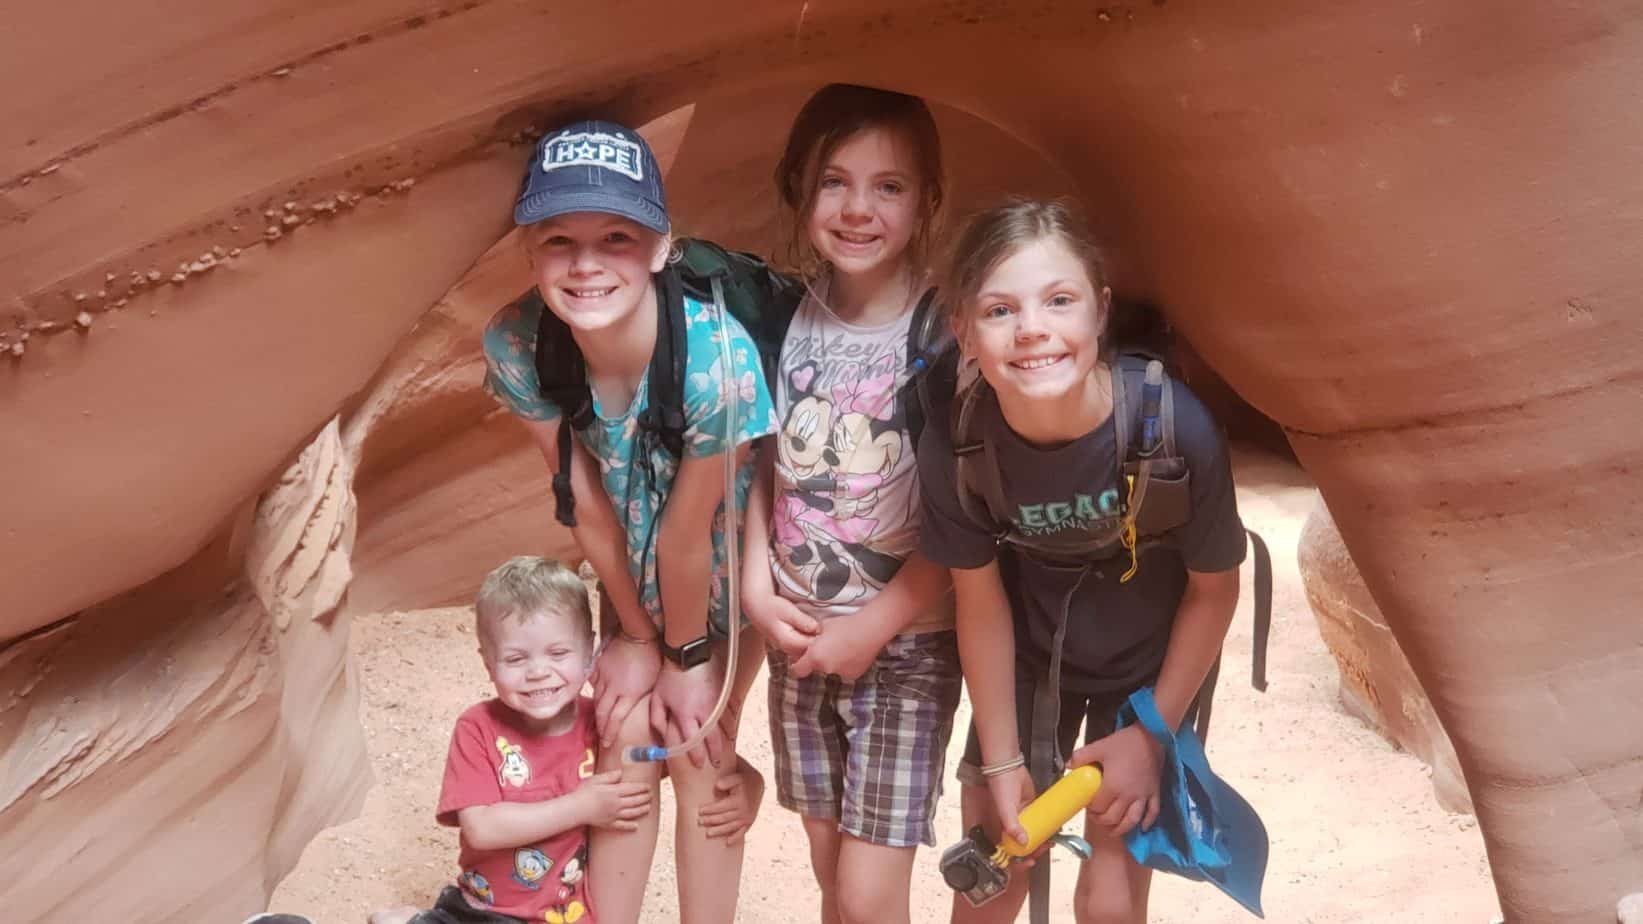
Peek-A-Boo and Spooky are my kids favorite hikes so far. Such a fun adventure! We hiked with an 11, 10, 7 and 2 year old without any problems. Our 2 year old hiked 90% of the slots on his own, barefoot (his shoes wouldn’t stay on!). You don’t need to bring a rope or special climbing equipment.
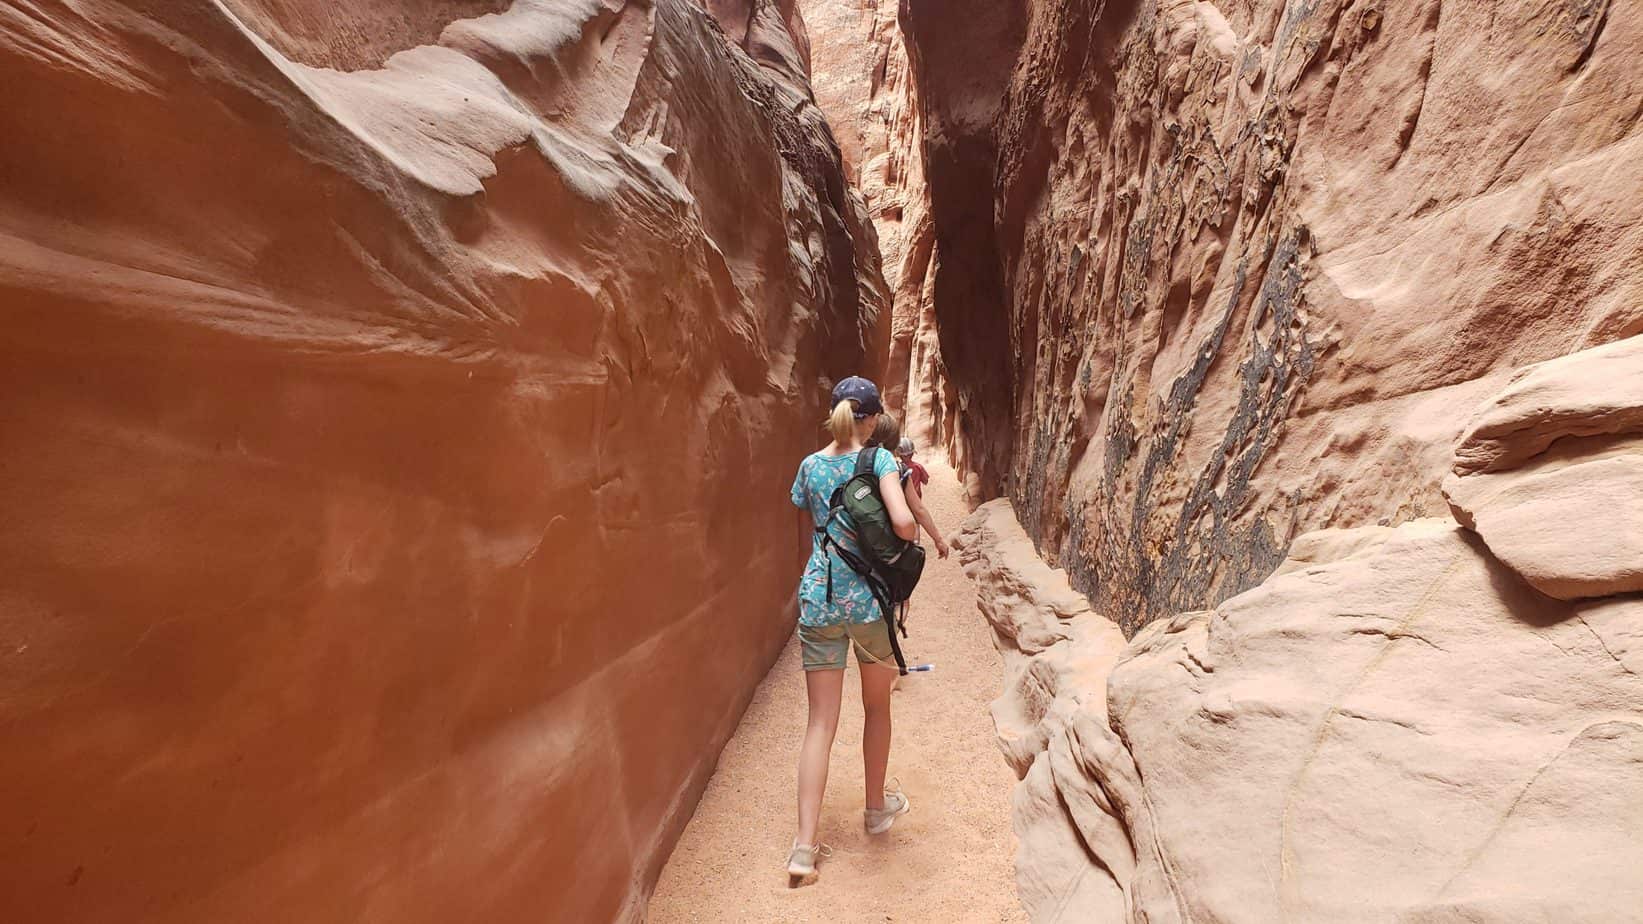
This adventure is not for everyone. If you are overweight or have a larger frame, some of the slots in Spooky may be too tight for you. It is only about 10 inches wide in some areas. Spooky is also not a good slot canyon if you are claustrophobic.
Peek-A-Boo on the other hand is wider and should not be a problem for most people. You can do Peek-A-Boo and then turn back the way you came if you are not able to do Spooky.
It is very important to check weather conditions before attempting to hike any slot canyon. Flash flooding can happen creating a dangerous situation in slots. Before hiking any narrow canyons we check the National Weather Service at www.weather.gov/slc/flashflood for flash flood potential. We only attempt to hike if flash floods are not expected.
You can also check with the local BLM office on the likelihood of a flash flood. The closest BLM office to Peek-a-boo and Spooky is in Escalante:
Escalante Interagency Center
Address: 755 W. Main, Escalante, UT 84726
Phone: (435) 826-5499
Peek-A-Boo and Spooky slot canyons are located within Grand Staircase Escalante Monument. You access these slot canyons via Hole in the Rock Road outside of the town of Escalante.
Hole in the Rock Road is very bumpy and impassable if there is rain. A 4×4 is recommended, but not required. We have a truck and it was a bumpy ride, but doable. I saw a couple of cars that were making the drive. Drive slow and make sure to have a spare tire just in case. Follow signs for Dry Fork Trailhead.
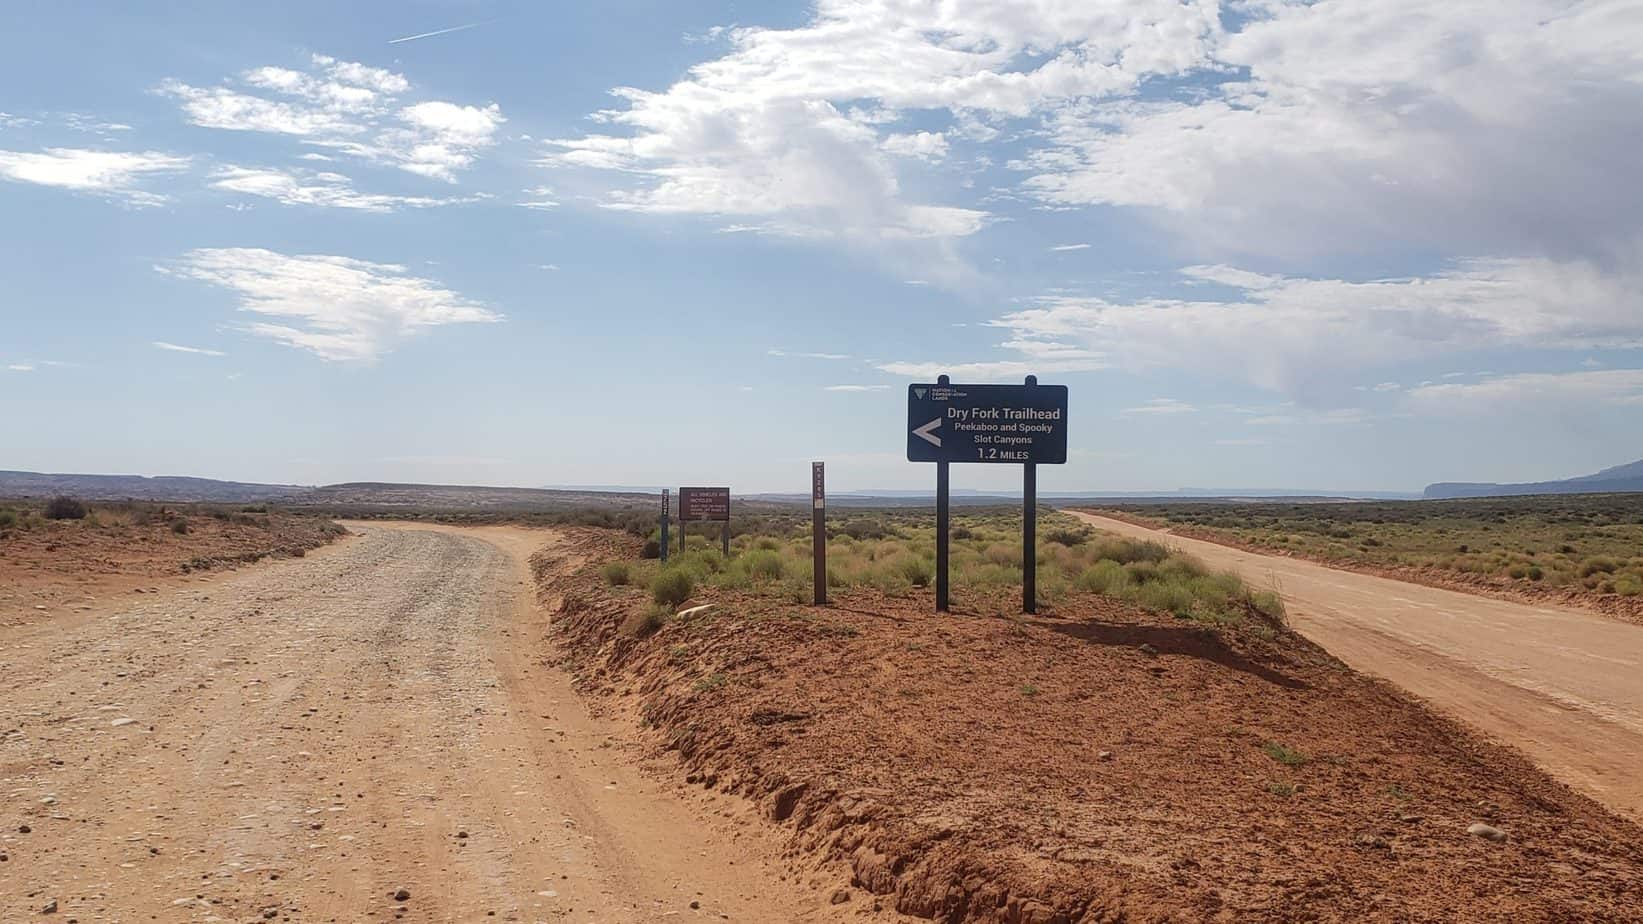
There are two different trailheads, both located off of BLM 252. We didn’t know this at time of hiking and ended up at the trailhead that makes the hike longer, closer to 5.5 miles. Both trailheads are accessed from from Hole in the Rock Road, Bureau of Land Management (BLM) road 200. There are bathrooms at the Dry Fork Trailhead we parked at but no water. Pack plenty of water beforehand. The second trailhead is located a bit further up BLM 252 and cuts at least 1.5 miles off the hike from what I can tell from google maps.
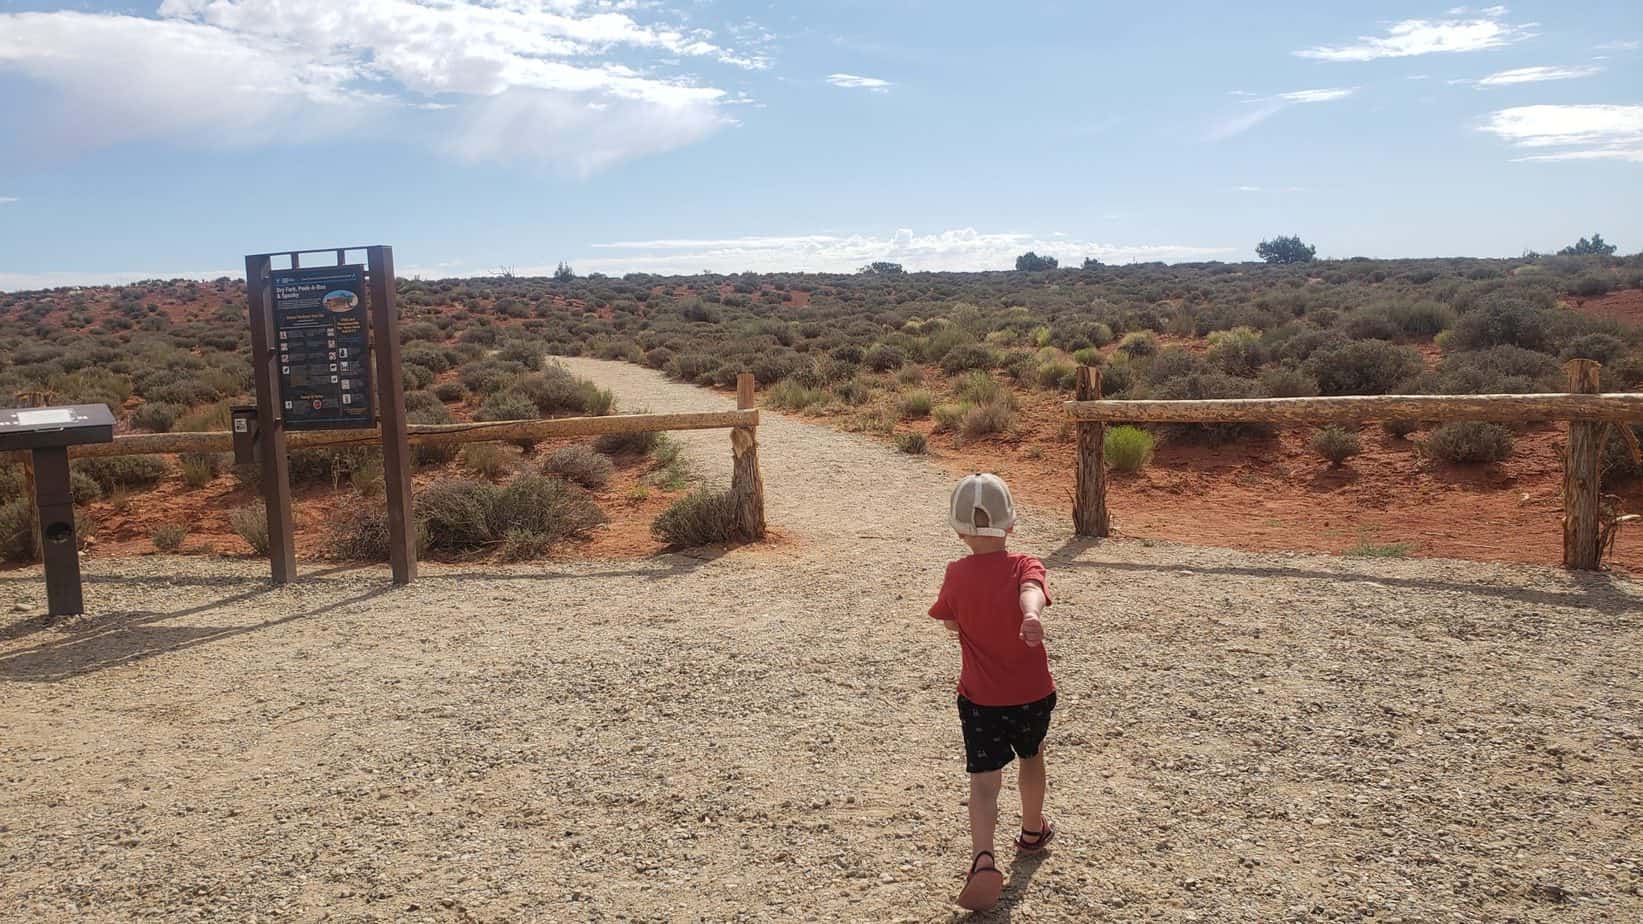
The hike is an out-and-back combined with a loop. The first and last miles of the hike are the same trail just opposite directions and are completely exposed in the desert. We ended the hike the first week of June around 1 pm. This was hot! This last mile of the hike was not enjoyable.
Despite the desert heat of the last mile we still loved this hike. I recommend this hike in the spring and fall. The slots are nice and cool, but the beginning and end along with the trail between Peek-A-Boo and Spooky slots are completely exposed. This exposed section of the hike is shortened if you hike from the closer trail head. See my Maps section below.
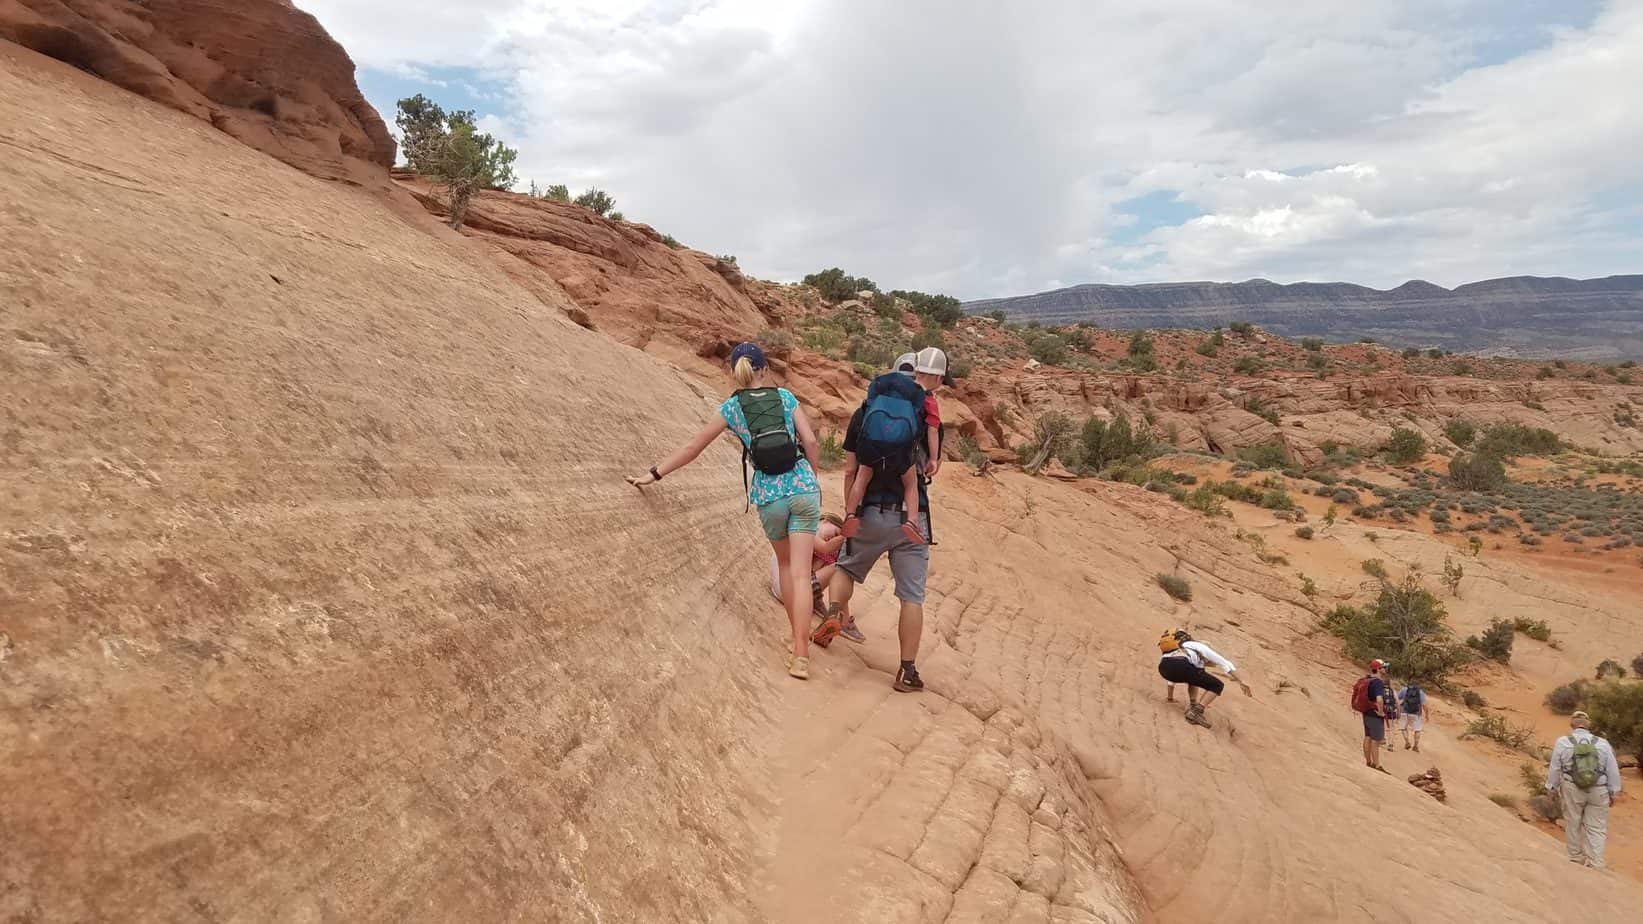
FOnce you level out again you will come to a ravine and then an opening with a sign.
From this sign, Dry Fork Canyon will be to your left, Peek-A-Boo will be ahead slightly to your right, and Spooky will be to your right about 0.6 miles.
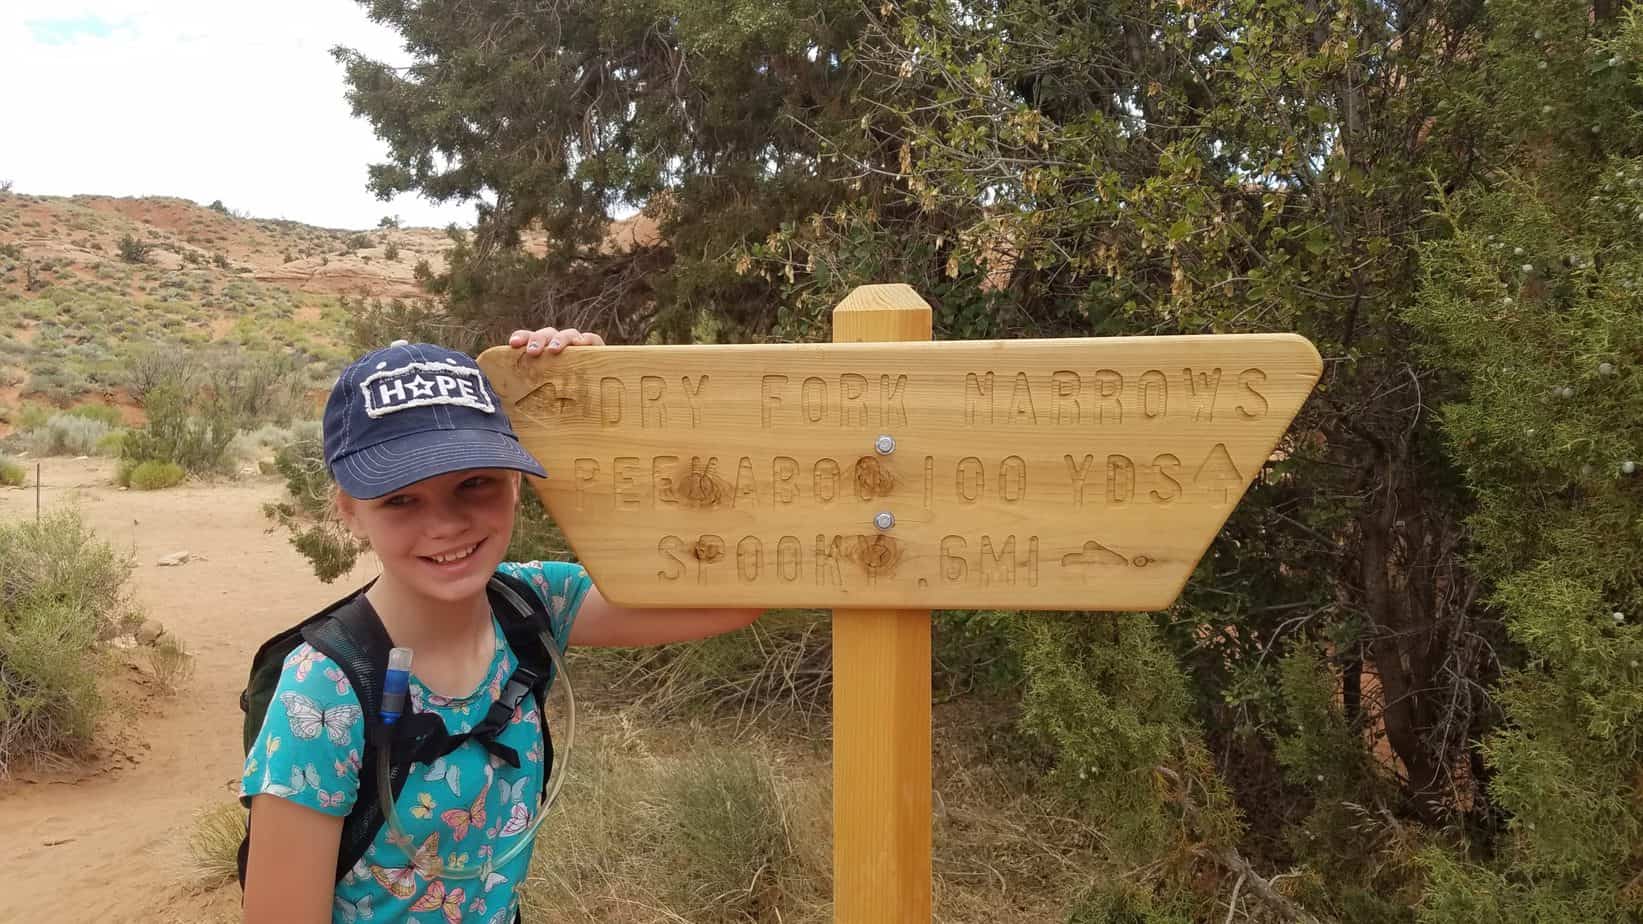
Peek-A-Boo and Spooky form a loop. You can choose which direction you want to hike. I recommend doing the loop clockwise starting with Peek-A-Boo. By hiking clockwise first, the narrow spooky slot will be mostly downhill.
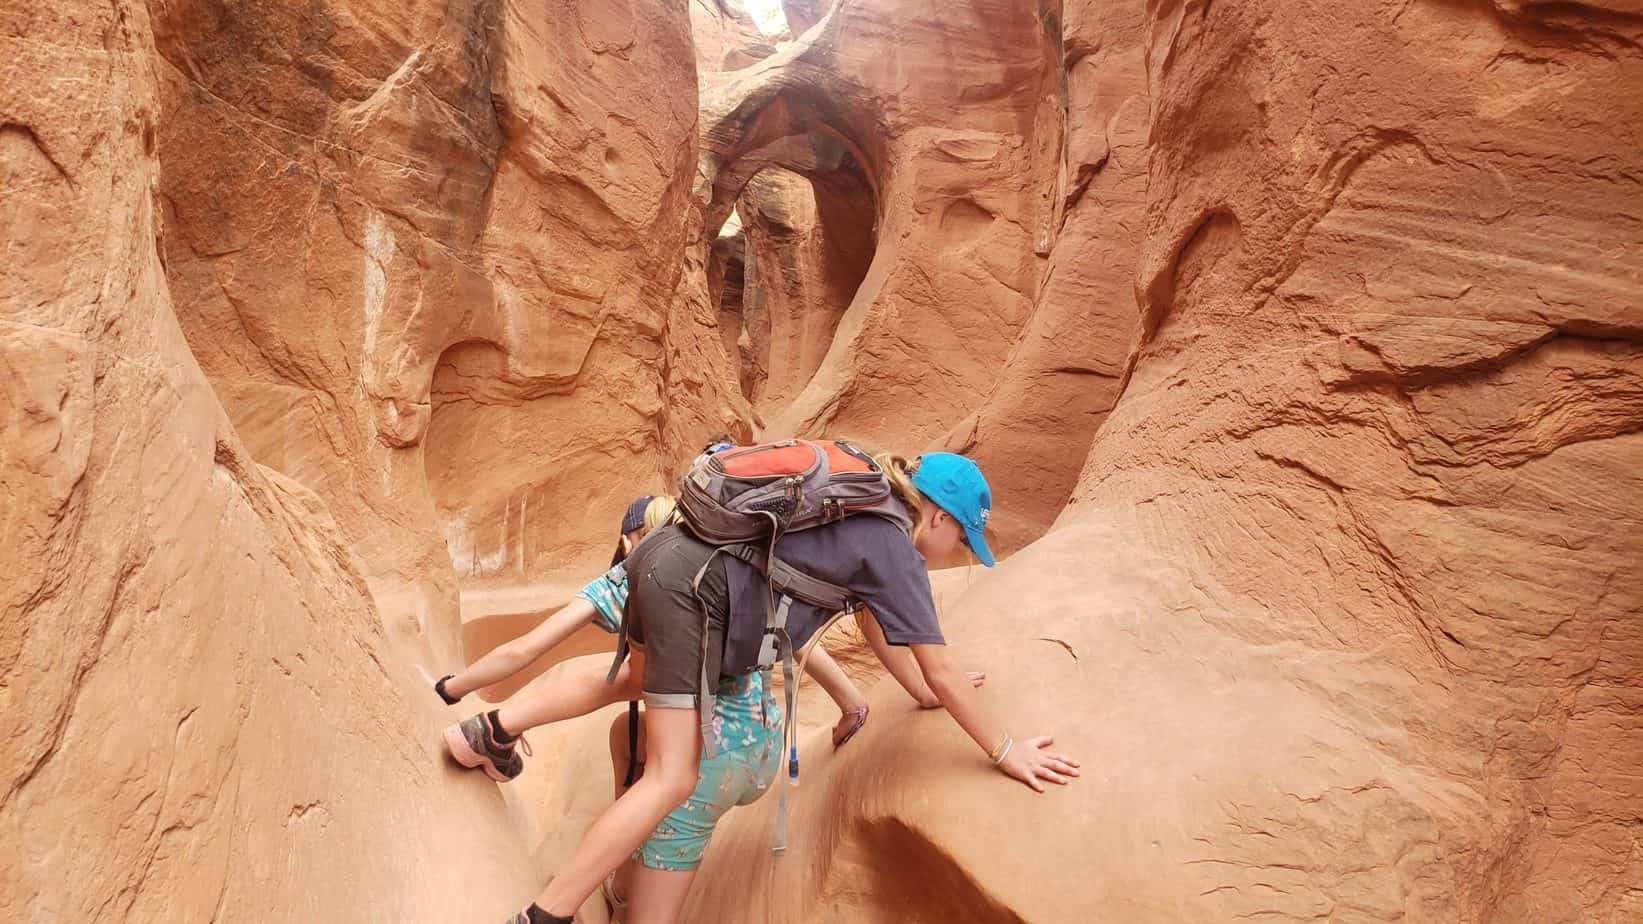
Peek-a-boo will be your first slot if you hike in the clockwise direction. The entrance to peek-a-boo requires a short scramble. I climbed the Peek-A-Boo entrance first and then helped the kids up as needed from the top while my husband helped at the bottom.
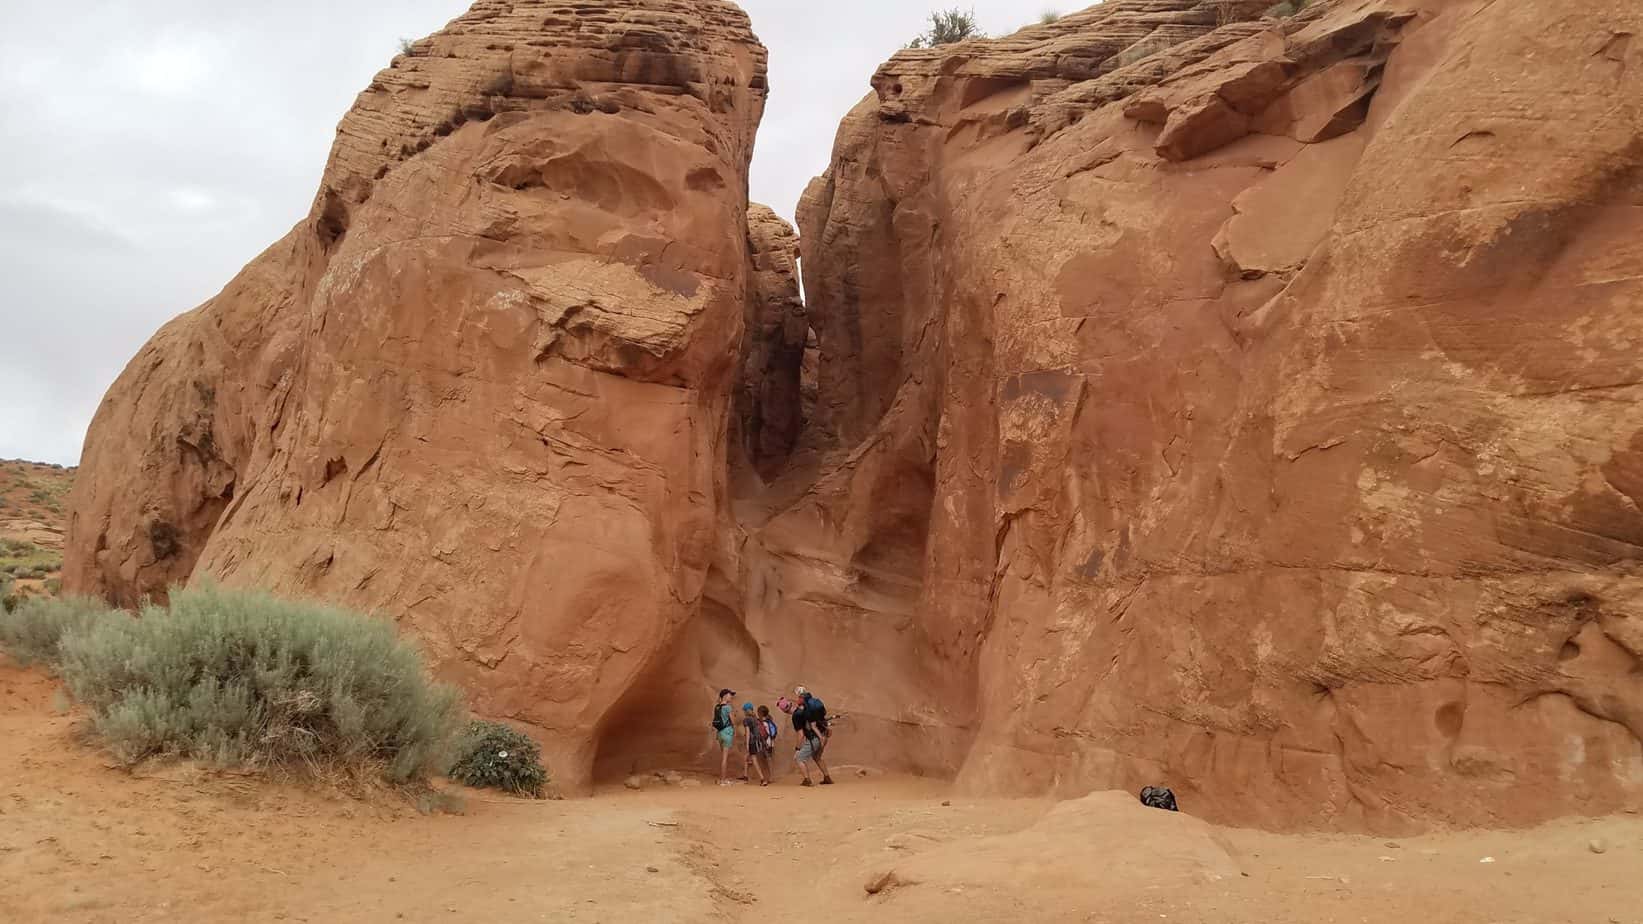
Entrance into Peek-a-boo Slot Canyon from Clockwise Direction
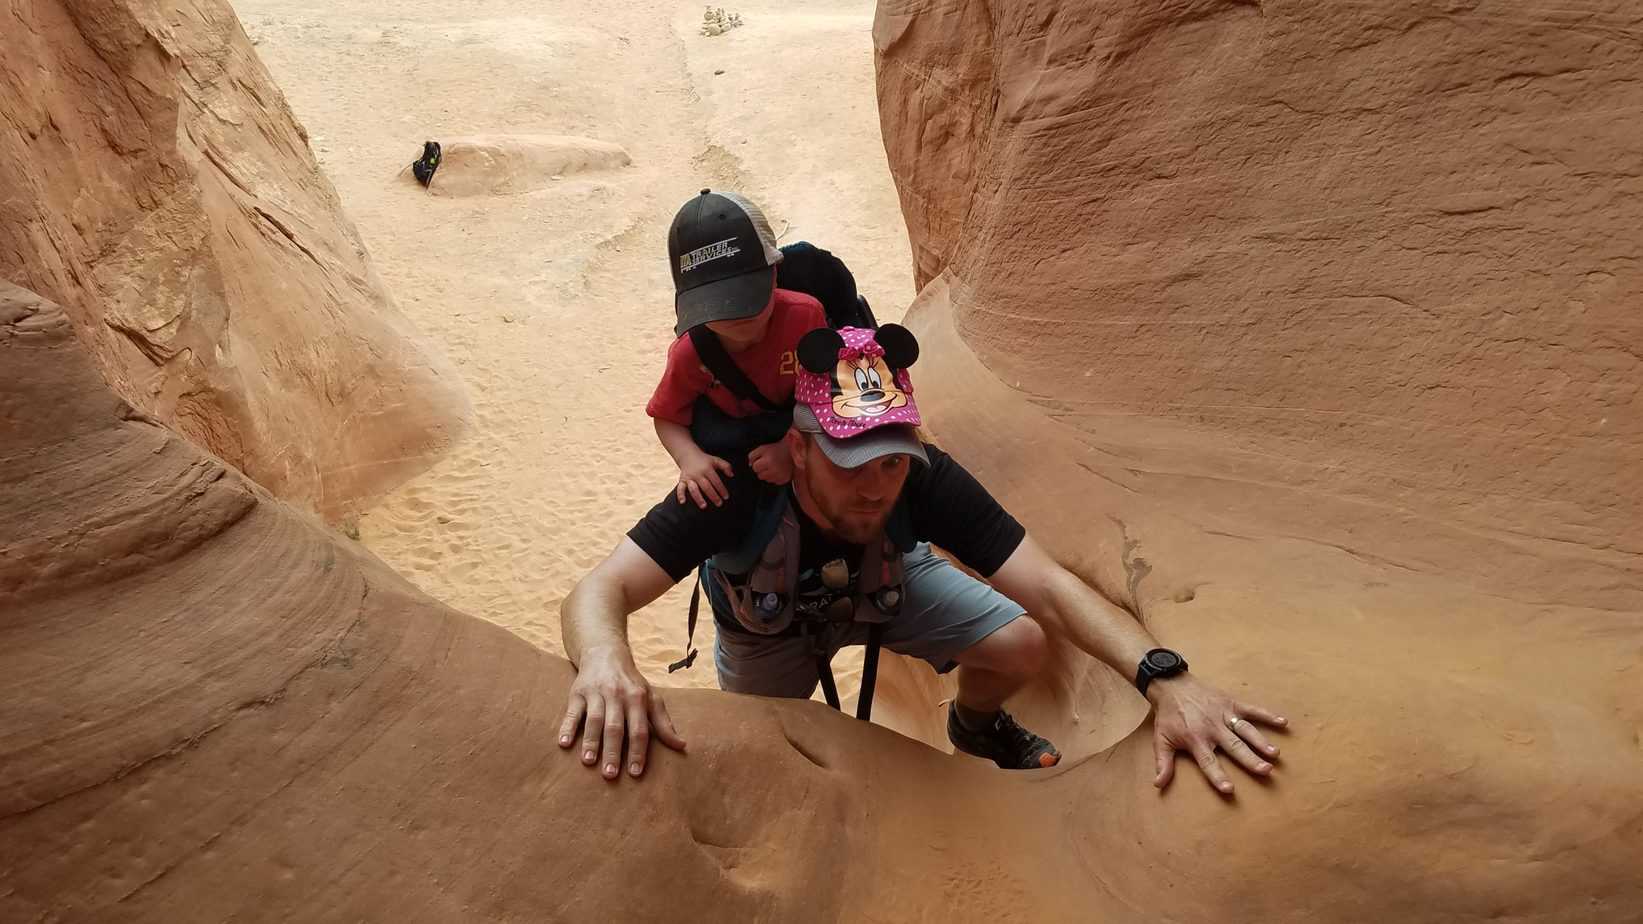
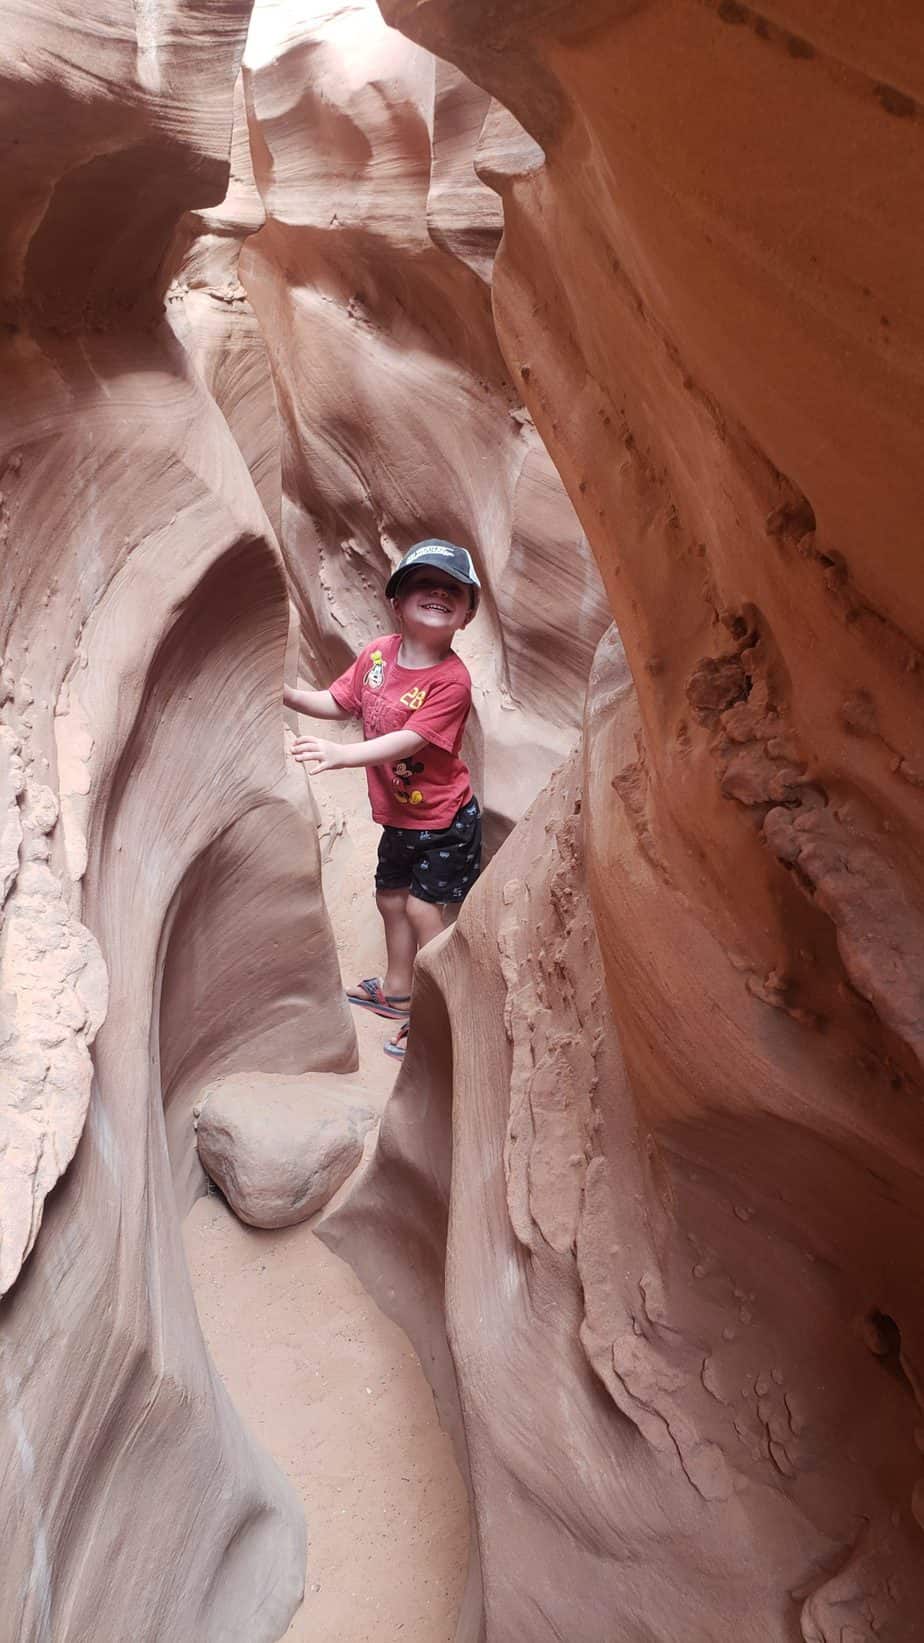
Peek-A-Boo ends by ascending upward slightly to open desert. Follow the trail markers (stacked rocks) for about a half mile through the sand.
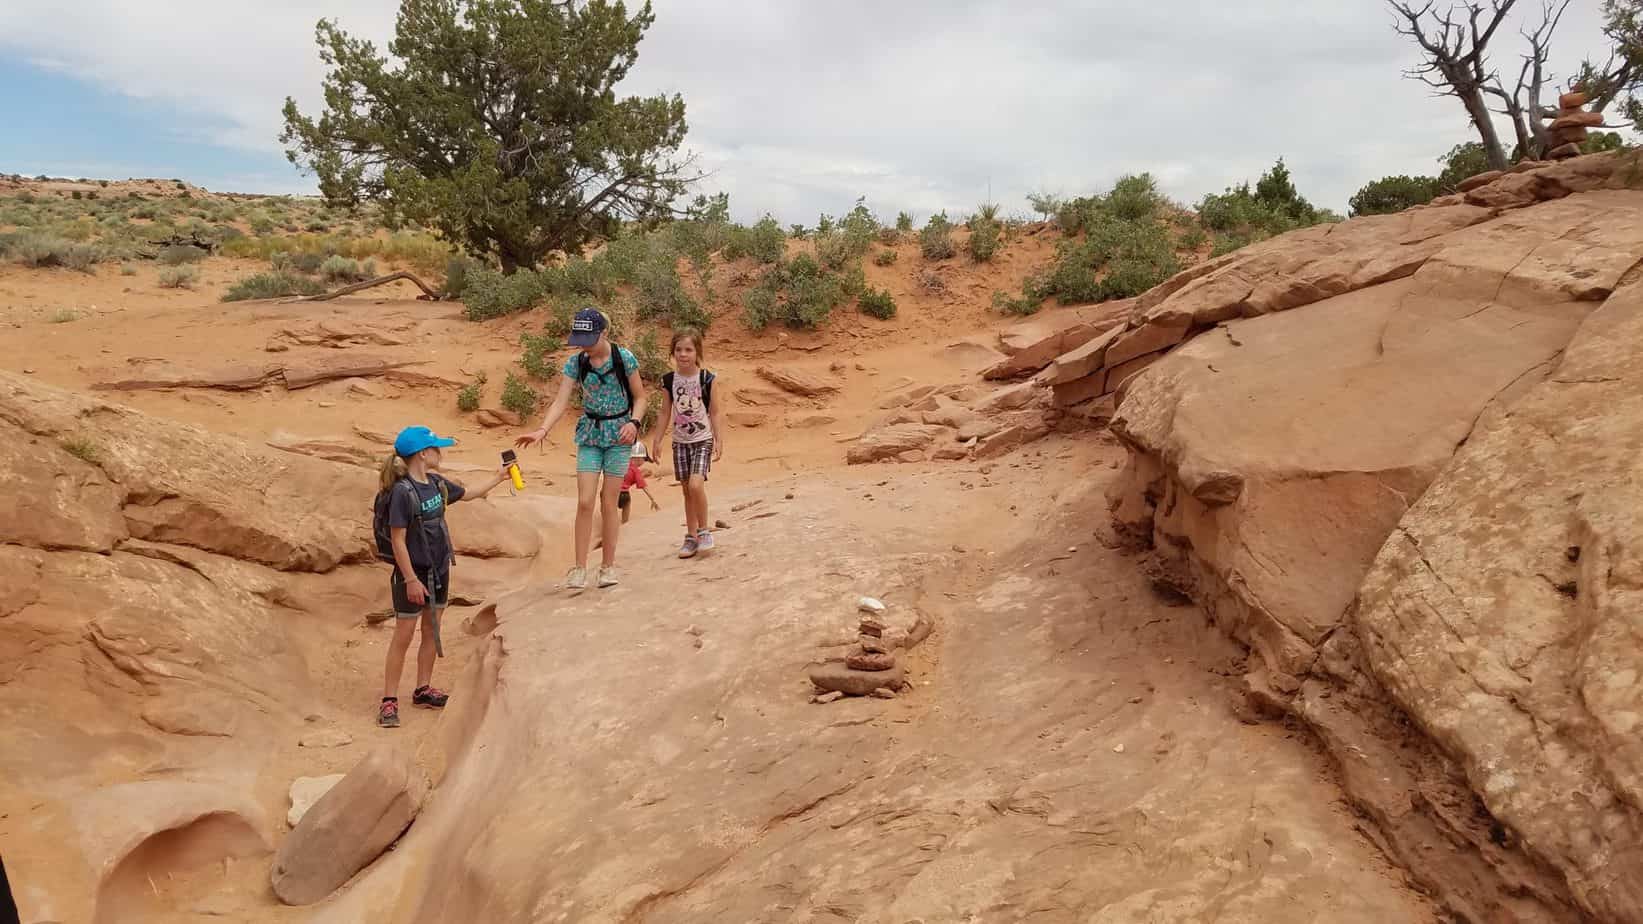
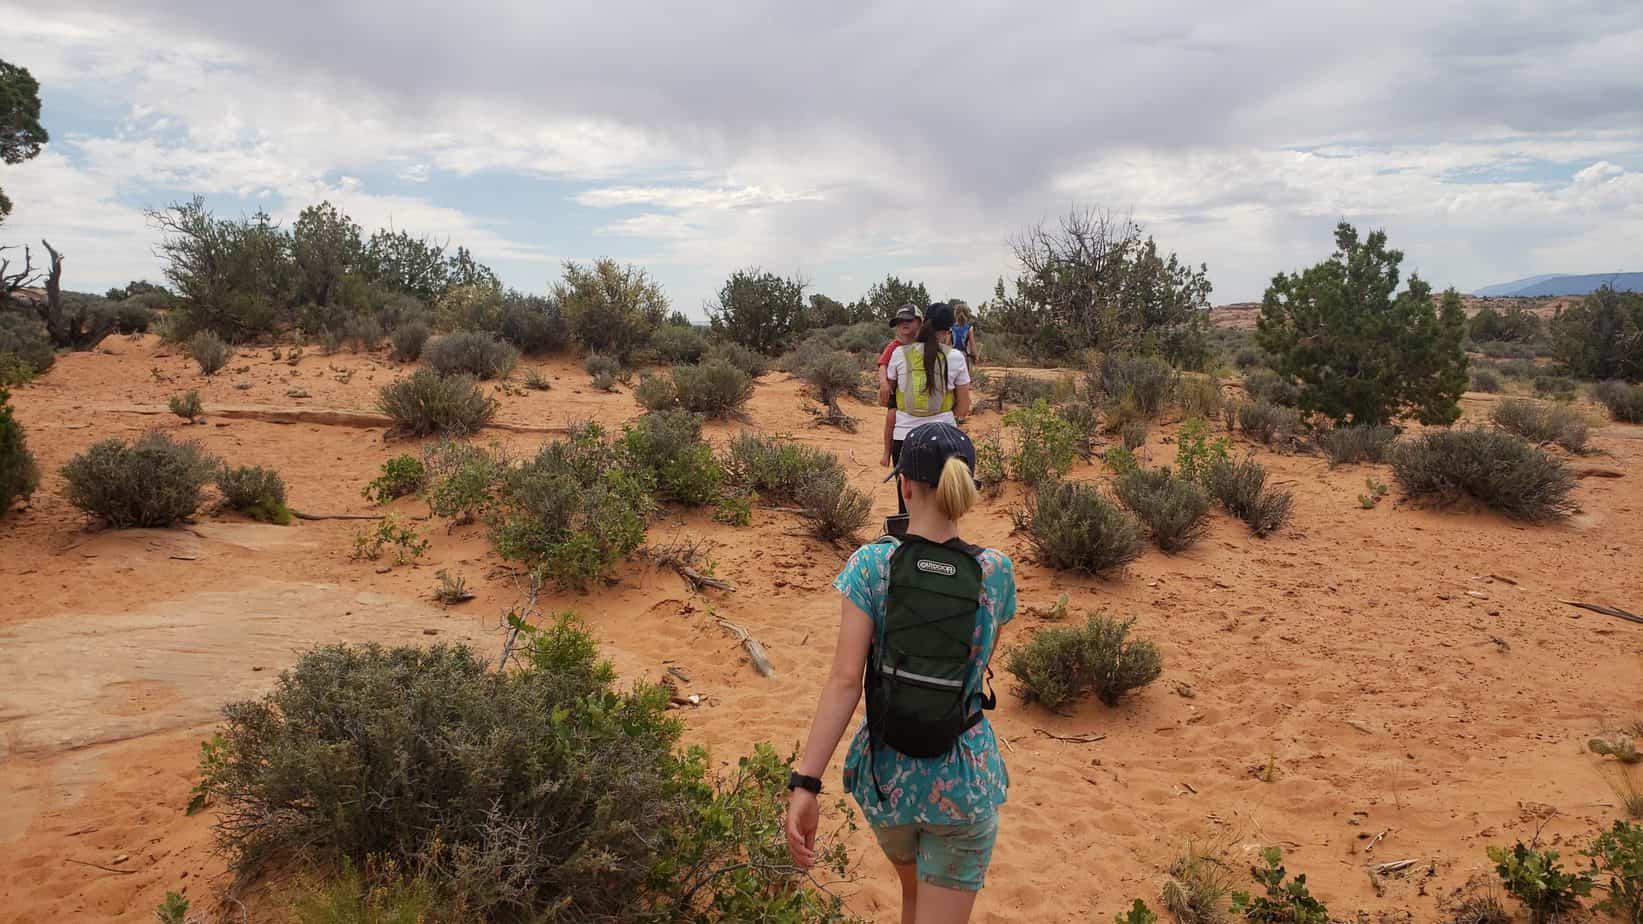
You will then descend down a sandy path to the entrance of Spooky.
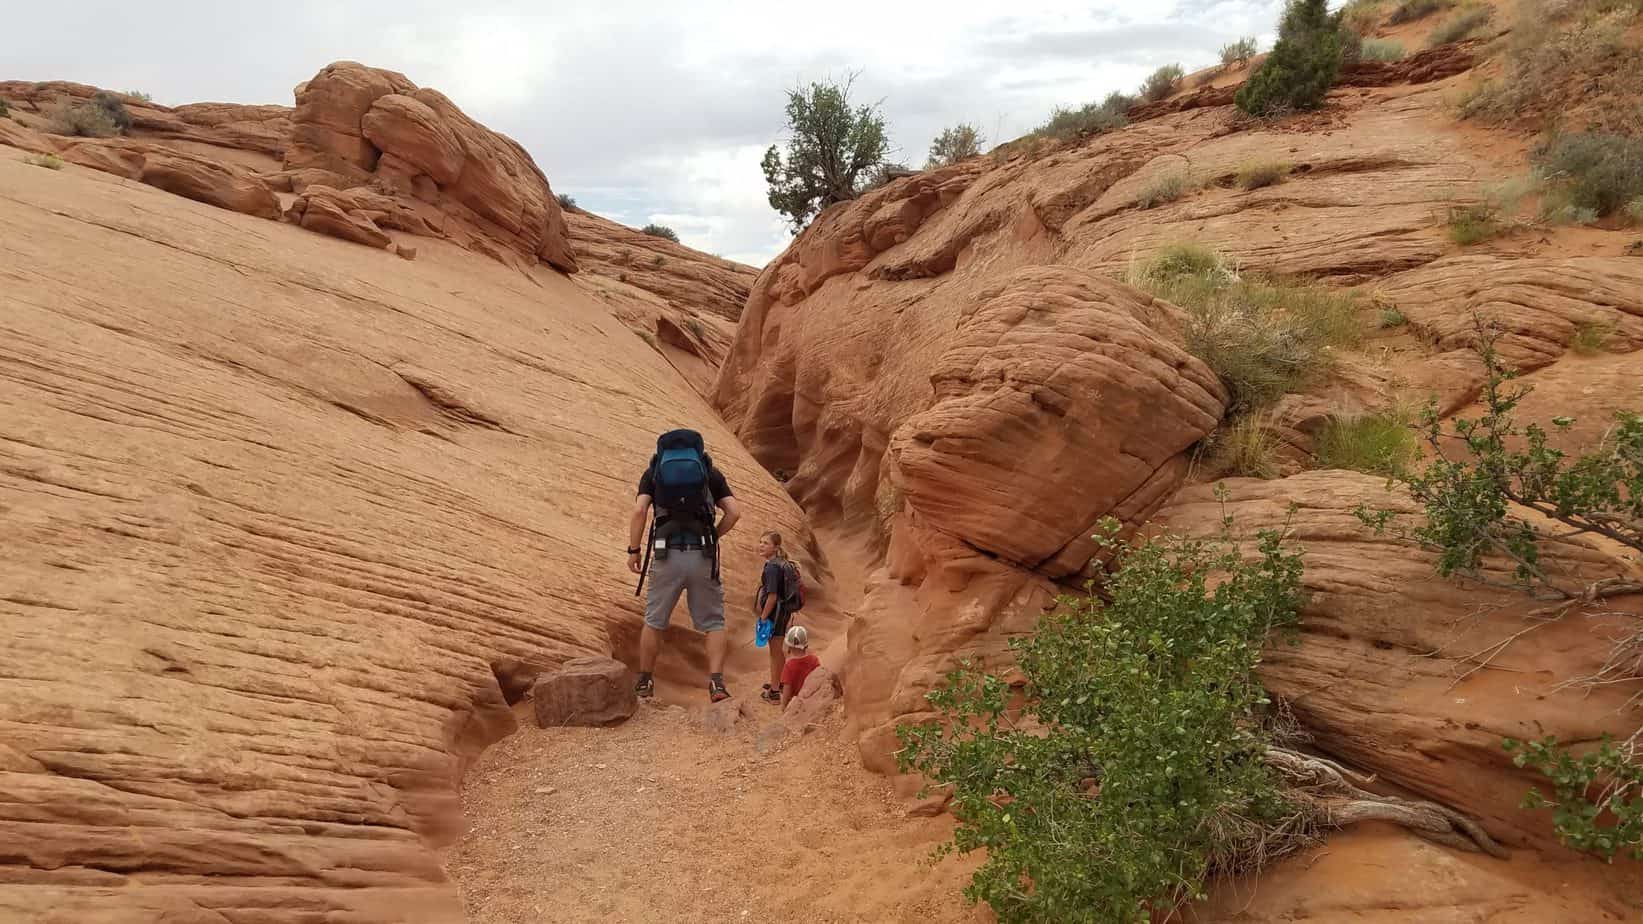
Spooky starts after your hike on the open desert path. The red rock starts wide and then gets more narrow as you go further into the slot. Spooky is more narrow than Peek-a-boo. Some places are only 10 inches wide. Do not attempt if you are overweight or claustrophobic. We stopped for lunch in an open area at the beginning.
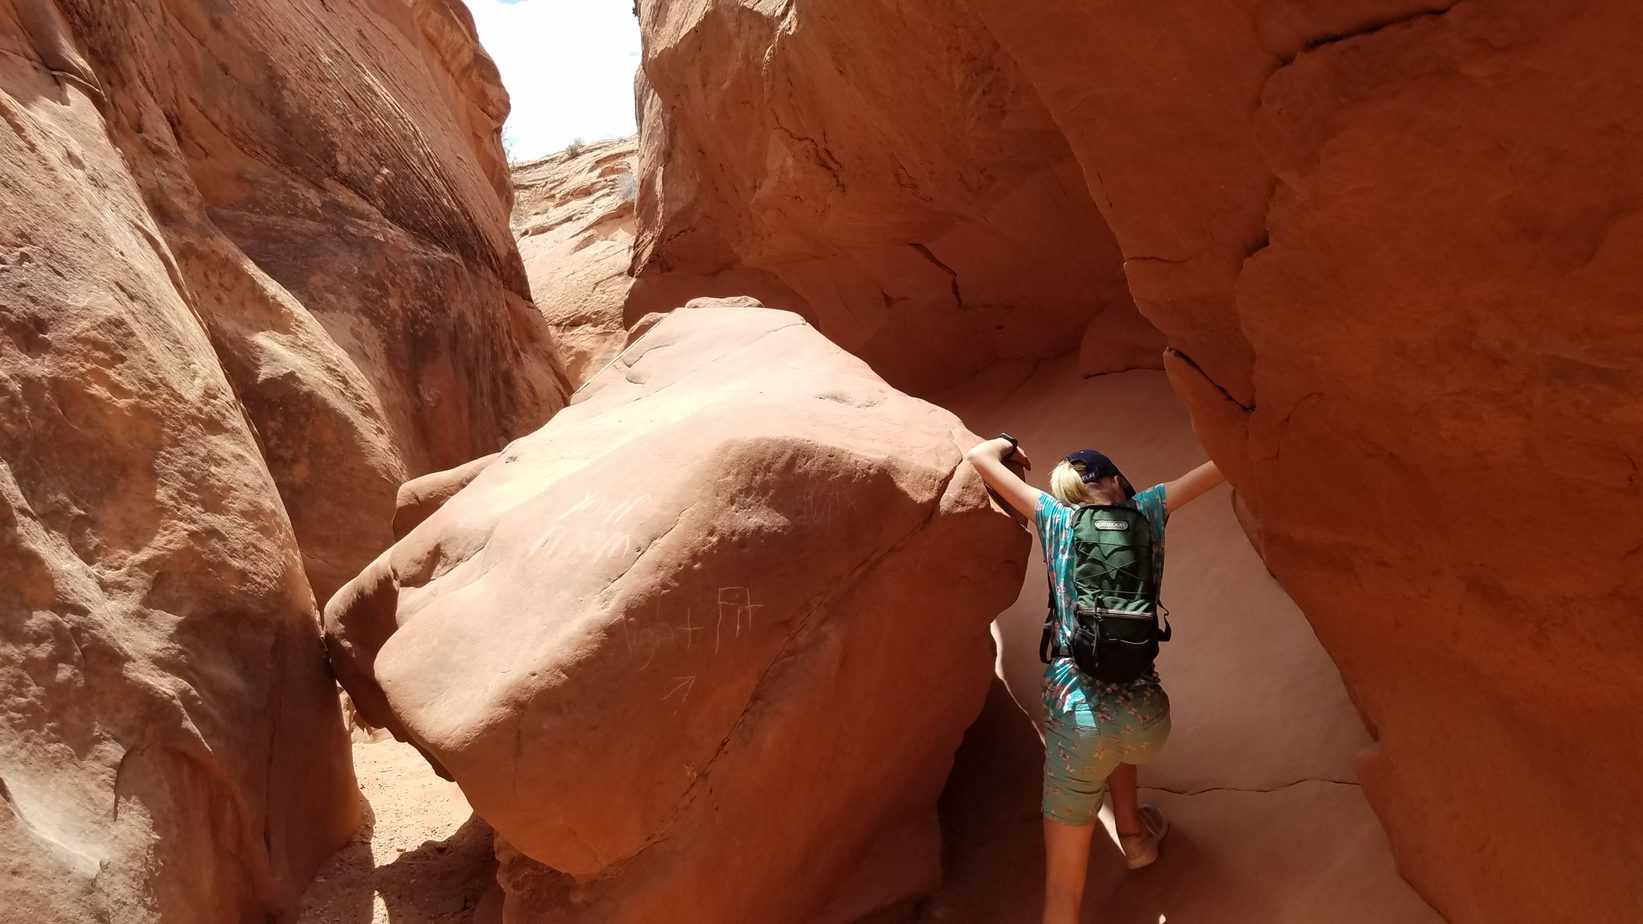
In Spooky you will come to some large boulders which look impassable.
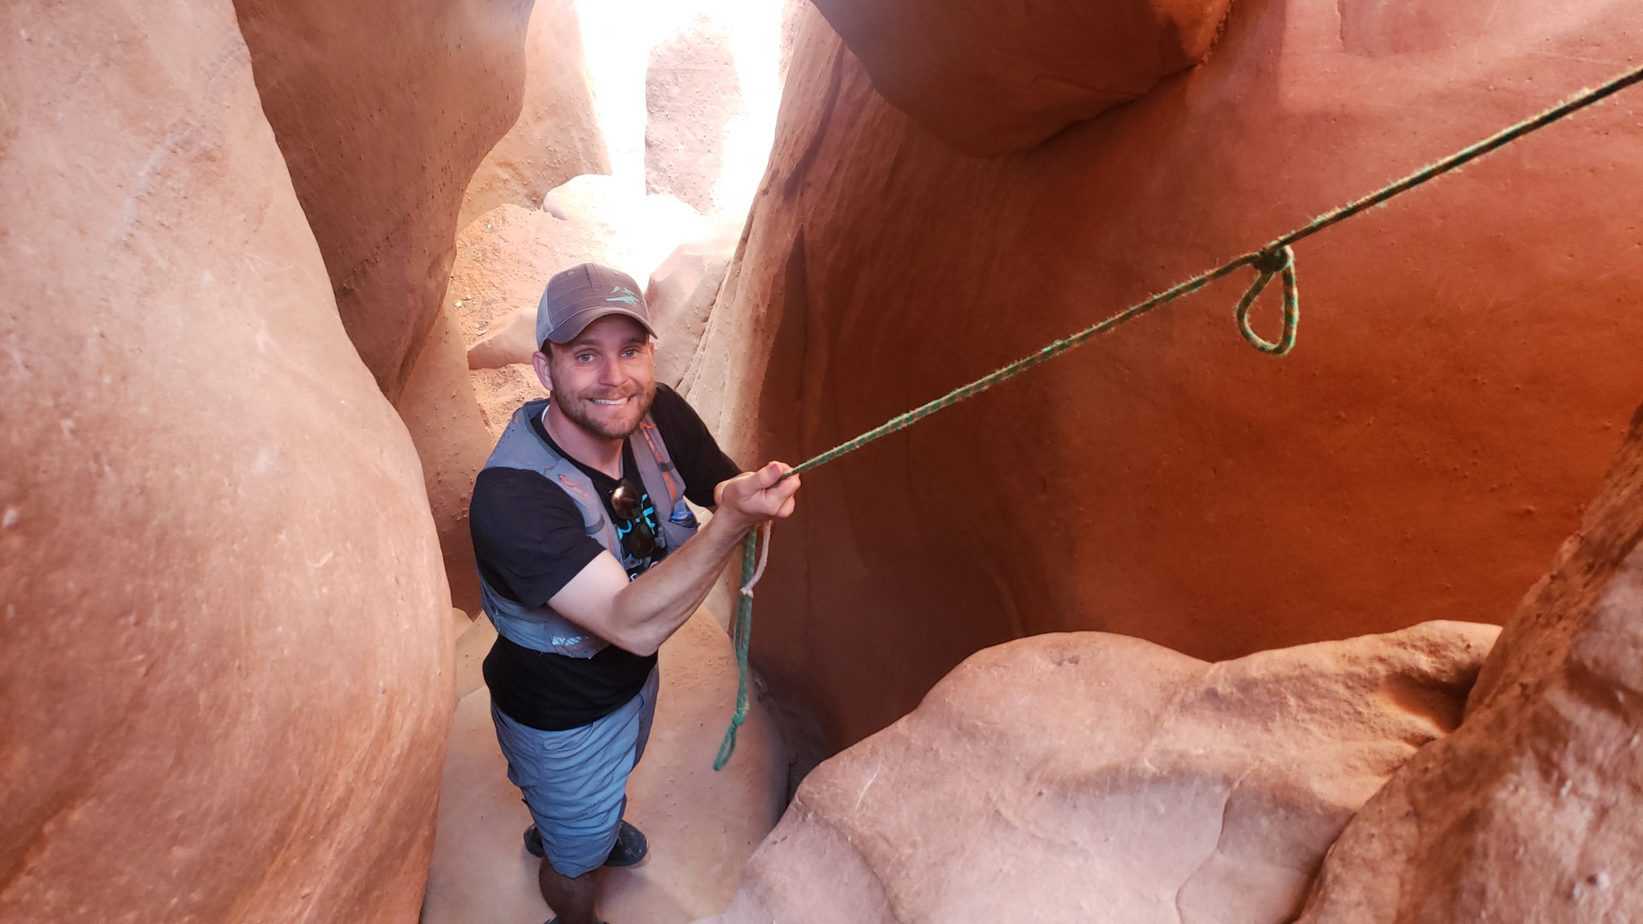
However, as you descend you will find a rope you can use to slowly lower yourself down to continue on the trail. On All Trails reviews I found that there is sometimes a hold up of people in this area because it takes a little bit of time to get through. Be aware of this if you are headed to Peek-a-boo and Spooky on a holiday weekend or spring break.
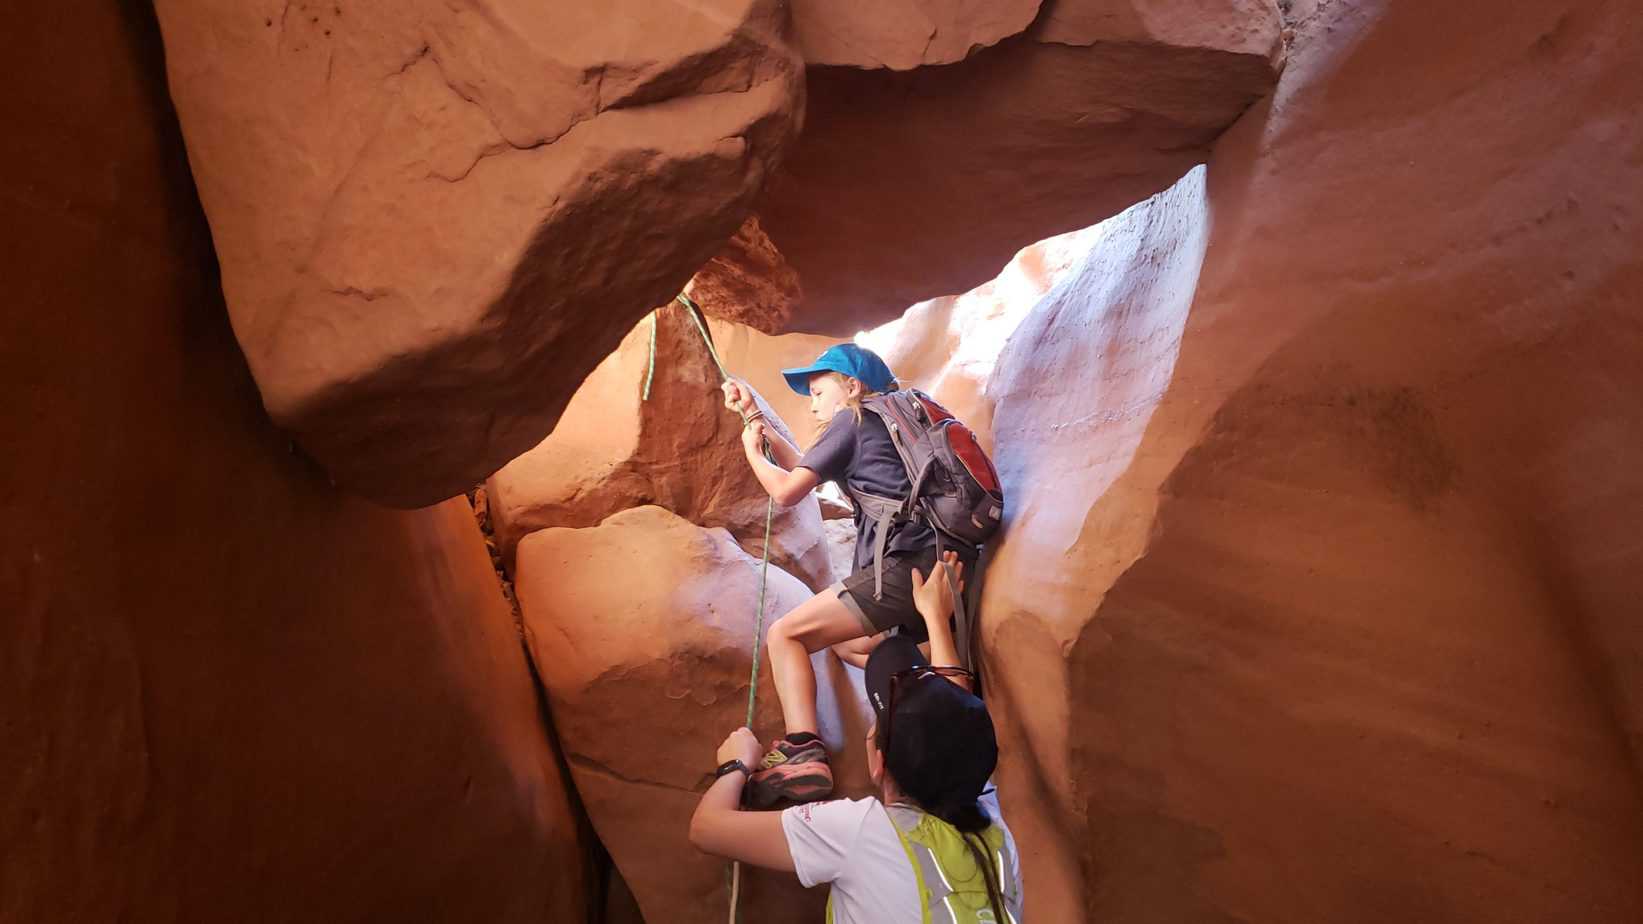
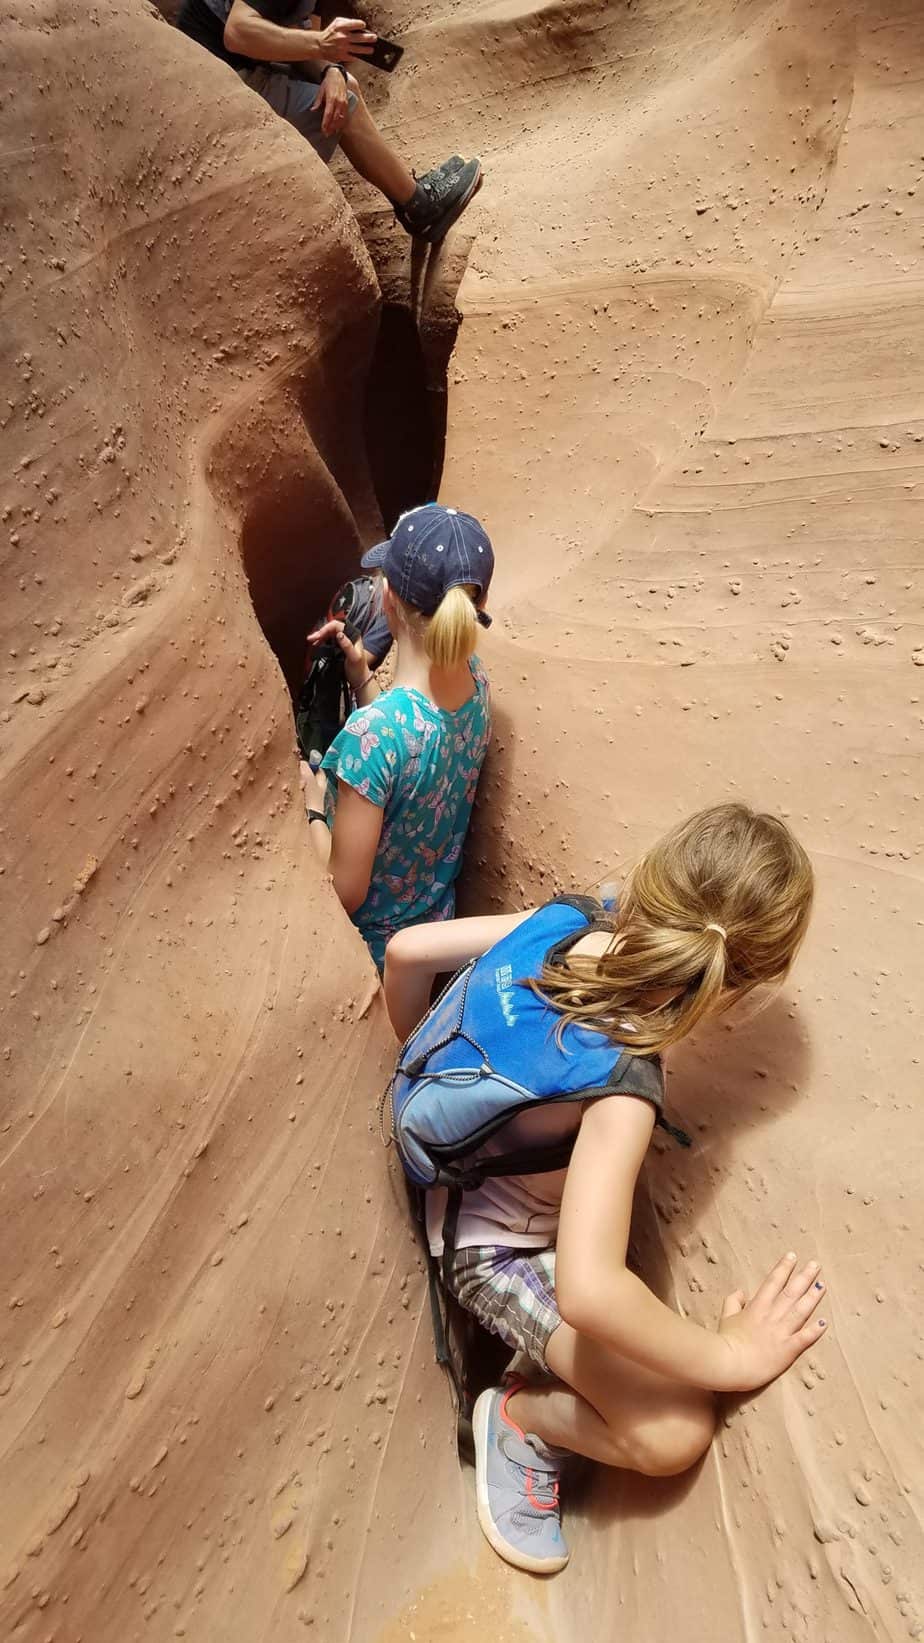
After Spooky you will take a left and head the 0.6 miles in Dry Fork back to the sign, finishing the slot canyon loop. You then hike out of the ravine the way you came. Make sure you have water left for this exposed last mile. If you parked at the closer trailhead, this section will be a lot shorter and more enjoyable.
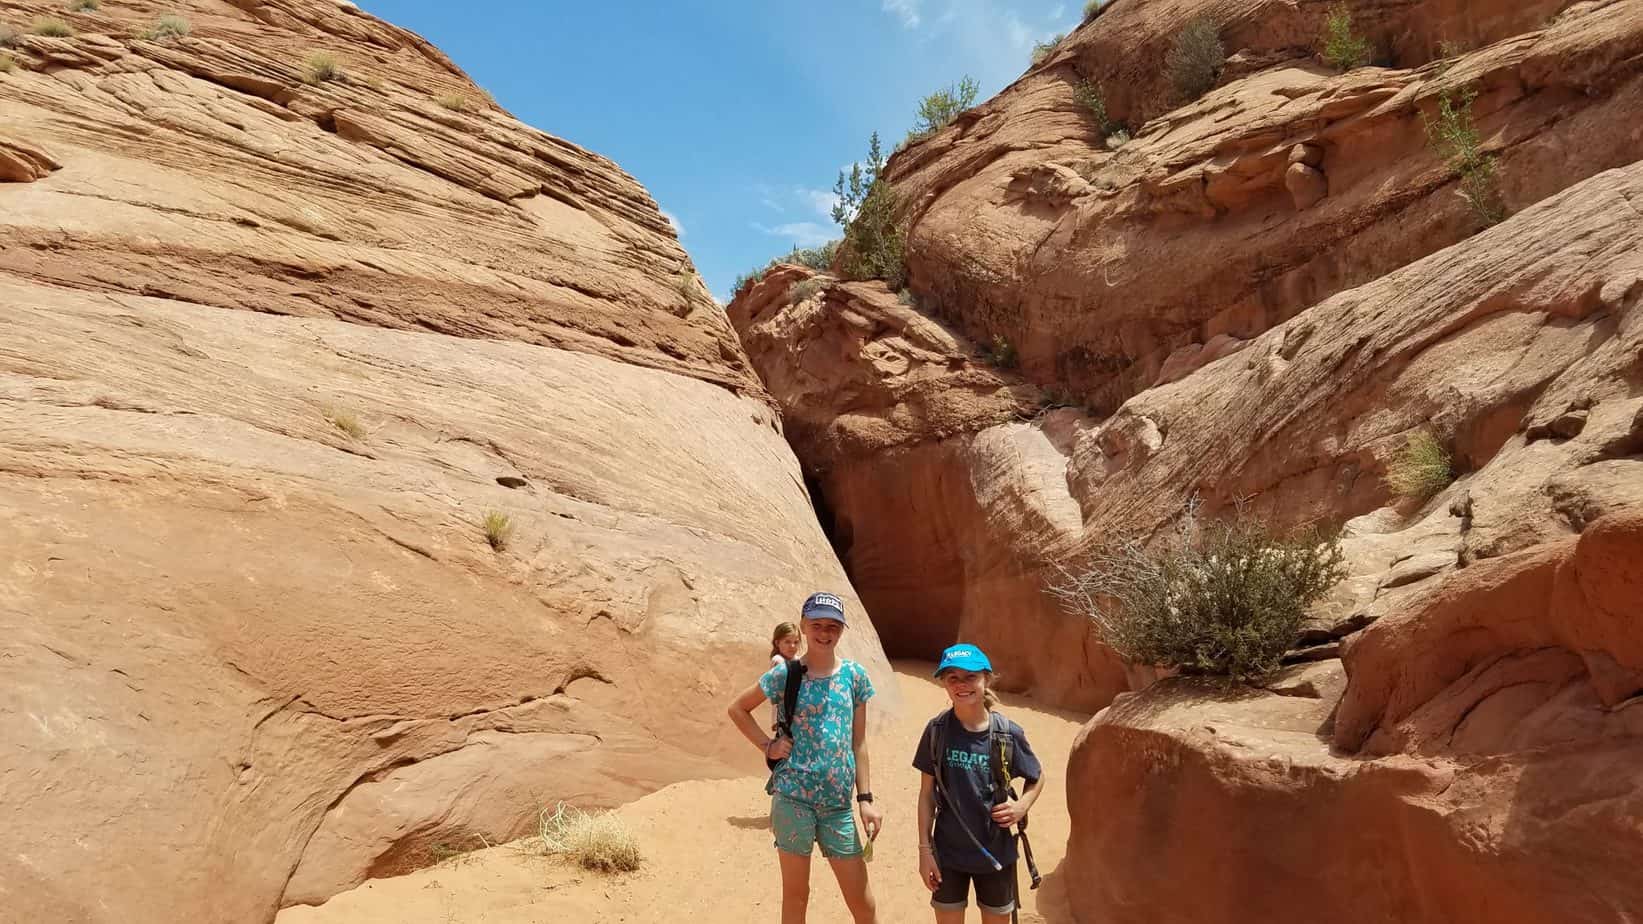
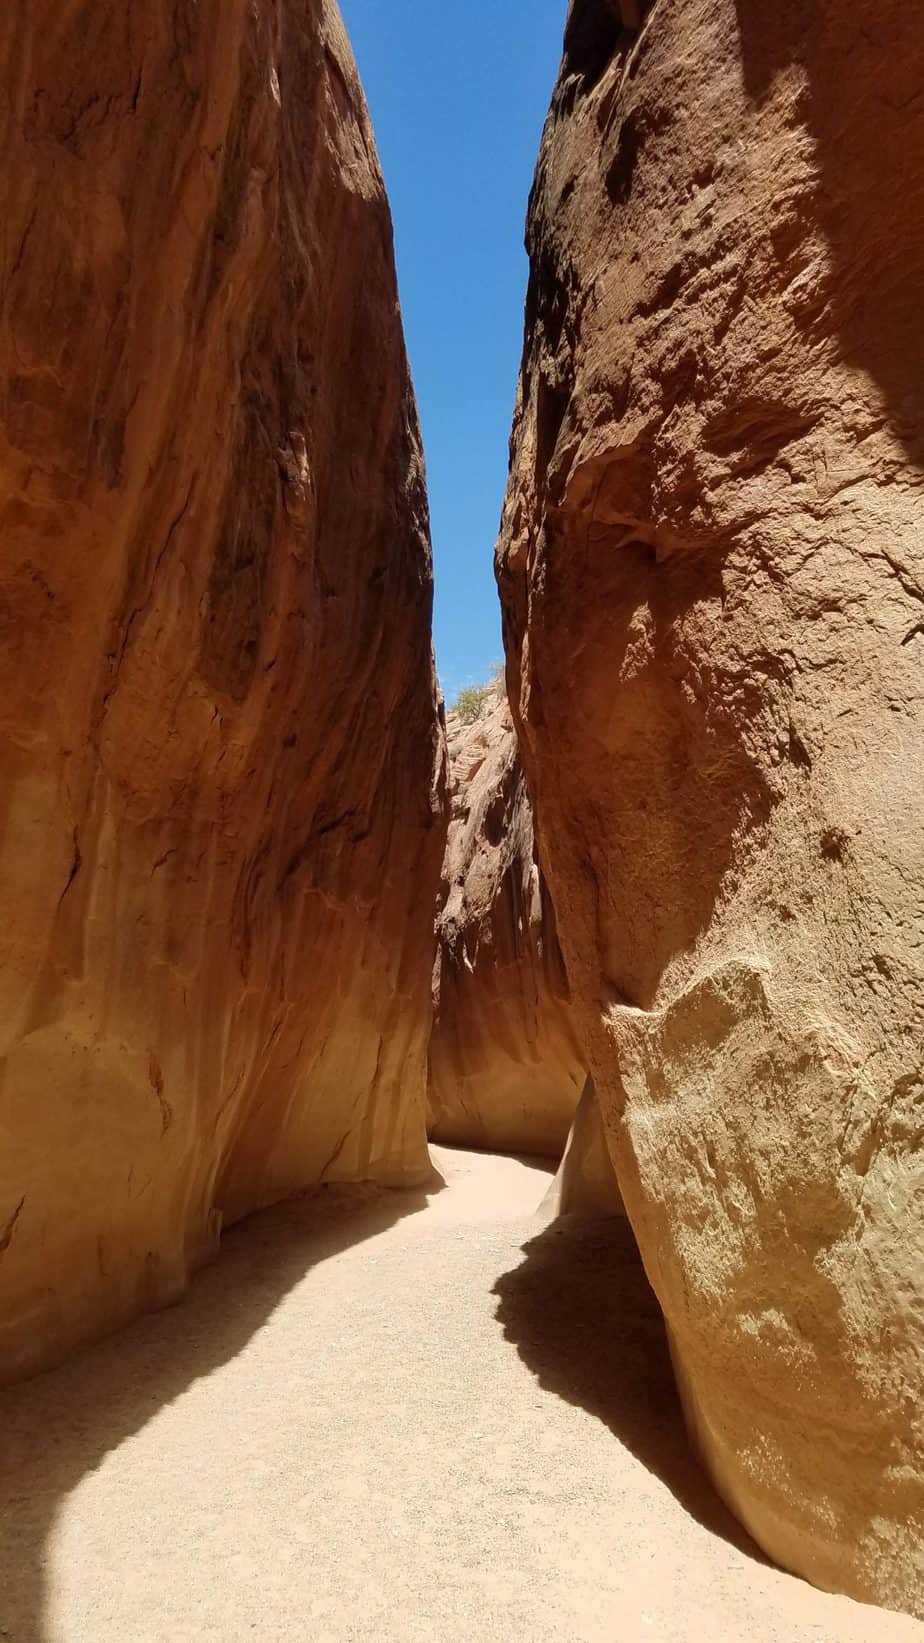
We were too tired to hike Dry Fork Narrows by the time were finished Spooky. I hiked just a little of it by myself. Dry Fork Narrows are a good option if you don’t like the tight squeezes in Spooky. It is a flat and wider trail.
PROS
Super fun slot canyons
Beautiful and unique scenery
Fun for all ages
CONS
No water at trailhead
Accessed via bumpy dirt road
Exposed trail at beginning and end
Peek-a-boo and Spooky Slot Canyons are located within Grand Staircase Escalante National Monument, about 33 miles south west of the Town of Escalante Utah. It is about an hour drive from Escalante due to road conditions. Heading west on Highway 12 from Escalante take Hole in the Rock Road for 26 miles.
Hole in the Rock Road is bumpy and sandy. We went 30 to 40 MPH on this road in a truck with 4 wheel drive. We saw a few cars and smaller SUVs drive this road. You may just need to take it slower. Do not attempt to drive on this road if it is muddy. After 26 bumpy miles on Hole in the Rock Road, turn left onto BLM road 252 and follow this to one of the two trailheads.
The trailhead is officially called Dry Fork Trailhead. There are signs directing you. There is also an overflow parking area not far off of the Hole in the Rock Road as you drive to the trailheads. Follow my maps below. Try to park at the lot closest to the trailhead pin. This will make your hike through the desert shorter.
The trail is marked with trail-markers, however I read reviews of a few people getting confused between Spooky and Peek-A-Boo slots. It might be a good idea to download the All Trails map for this hike onto your phone before attempting.
Devils Garden (30 mins)
Twenty Mile Dinosaur Trackway (40 mins)
Petrified Forest State Park (1 hour)
Lower Calf Creek Falls (1 hour 15 mins)
Zebra Slot Canyon (1 hour 30 mins)
Anasazi State Park (1 hour 30 minutes)
Kodachrome Basin State Park (1 hour 45 mins)
Hole in the Rock Road (3 mins to 1 hour)
Bryce Canyon National Park (2 hours)

Hi, I’m Corrine! I’m an outdoor enthusiast and mother of four.
My goal is to inspire you to get outside and create your own amazing memories as a family. Life is precious and there are too many adventures to be had to spend life on the couch or in front of a screen.
The page you requested could not be found. Try refining your search, or use the navigation above to locate the post.
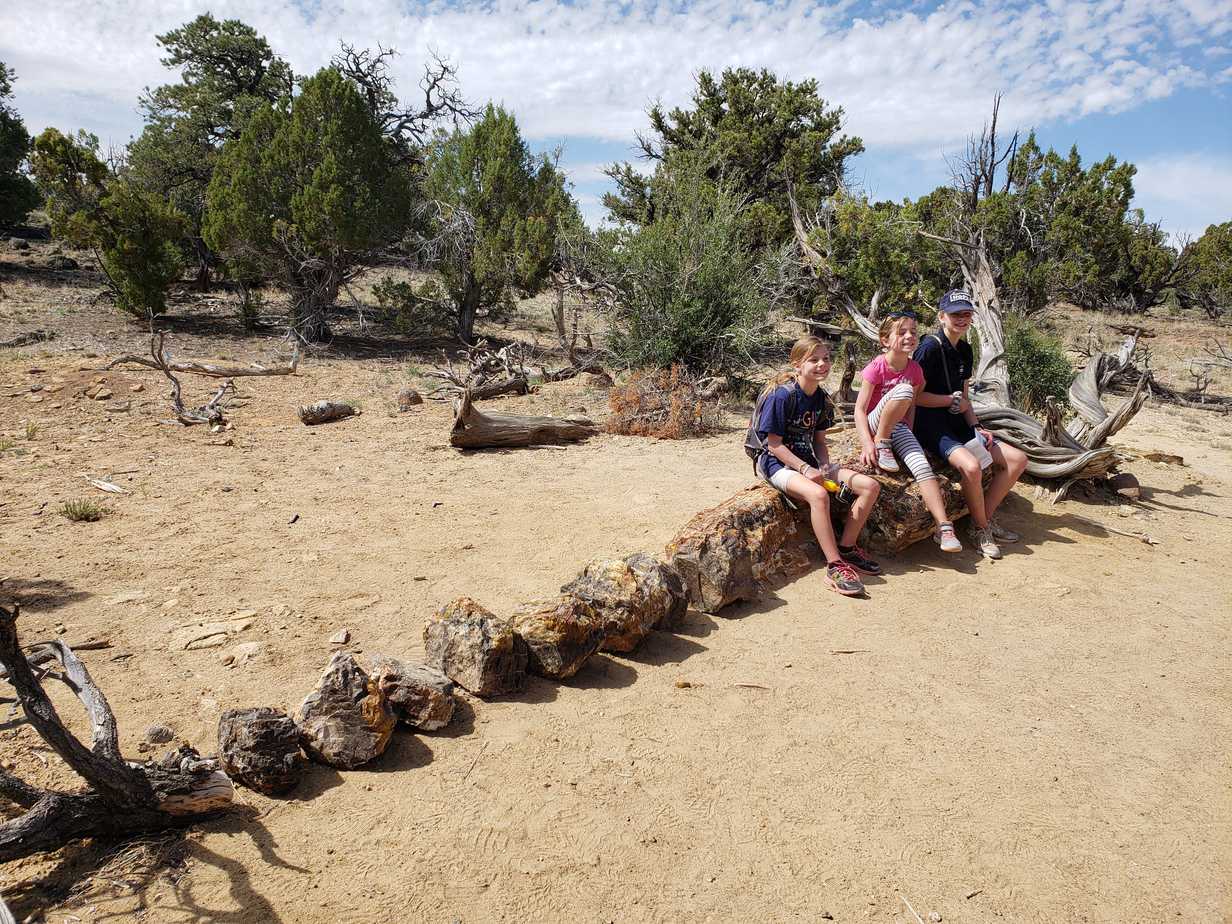
Escalante Petrified Forest State Park with Kids is a must-see stop when exploring Grand Staircase Escalante Monument in Utah with your family. Walk through geological history as you explore colorful, 150 million year old petrified wood on the Petrified Forest Nature Trail or escape the southern Utah heat in the cool waters of Wide Hollow Reservoir.
Fun: ⭐⭐⭐⭐⭐ (out of 5)
Difficulty: Very Easy Easy Moderate Hard Very Hard (Ranges from Very Easy to Moderate depending on what you are doing)
Hiking Distance: 0.1 to 3 miles
Hiking Elevation Gain: Flat to steep, depending on the hike
Terrain: Sand, rocks, petrified wood, reservoir
Time Needed: An hour to few days
When to Go: spring, summer, fall
$6 Day use fee
$20 – $28/Night if camping
Flush toilets
Showers
Camping
Water
Reservoir for swimming/boating/kayaking/fishing
Picnic tables
Paddle boards/kayaks for rent
Camping gear if camping
Water/sand toys
Paddle boards/kayaks if you own them
Good hiking shoes/gear
Dogs allowed
Visiting Petrified Forest State Park with kids is a great way to learn about geology and have some fun at the same time. It is also a perfect base camp for visiting Grand Staircase Escalante National Monument. You can stop here for a few hours to explore the petrified wood or cool off in the reservoir or stay several days. We stayed three nights and wished we had a few more days to spend.
The town of Escalante is located just a few miles from Petrified Forest State Park. Within the town of Escalante there are visitor’s centers and historical sites as well as access to gas stations and small grocery stores. It was nice to be near some civilization, we were able to grab some eggs for breakfast we had forgotten and slushies to help us cool off.

Petrified Forest State Park is definitely somewhere we will stay again. We loved that we were near the many outdoor adventures of Grand Staircase Escalante Monument. There are endless outdoor adventures in this 1 million acre protected area. We were able to explore the Spooky and Peak-a-boo slot canyons within the monument during our stay. These slot canyons were absolutely incredible and such a surreal experience.
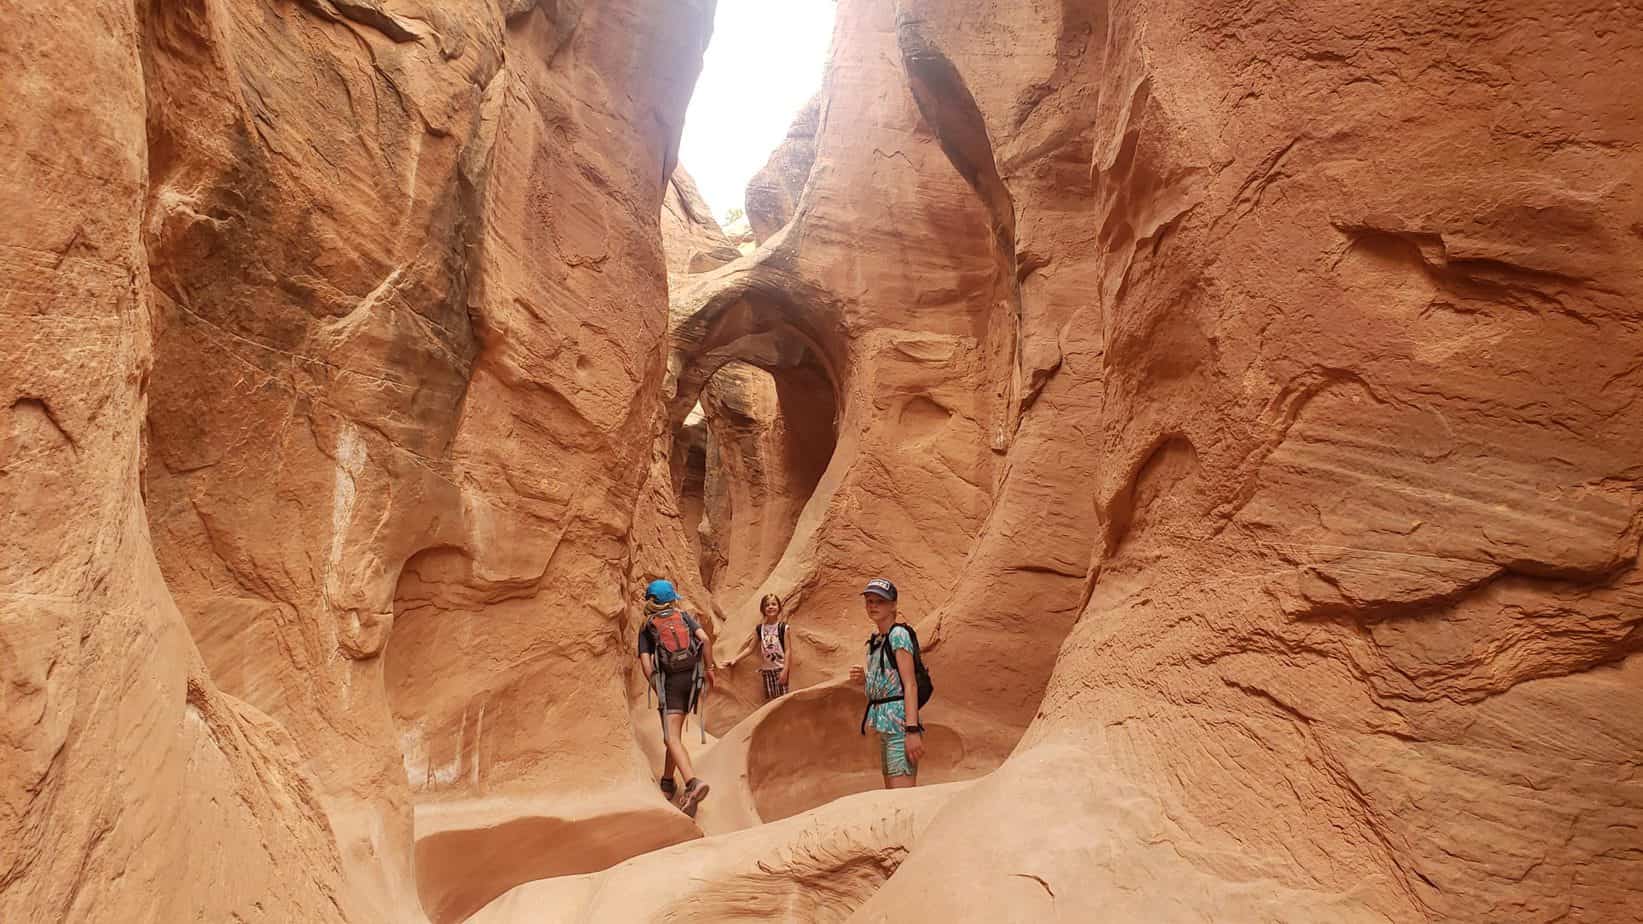
Peek-a-Boo Slot Canyon, Grand Staircase Escalante National Monument (1 hour away)
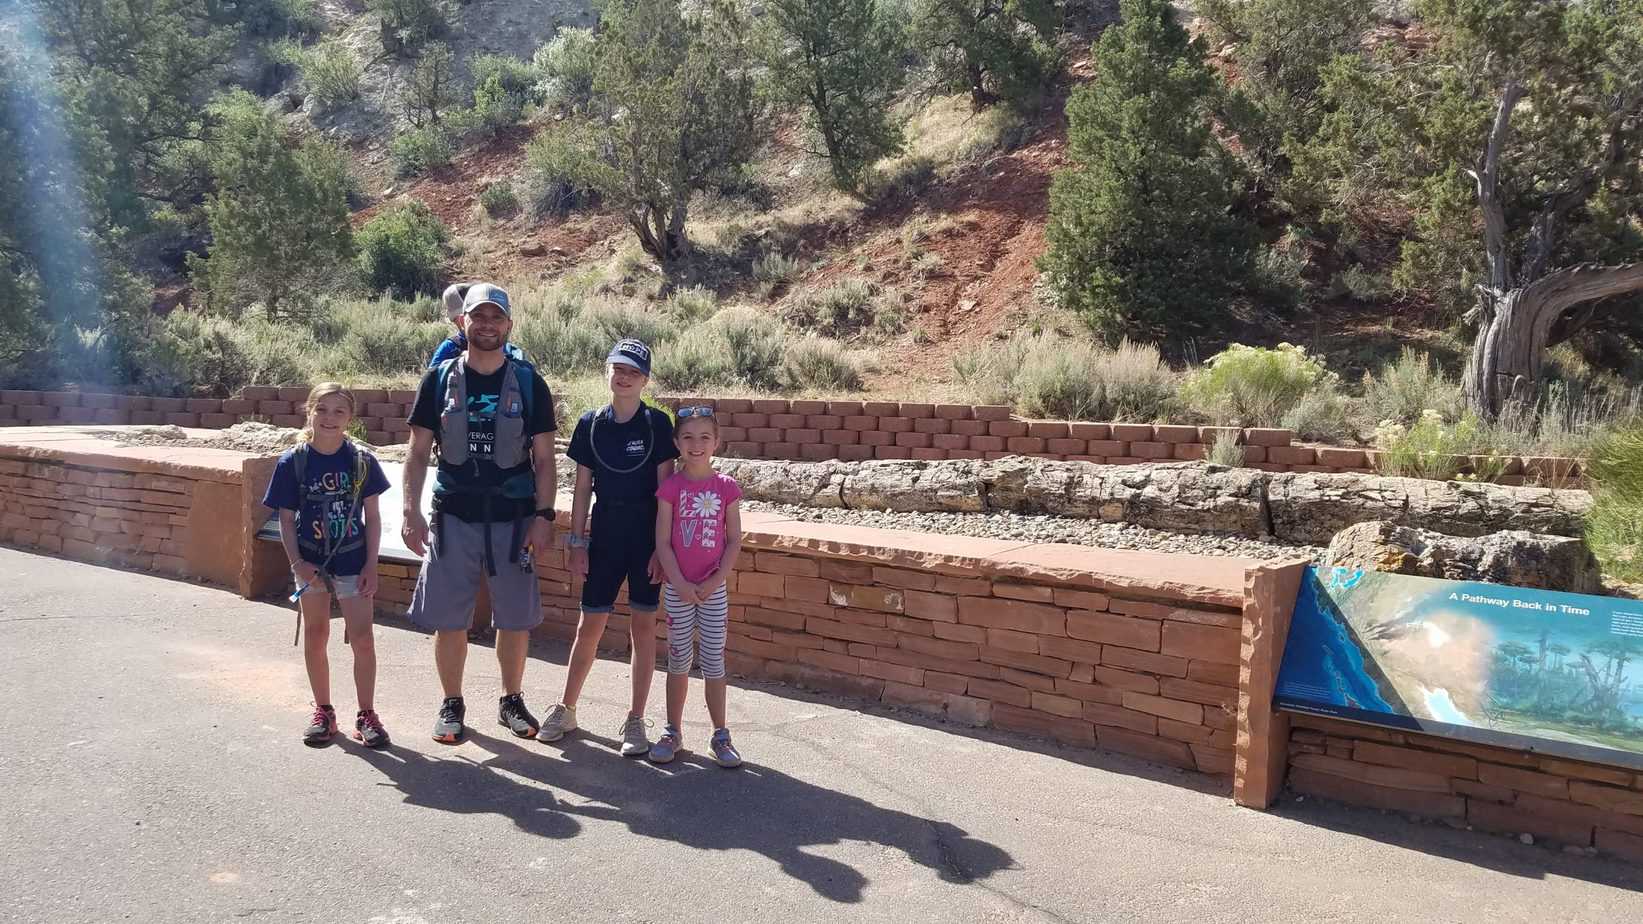
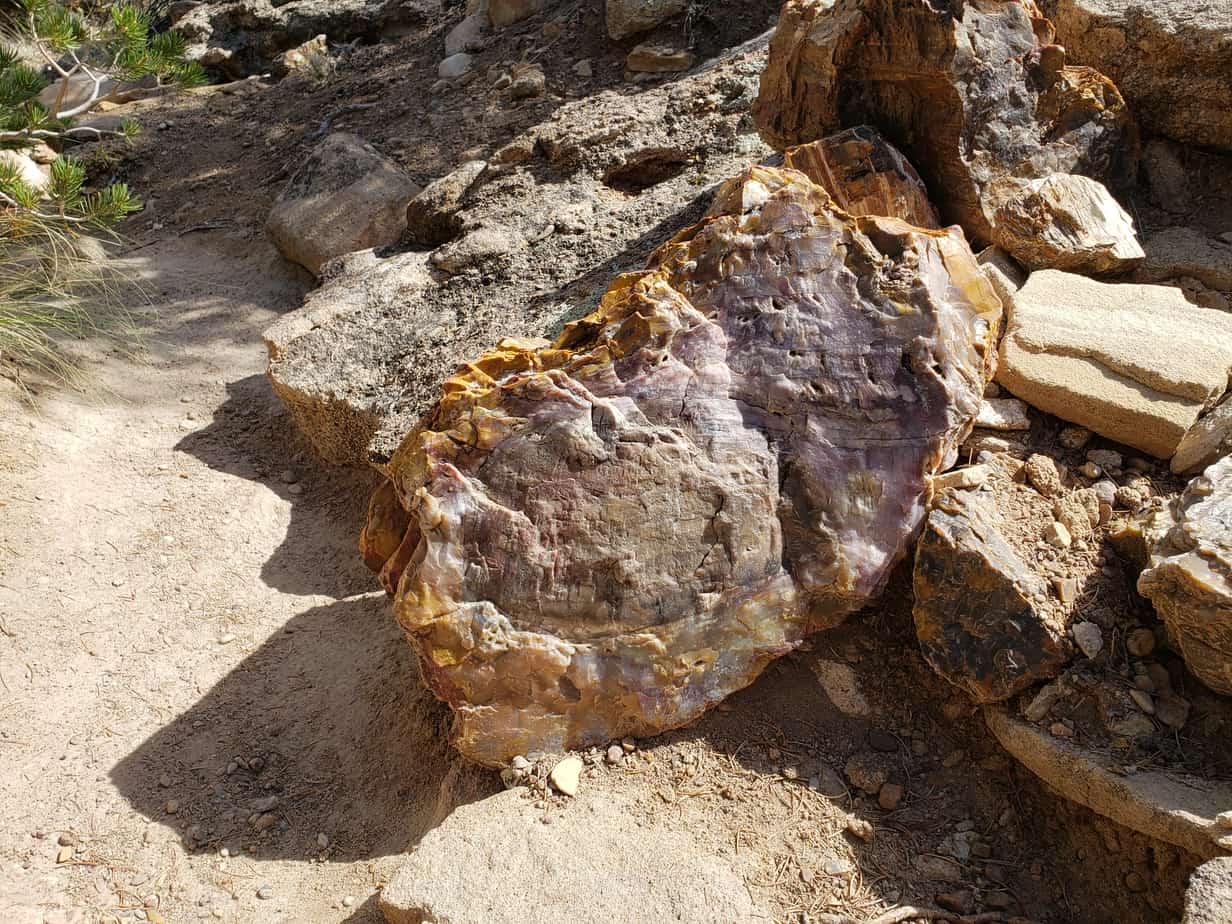
Petrified wood can be found in a viewing area near the nature trail trailhead. An entire tree is displayed as well as several pieces. This area is great for any age and is ADA accessible. There is also a large petrified tree near the main bathrooms. You can also hike the Nature Trail and the Trail of Sleeping Rainbows to see more.
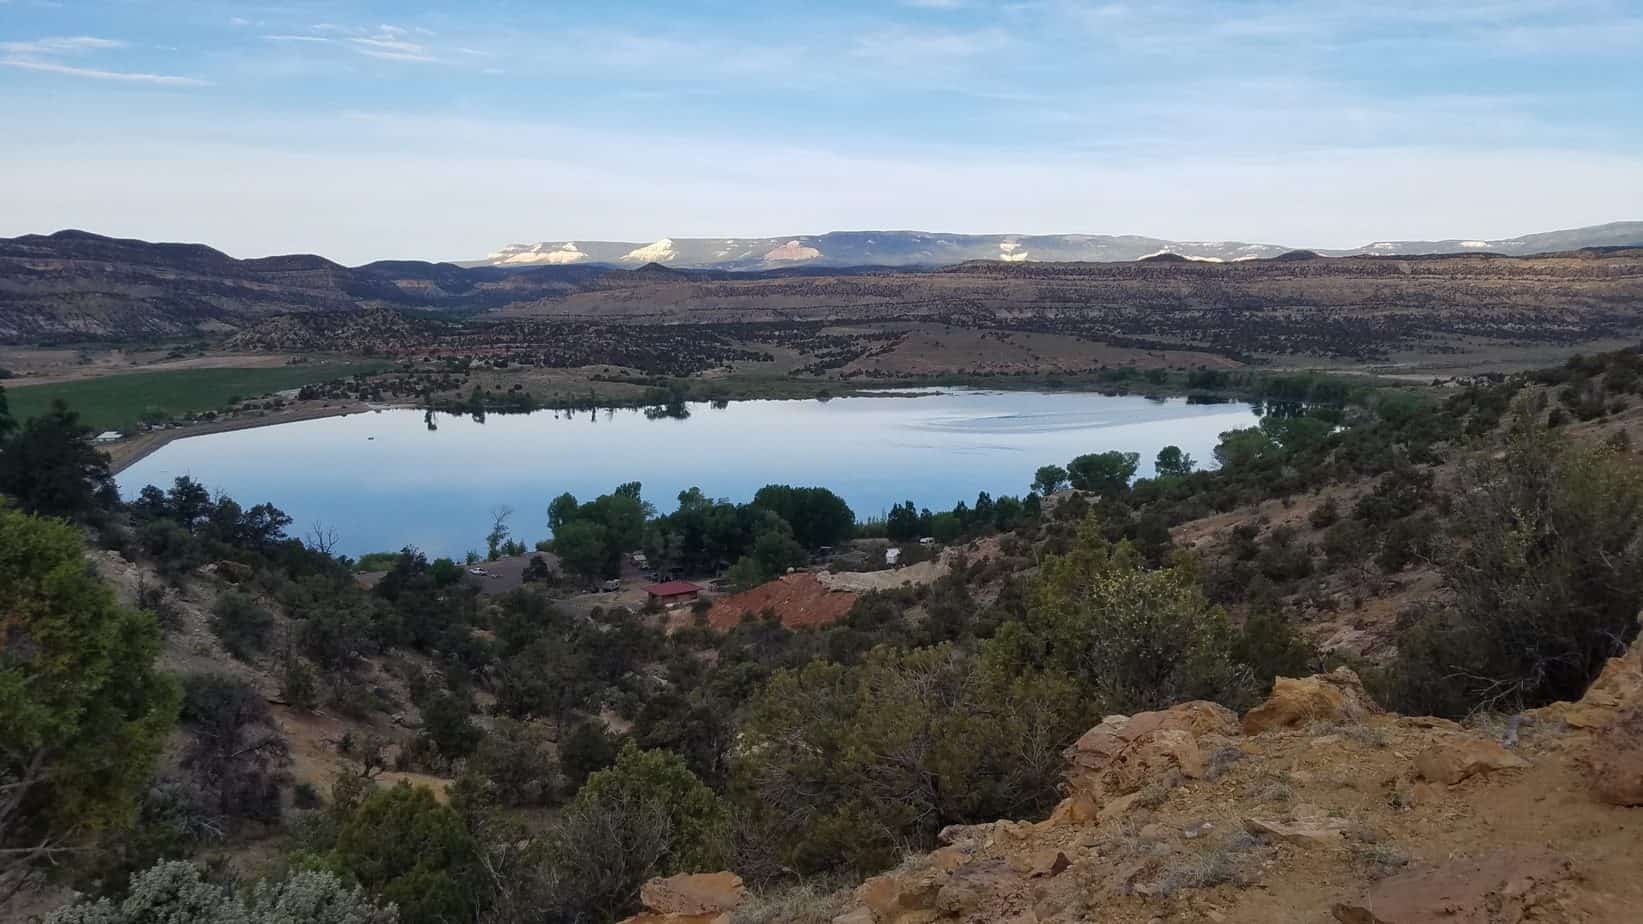
Wide Hollow Reservoir is located within Petrified Forest and is a refreshing place to escape the southern Utah heat. It is nestled along the layers of red and white rock providing a one of a kind scenic backdrop.
The beach area of the reservoir is located across the reservoir from the entrance and the campground. We drove to the beach from the campground because it is probably about a half mile walk.
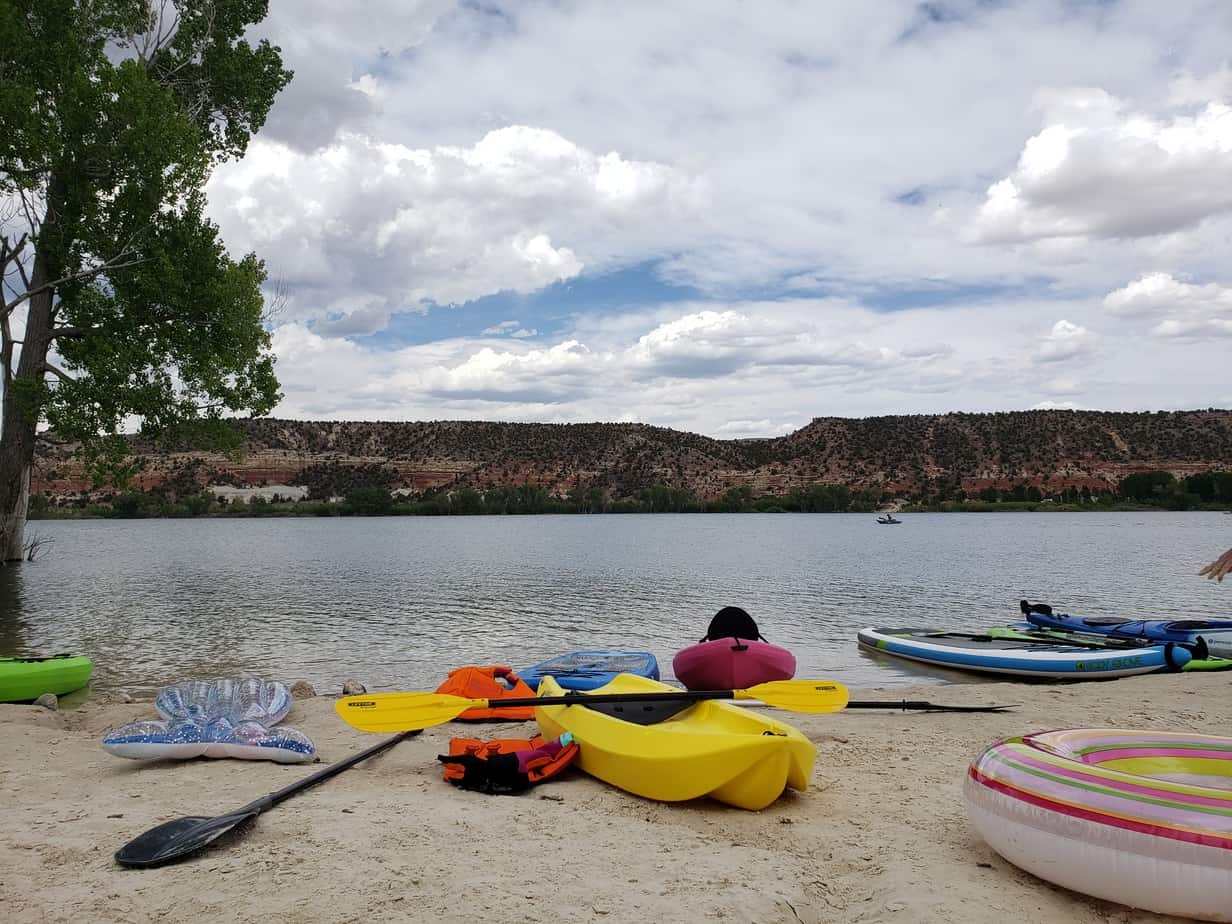
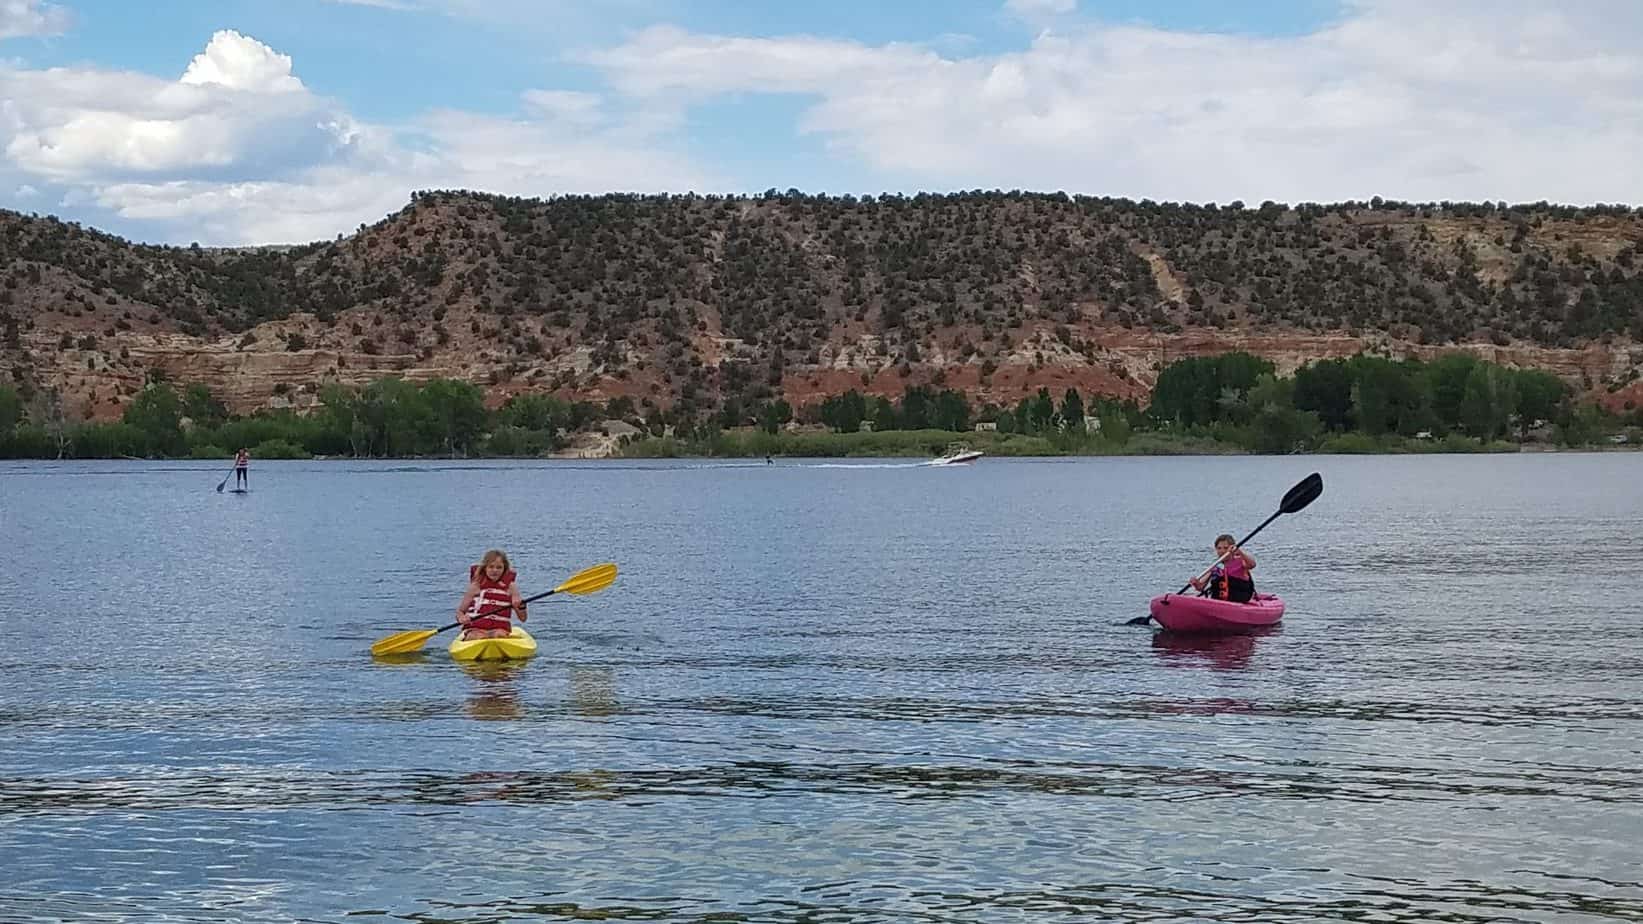
We had so much fun playing in the sand, swimming, kayaking and paddle boarding. We own paddle boards and kayaks, but there are also rentals if you don’t have your own at Float Werks Rental located just outside the park. The views while paddle boarding and kayaking were absolutely stunning. I definitely recommend doing this if you have time.
There is a dock and boat launch located right next to the camping area near the entrance of the park. We had fun dock jumping for the first time. There were several boaters while we were there water skiing.
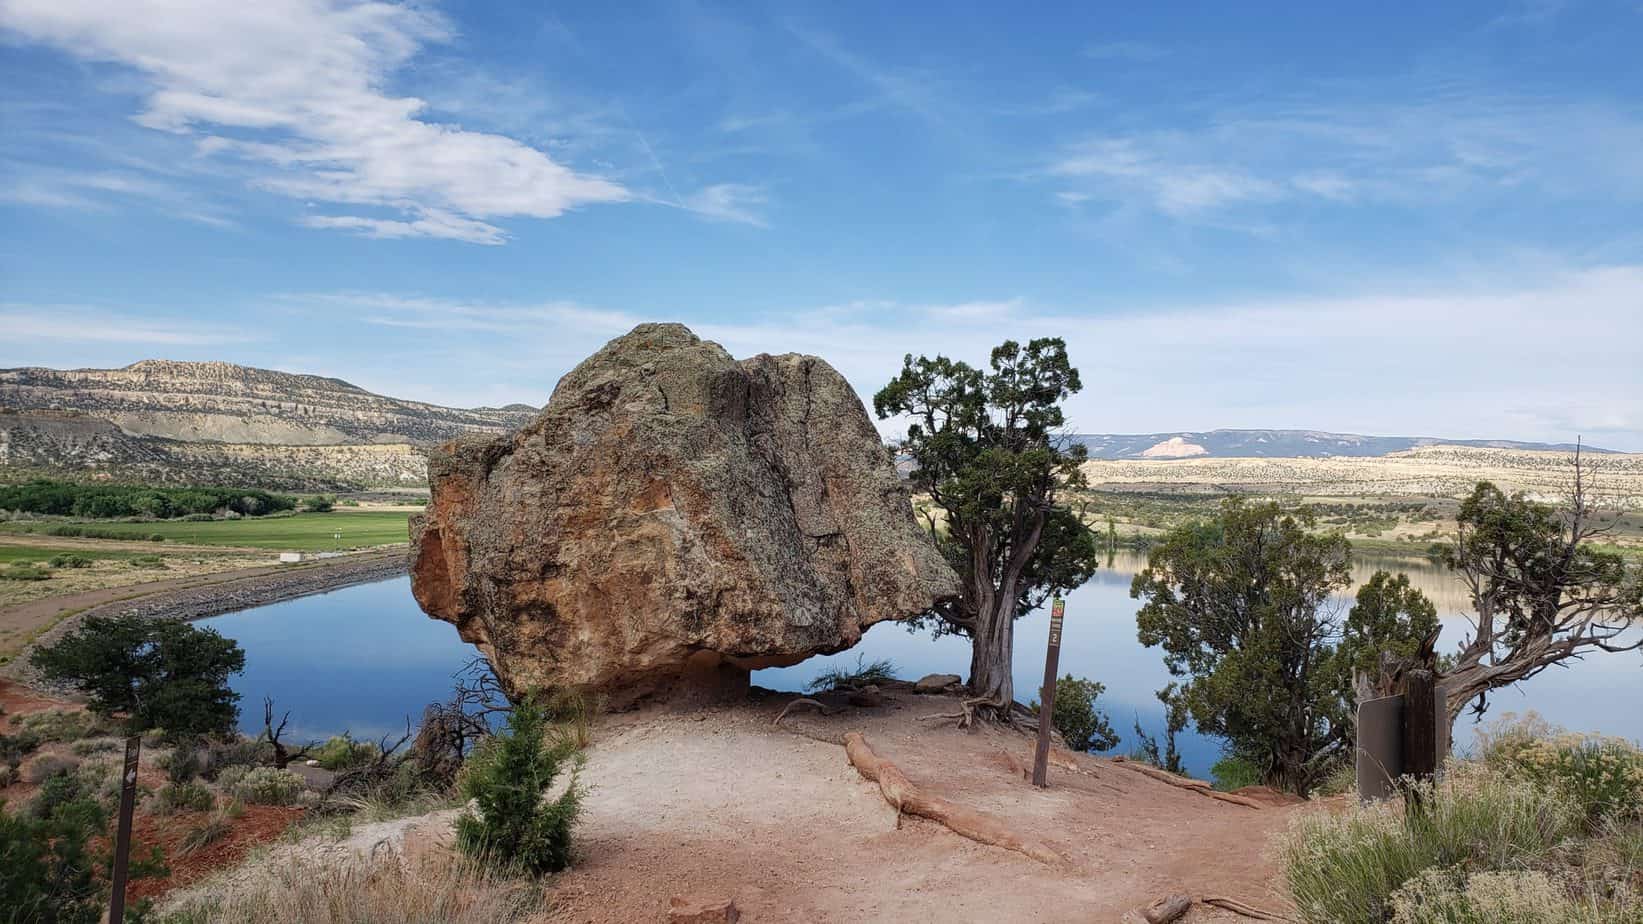
Petrified Forest Nature Trail is a 2 mile trail that leads to several deposits of petrified wood. The trailhead is located next the main parking lot just after the park entrance. This trail is a steep upward climb for the first quarter mile.
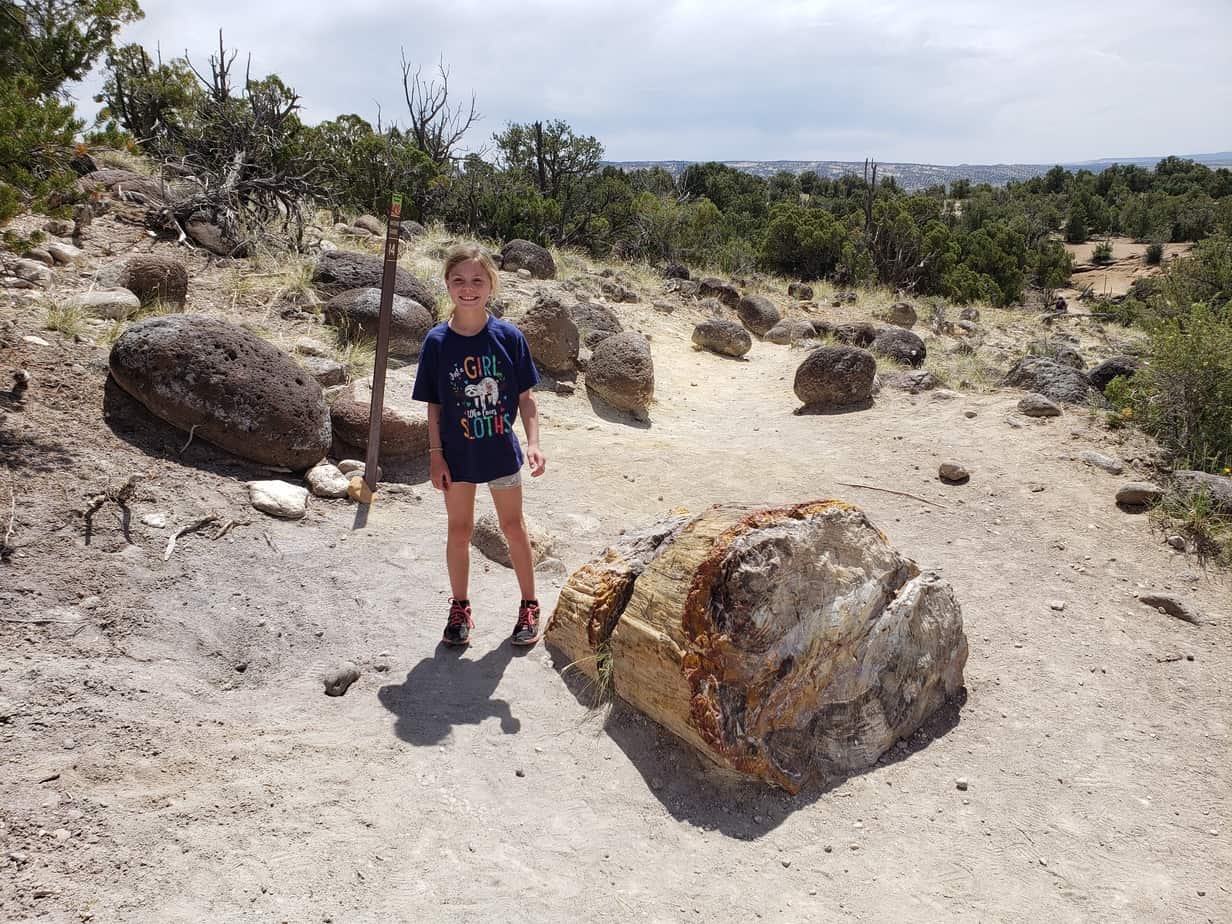
Off the Nature Trail there is an additional ¾ mile loop called Trail of Sleeping Rainbows. This trail descends into a steep ravine and then back up to connect into the Petrified Forest Trail. The ravine area has the best and most petrified wood deposits in the park. Definitely worth the steep decline and ascent.
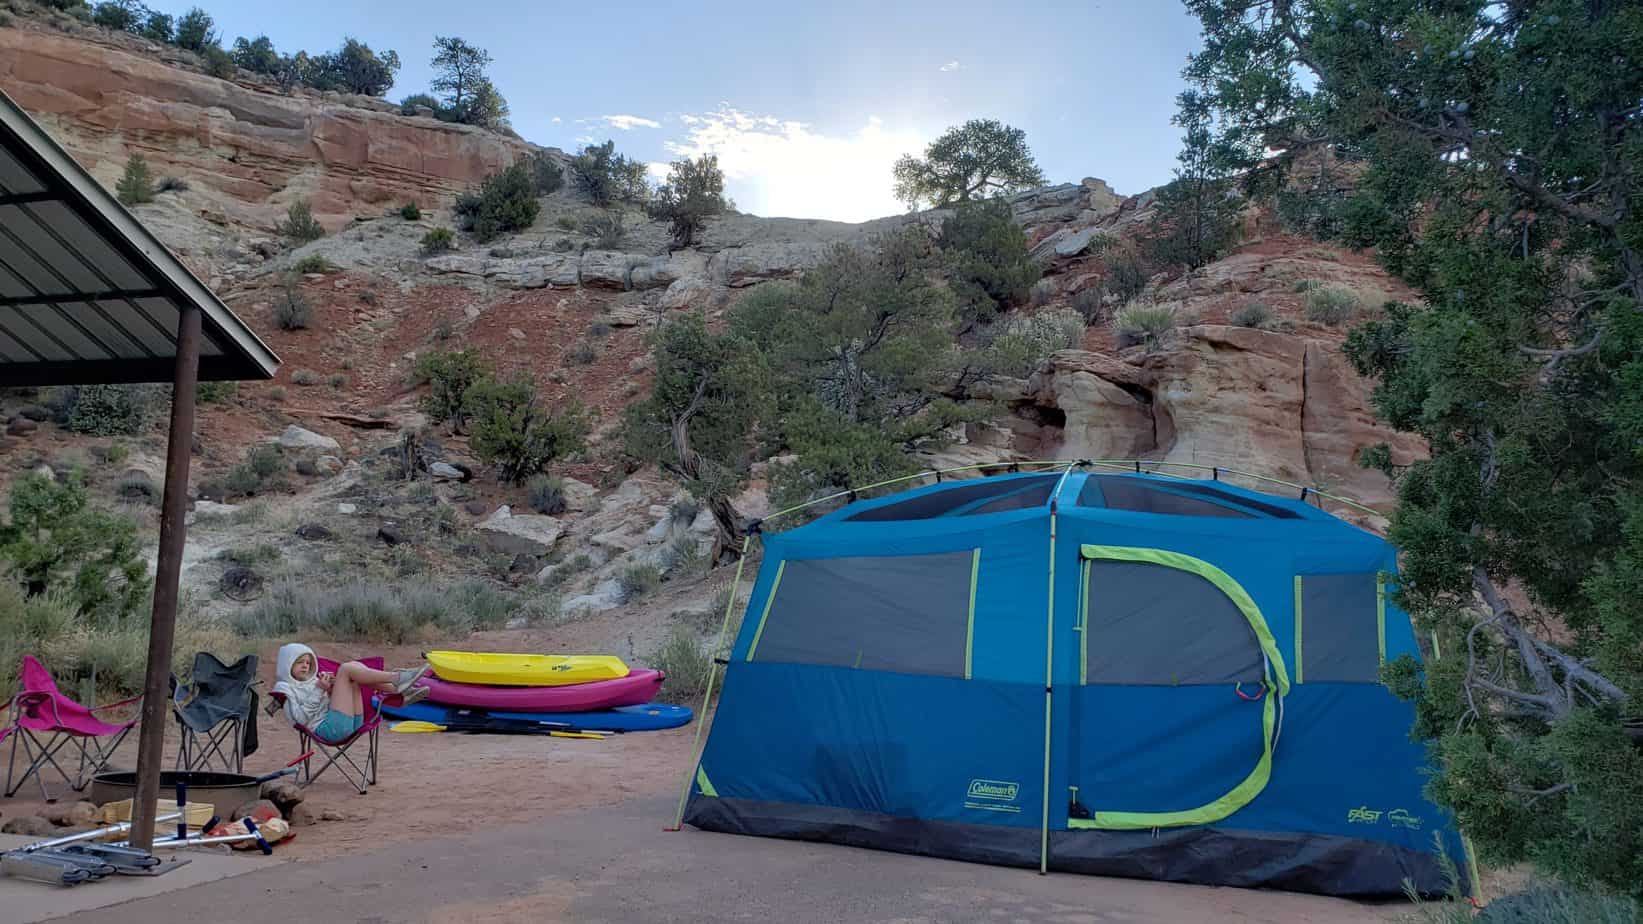
There is a small 20 site campground located within Petrified Forest State Park. We stayed three nights and had plenty to do within the park as well as in the surrounding Escalante National Monument. This is a place we will stay in again. We loved the beautiful red rock backdrop and lake scenery.
Most of the camping spots have shade provided by a nearby tree or a built in shade structure. We stayed in campsite number W108. The scenery was beautiful at this site but the tent area wasn’t big enough for our tent so we had to set up our tent on part of the parking spot. The restrooms were well kept and warm showers were available.
The campground at Petrified Forest State Park books on a 4 month rolling basis. I recommend planning ahead and booking 4 months in advance if you are able. The campground fills up quickly in the late spring and early summer.
There are endless adventures in this more than one million acre national monument. While staying at the Petrified Forest State Park we explored the Peak-a-boo and Spooky Slot Canyons. These were absolutely incredible. There are dinosaur tracks, waterfalls, and other hikes and slot canyons nearby.
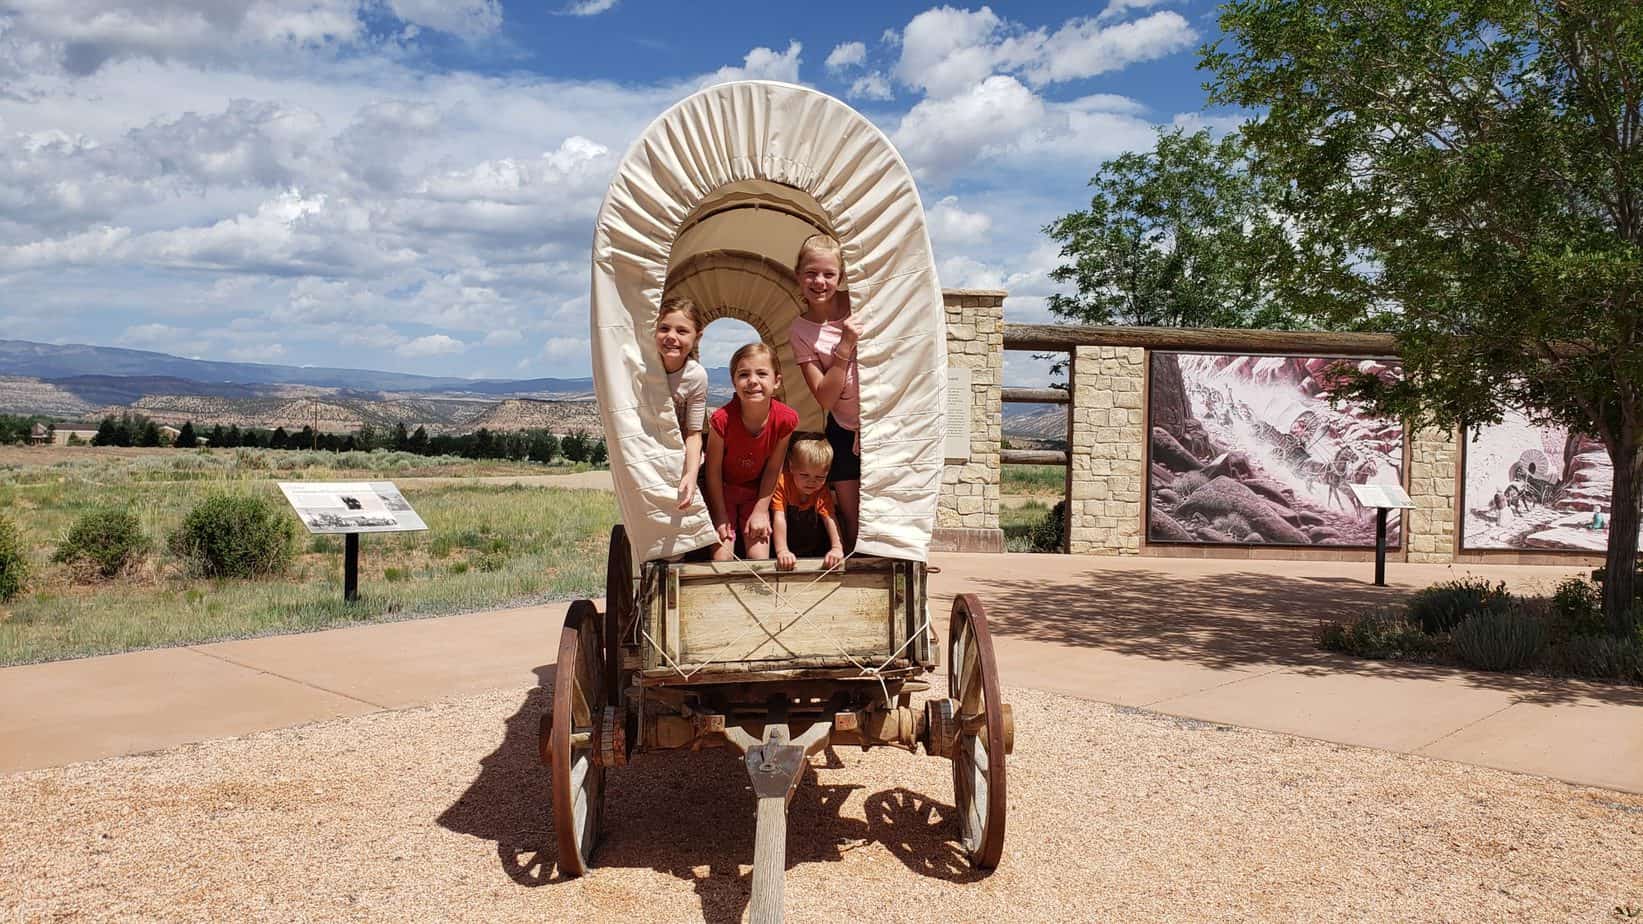
There are several historical sites and points of interest within the city of Esclante including the Escalante Heritage Center and the Escalante Interagency Vistor’s Center.
PROS
Water activities nearby to help escape summer heat
Central location to explore Grand Staircase Escalante Monument
Shade structures available
Water rentals available
Beautiful scenery
CONS
Hot in summer for hiking – start early morning or go in evening
Utah’s Petrified Forest State Park is located off of scenic highway 12 just a couple miles northwest of the town of Esclante, UT. Put Petrified Forest State Park, UT in your GPS device to get to the right location.
Upper Calf Creek Falls (30 mins)
Devils Garden (30 mins)
Kodachrome State Park (50 mins)
Twenty Mile Dinosaur Trackway (50 mins)
Peek-a-boo and Spooky Slot Canyons (1 hour)
Bryce Canyon National Park (1 hour)
Willis Creek Slot Canyon (1 hour)
Anasazi State Park Museum (1 hour)
Capital Reef National Park (90 minutes)

Hi, I’m Corrine! I’m an outdoor enthusiast and mother of four.
My goal is to inspire you to get outside and create your own amazing memories as a family. Life is precious and there are too many adventures to be had to spend life on the couch or in front of a screen.
The page you requested could not be found. Try refining your search, or use the navigation above to locate the post.
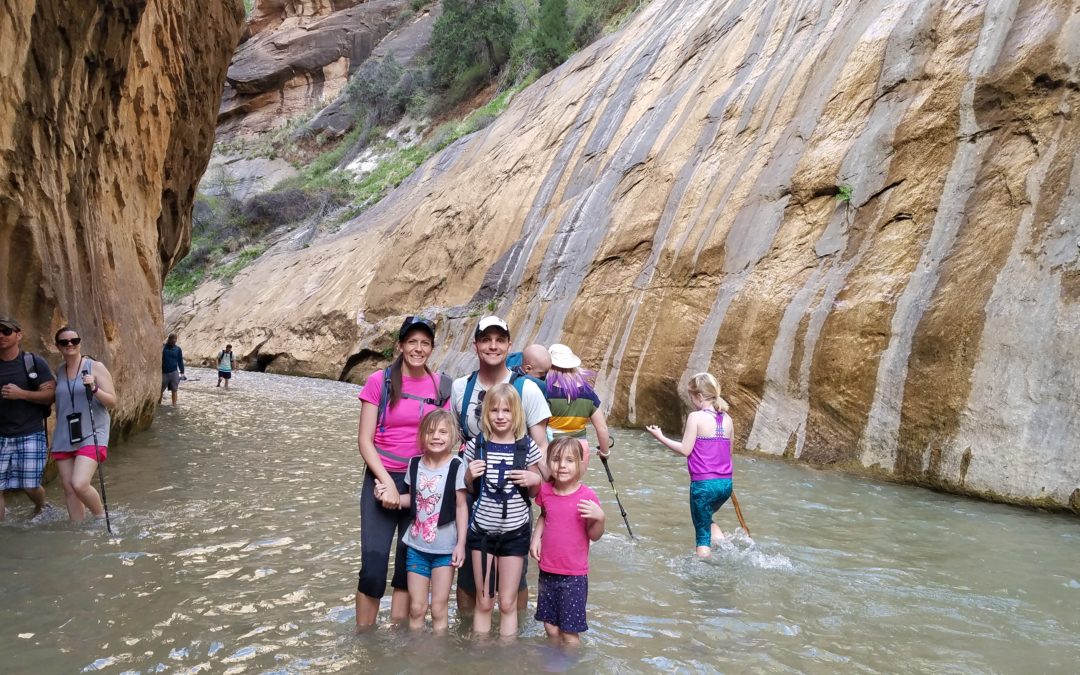
Hiking the Narrows with kids may seem intimidating but it is an amazing adventure that can be tailored to fit almost any family and skill level. The Narrows in Zion National Park, Utah is world famous for its river scenery between tall red rock walls. It is a must-see when visiting southern Utah and Zions National Park. And yes, The Narrows are just as amazing as the pictures you see on Instagram.
Fun: ⭐⭐⭐⭐⭐ (out of 5)
Difficulty: Very Easy Easy Moderate Hard Very Hard (Ranges from Easy to Very Hard depending on how far you hike)
Distance: 2 to 10 miles, out-and-back
Elevation Gain: Flat to 300 ft
Terrain: Water hiking, paved trail for first mile, rocks, shade,
Time Needed: 1 hour to all day, depending on how far you hike
When to Go: Late spring, summer, early fall
$35 for seven day Zion National Park Pass. Check current entrance fee on Zion National Park page.
Free if you have a 4th grader: Get your Every Kid Outdoors Pass.
Bathrooms and water available at trailhead
Restaurants at base of the park in Springdale, Utah
Camping within the park near the Narrows at South and Watchman Campground
Hotels, Airbnb’s and bed & breakfasts in Springdale and
Note on Lodging and Campgrounds: Campgrounds and hotels fill quickly around Zion National Park. I recommend booking your stay 6 months in advance. Other cities where lodging is available within one hour of Zion National Park: Hurricane, LaVerkin, Toquerville, St. George, Washington, Orderville, Glendale and Kanab.
Sturdy shoes that can get wet
Clothing that can get wet
Snacks and/or lunch
Water
Our hike with kids in The Narrows at Zion National Park was an unplanned adventure. I say this only to build your confidence that hiking The Narrows with kids can be done. If we did this unplanned, you can certainly hike The Narrows with your kids with a little planning.
Earlier in the day we had checked out the visitor’s center, hiked the Archeology Trail and gone to the museum. We decided to take the shuttle to the Temple of Sinawava which is the trailhead of the Narrows just to see what it looked like. A portion of the narrows can be viewed along a one mile paved trail via the Riverside Walk or you can venture further in by getting a little (or a lot) wet in the Virgin River.
The two mile round trip Riverside Walk is paved, ADA accessible and has educational signs alongside the trail. It provides beautiful views of the Virgin River and surrounding red rock walls. The Riverside Walk alone is worth it. We were in immediate awe when we first arrived, so we decided to walk along the Riverside Walk to continue enjoying the scenery.
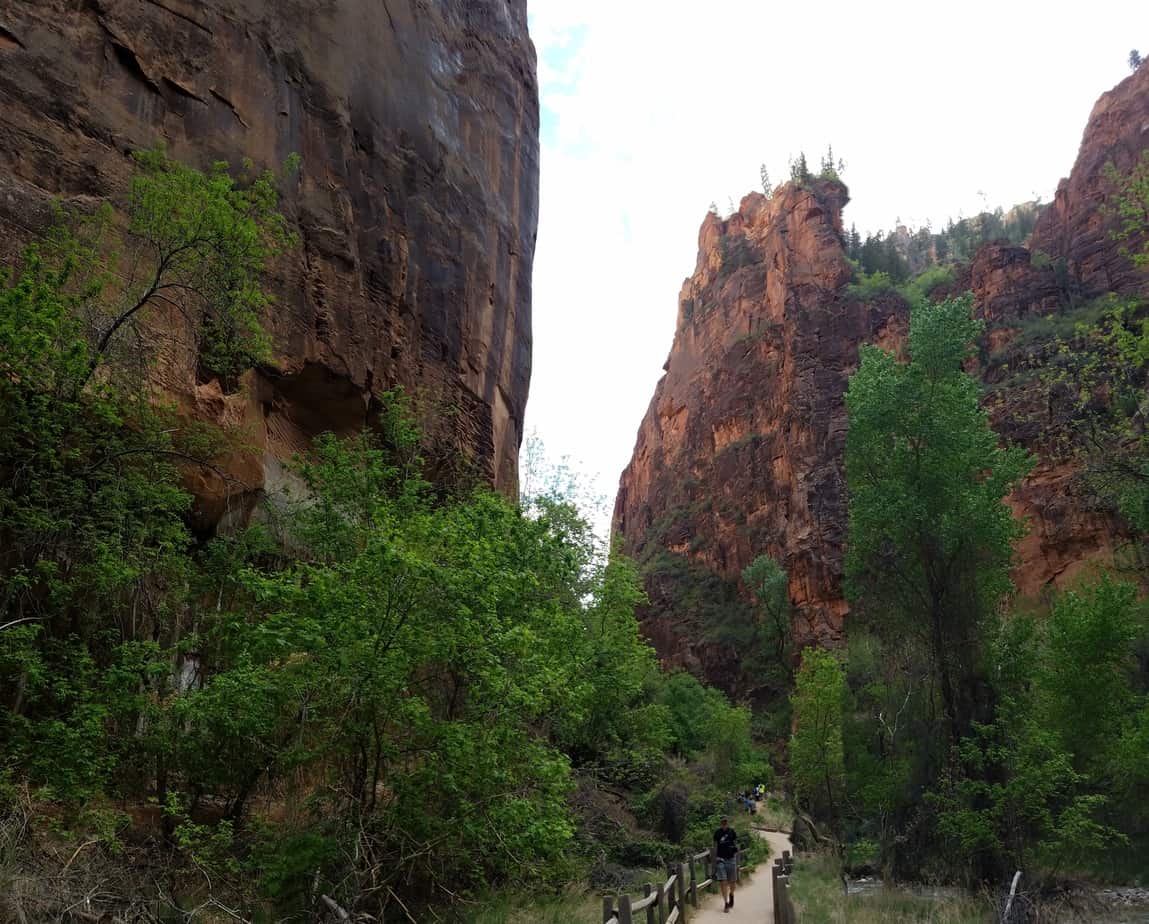
As we came to the Virgin River at the end of the Riverside Walk, we considered our options–turn around and go back to our campsite or check out one of the most famous hikes in the world–we opted for the second choice.
So, yes with a 9, 8, 5 and 9 month old we hiked The Narrows in our tennis shoes and a few snacks. The kids loved walking in the clear river. It re-energized our tired legs.
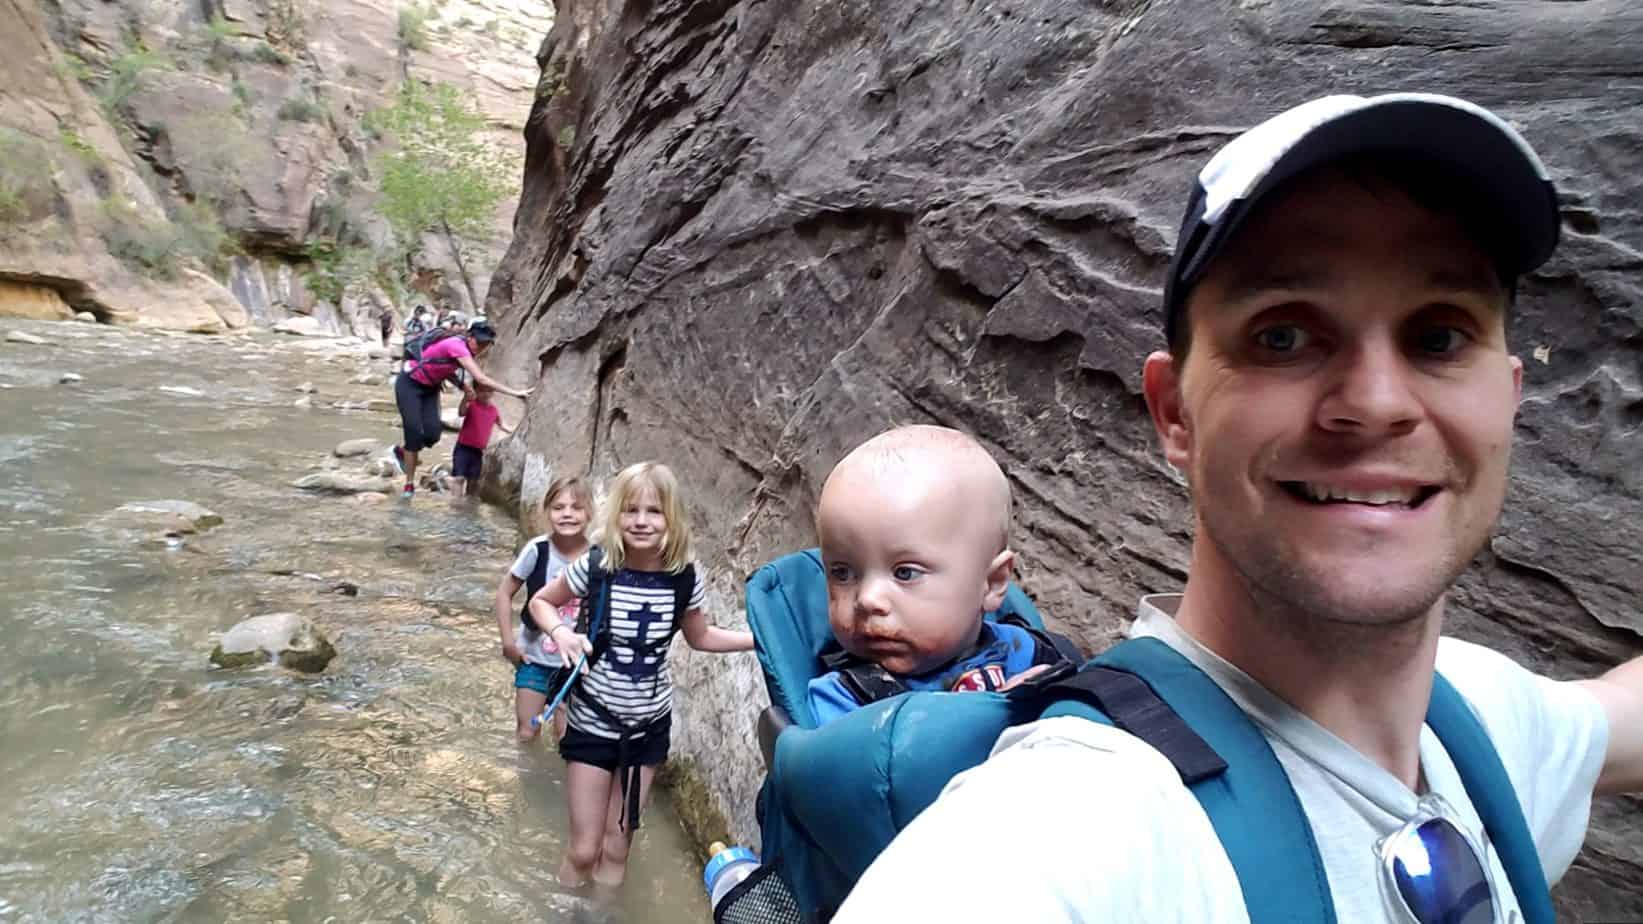
I recommend hiking the narrows in sturdy water shoes or hiking shoes/tennis shoes that you can get wet. We all just hiked in our tennis shoes that we were already in from hiking earlier. Some people rent gear like water proof socks/and or shoes and walking sticks, but I do not think it is necessary to make this a good family hike. Those supplies might be more beneficial if making this a long all day hike. Like I said before this was a total unplanned hike for us and we did not have any difficulty.
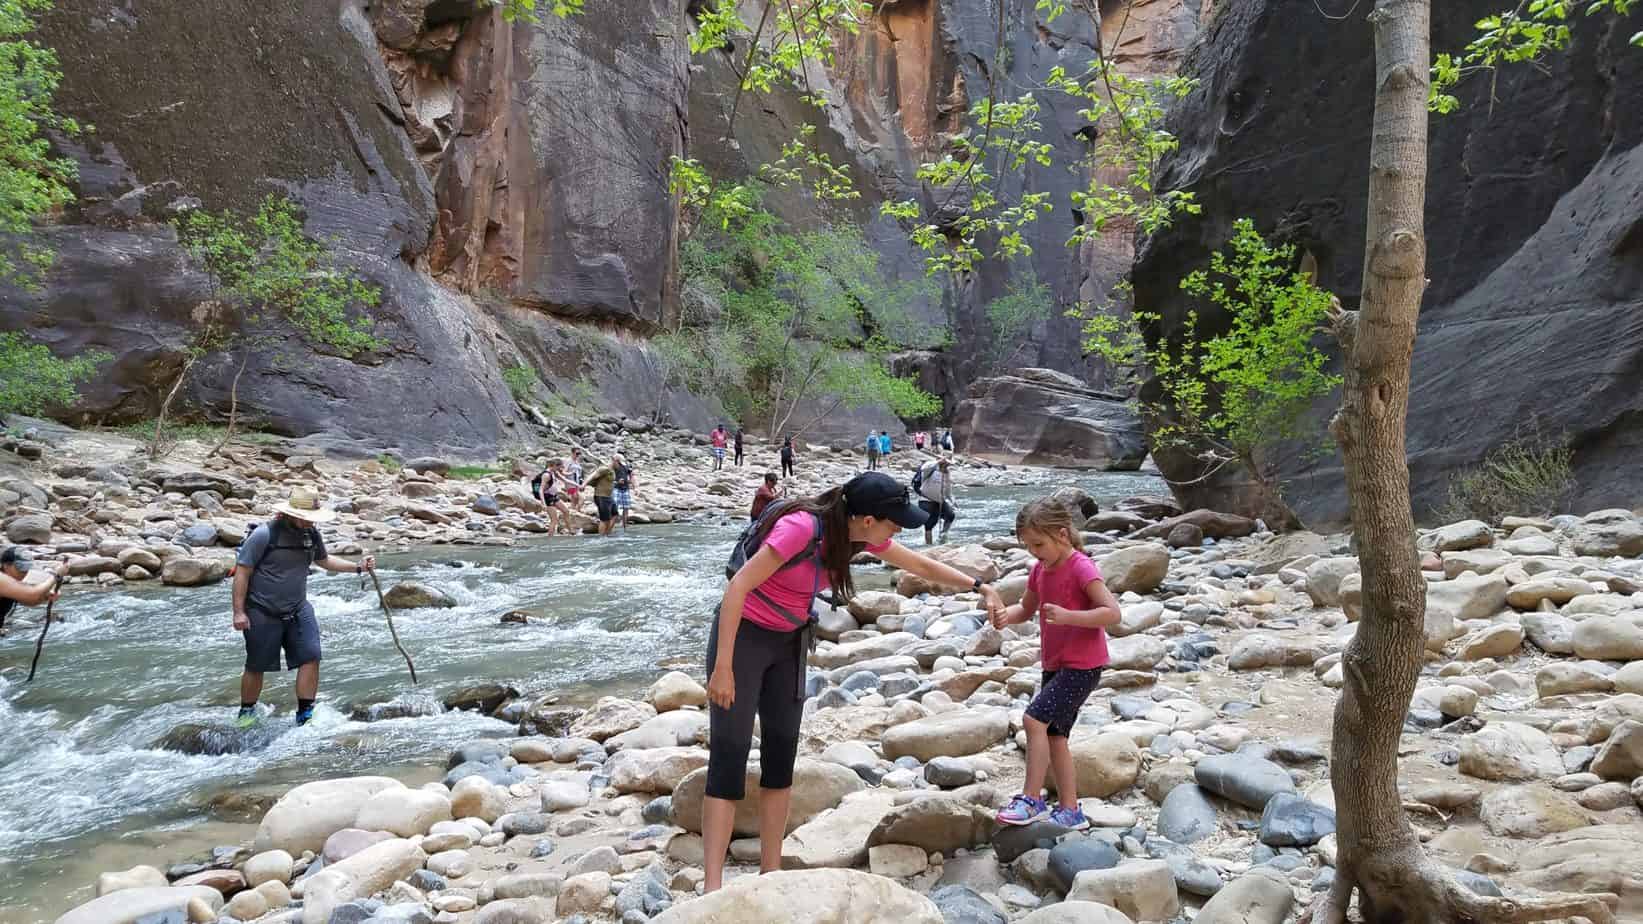
Our 9 month old was in a baby hiking carrier and I held my 5 year old’s hand. The older two kids did well hiking without assistance. The water wasn’t flowing fast so I wasn’t ever worried about anyone getting washed away in the river. Most of the time the water was just high enough for wading. There were some deeper pockets here and there but the water never got past my lower thigh. Water speed and depth will vary season to season and year to year.
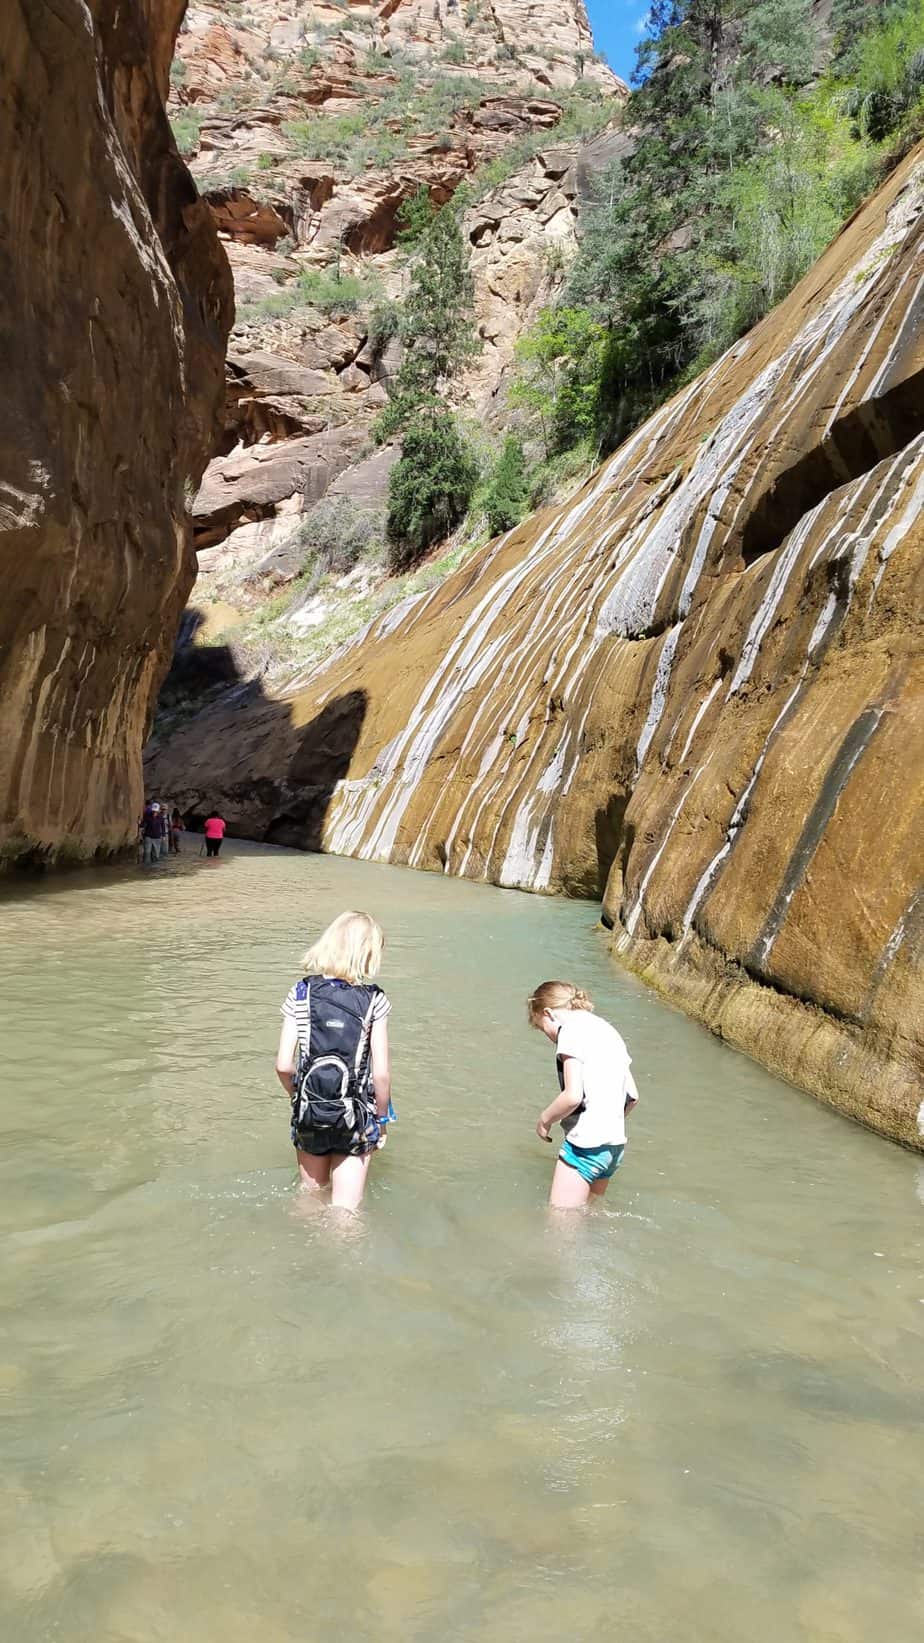
The hike up the river takes a lot longer than the hike downward because you are going against the current. We hiked a lot along the rock walls because it provided a little stability for us. Some people were hiking with walking sticks due to all the uneven surfaces in the water.
Zion National Park will shut down the narrows if the river is too high or fast or if there is a flash flood warning. However, if you ever feel uncomfortable with the water level or speed of the river you can always turn around. There are areas along the way to get out of the river to rest and dry off a bit. You can check the current conditions of the Virgin River.
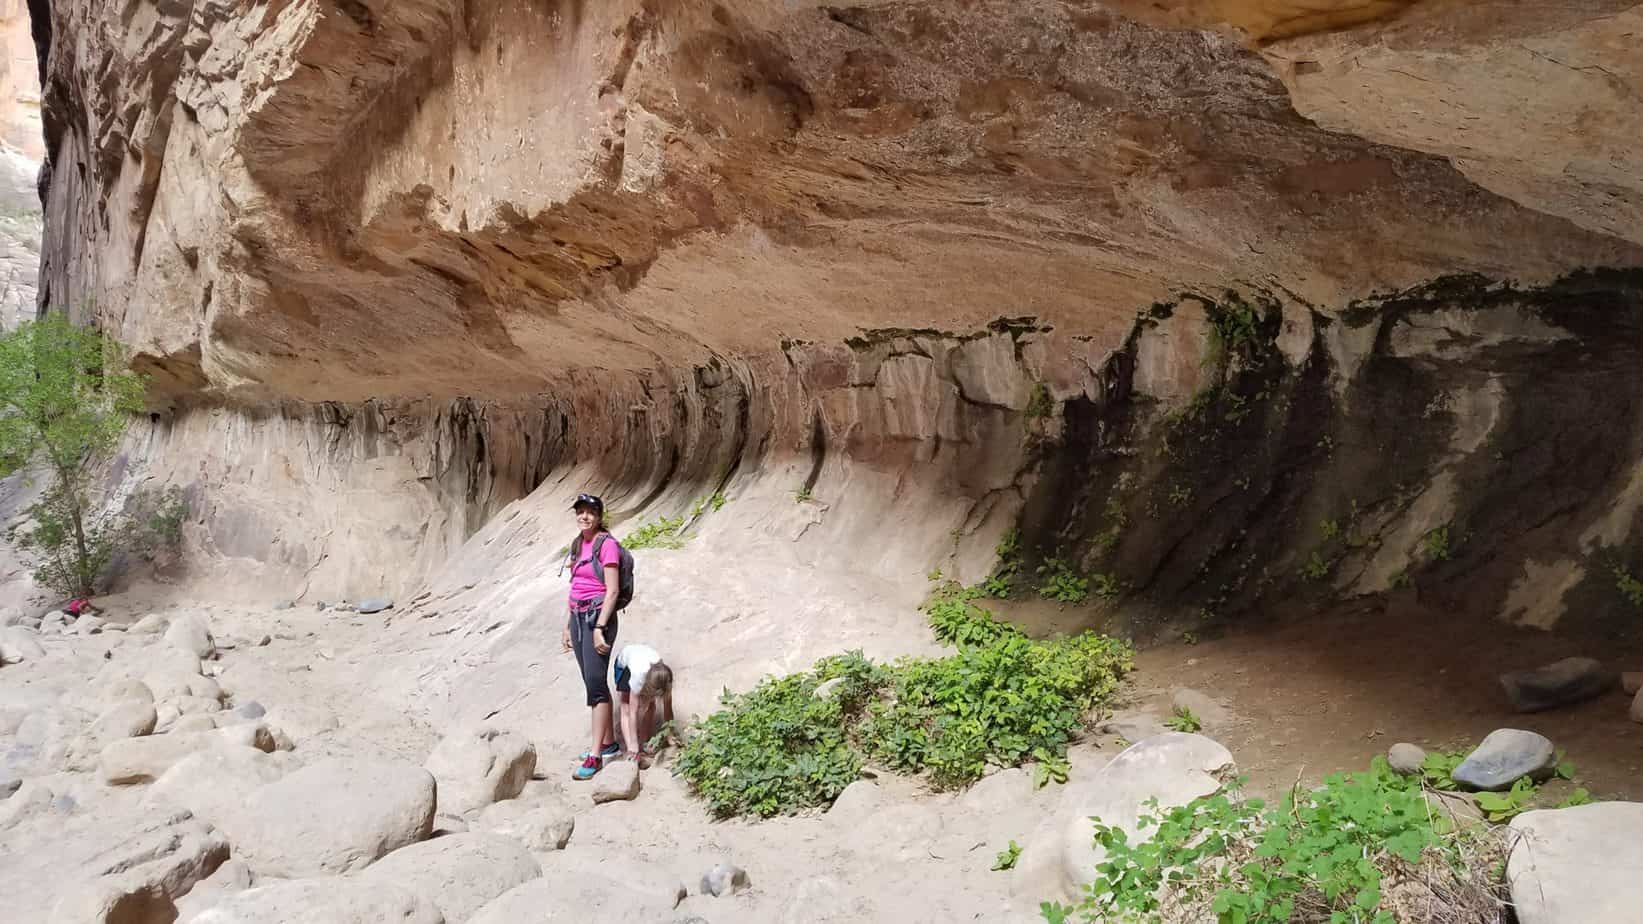
We walked in the Virgin River for just over a mile before turning around making our round trip between 4 and 5 miles. You can hike up the Narrows starting from the Temple of Sinawava for up you nearly 5 miles (10 miles round-trip) until you hit Big Springs. To hike past Big Springs, you will need to obtain a permit months in advance.
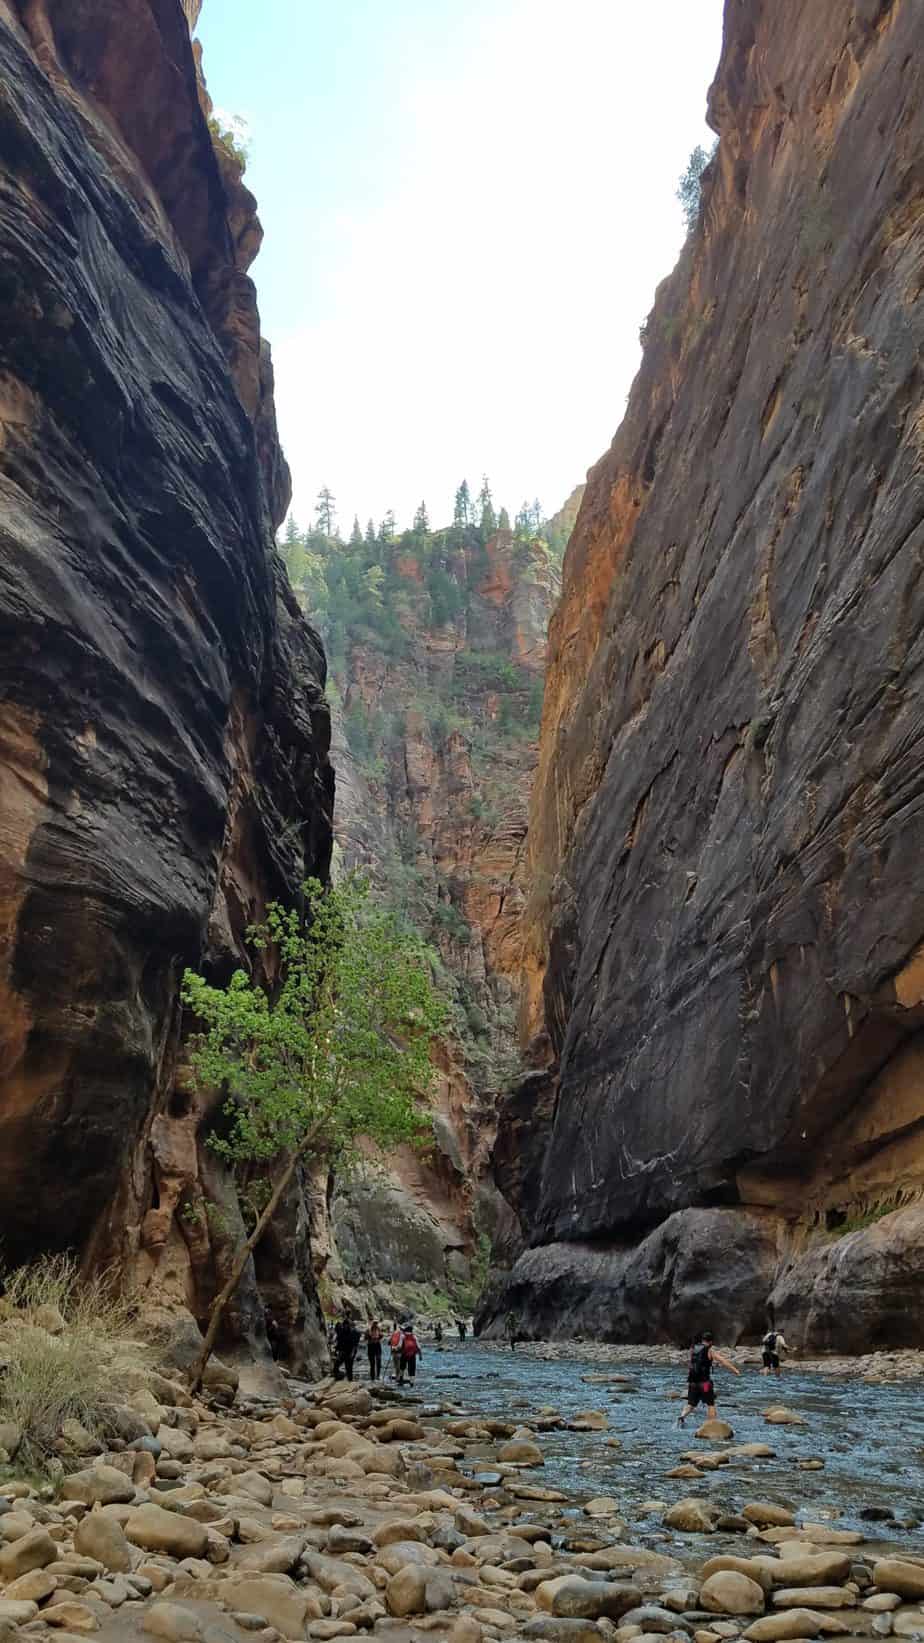
No. You do not need a permit to hike up to 10 miles from the bottom trailhead at the Temple of Sinawava to Big Springs. This is plenty of miles for kids. If you would like to hike past Big Springs or take the 16 mile hike from the top down, you do need a permit. My guess is that most families with kids won’t need a permit.
No. You do not have to have specialized equipment to hike The Narrows. However, it can be helpful if you are hiking several miles up The Narrows. We did not hike with any specialized equipment because it was an unplanned hike for us.
When we hike The Narrows again, we will bring our waterproof backpack and waterproof phone case. We won’t get the specialized equipment from the local outfitter companies.
Waterproof socks, shoes, and walking sticks can be rented from several places in Springdale. Here are a few.
Most likely yes. Between mid February and late November, you will need to ride the shuttle from the visitors center to reach Temple of Sinawava, which is the starting point for The Narrows hike. I don’t recommend hiking The Narrows with kids in the winter time due to cold temperatures.
You may also need to ride the Springdale shuttle just to get to the Visitor’s Center depending on where you are able to find a parking lot.
On weekends and holidays and other peak times there can be long shuttle waits (sometimes a couple hours). Plan accordingly. Avoid trying to catch the shuttle from the Visitor’s Center between 8am and noon. Get up early or hike in the afternoon.
Check out the National Park Service Shuttle page for shuttle schedules.
Sometimes yes. Zion National Park monitors Cyanobacteria in the Virgin river and other streams within the park. Even if there is a Cyanobacteria bloom during your visit, most of the time it is only toxic if ingested. Check the National Park Service Current Conditions site to see if if this is an issue before you visit.
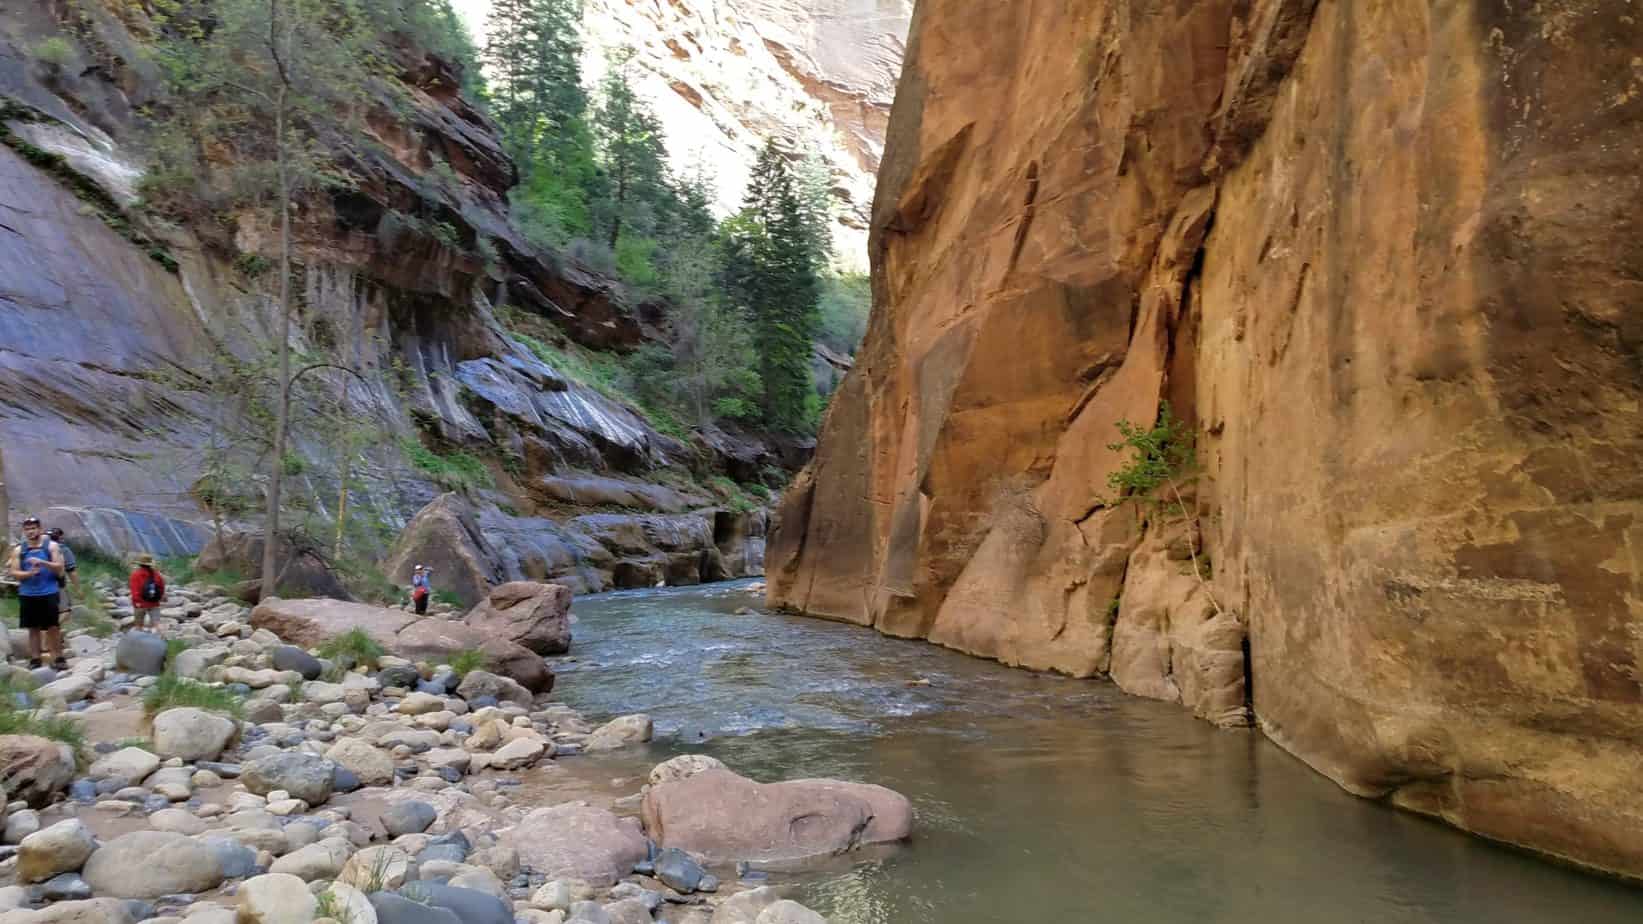
PROS
World famous scenery
Cool in the summer months because of the shade and water
Can adjust to your family’s wants – short or long
CONS
Rocks can get slippery, easy to fall into the water
Not recommended in winter with kids because of the cool water temperatures
Zion National Park is located in southeastern Utah. The Narrows hike begins 8 miles from the park entrance along Zion Canyon Scenic Dr. During the spring, summer and fall you will need to take the park shuttle at the base of Zion National Park to access the Narrows.
During the winter months you can drive right to the trailhead in your own vehicle, however I do not recommend getting in the water at this time of year with kids due to the temperature of the water. During winter-time stay on the paved Riverwalk Trail.
Zion National Park official site
The Narrows official page by ZNP
Fresh of the Grid: How to Hike the Narrows with Gear you Already Own
Other hikes within Zion National Park (minutes away)
Sand Hollow State Park (1 hour)
Coral Pink Sand Dunes State Park (1 hour 10 min)
Snow Canyon State Park (1 hour 20 min)
Bryce Canyon National Park (1 hour 20 min)
North Rim of the Grand Canyon (2 hour 20 min)

Hi, I’m Corrine! I’m an outdoor enthusiast and mother of four.
My goal is to inspire you to get outside and create your own amazing memories as a family. Life is precious and there are too many adventures to be had to spend life on the couch or in front of a screen.
The page you requested could not be found. Try refining your search, or use the navigation above to locate the post.
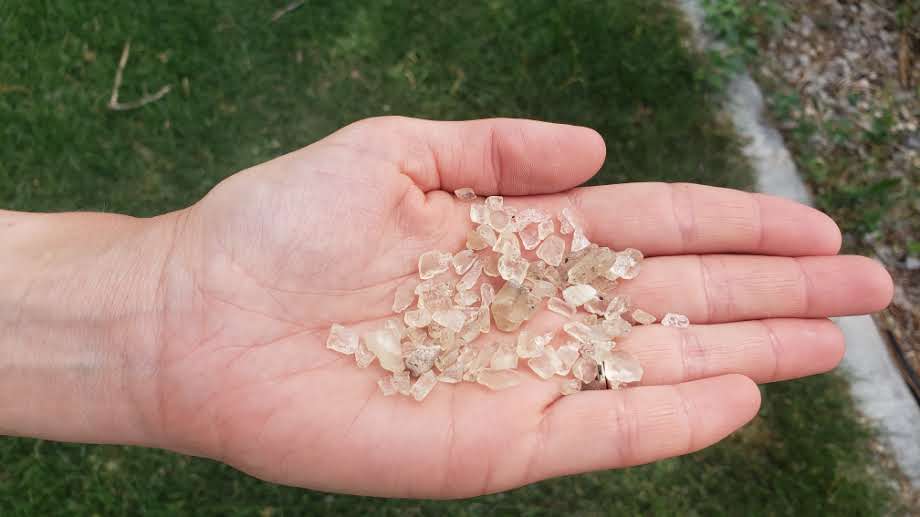
Finding Sunstones in Utah is not hard if you know where to go and what to look for. Watch the ground glitter in the sun from sunstones left by an ancient volcanic eruption at Sunstone Knoll. This unique site, located just outside Delta, Utah contains a vast ground sprinkled with tiny yellow-colored sunstones, just waiting for you and your family to collect.
Fun: ⭐⭐ (out of 5)
Difficulty: VERY EASY Easy Moderate Hard Very Hard
Distance: Short walk
Elevation Gain: 100 feet or so to the top of knoll or flat if you stay below knoll
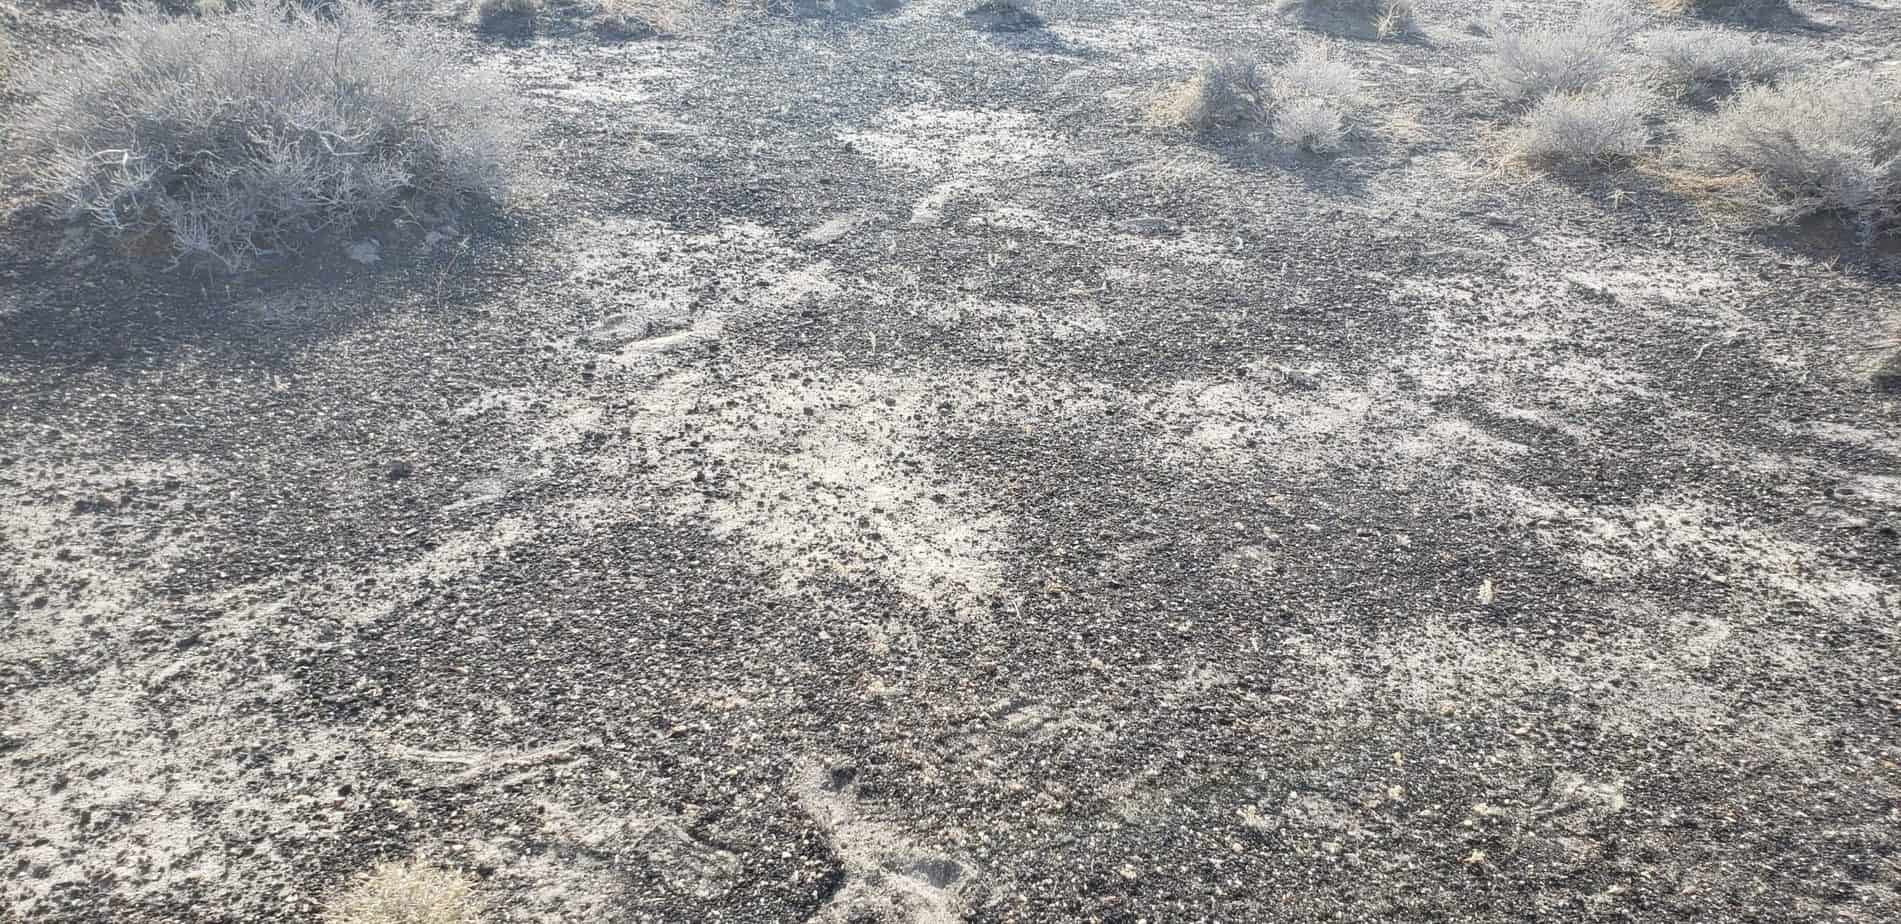
Terrain: Dirt and rocks, broken glass
Time Needed: 15 minutes to 1 hour
When to Go: Anytime of the year when its sunny. Make sure to go when its sunny so it is easier to see the sunstones.
Free
Bucket for gathering
Shovel, if desired
Pick-axe or hammers, if desired
Water, especially in summer months
Snacks
Sunscreen (no shade
We love hunting for rocks and minerals! After hunting for fossils during social distancing of COVID-19 we went searching for Sunstones at Sunstone Knoll, near Delta Utah.
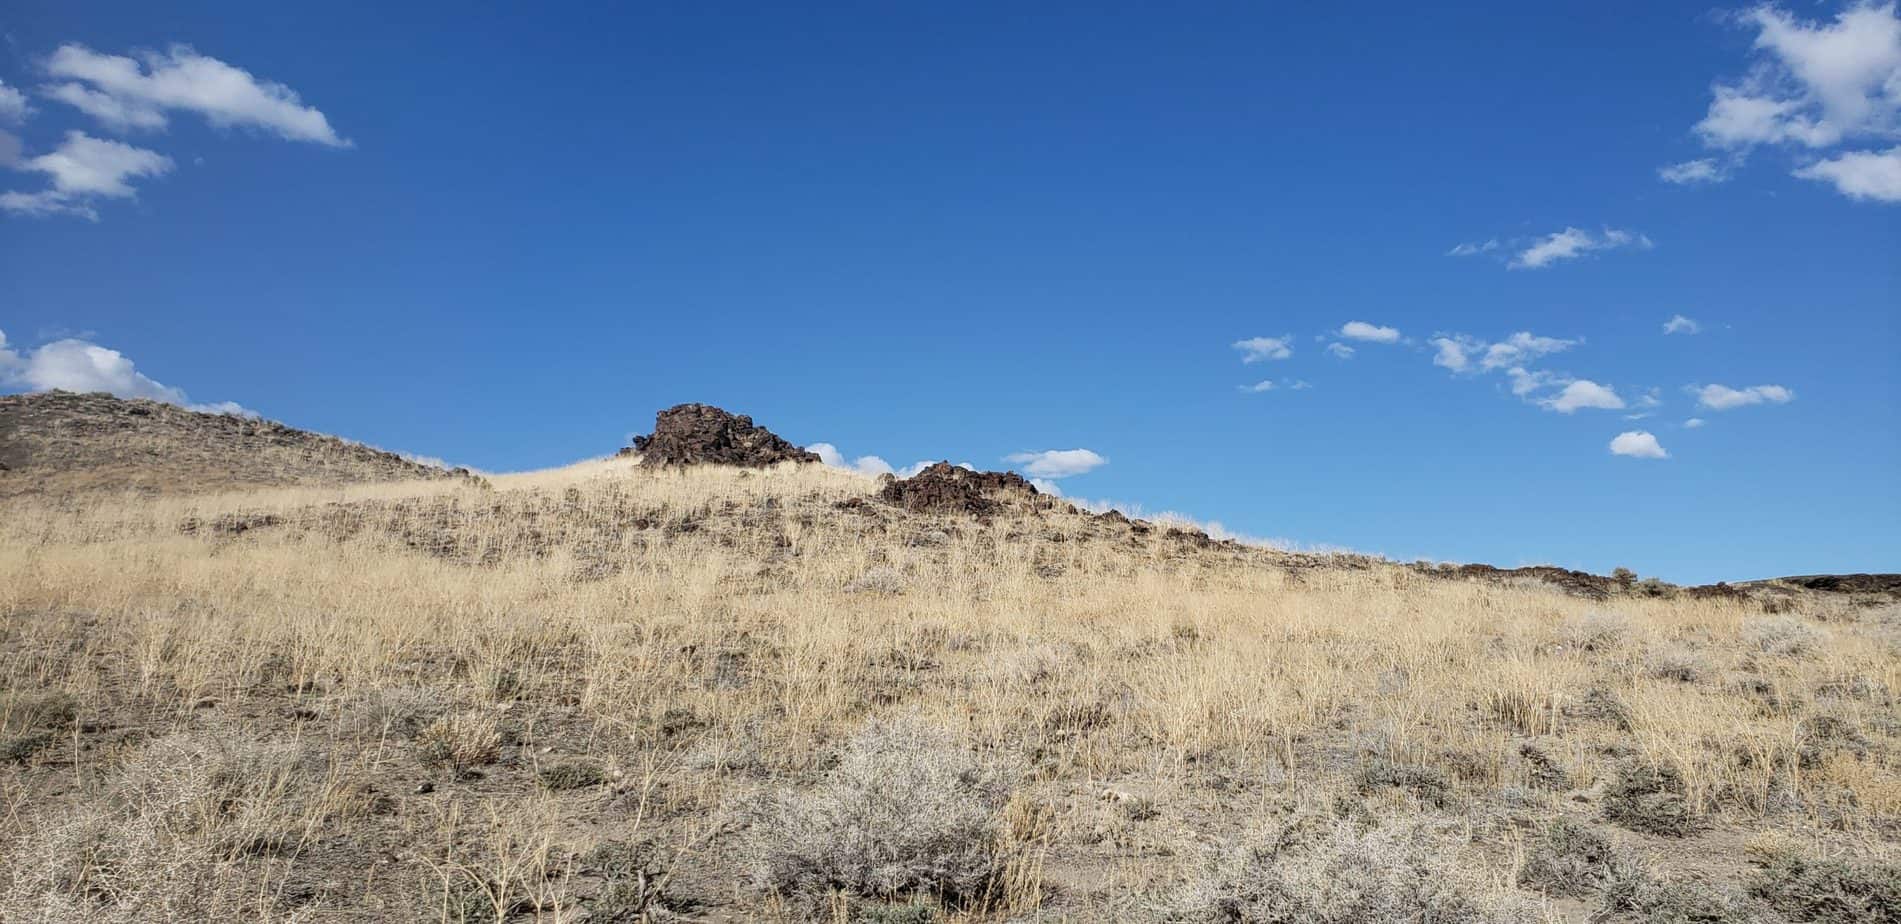
Sunstone Knoll was a volcanic vent formed around 1 million years ago and is only about 20 minutes south of Delta, Utah. The susnstones are yellowish in color and range in size from 1/8 to 1 inch. The best place to find sunstones is on the east side of the knoll.
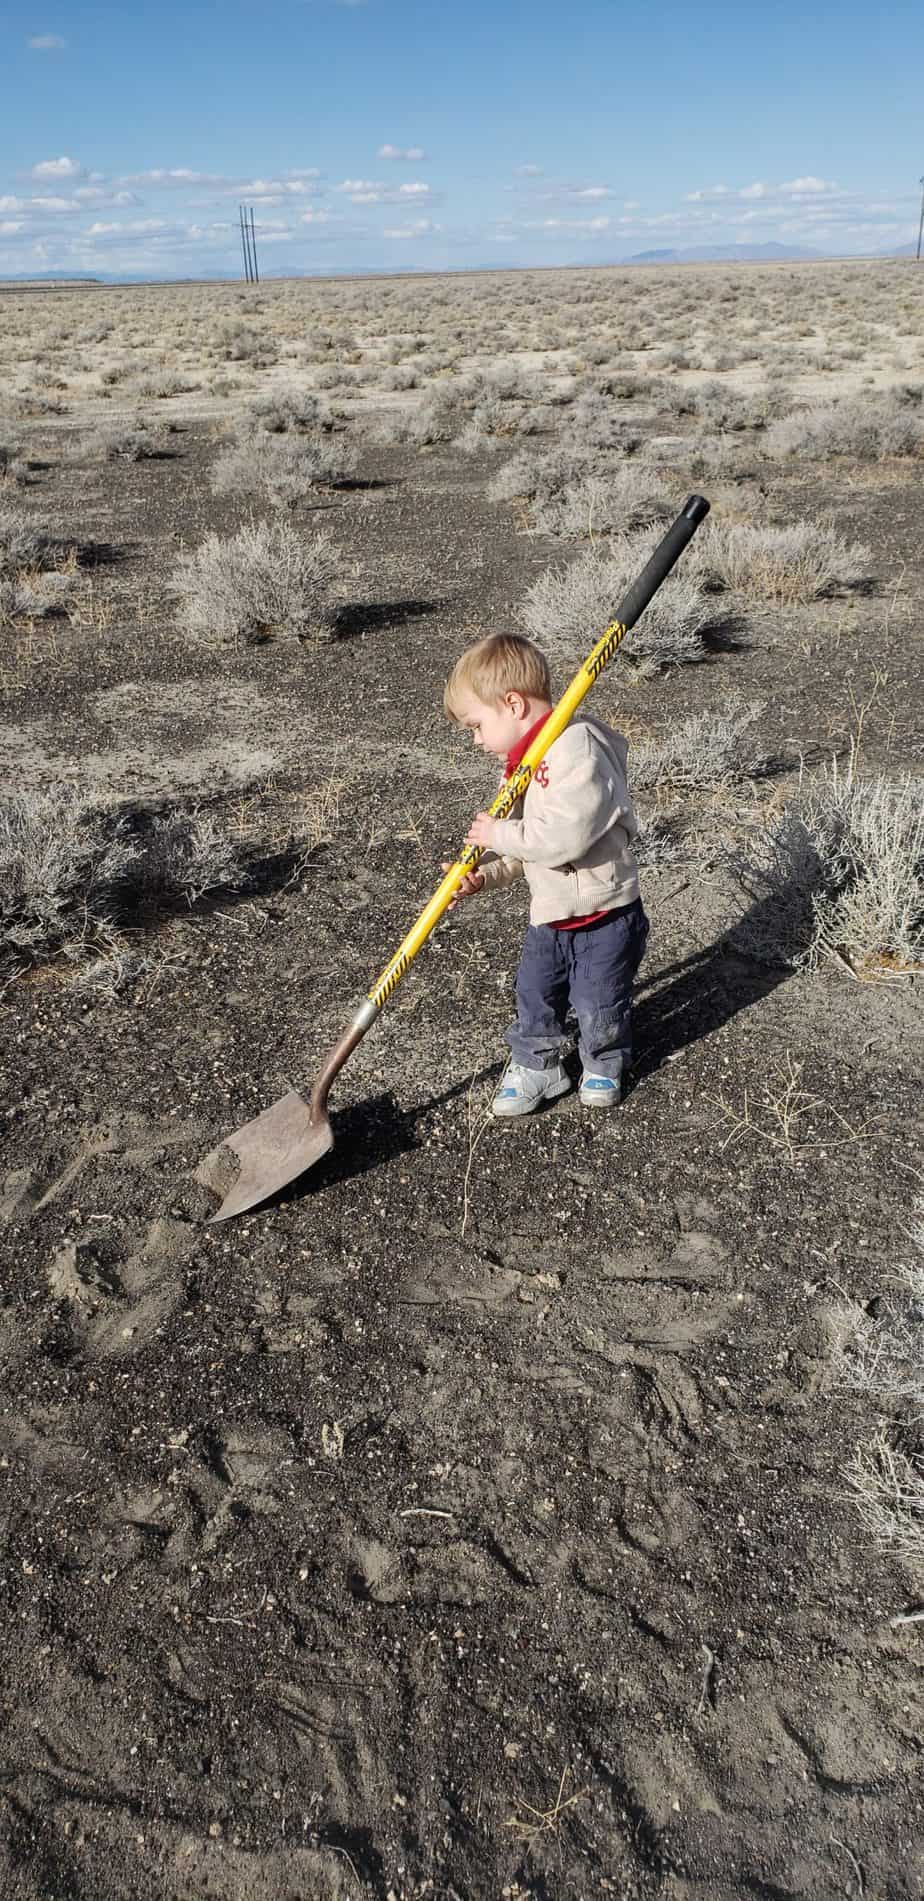
We spent 30 minutes gathering the small sunstones all over the ground. You can also break rocks open to find more, but there were plenty of small stones on the ground for us to gather easily with kids. Make sure to go on a clear sunny day so you can see the sunstones glitter the ground. You cant see the glittering from the picture but they were glittering for us.
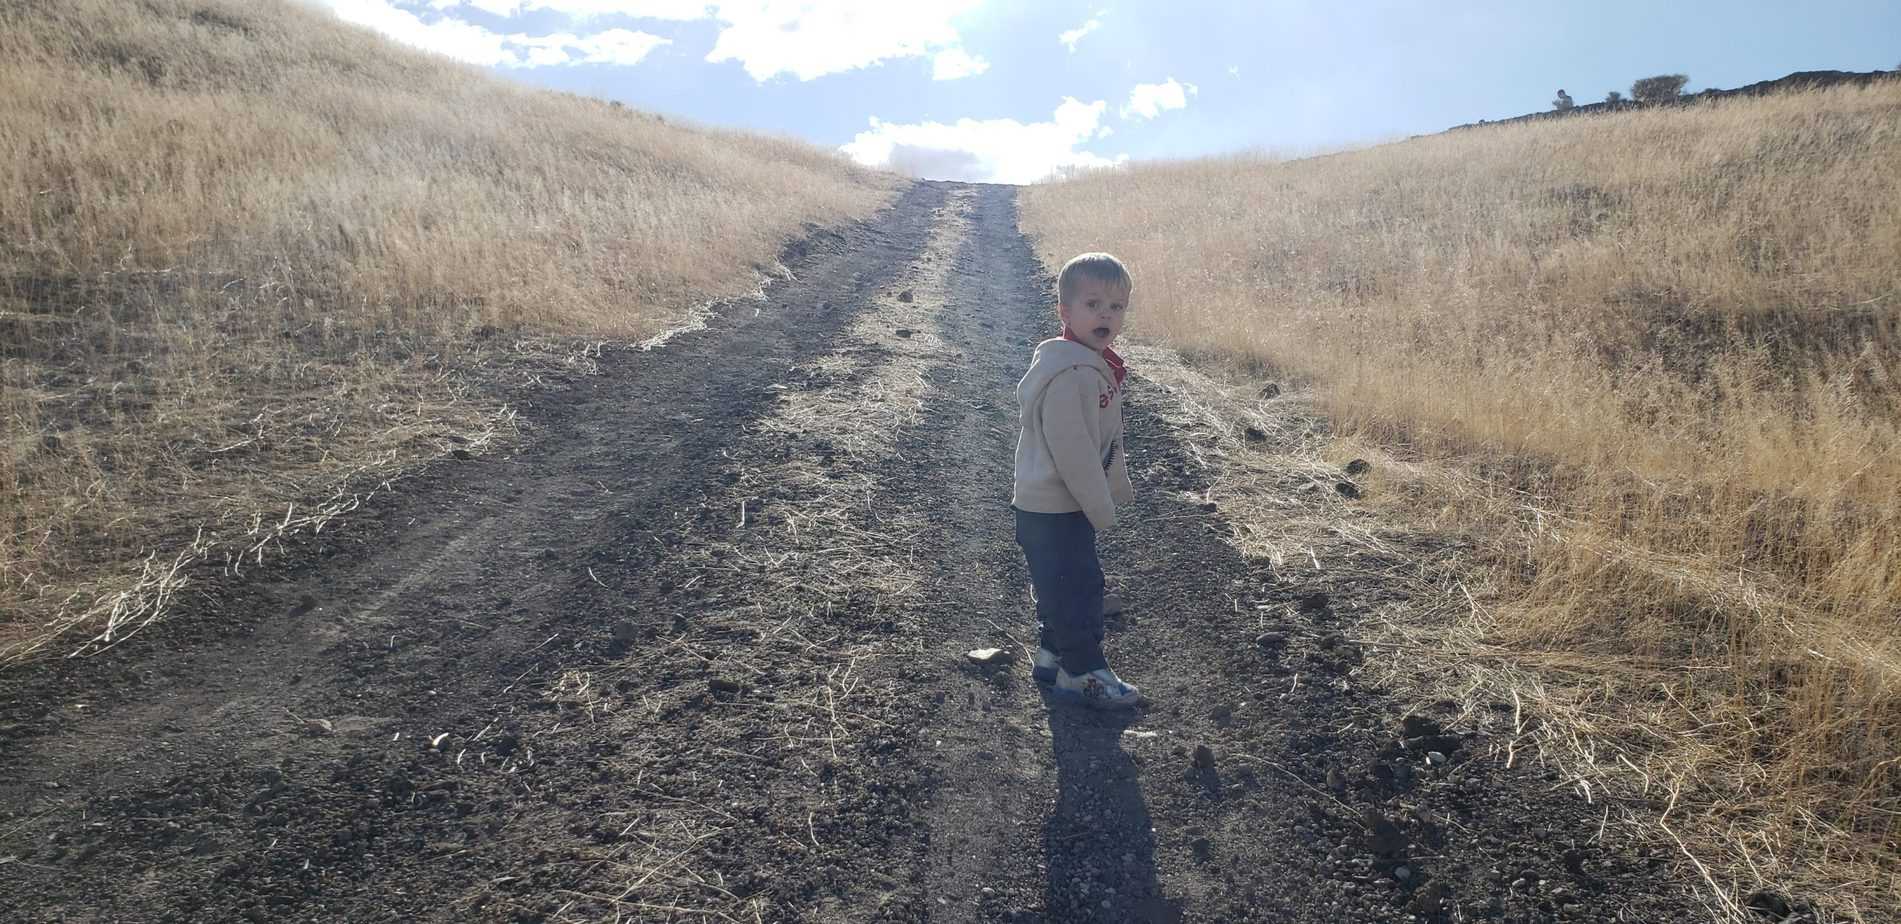
We took a short walk to the top of the knoll where you get a 360 degree view of the Great Basin area. Even our 2-year-old could climb to the top.
There is a lot of broken glass in the area which look a lot like the sunstones, so make sure your little kiddos (or adults) aren’t picking up broken glass, unless you are helping clean up to throw it away.
The knoll can be visited any time of the year, however the area is very hot in the summer with highs averaging in the 90s. We visited in March. The area might be covered in snow at times during the winter. Check weather forecasts before you go.
PROS
Easy and fun for kids
Does not take a lot of time
CONS
Glass can be mistaken as sun-stones
No amenities on site
Not worth the long drive just for sun-stones, do other things in Delta in conjunction to make the trip worth it. This is why we rated this as 2 stars for fun.
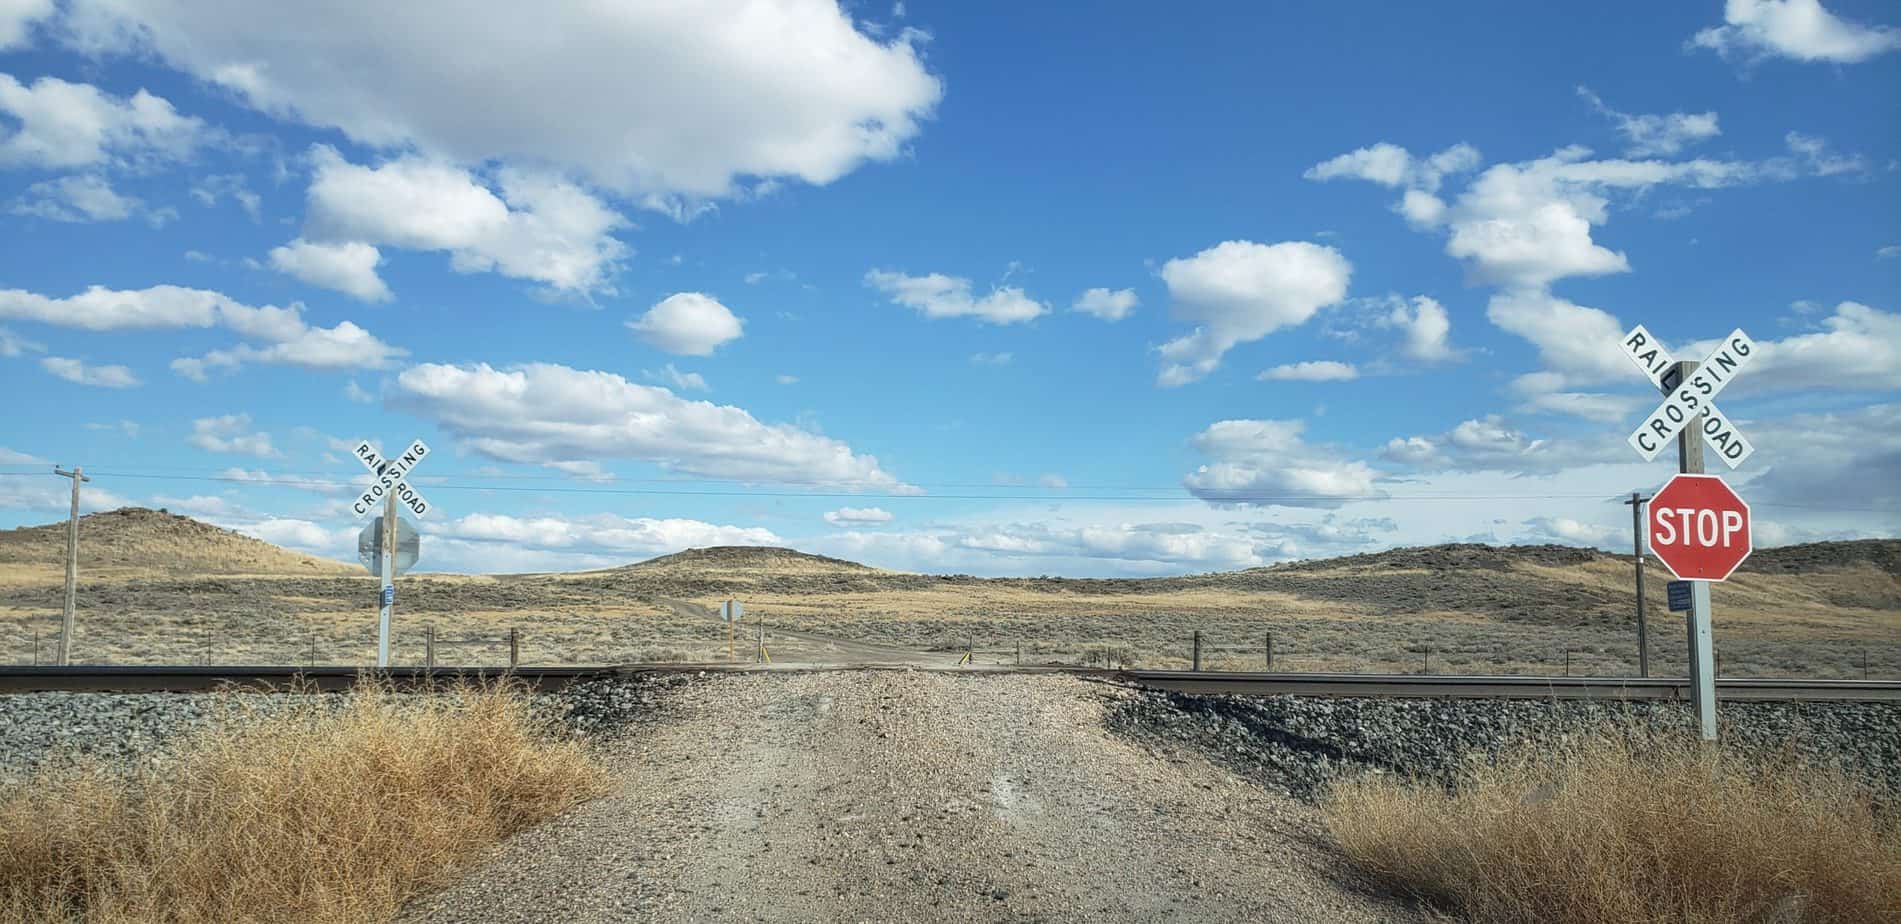
Sunstone knoll is a small hill in the middle of a flat desert 20 minutes south of Delta, Utah. It is located directly east of highway 257. You will need to drive across the train tracks off of highway 257 to access it.
The road from the highway to the knoll is dirt, but it should be accessible with most vehicles. Our van handled the dirt road just fine. You can either park your vehicle after you cross the tracks, where you will have to walk to the east side of the knoll, or simply drive around on the dirt road to the east side
U-dig Fossils or Fossil Finding on BLM land (1 hour)
Paul Bunyan’s Woodpile hike (1 hour)
Fort Deseret (10 minutes)
Fort Deseret is also right off highway 257, about 10 miles outside of Delta. If you are traveling to Sunstone Knoll from the Delta area it will be off Highway 257 on the right side. Fort Deseret was built in 1965 during the Utah Black Hawk War to protect settlers against attacks of the local Ute Tribe. It is made of mud and straw and is still standing over 150 years later.

Hi, I’m Corrine! I’m an outdoor enthusiast and mother of four.
My goal is to inspire you to get outside and create your own amazing memories as a family. Life is precious and there are too many adventures to be had to spend life on the couch or in front of a screen.
The page you requested could not be found. Try refining your search, or use the navigation above to locate the post.